
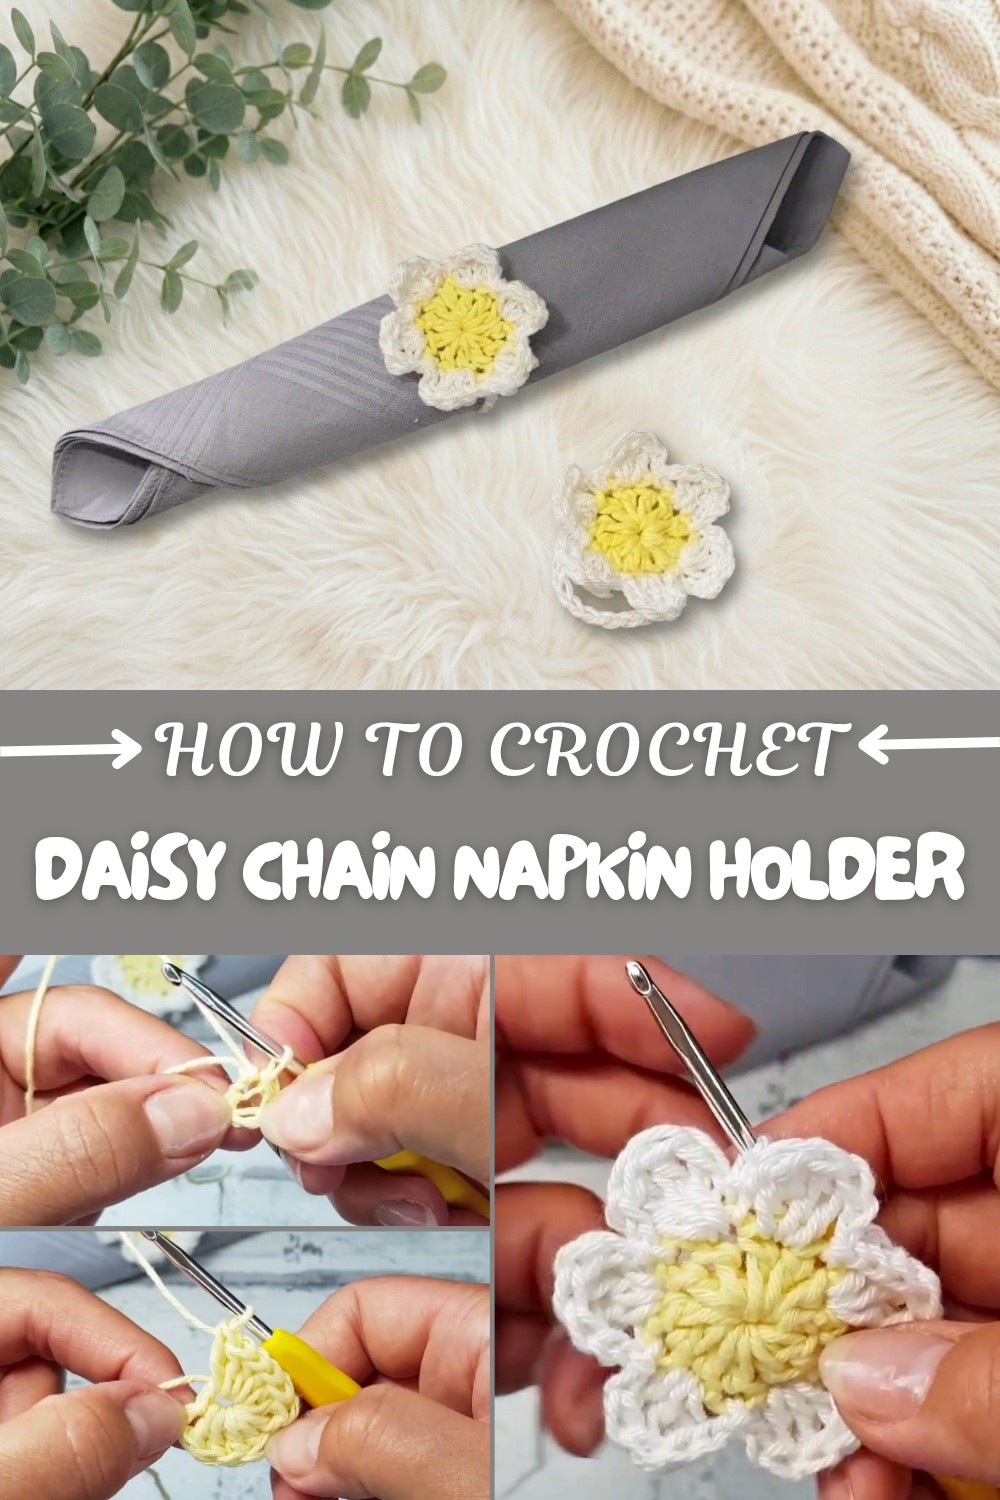
Daisy Chain Napkin Holder Free Crochet Pattern for Table Decor
A crochet Daisy Chain Napkin Holder adds a lovely pop of handmade charm to any table. Gentle loops of daisy-shaped motifs give every place setting a touch of floral cheer, turning even the simplest meal into something special. The daisies—delicate, round, and full of personality, fit right in for both casual family dinners and festive gatherings. This holder isn’t just decorative; it keeps napkins tidy and ready for guests, while the soft texture feels welcoming in any season.
Free Crochet Daisy Chain Napkin Holder Pattern You’ll Love
Changing the flower colors lets you coordinate with kitchen décor, party themes, or favorite hues, making each set uniquely yours. Soft yarn gives each flower a pleasant feel, and the repeating shapes turn a pile of simple stitches into something beautiful and useful for daily life. Even those just starting with crochet find this project inviting, as these small pieces come together quickly and look wonderful right off the hook.
Trying out a Daisy Chain Napkin Holder suits beginners eager for a satisfying project. These flowers use only a handful of stitches, giving practice with working in rounds, making chains, and joining pieces together. These basic steps not only result in a finished napkin holder but boost confidence with each daisy.
With the skills from this pattern come new ideas for other items: string the daisies together for a spring garland, weave them into placemats, or stitch a few onto a favorite basket for added flair. The daisy design forms a foundation for plenty of creative directions, inviting bold colors for a lively look or soft pastels for a subtle accent. Every completed napkin holder stands as a little reminder of progress and inspiration to try more crochet for the home.
Step-by-Step Crochet Pattern: Daisy Chain Napkin Holder
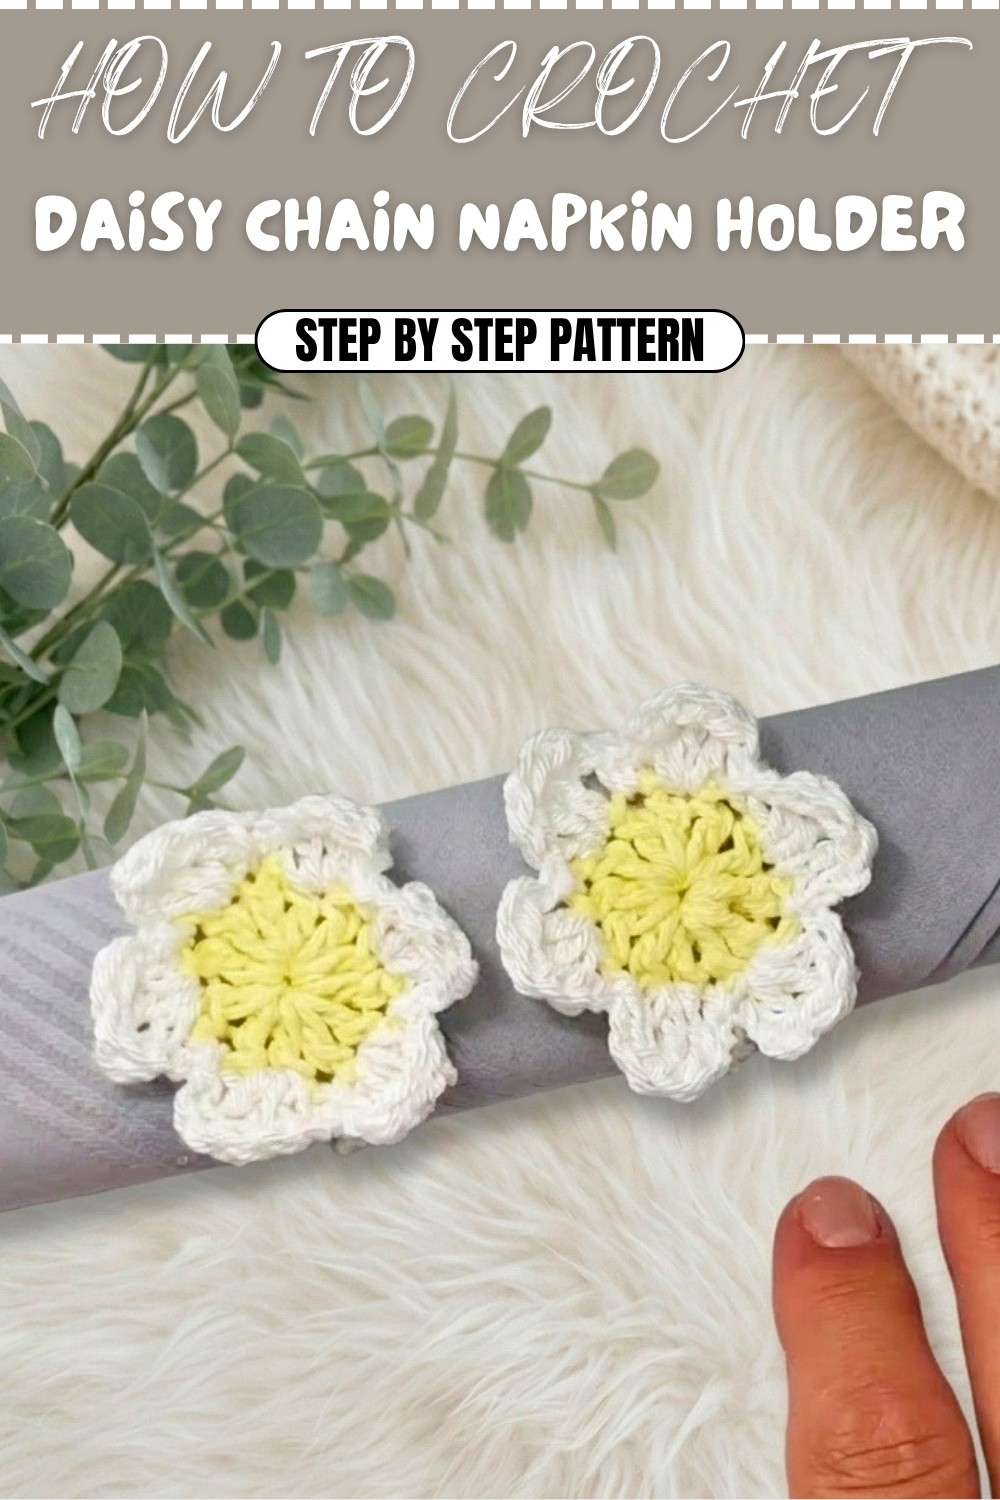
Bring an elegant burst of spring to your dining table with this Daisy Chain Napkin Holder. Perfect for picnics, summer BBQs, or to make any meal feel special, this small project is both simple and beautiful. The central daisy motif is formed in two colors and finished with a neat chain loop to wrap around any napkin. This pattern is suitable for beginners or those looking for a quick, charming make.
Skill Level & Terminology
- Skill Level: Beginner to Intermediate
- Terminology: US Crochet Terms
Materials & Tools
- Yarn: Small amounts of cotton or cotton-blend yarn in two colors:
- Color A (center): Yellow
- Color B (petals): White
Any yarn weight will work, but DK or worsted produces the best result.
- Hook: 3.5mm crochet hook (or size appropriate for your yarn)
- Other Tools:
- Scissors
- Yarn or darning needle (for weaving in ends)
- Optional: Stitch marker
Gauge
Gauge is not critical for this accessory, but for reference, a daisy made with DK yarn and a 3.5mm hook measures about 2 to 2.5 inches across.
To check approximate gauge:
12 double crochet and 7 rows = 2"/5cm (DK yarn, 3.5mm hook)
Abbreviations List
- ch: chain
- sl st: slip stitch
- sc: single crochet
- dc: double crochet
- tr: treble crochet
- st(s): stitch(es)
- yo: yarn over
Special Stitch Instructions
- Magic Ring Alternative: This pattern starts with chains joined as a ring if you’re unfamiliar with the magic ring.
- Treble Crochet (tr):
- Yo twice, insert hook into stitch, yo, pull up a loop (4 loops on hook),
- [Yo, pull through 2 loops] three times.
- Slip Stitch (sl st): Insert hook, yo, pull through stitch and loop on hook.
- Invisible Join: Optional, but improves neatness.
Finished Size
- Daisy: 2–2.5” diameter (5–6.5 cm)
- Holder Loop: Adjustable, sample is 16 ch (fits most napkins)
Starting & Stitches Used
Start: Work the daisy center with basic chains; add rounds for petals, join a chain loop at the end.
Stitches used: Slip knot, chain, slip stitch, double crochet, treble crochet.
The Pattern Itself
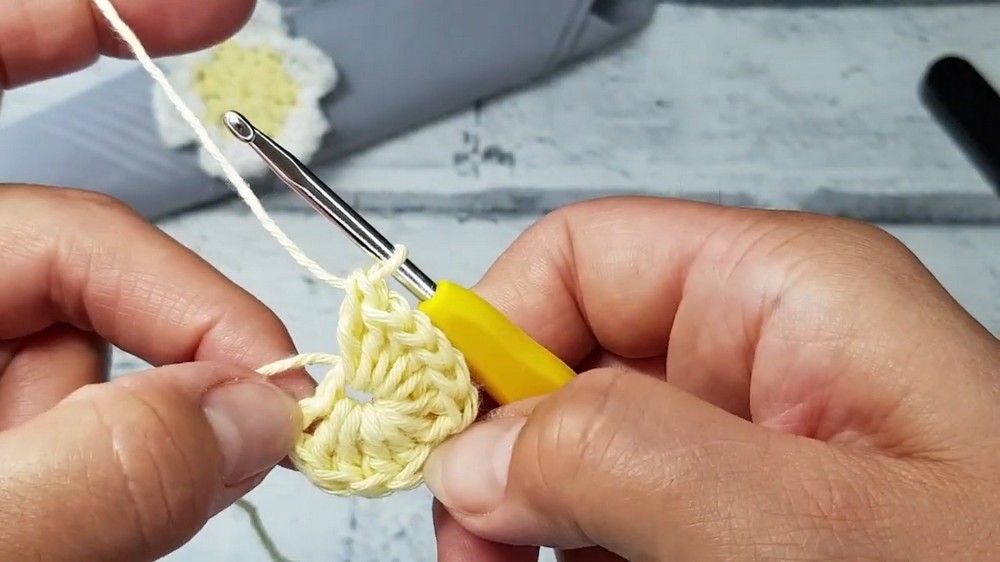
1. Daisy Center
With Color A (yellow):
- Make a slip knot and ch 4.
- Sl st in first ch to form ring.
Round 1:
- Ch 2 (does not count as a stitch), work 12 dc into the ring.
- Sl st into the top of the first dc (not the starting ch-2).
Plain Language:
Start your project with 4 chains and join them to make a small loop (circle). You will fill this circle with double crochets to create the daisy’s yellow center. At the end, join with a slip stitch and fasten off.
2. Weaving & Fastening Off Center
- Pull the center tail tightly to close up any gap.
- Using a yarn needle, weave the center tail in securely and trim excess.
Plain Language:
Pull the starting yarn tail to close the hole in the middle, then use your needle to hide and secure the yarn end neatly on the back.
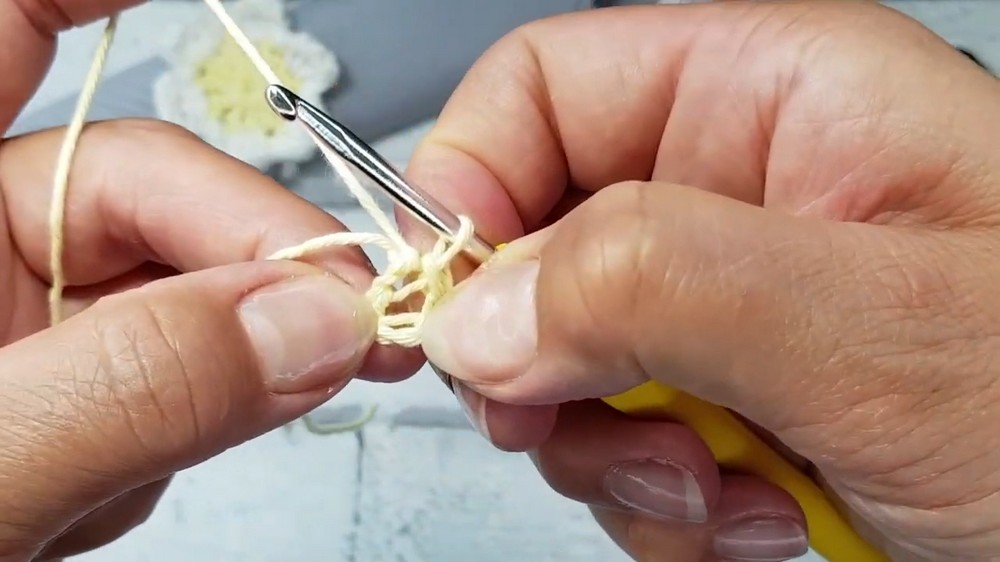
3. Daisy Petals
Switch to Color B (white):
- Attach yarn in any stitch around the circle.
Create Petals (Repeat 6 times):
- Ch 2, then work 3 tr into same st.
- Ch 2, sl st into next st.
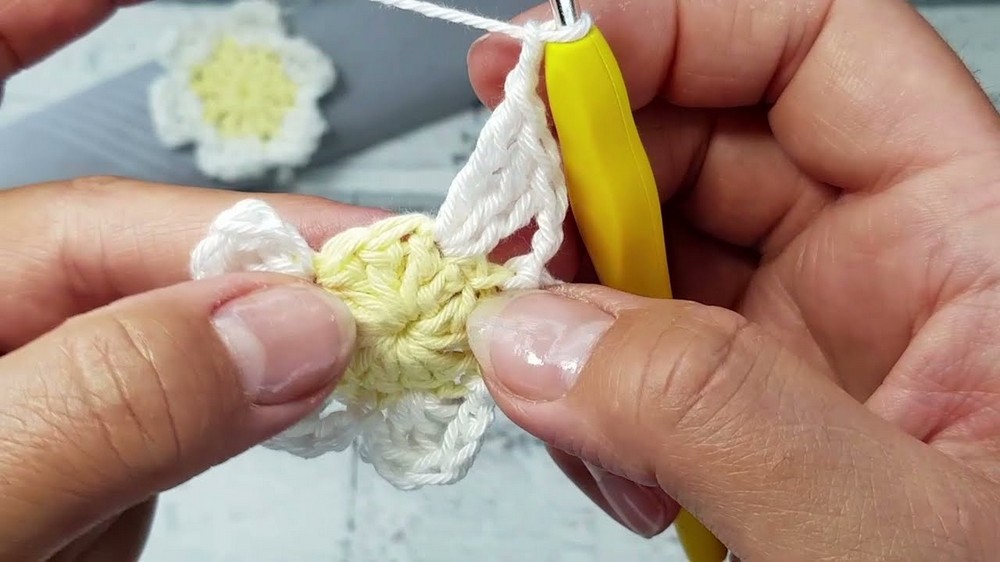
Continue this sequence until you have 6 petals around the center (total of 12 sts = 6 petals). Finish last petal, then sl st into the base of the first petal to join.
Plain Language:
Attach your new color anywhere in the round. For each petal, chain 2, make 3 trebles in the same space, chain 2, then slip stitch to the next stitch. Repeat for 6 beautiful petals forming the flower.
4. Finishing the Daisy Round
- After sixth petal, sl st into first petal’s base to join.
- Fasten off, weave in yarn tail neatly on the wrong side using a yarn needle.
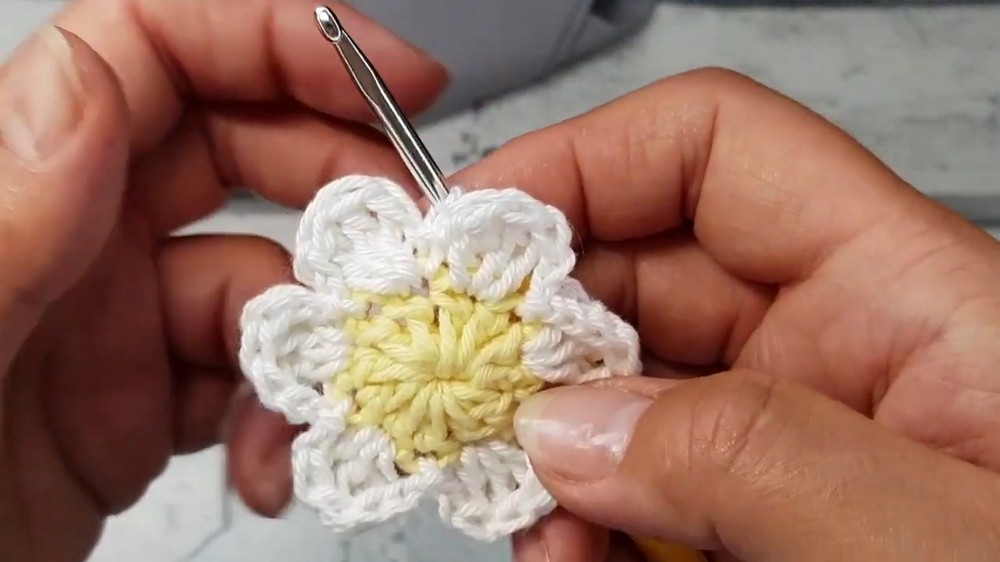
Plain Language:
You’ve finished the flower’s petals. Join the start and end with a slip stitch and use your needle to tidy up any loose ends.
5. Napkin Holder Loop
With Color B (or choice):
- At the top between two petals (center back), attach yarn in the slip stitch between petals.
- Ch 16 (or longer, as needed for napkin size).
- Cut yarn leaving 3” tail.
- Pull tail through last chain to secure.
Plain Language:
Attach your yarn at the back, then crochet a chain (loop) large enough to hold your napkin. Cut the yarn and pull through to finish.
6. Attaching the Loop
- To close the loop, bring the chain end to the opposite side of the flower (directly across from attachment point) and, using your hook or yarn needle, pull the yarn through the base between petals.
- Pull tail through to secure, then use the yarn needle to weave and secure the tail through stitches at the back of the flower.
Plain Language:
Connect your chain ends at the back of the flower so it makes a complete ring, then neatly weave in the remaining yarn.
Assembly & Finishing
- Weave in all loose ends.
- Lay the daisy flat and shape petals gently with your hands.
- Your napkin holder is now ready to use! Simply slide your napkin through the back loop.
Plain Language:
Just hide all yarn tails, flatten the petals, and you’re set. Slide your napkin through the loop, and your table is ready for a cheerful, spring look.
Conclusion, Corrections, and Tips
Conclusion:
You’ve created a beautiful hand-crocheted napkin holder—a reusable and charming addition to any special meal or gathering.
Corrections:
If you notice puckering or overly tight petals, try loosening your tension or increasing the starting chain of each petal. The loop can be lengthened for thicker napkins by simply adding more chains.
Tips:
- Use firm cotton yarn for best shape.
- If desired, block the daisy by pinning it slightly damp for crisp petals.
- For extra charm, add a French knot or button in the center.
Pattern Recap:
Start with a chain ring and basic double crochets; make each petal with trebles and chains; join a chain loop to the back to finish. Uses mostly basic stitches—chain, slip stitch, double and treble crochet—making it very beginner-friendly. Adjust the petal or loop length as you wish!