
Cute Crochet Pokemon Pikachu Pattern for Gift Worthy Creations
Level up your style instantly with this free crochet Pokemon Pikachu pattern, making adorable plushies easy and fun to stitch.
Bringing innovation to crochet means starting with fresh ideas and creative techniques that turn familiar crochets into something new and exciting. Instead of following traditional patterns step by step, you can experiment with combining stitches in unexpected ways or using different yarn textures and colors to add depth and personality. For example, blending classic single crochet with airy mesh stitches to create lightweight, sculptural forms that feel both playful and modern.
Learn the Secret to a Perfect Pikachu with This Free Crochet Pattern
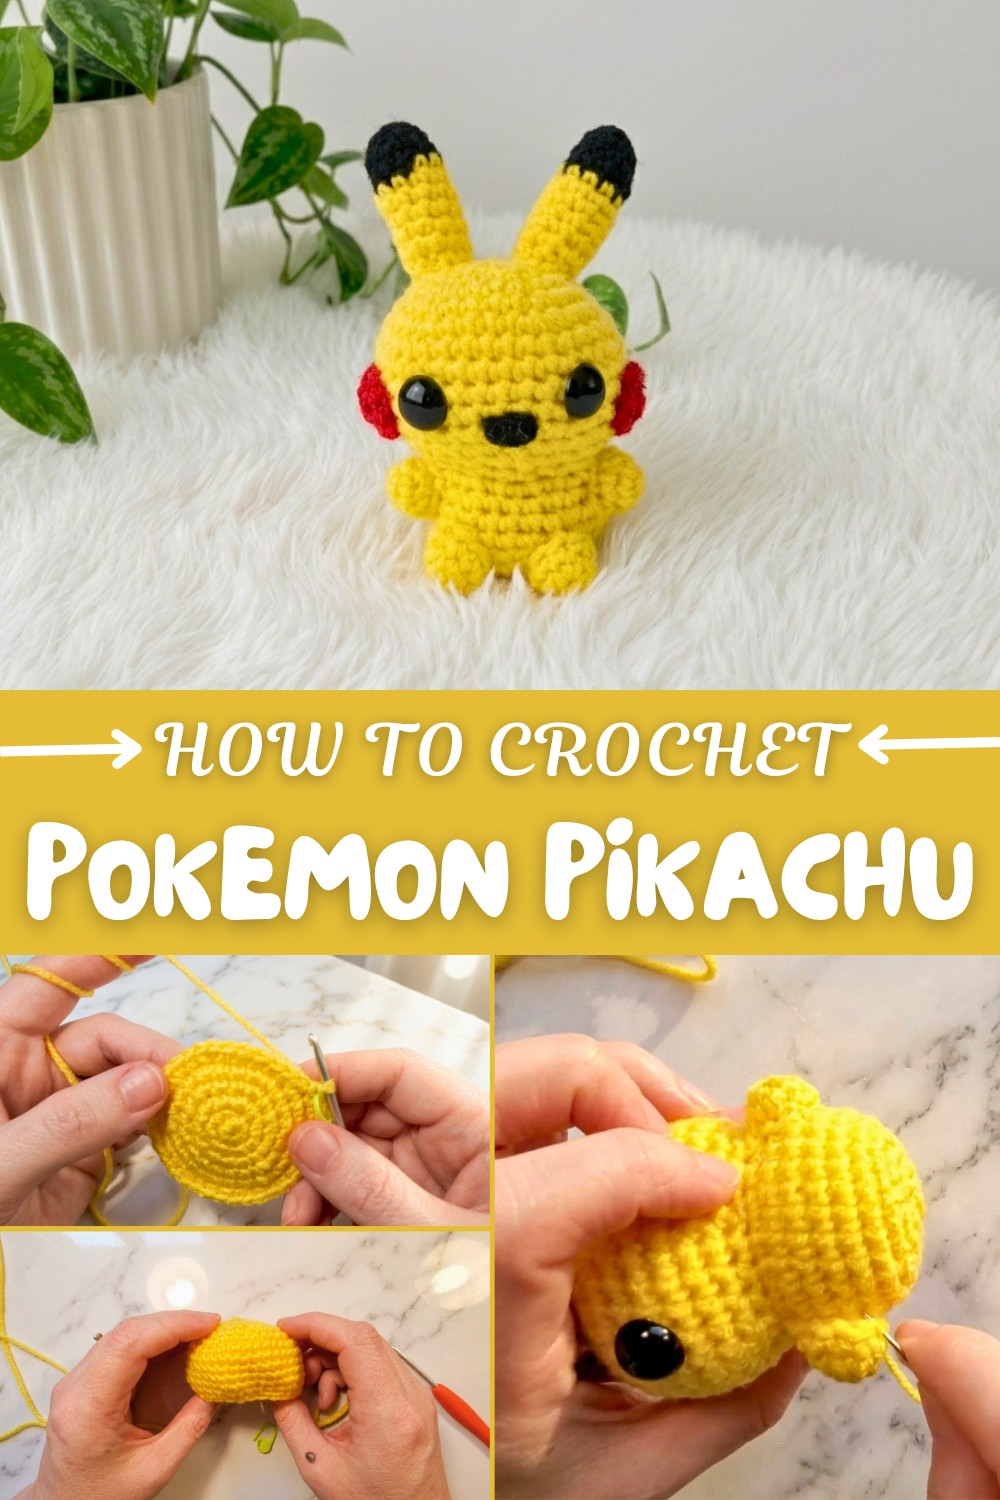
From the very first stitch, think about how you can twist basic shapes like rounds and squares into dynamic three-dimensional pieces with unique silhouettes or interactive parts such as movable limbs or clever closures. Innovation also comes from blending crochet with other materials like incorporating beads, wire, or fabric to amplify texture and function. Using color gradients or ombre effects can turn simple amigurumi into eye-catching artful creations that stand out.
For instance, a crochet Pikachu can become not just a toy but also a keychain, a small pouch, or even a cozy cover for gadgets. Starting your creative process with open experimentation leads to new stitch combinations, novel shapes, and multi-functional objects that keep your projects unique and engaging. Encourage yourself to remix, reimagine, and reinvent each project from the very first loop to the last finish, making your crochet truly your own.
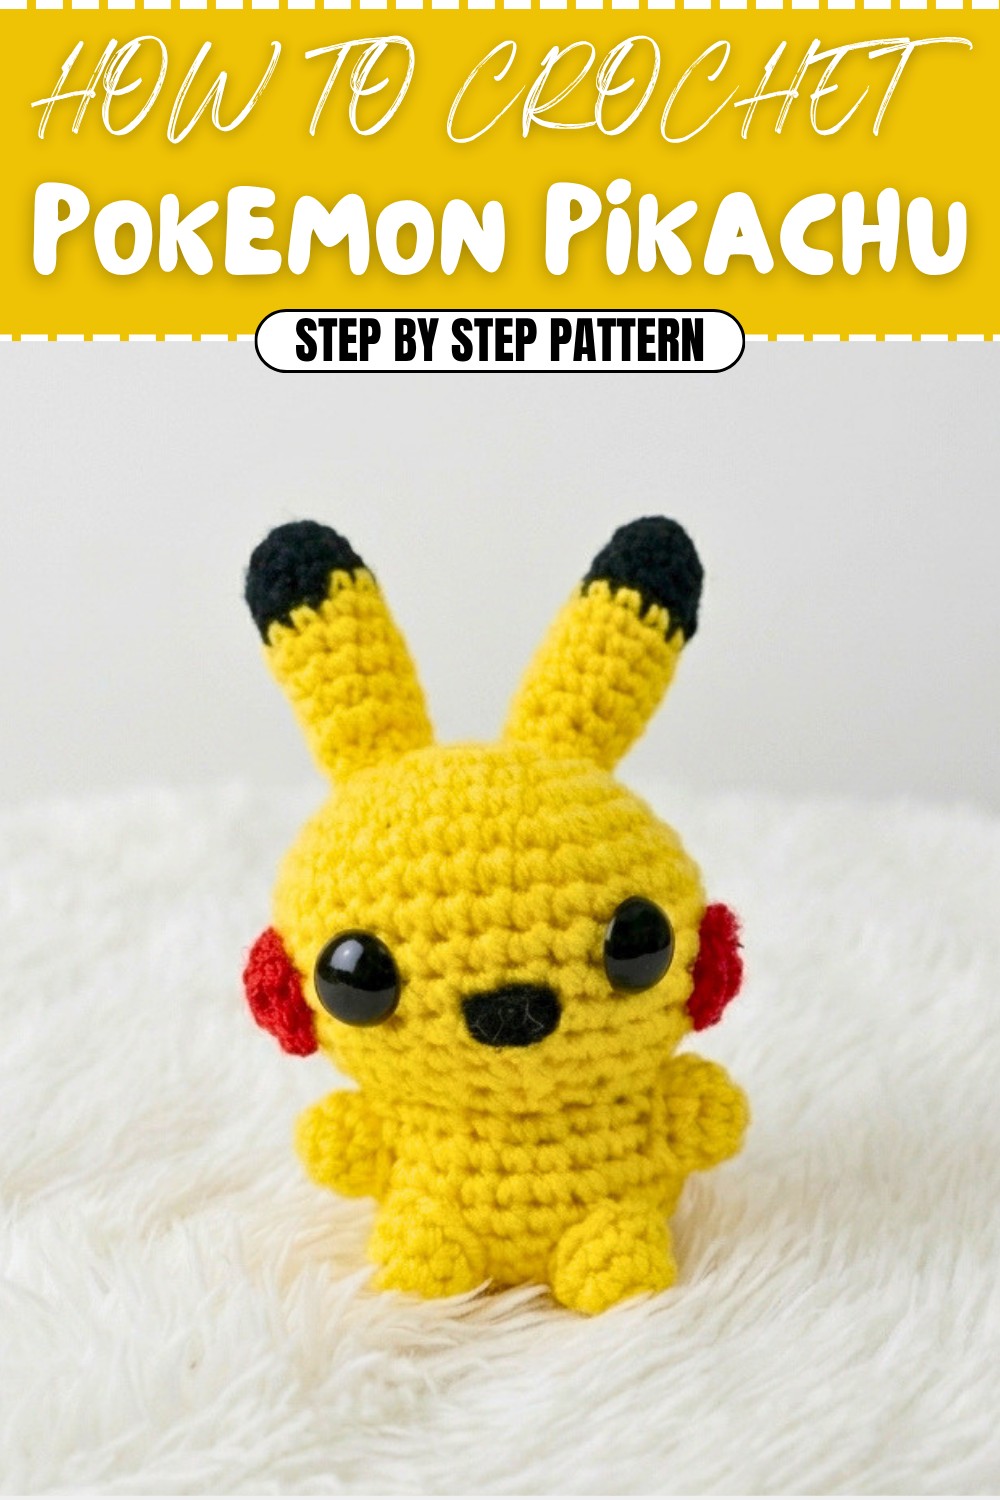
Crochet Pattern: Pikachu Amigurumi
About this Pattern
Bring Pikachu to life with this adorable crochet amigurumi tutorial! As one of the most iconic Pokémon, creating your very own Pikachu is both fun and rewarding. While this amigurumi involves multiple parts, the straightforward stitches and detailed instructions make it achievable for beginners and beyond. The zigzag tail and sparkly cheeks give it a unique charm. Whether this is your first attempt at crocheting Pokémon or you're adding to your collection, this version of Pikachu will be a standout!
What You’ll Learn from This Pattern
- How to work in the round with single crochet stitches.
- Seamless color changes for intricate design elements.
- A beginner-friendly introduction to amigurumi.
- Shaping techniques with increases and decreases.
Skill Level & Terminology
- Skill Level: Beginner
- Terminology: US Crochet Terms
This project uses common stitches such as single crochet (sc), increases (inc), decreases (dec), and slip stitch (sl st). Mastering these basics will allow you to recreate Pikachu with ease.
Materials & Tools
- Yarn:
- Yellow (body)
- Brown (zigzag tail and back stripes)
- Black (ears and eyes)
- Red (cheeks) – Optional: Use sparkly red yarn for added charm.
- Crochet Hook: 3.25 mm hook.
- Other Tools:
- Safety Eyes (size: 6-9 mm).
- Stitch Markers (to mark the start of rounds).
- Tapestry Needle.
- Scissors.
- Polyfill (or any suitable stuffing).
Gauge
Gauge is not critical for this project as long as your stitches are tight enough to prevent the stuffing from showing through. However, approximately:
- 8 sc x 8 rows = 1 inch with a 3.25 mm hook and worsted weight yarn.
Abbreviations List
| Abbreviation | Meaning |
|---|---|
| ch | Chain |
| sc | Single Crochet |
| inc | 2 Single Crochets in One Stitch |
| dec | Decrease (Invisible Decrease Recommended) |
| sl st | Slip Stitch |
| st(s) | Stitch(es) |
| MR | Magic Ring |
Special Stitch Instructions
Magic Ring (MR):
Start with a slip knot and wrap the yarn around two fingers to create a loop. Insert the hook into the loop, yarn over, and pull through a loop. Then, chain 1 to secure the ring.
Invisible Decrease (Dec):
Insert the hook into the front loop of the first stitch, then into the front loop of the second stitch (2 loops on the hook). Yarn over, pull through both loops, and complete the decrease. This creates a cleaner appearance.
Finished Size
When made with worsted weight yarn and a 3.25 mm hook, your Pikachu will stand approximately 4-5 inches tall.
What Stitches Are Used in This Pattern?
This project uses these basic stitches:
- Single Crochet (sc): The primary stitch used to create Pikachu’s body parts.
- Increase (inc): Adds more stitches to shape the body parts.
- Decrease (dec): Reduces stitches to shape and close parts like the head and body.
- Slip Stitch (sl st): Used to join parts and give a clean finish.
The Pattern Itself
Step 1: Pikachu’s Head and Body
Round 1:
- Start with yellow yarn. Create a MR and sc 6 into the ring. (6 sts)
Round 2:
- Inc in each st around. (12 sts)
Round 3:
- (Inc, sc) repeat 6 times. (18 sts)
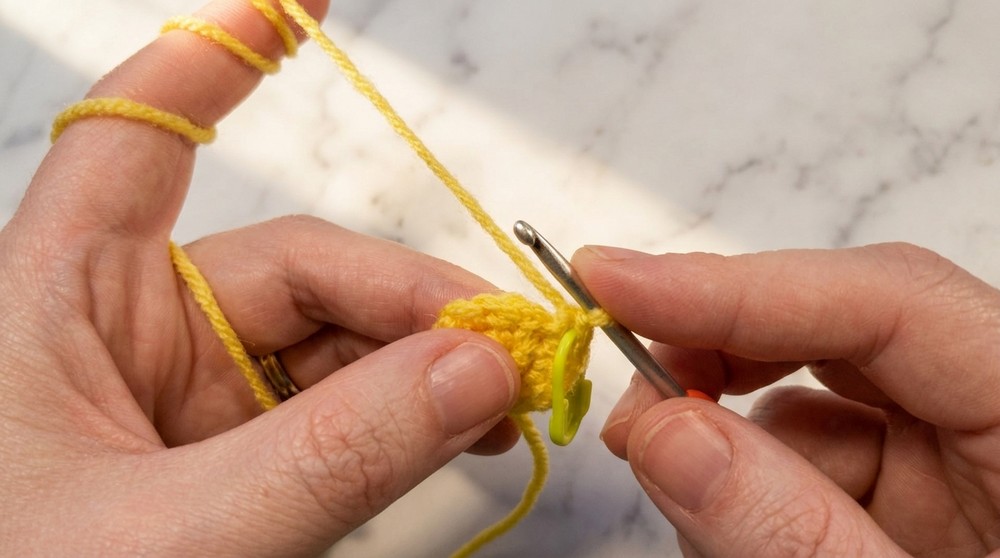
Round 4:
- (Inc, sc 2) repeat 6 times. (24 sts)
Round 5:
- (Inc, sc 3) repeat 6 times. (30 sts)
Round 6:
- (Inc, sc 4) repeat 6 times. (36 sts)
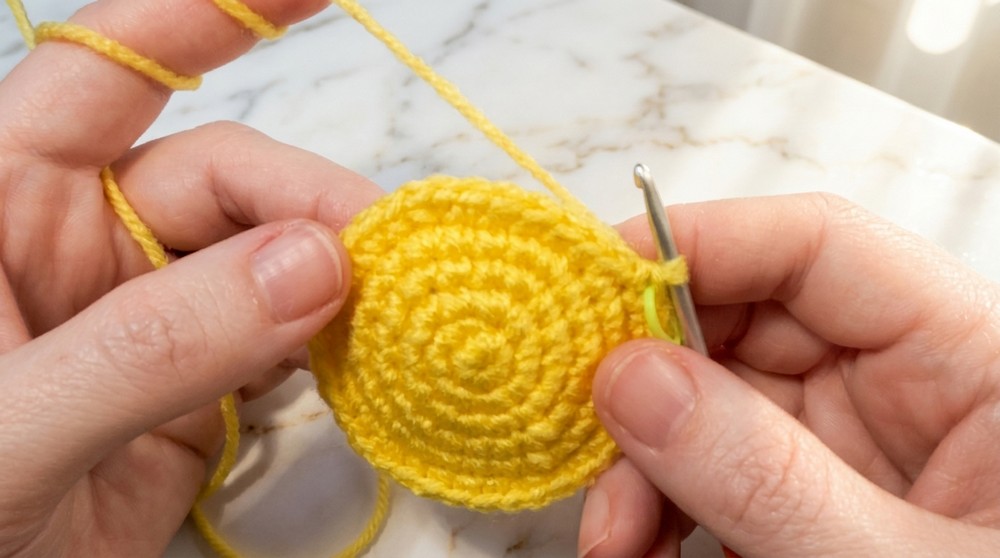
These initial rounds form the base for Pikachu’s head and body. The increases create a rounded shape for the plush figure.
Rounds 7-11:
- Sc in each st around. (36 sts)
These rounds add height to Pikachu's head and body. Maintain your tension for consistent results.
Step 2: Shaping the Body
Round 12:
- (Dec, sc 4) repeat 6 times. (30 sts)
Round 13:
- (Dec, sc 3) repeat 6 times. (24 sts)
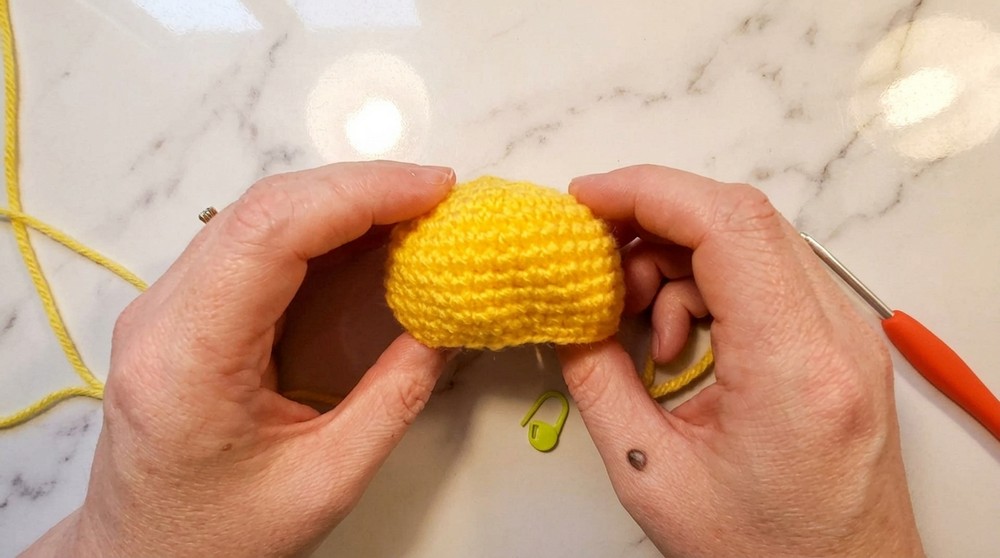
Round 14:
- (Dec, sc 2) repeat 6 times. (18 sts)
- Add the safety eyes between Rows 9 and 10, roughly 6-7 stitches apart. Begin stuffing the head firmly.
Round 15:
- (Inc, sc) repeat 9 times in the front loops only (FLO). (27 sts)
Rounds 16-20:
- Sc in each st around. (27 sts)
- Continue to stuff as you go, ensuring the body remains firm but not overstretched.
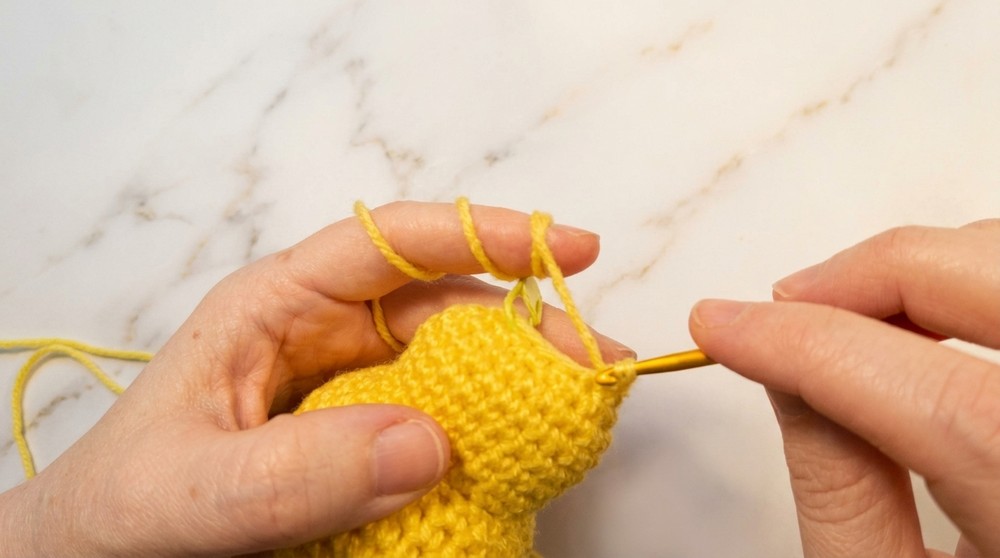
After this step, Pikachu’s upper body and head structure should be fully complete, and you’ll be ready for assembly after creating the details.
Step 3: Tail
Row 1:
- With yellow yarn, ch 7.
Row 2:
- Starting in the second ch from the hook, sc in the bb (back bump) of the next 6 ch. Ch 1 and turn.
Row 3:
- Sc 6. Ch 1. Turn.
Row 4:
- Sc 6. Ch 4.
Row 5:
- Sc in next 3 sts of the chain, sc in next 2 tail sts. Ch 1.
Row 6:
- Sc 5. Ch 1.
Color Change: Switch to brown yarn at the start of Row 7.
Rows 7-9:
- Work a zigzag pattern using sc and chains. The zigzag progressively builds by working chains and then turning down.
Finish with a sl st, leaving a long tail for sewing to the body.
Step 4: Ears (Make 2)
Rounds 1–4:
- Begin with black yarn and work 4 sc in a MR. Expand to 8 sts over 4 rounds: (Increase in each round, sc, or work straight as indicated).
Round 5:
- Color change to yellow yarn and work in FLO for additional shaping.
Rounds 6–11:
- Sc in each st around. (10 sts)
Round 12:
- (Dec, sc 3) twice, ending with 8 sts.
Step 5: Arms (Make 2)
Round 1:
- With yellow yarn, MR and sc 4. (4 sts)
Round 2:
- Inc in each st around. (8 sts)
Round 3:
- Sc in each st around. Leave a long tail for sewing.
Step 6: Legs (Make 2)
Round 1:
- MR, sc 5. (5 sts)
Round 2:
- (Inc) repeat 5 times. (10 sts)
Round 3:
- Sc in each st around. (10 sts)
- Leave a long tail for sewing.
Step 7: Cheeks (Make 2)
Round 1:
- With red sparkly yarn, MR and sc 4. (4 sts)
Round 2:
- (Inc) repeat 4 times. (8 sts)
- Sl st to join and leave a long tail for sewing.
Step 8: Assembly
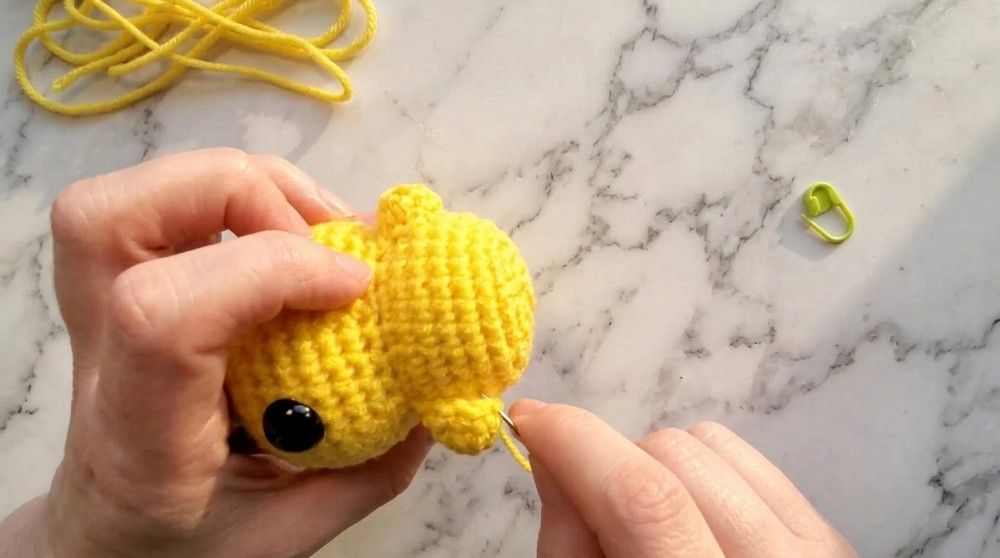
- Attach Arms and Legs: Use a tapestry needle to sew the arms and legs to Pikachu's torso.
- Position the Ears: Attach ears to the head to give Pikachu personality.
- Sew Cheeks: Fasten cheeks right below the eyes for an adorable, chubby look.
- Attach Tail: Sew the tail to Pikachu’s back, making zigzag stripes using brown yarn.
- Add Final Details: Embroider the nose and mouth using black yarn to create Pikachu’s signature look.
Why I Love This Pattern
Pikachu’s pattern is simple yet full of character, making this pattern a joy to crochet. It allows for creativity with color choices and expressions, giving each creation a unique personality. Whether you’re a fan of Pokémon or just looking for a delightful crochet project, this amigurumi guarantees smiles!