
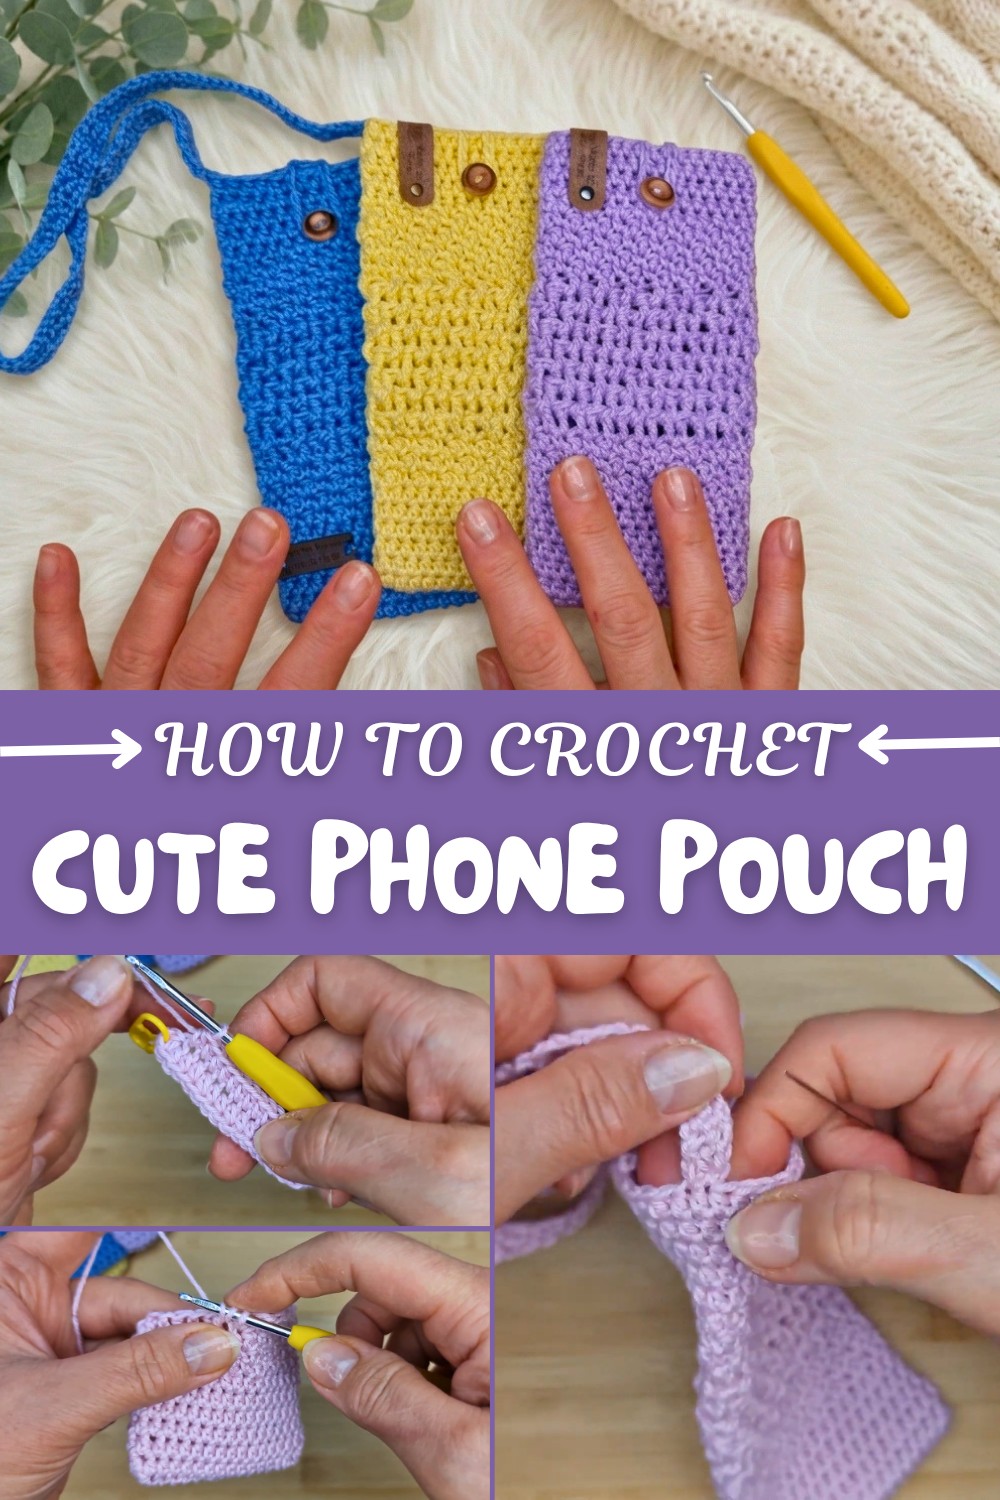
Free Crochet Phone Pouch Pattern with Adjustable Strap
The Free Crochet Phone Pouch Pattern offers a simple way to turn yarn into something practical, with plenty of room for personal flair. This pouch goes beyond its basic function—it can hold your phone and also reflect unique tastes, making it more than just an accessory.
Versatility stands out as a core feature. With the same stitches and construction, this approach can yield mini purses, wallets, gift bags, and small accessory organizers. Each variation serves a different need while retaining the original style.
Crochet Phone Pouch Pattern—Free and Simple
Work with a 3.5mm hook for defined, even stitches and a strong structure. Choose DK cotton yarn for its softness and durability. The seed stitch—alternating single and double crochet—creates a pleasing, sturdy texture throughout the pouch. A crocheted flower around 2.5 cm across gives the finished work an extra handmade detail.
Colour Customization
Customizing with colour enhances each pouch’s character. Possible directions include:
- Soft pastels for a gentle, elegant effect
- Bold, vibrant hues for energy and brightness
- Chic neutrals for a subtle, timeless result
- Multicoloured stripes or gradients for a playful appearance
- Unique combinations to showcase personal creativity
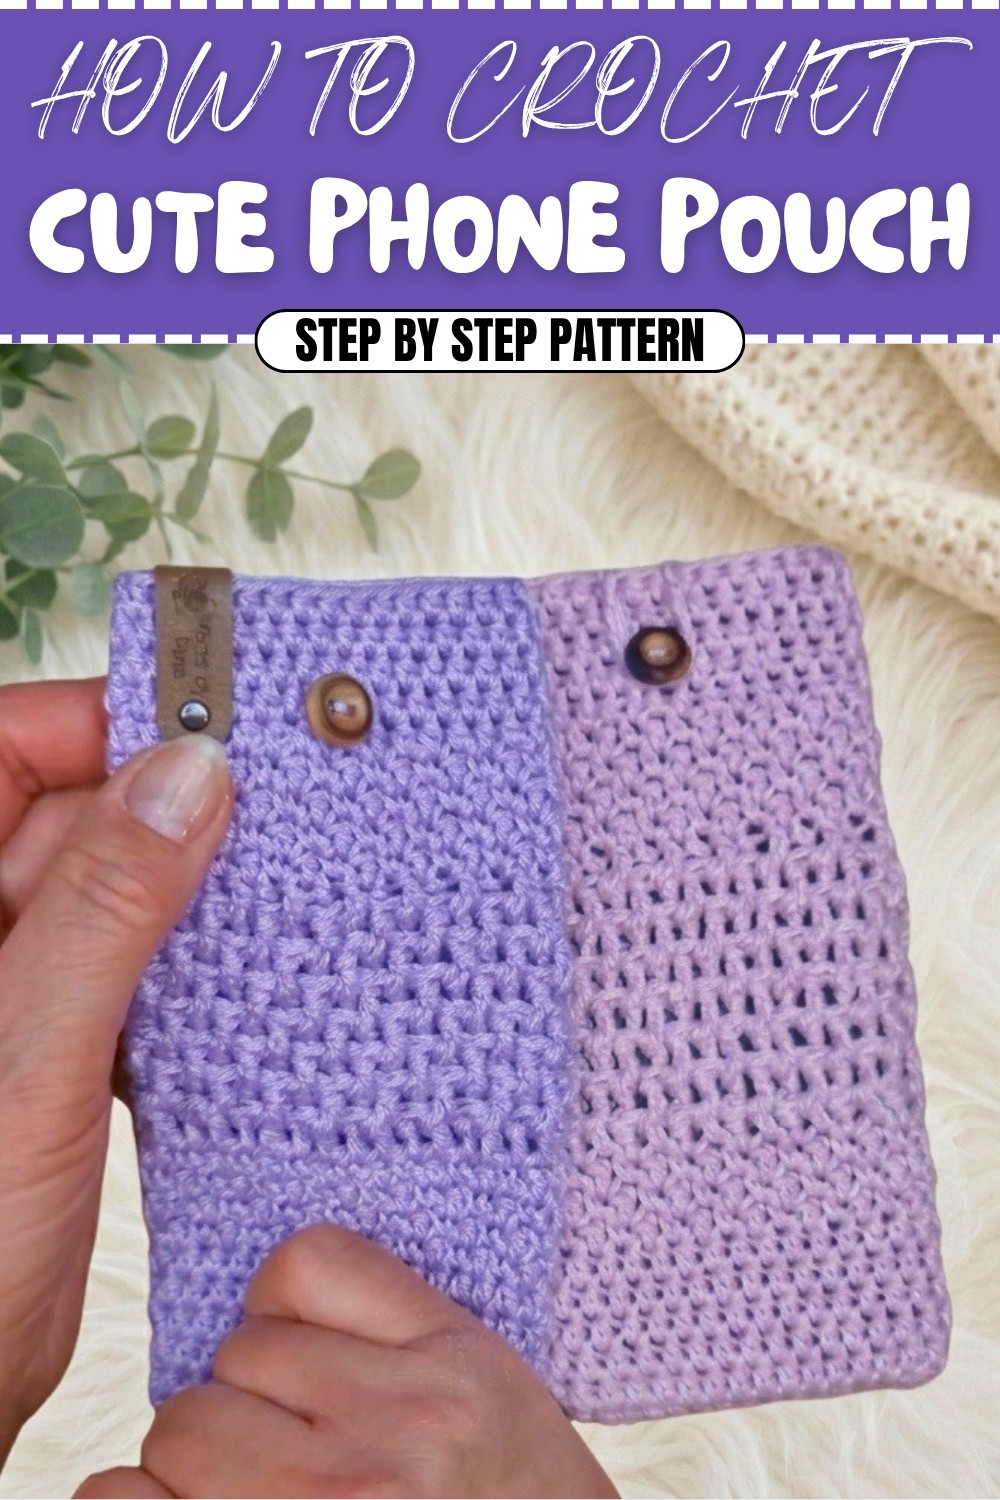
The finished pouch fits most modern smartphones and stands up well to regular use, thanks to its sturdy seed stitch and machine-washable yarn. Each completed pouch becomes a reflection of both practical skill and individual style.
Cotton Crochet Phone Pouch: A Practical & Pretty Project
Making a phone pouch is a delightful journey into beginner-to-intermediate crochet, blending texture and structure into a practical everyday accessory. This tutorial leads you through the process in clear steps. You’ll master not only basic stitches—half double, single, and double crochet—but also textured techniques like seed stitch and post stitches, all while learning to work in the round and add functional finishing touches like buttons and closures.
Who Can Use or Benefit From This Pattern?
- Beginner Crocheters: With foundational knowledge of simple stitches, this project offers the next step in skill-building.
- Intermediate Crafters: An ideal “quick win” that uses post stitches and seamless construction for a satisfying finish.
- Gift Makers: The result is as customizable as it is useful—excellent for presents!
- Someone Who Enjoys Personalization: These pouches serve as a canvas for color experiments, embellishments, and practical tweaks.
How to Make This (In A Nutshell)
- Start by chaining a foundation to fit your phone and working in the round.
- Shape the Base with neat, even half double crochets.
- Build body texture using alternating seed stitch and post-stitched rounds.
- Add finishing rows for top shape and stability.
- Complete with a button loop, attach a decorative (or functional) button, and add an optional strap for carrying.
Materials, Color Options & Yarn Type
What you’ll need:
- DK Weight 100% Cotton Yarn (smooth, slight sheen recommended)
- Choose colors you love! Pastel, brights, or even stripes using scraps.
- 3.5 mm crochet hook (or size for a neat but flexible fabric).
- Scissors
- Yarn needle
- One button (wooden, plastic, or matching your yarn’s theme).
- Stitch marker (helpful but optional).
- Needle threader (only if needed for smaller buttonholes).
Optional:
- Add a handmade tag.
- Use up partial skeins for fun color blocks.
Finished Size and Customization Ideas
- Size: Fits most modern smartphones, with a little stretch for larger models (approx. 3"-3.5" wide by 6.5"–7.5" tall, excluding strap).
- Customization: Vary foundation chain length for wider/narrower pouches; add more rounds for taller phones.
- Enhancements: Try a decorative edge, add beads, or experiment with a contrasting closure loop. Strap can be made shorter for a wristlet or longer for crossbody wear.
Special Stitches & Techniques Used
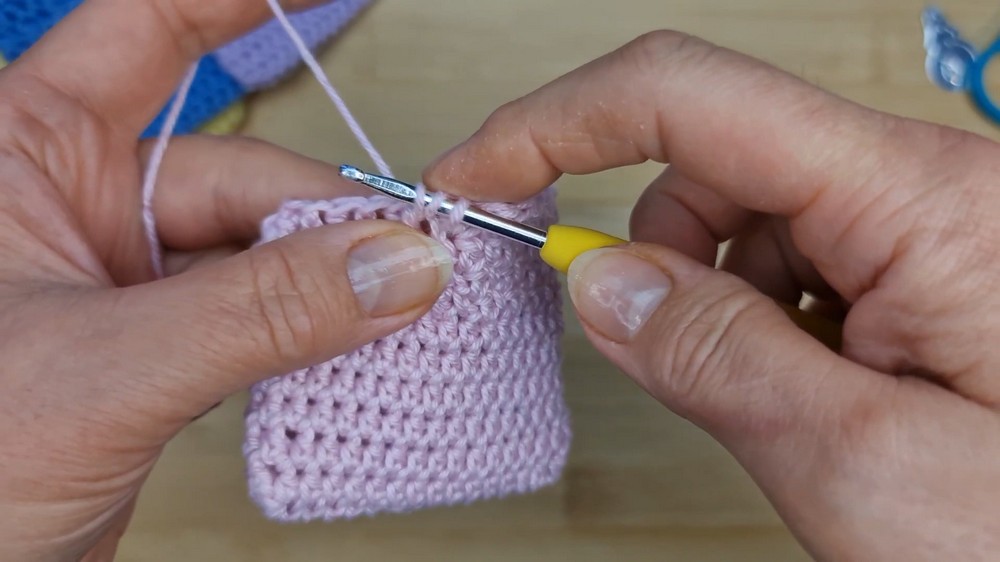
- Half Double Crochet (hdc): Excellent for a secure fabric that isn’t too stiff.
- Seed Stitch: Alternating single and double crochet for a pebbly, textured look.
- Front & Back Post Double Crochet: Used for a ribbed, almost waffle texture in the center band.
- Working in the Round: Ensures no seams and a smooth, sturdy pouch.
- Button Loop & Attachment: Simple chains, clever sewing for secure closure.
- Flat Strap Construction: Two hdc wide, adjustable for comfort.
Step-By-Step Pattern Highlights (with User-Friendly Summaries)
Beginning: Setting The Foundation
- You’ll start by making a slip knot and chaining enough stitches (15+1 chain in example) to fit the width of your phone.
- The chain is then worked with two hdc at one end, continuous hdc across, then three hdc at the other end before working down the opposite side for a sturdy oval base.
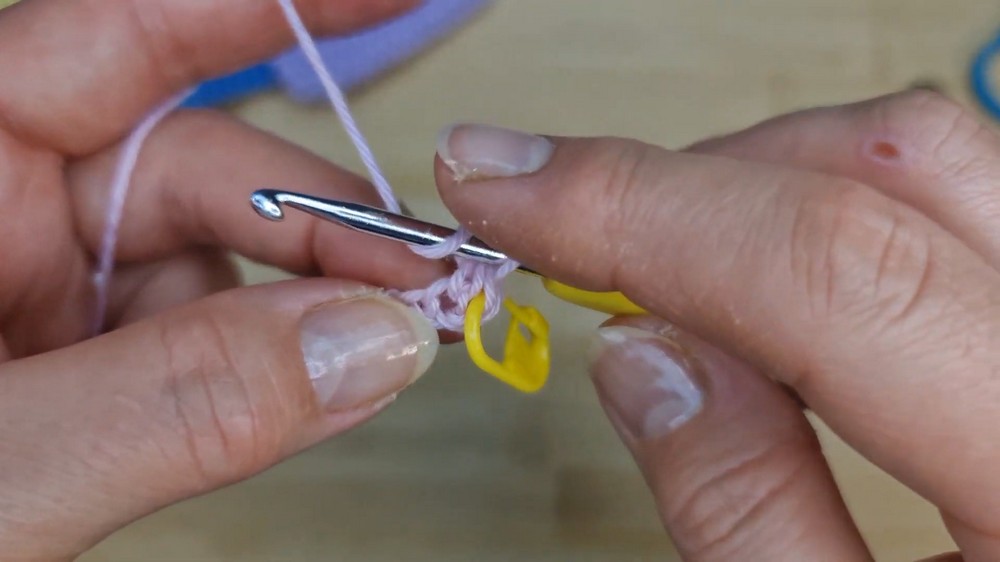
In Simple Words:
You make a chain, crochet along it, put extra stitches at each end so your pouch base is rounded, then keep crocheting around and around without joining rows.
Middle: Building Texture & Structure
- Base Rounds: Continue in hdc, working six continuous rounds—your pouch quickly grows taller.
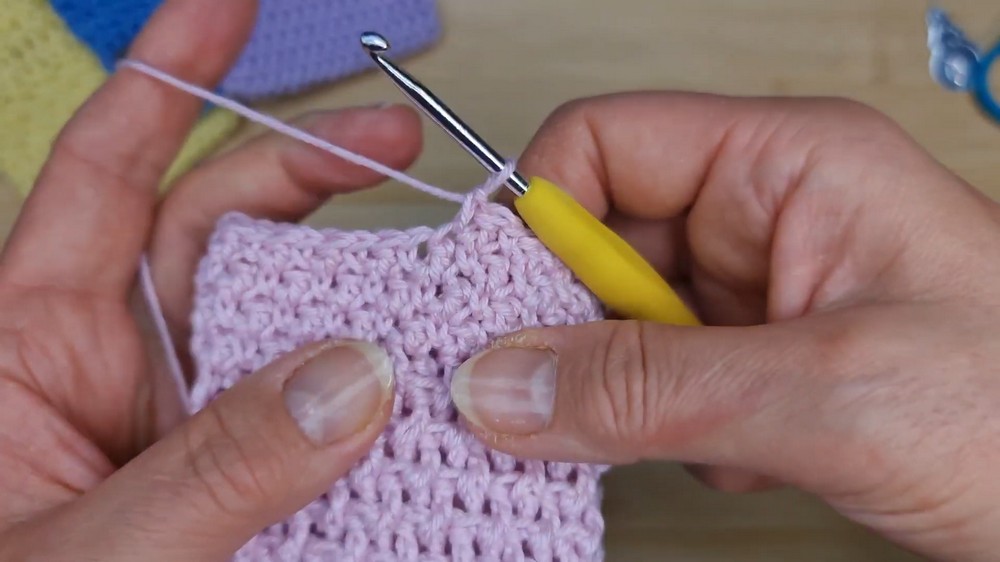
- Seed Stitch Section: Switch to alternating sc and dc, changing the stitch on each new round. Do four rounds—this creates a bumpy, grippy section.
- Post Stitch (Rib/Waffle) Section: Next, for eight rounds, alternate front and back post double crochets. This makes the case strong and textured.
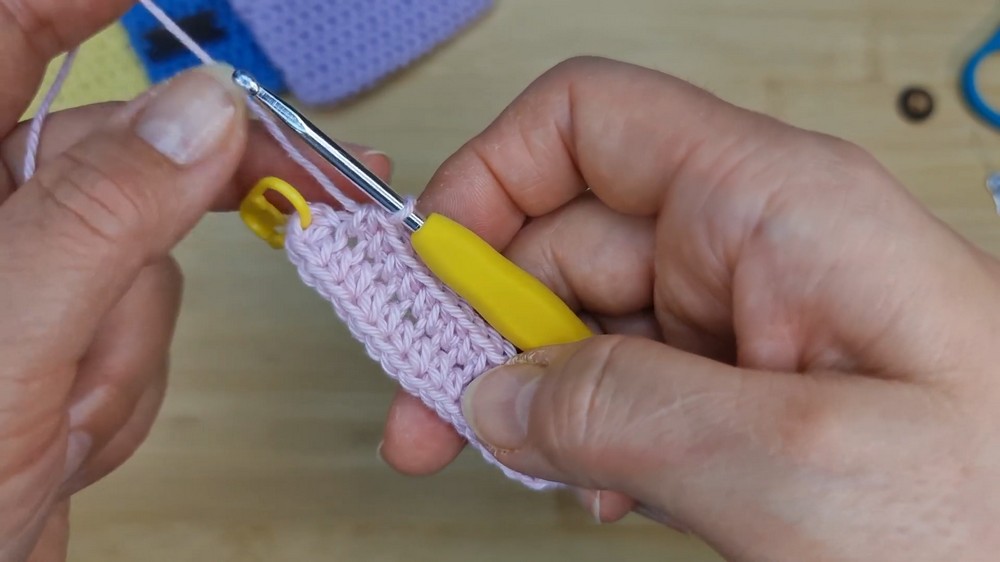
In Simple Words:
First, you crochet regular short stitches in a spiral, then you make a bumpy pattern by switching single and double stitches. After that, you add a stretchier, neat band by wrapping your stitches around others (front and back)—it starts looking and feeling like a phone sock!
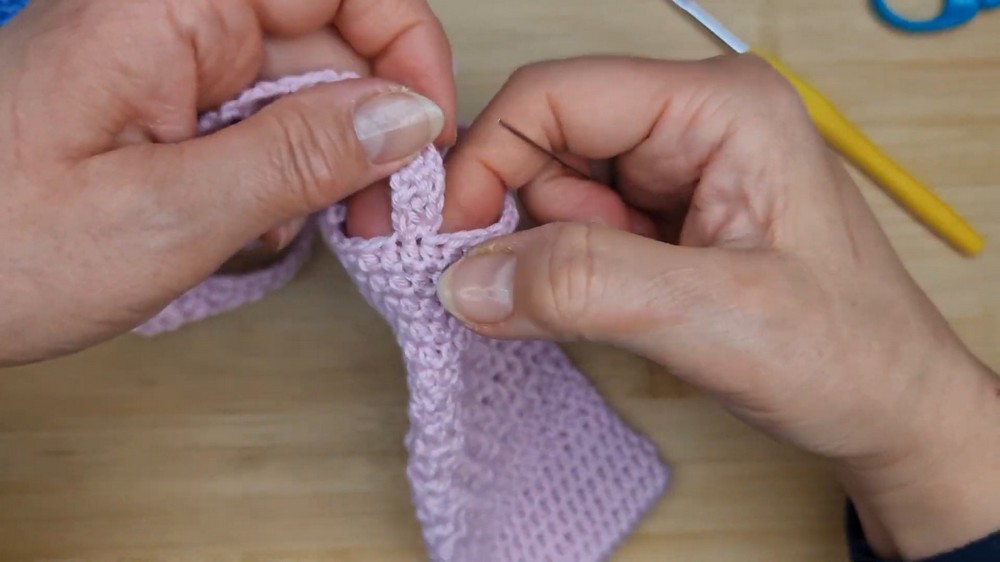
End: Shaping, Loop & Attachment
- Repeat Seed Stitch: Add another four rounds as before for symmetry and extra grip.
- Top Edge in hdc: Finally, finish with five rounds of hdc.
- Button Loop: Sl st to “center” back, then chain 16 (or as needed for your button), skip a stitch, and sl st to pouch. Sew in all ends.
- Sew Button: Attach to pouch body at matching spot for loop.
- Weave Ends: Carefully tidy up all tails for security and neatness.
In Simple Words:
You make another bumpy section, finish with some more regular stitches, and then add a loop for the button. Sew your button on and hide all the strings—it’s ready!
Optional: The Strap
- Work two hdc across in rows, turning each time and chaining one, until the strap is your desired length (shoulder or wristlet).
- Sew each end to opposite pouch sides with extra care, weaving ends securely.
In Simple Words:
Just crochet a long mini scarf, about two stitches wide, and sew to each side of your pouch so you can carry it easily.
Important Remarks & Tips
- Make sure the starting chain is not too tight.
- For even edges, count your stitches each round—there should be 32 for this size.
- Check after each section if your phone slides in comfortably—add/remove rounds if needed.
- Use a similar size, washable, and colorfast yarn for the strap to prevent stretching or dye transfer.
- Securely sew both the strap and button for safe carriage.
Creativity, Joy & the Completion of Your Project
As you crochet, watch how the pouch forms almost magically from flat rounds to a snug, stretchy, and beautifully-textured sock for your most-used device. At the end, as you slip a phone inside and fasten the button, you’ll feel the pride of functional handcraft.
Finish with a custom tag for a personal or gifted touch—or leave as is, enjoying the sheen and pop of color and texture.
What You Learn & Experience
By making this phone pouch, you master new stitches, reinforce crochet-in-the-round skills, and discover how easy it is to add thoughtful details (button, strap, loop) that make handmade truly special. It’s a perfect project for stash-busting and for gaining confidence in different crochet textures—ideal for all levels wanting a fast, useful finish.