
Cute Crochet Beautiful Rose Pot Free Pattern For Creative Projects
Find a stunning Crochet Beautiful Rose Pot with this free pattern that's perfect for adding a charming handmade touch to your home or gifting with love.
The steps here are written with reference to the tutorial shared by DIY Yarn Crafts deserves credit for this lovely project. Their clear and helpful guide makes creating this charming piece easy for everyone.
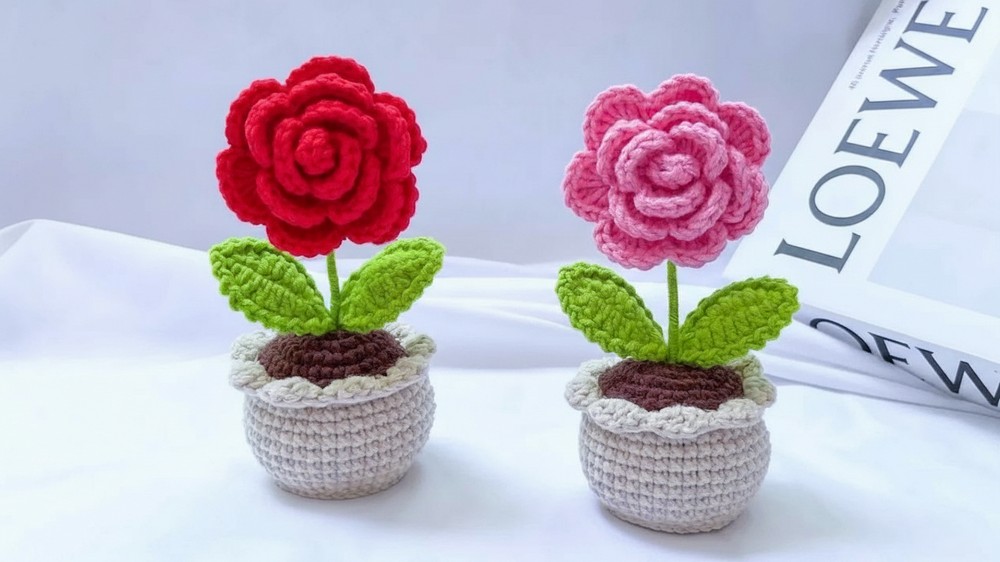
The Crochet Beautiful Rose Pot is a handmade flower pot filled with pretty crocheted roses. It usually measures around 6 to 8 inches tall, making it perfect for decorating a shelf, table, or windowsill. The pot looks cozy and inviting, adding a fresh, natural touch to any room.
Free Crochet Beautiful Rose Pot Pattern For Handmade Decor
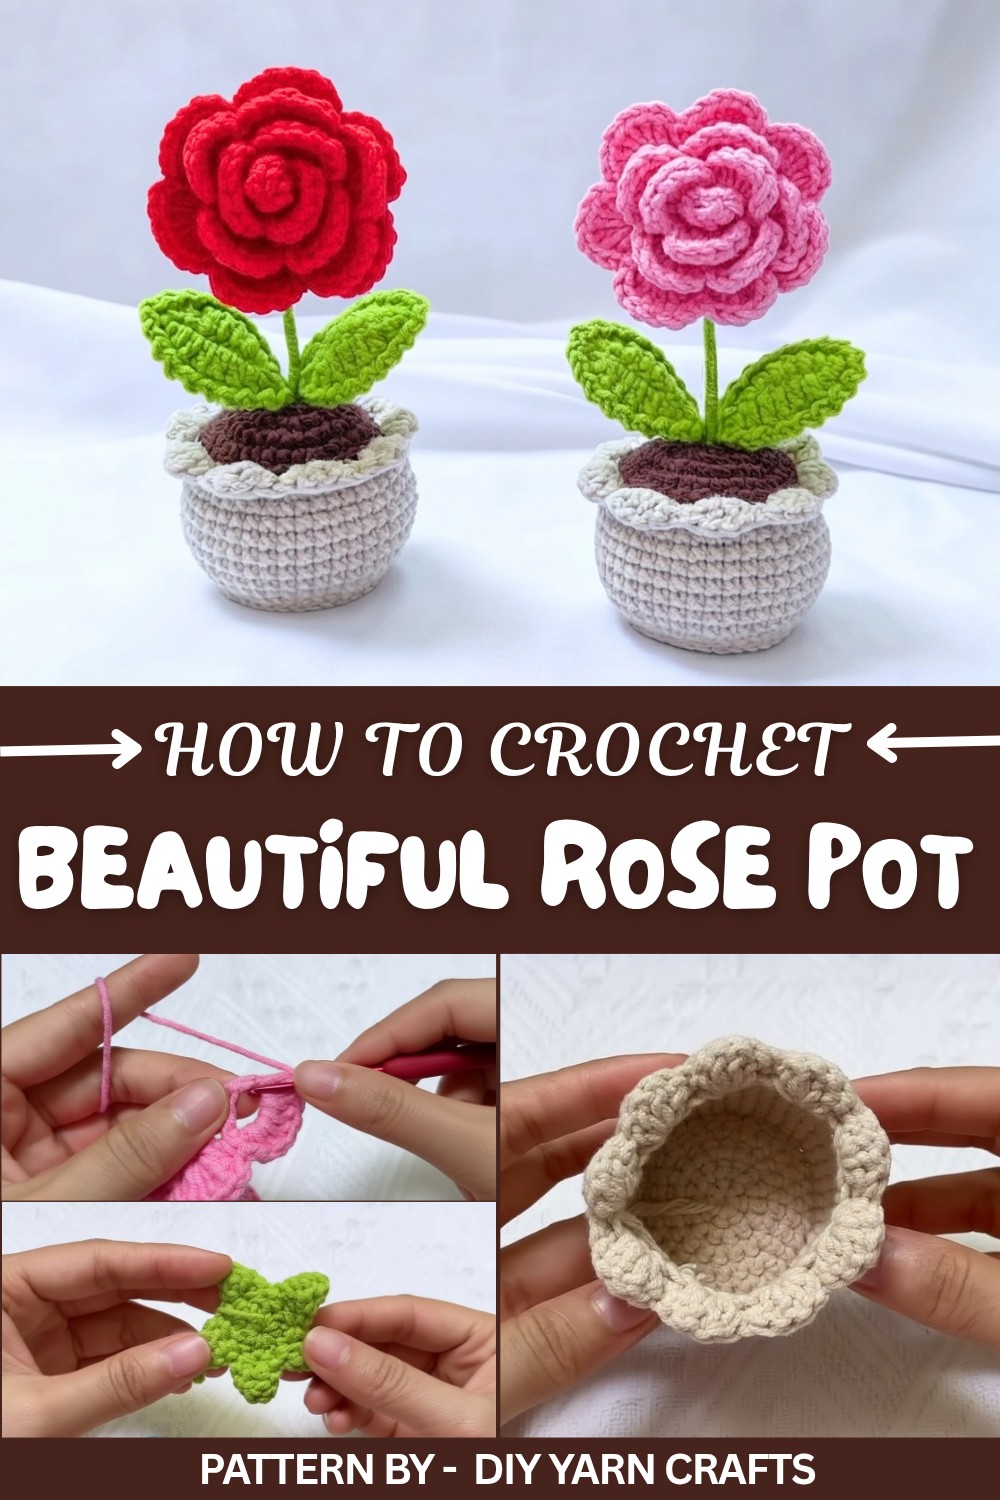
This project uses basic crochet stitches to make the roses and the pot. You will need yarn in colors like red or pink for the roses, and green or brown for the pot. A crochet hook and some stuffing or filling are also needed for shaping the roses. The skill level is beginner to intermediate because the steps are simple but may require some practice, especially when forming the petals.
Making this rose pot involves crocheting small rose shapes by working in rounds, then attaching them to the pot base, which is created through rows and rounds of basic stitches. Sewing the roses to the pot completes the look and brings everything together nicely.
This project is a good choice because it teaches important crochet techniques like shaping and joining pieces. It results in a lasting, beautiful decoration that brightens any space. Plus, it’s fun and satisfying to make, perfect for those who enjoy creating handmade gifts or home decor.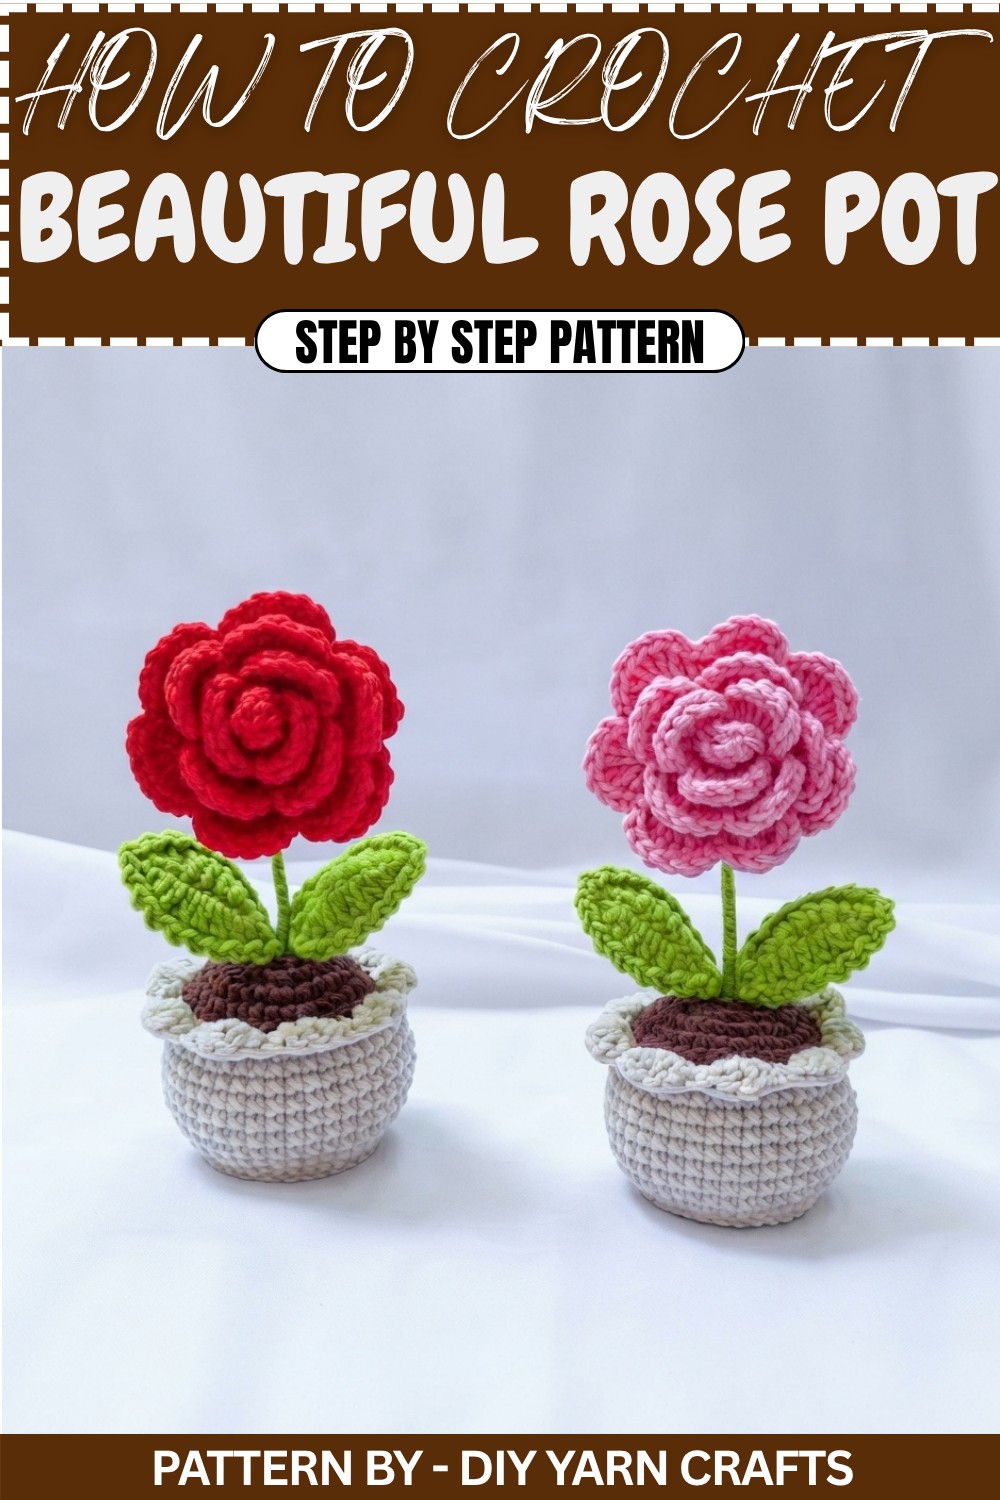
Crochet Rose in a Pot: Step-by-Step Pattern
Create a lasting, vibrant crochet rose displayed in its own charming pot. This project combines simple stitches and crochet techniques for a delightful result, perfect as décor or a gift. The pattern includes instructions for the rose petals, sepal, leaves with stem, pot, and soil, resulting in a realistic potted rose. The modular components allow for customization—choose your favorite colors for the rose, leaves, and pot to suit your style.
Pattern Basic Points
- Pattern includes instructions for five components: Rose Petals, Sepal, Leaves, Pot, and Soil.
- Works in both rows and rounds, utilizing seamless join techniques and minimal sewing.
- Incorporates simple shaping using increases, decreases, and specialty stitches for realistic details.
- Wire is inserted in the leaves and stem for shaping and structure.
Special Notes
- This pattern is written in standard US crochet terminology.
- To achieve a lifelike appearance, recommend using a fine or medium-weight yarn and adjusting hook/wire size if desired.
- Wire for leaves and stem is optional but recommended for sturdy, flexible foliage, especially if arranging in a free-standing position.
- Gauge is not critical except for fitting the soil snugly into the pot; adjust hook size as needed to maintain shape.
- Blocking petals and leaves can enhance shape and realism.
- Stuff the pot lightly as you work to maintain form.
Skill Level
Intermediate.
Basic crochet skills and familiarity with working in both the round and row, as well as inserting wire and shaping, are required. Not recommended for complete beginners due to shaping techniques and assembly.
Materials
- Yarn: Sport (No. 2) or DK (No. 3) weight in the following colors:
- Rose Petals (color of choice)
- Leaves & Sepals (green)
- Pot & Soil (brown, terracotta, or preferred colors)
- Crochet hook: 2.5mm to 3.5mm (Use recommended size for your yarn)
- Floral wire: 22–26 gauge (for leaves and stem)
- Tapestry needle: for assembling and weaving in ends
- Scissors
- Fiberfill/stuffing
- Wire cutters (if using wire)
- Stitch marker (optional)
- Hot glue or glue (optional for securing pieces)
Measurements, Gauge, and Stitch Pattern
- Rose bloom diameter: Approx. 2.75" (7 cm)
- Leaf length (including stem): Approx. 4" (10 cm)
- Pot height: Approx. 3" (7.5 cm)
- Soil diameter: Sized to fit inside the crocheted pot
Gauge: Approximately 22 sts and 20 rows = 4" (10 cm) in single crochet (sc), worked flat. Gauge is not crucial except for consistent sizing; adjust hook as needed to fit soil in pot snugly.
Main Stitch Pattern:
- Single crochet (sc) in rounds for pot and soil
- Double crochet (dc), half double crochet (hdc), and chains (ch) for petals and leaves
Stitch Abbreviations
- ch – chain
- slst – slip stitch
- sc – single crochet
- hdc – half double crochet
- dc – double crochet
- inc – increase (2 sc in same st)
- dec – decrease (single crochet 2 sts together)
- V-stitch – (dc, ch 2, dc) in same st/sp
- st(s) – stitch(es)
- rep – repeat
- sk – skip
Special Stitches
V-Stitch: (dc, ch 2, dc) in the same stitch or chain space.
Magic Ring: Begin with a loop and work stitches into the ring for a seamless start. Tighten ring after completing first round.
Free Pattern
1. Rose Petals
Foundation:
- Make a slip knot and ch 52.
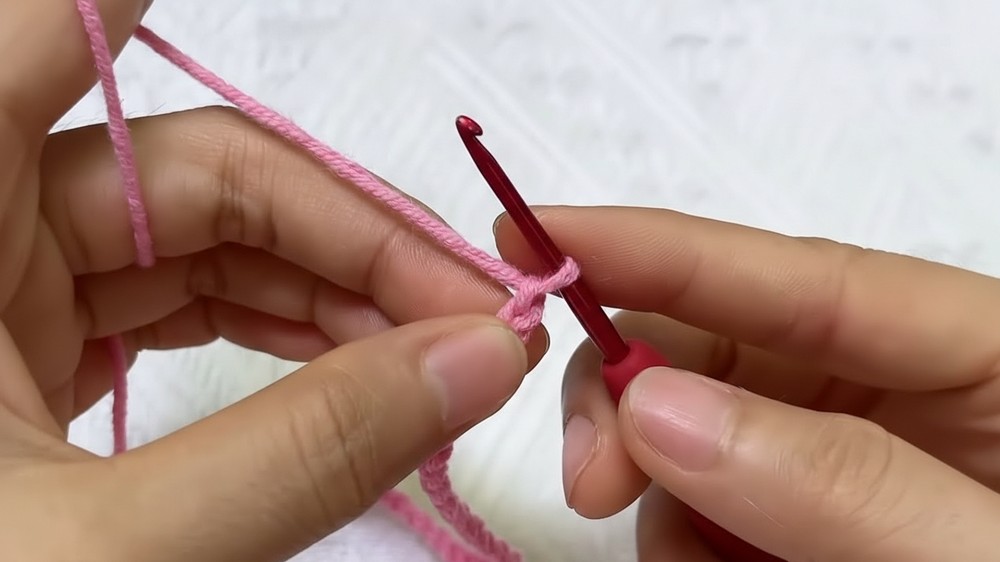
Row 1:
- Sk first 6 ch (serves as turning chain).
- Dc in 7th ch from the hook.
- Sk 2 ch, V-stitch (dc, ch 2, dc) in next ch; rep from * across.
- You will have 15 V-stitches in total, ending with a dc in the last ch.
- Turn.
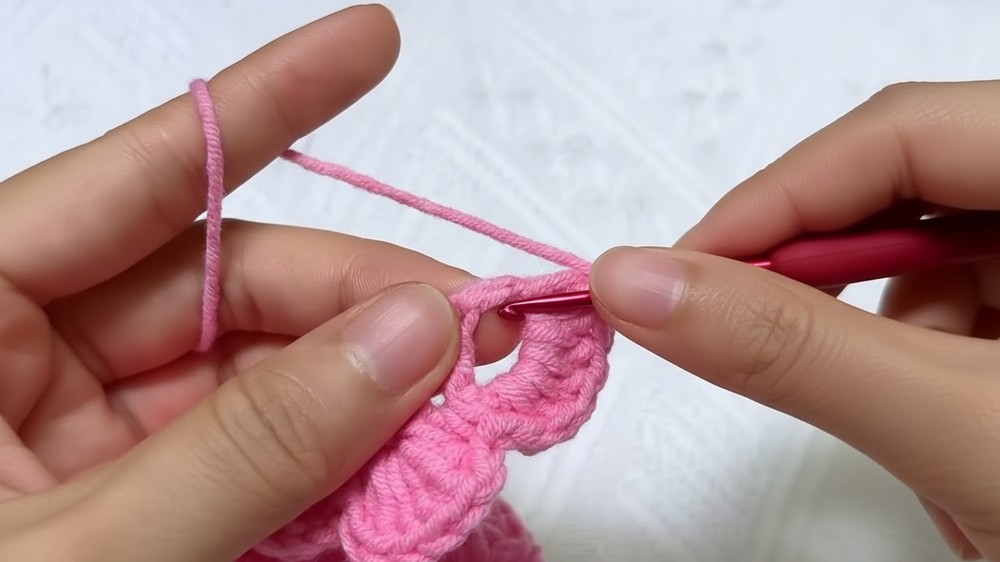
Row 2:
- Ch 1, turn.
- Into each ch-2 space from V-stitches: 6 dc. Ch 1, sc between next V-stitches (the space between V’s).
- Rep from * to end.
- Fasten off, leaving a long tail for sewing, if desired.
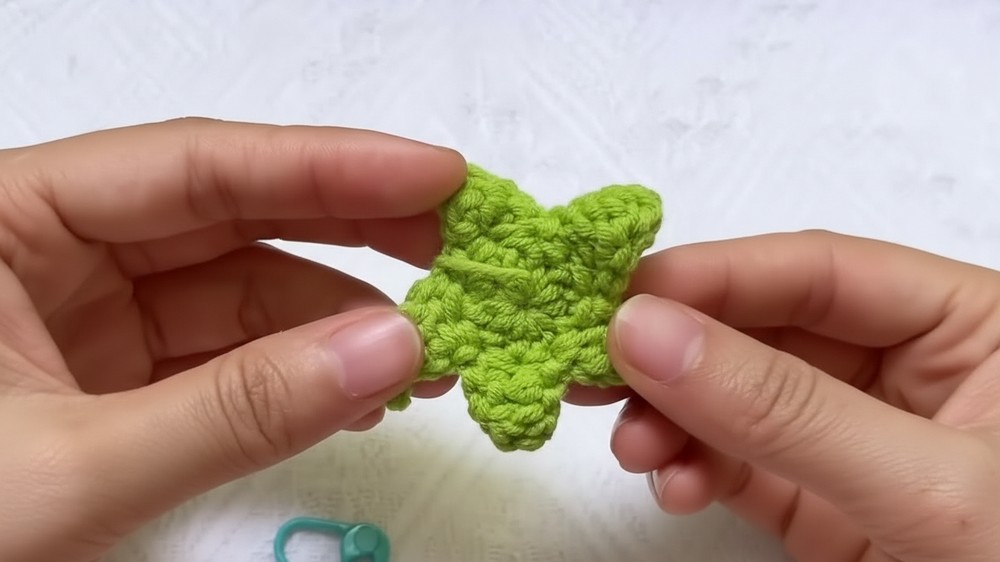
2. Sepal
Round 1:
- Create a magic ring.
- Ch 2 (does not count as a st), 10 dc into ring.
- Slst to first dc to join. (10 sts)
Round 2 (Sepal Points):
- Ch 6, slst in 2nd ch from hook, sc in next ch, hdc in next, dc in next, dc in last ch.
- Sk 1 st on ring, slst in next st to anchor point.
- Rep from * for a total of 5 times, creating 5 points.
- Fasten off, leaving a long tail for attaching.
3. Leaves (Make 2–3 as desired)
Base:
- Ch 9. Lay floral wire alongside chain base, ready to crochet over.
Round 1:
- Sc in 2nd ch from hook,
- Hdc in next ch,
- Dc in next ch,
- Dc in each of next 3 chs,
- Hdc in next ch,
- 3 sc in last ch (turn at tip to work down other side).
- On opposite side of chain: Hdc in next ch, dc in next 4 chs, hdc in next, sc in last ch.
- Slst to join round.
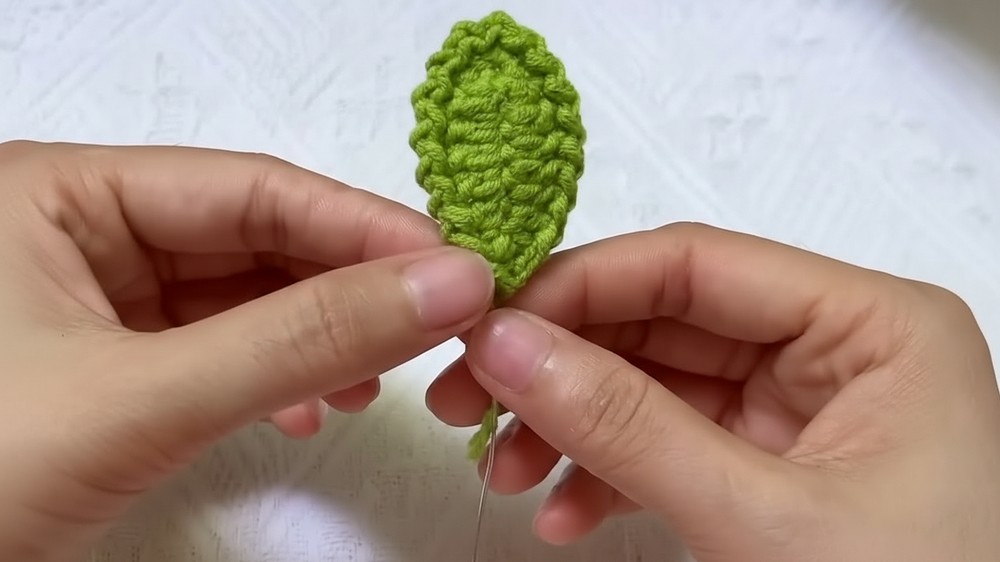
Round 2 (Border):
- Ch 1.
- Slst in next st; rep around to smooth border and anchor wire.
- Fasten off, leaving tails for wrapping stem.
- Wrap excess wire with yarn for a neat stem finish.
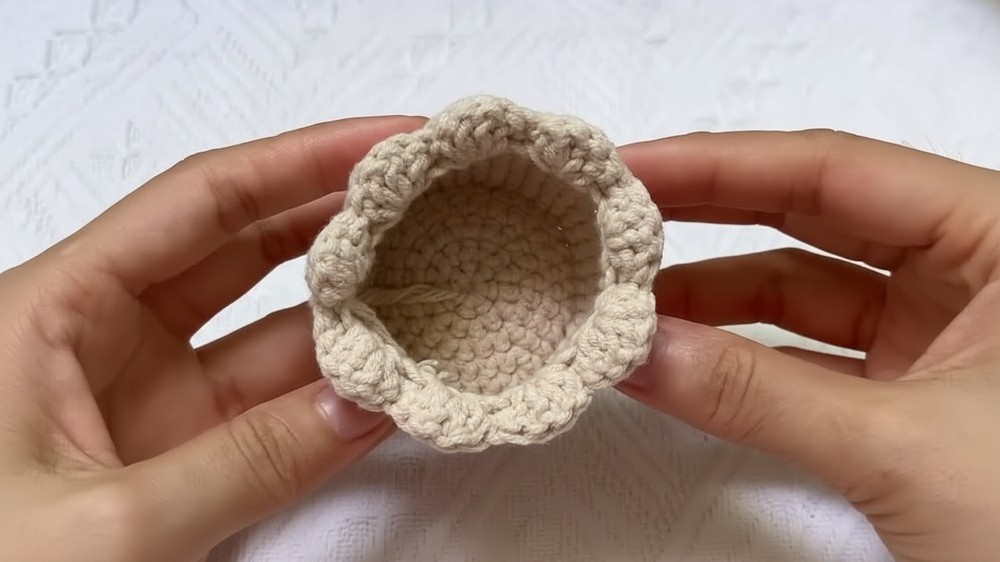
4. Pot
Round 1:
- Work 7 sc in a magic ring. (7 sts)
Round 2:
- Inc in each st around. (14 sts)
Round 3:
- Sc in next st, inc in next st; rep around. (21 sts)
Round 4:
- Sc in next 2 sts, inc in next st; rep around. (28 sts)
Round 5:
- Sc in next 3 sts, inc in next st; rep around. (35 sts)
Round 6 (Form Base Edge):
- In back loops only: Sc in next 4 sts, inc in next st; rep around. (42 sts)
Rounds 7–13:
- Sc in each st around. (42 sts per round)
- Continue for total of 7 rounds for desired pot height.
Round 14 (Start Tapering Top):
- Sc in next 4 sts, dec over next 2 sts; rep around. (35 sts)
Round 15 (Pot Rim):
- In front loops only: Sk 1 st, 4 dc in next st, sk 1 st, sc in next st; rep around for decorative finish.
- Fasten off, weave in ends.
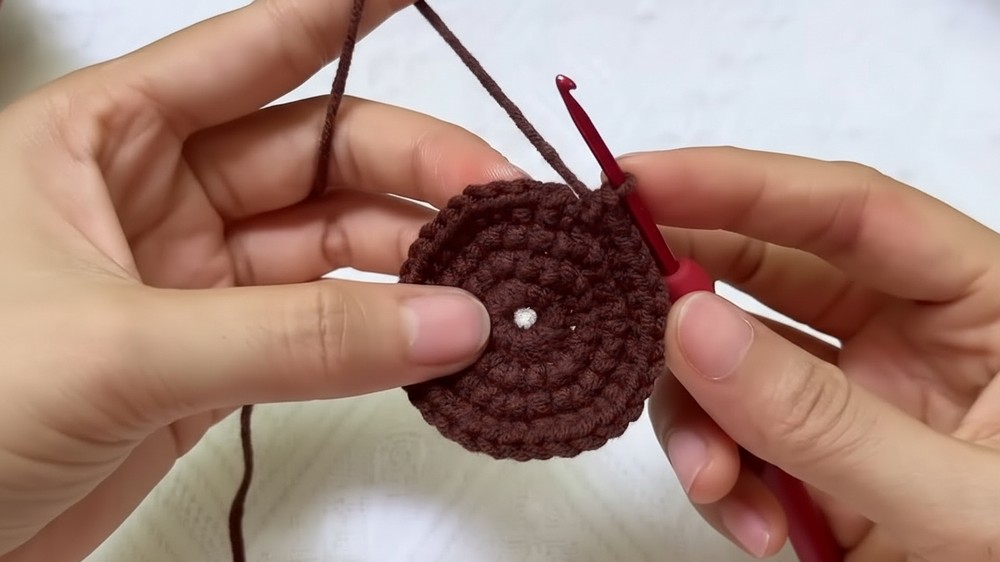
5. Soil
Round 1:
- 14 sc in a magic ring. (14 sts)
Round 2:
- Inc in each st; (28 sts)
Round 3:
- Sc in next st, inc in next st; (42 sts)
Round 4:
- Sc in next 2 sts, inc in next st; rep until you have 35 sts or a circle that fits snugly in the top of your pot.
- Fasten off, weave in ends.
Assembly
-
Shaping the Rose:
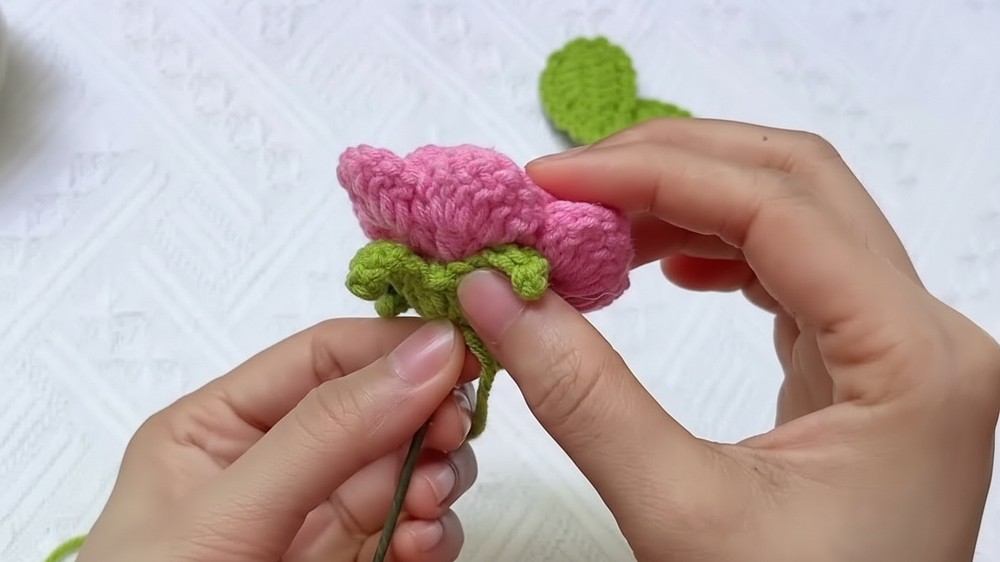
- Starting at one end of the petal strip, gently coil into a rose shape, with tighter coils for the inner bud and looser wraps for the outer petals.
- Use the long tail to sew the base of the bloom at intervals, securing shape.
Attaching Sepals:
- Position sepal at base of rose.
- Sew points gently around the underside for a rounded fit.
- Position sepal at base of rose.
-
Leaves and Stem:
- Form a stem with wrapped wire and arrange leaves as desired, wrapping the yarn tail to cover any exposed wire.
- Secure to rose with yarn ends, sewing or gluing as preferred.
-
Finishing the Pot:
- Stuff the pot lightly with fiberfill.
- Insert the wire stem of rose and leaves through the soil piece; adjust for height.
- Place soil on top of stuffing, pushing wires through the center.
- Sew or glue soil in place for extra sturdiness.
-
Final Touches:
- Make any adjustments to petal and leaf shape for a natural look.
- Weave in all ends securely.
Finished Size
Finished potted rose will measure approximately:
- Total height: 6–7" (15–18 cm)
- Pot height: 3" (7.5 cm)
- Rose bloom diameter: 2.75" (7 cm)
- Leaf length: 4" (10 cm)
These measurements may vary based on yarn selection and tension.
Conclusion
Combining simple yet effective crochet techniques, this rose-in-pot pattern produces an everlasting bloom to add elegance to any space. With realistic shapes and the ability to customize color and arrangement, it balances approachable skill requirements with charming results. This project offers opportunity to practice both flat and 3D crochet, wire insertion, and careful assembly—ideal for intermediate crocheters seeking a beautiful, display-worthy make. Enjoy the satisfaction of handcrocheting a timeless floral accent without the need for watering or sunlight.