
Cute Crochet Flower Keychain Pattern for Quick Handmade Bliss
Personalize your daily style effortlessly with this Free Crochet Flower Keychain Pattern for cute, trendy accessories on the go.
Sometimes finding a quick and charming accessory to brighten your day or gift can feel tricky, but crocheting a simple flower keychain is an easy and satisfying solution. This project is perfect for anyone who wants to create something beautiful without complicated steps. Using the magic ring technique, you start with a neat and tight center that forms the base of your flower. This pretty flower keychain can decorate your keys, bags, or gifts, adding a sweet and personal touch wherever you go.
Free Guide to Crochet Flower Keychain Pattern Try Today
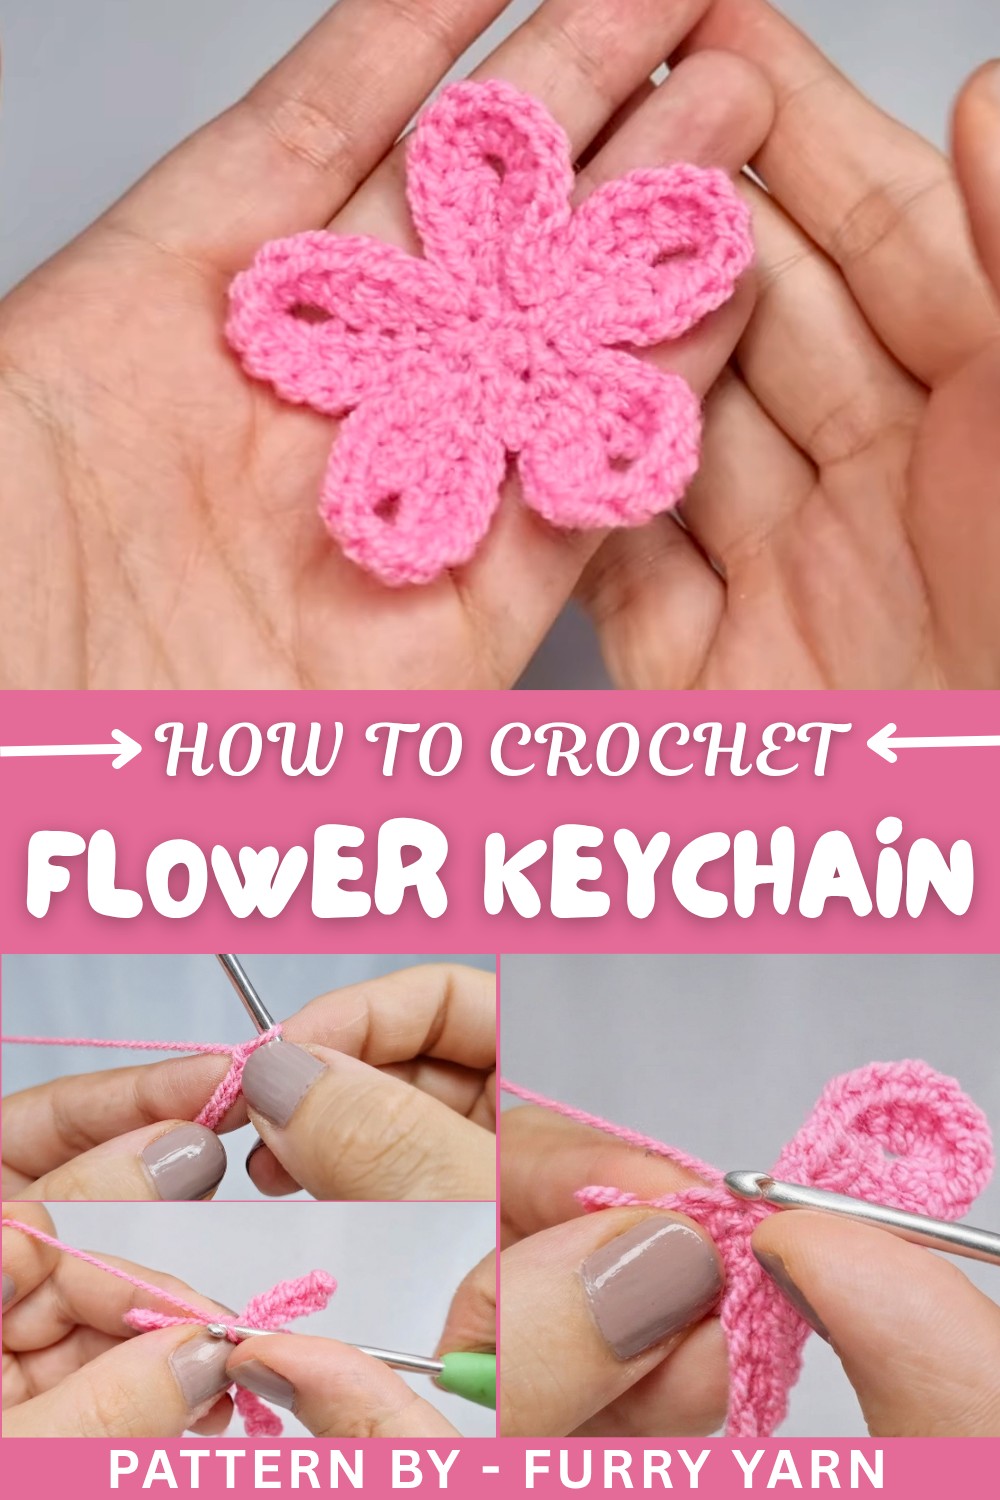
A big thank you to Furry Yarn for offering such a wonderful tutorial that feels like learning from a patient and friendly friend. Their video makes understanding the process easy and fun, helping beginners feel confident all along the way. If you want to see the full step-by-step guide, check out the detailed video on their channel.
What Else Can You Make with This Pattern?
This flower design is quite versatile and perfect for various creative projects. You can make adorable brooches, pretty hair clips, or even use the flowers to embellish hats and scarves. By stitching a few together, they become colorful garlands or decorative trims that bring life to your home. Playing with different yarn colors and styles can turn this simple pattern into countless charming accessories you'll love to wear and share.
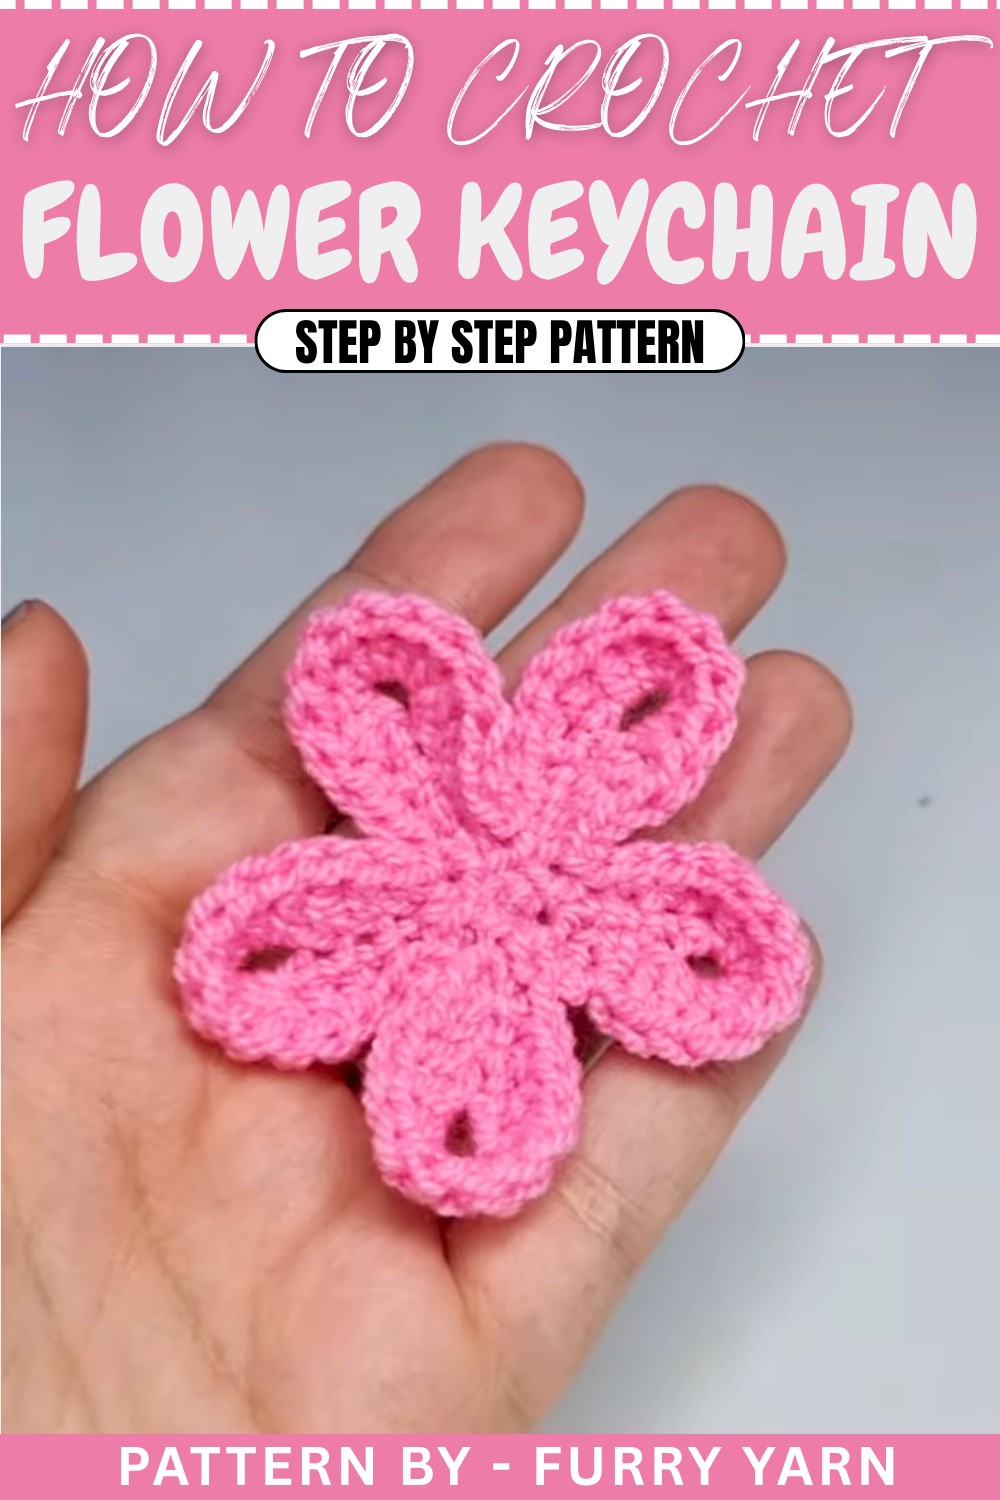
Crochet Flower Pattern
Introduction: Uses of This Pattern
Crochet flowers are an excellent way to add charm and elegance to a variety of projects, such as embellishing hats, scarves, bags, blankets, headbands, or even using them as standalone decorations. This beginner-friendly crochet flower pattern works up quickly, making it perfect for last-minute projects.
Skill Level & Terminology
- Skill Level: Beginner.
- Terminology: This pattern uses US crochet terms.
Materials & Tools
- Yarn: Any light or medium-weight yarn (e.g., worsted-weight yarn). Floral colors like pink, red, or yellow can create stunning results.
- Crochet Hook: Size H/5.0 mm or a size suitable for your chosen yarn.
- Scissors: To cut the yarn at the end of sections.
- Tapestry Needle: To weave in loose ends neatly.
Gauge
Gauge is not critical for this project. You can use any size yarn and corresponding hook to create larger or smaller flowers.
For reference:
- 4 single crochet stitches x 4 rows = 1 inch x 1 inch
Abbreviations List
Below are the abbreviations used in this pattern:
- ch: Chain
- sl st: Slip Stitch
- sc: Single Crochet
- hdc: Half Double Crochet
- dc: Double Crochet
- yo: Yarn Over
Special Stitch Instructions
Magic Ring:
- Wrap the yarn around your fingers to create a loop, insert your hook into the loop, yo, pull through. Yo again and pull through the loop on your hook to make the ring adjustable. Continue working stitches into this ring.
Finished Size
The flower will measure approximately 4 inches in diameter, depending on the yarn and hook used.
What You'll Learn
This pattern will teach you how to:
- Create a magic ring, which forms the foundation for circular crochet projects.
- Work multiple types of stitches such as single, half-double, and double crochet.
- Crochet in rounds while shaping petals.
- Fasten off and weave in ends.
This beginner-friendly project not only builds confidence but also enhances your fundamental crochet skills. Plus, it’s a fun and creative way to practice combining stitches for texture and shape!
Step-by-Step Crochet Flower Pattern
Part One: Setup and Magic Ring
- Magic Ring:
- Wrap yarn around your fingers to form a loop. Insert your hook into the loop, yo, pull through. Yo again, pull through the loop on your hook. This creates a magic ring.
- Round 1:
- Insert your hook into the magic ring, yo, pull up a loop, yo, pull through two loops. This creates one sc inside the ring.
- Ch 5 (this will form the first petal).
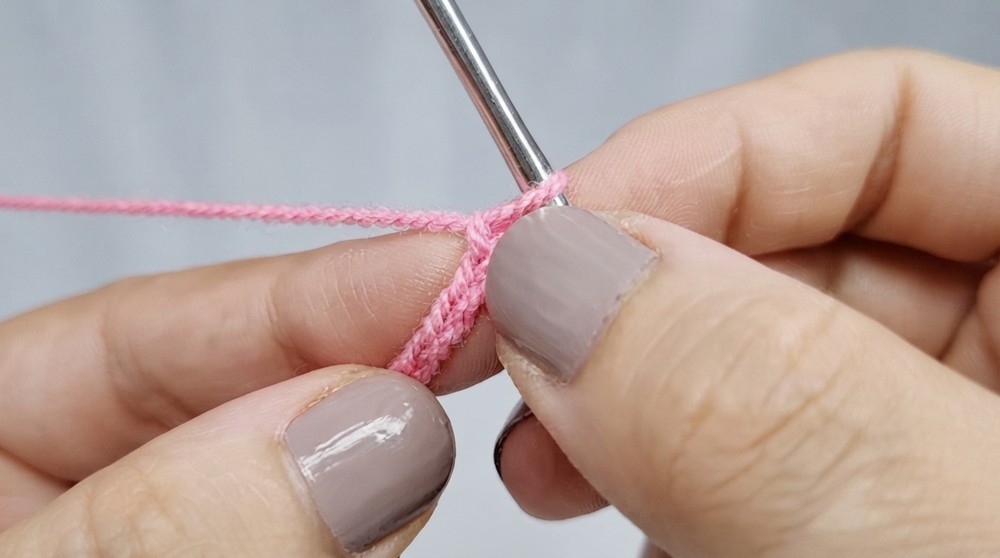
Beginners: If forming the magic ring feels difficult, you can replace it with a foundation chain of 5 and join it with a slip stitch to form a circle.
Part Two: Create the First Petal
- Petal Foundation:
- Skip the first chain and work 1 sc into the second chain.
- Work 1 sc in each of the next 3 chains. You should have 4 sc total in the chain loop.
- Anchor the Petal:
- Insert the hook into the next stitch of the magic ring, yo, pull through, and create a sl st to anchor the petal to the ring.
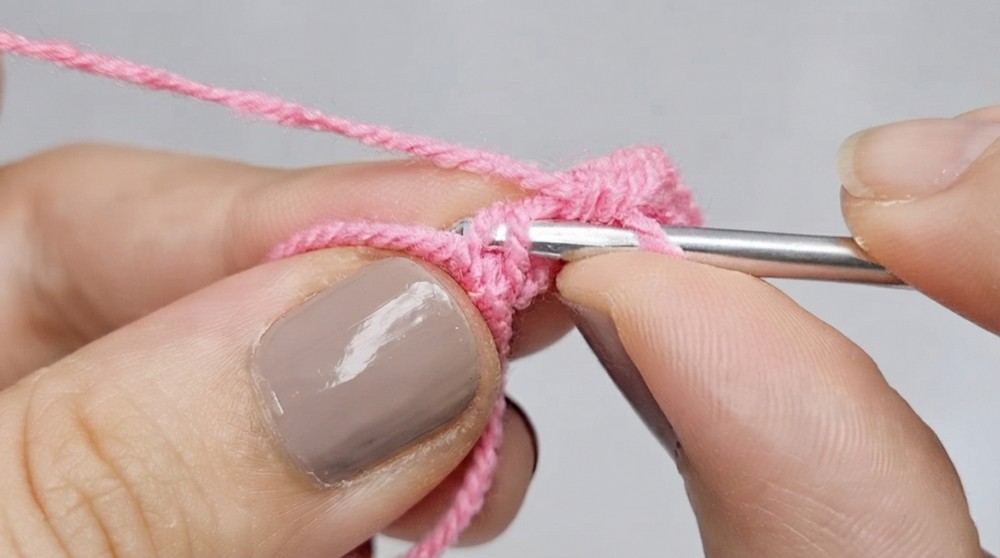
If this is tricky, pause after each stitch and ensure you’re correctly counting sc stitches in the chain loop. Anchoring keeps the petal firmly in place.
Part Three: Repeat for Five Petals
- New Petal:
- Repeat the steps in Part Two:
- Ch 5, skip the first chain, and work 1 sc into the second chain. Continue sc into the next 3 chains.
- Anchor the end of the petal with a sl st into the magic ring.
- Repeat the steps in Part Two:
- Complete All Petals:
- Repeat this process until you have created five petals.
- Closing the Ring:
- Once all petals are complete, pull the tail of the yarn gently to close the center of the magic ring tightly.
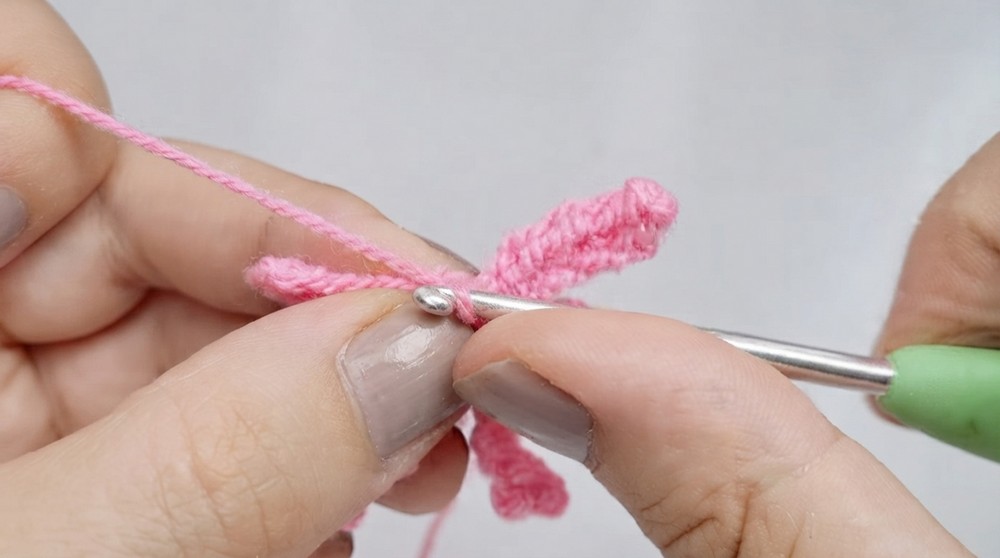
For those unfamiliar with circular crochet: The petals will naturally curve outward for a floral effect. You don’t need to force them into position.
Part Four: Add Texture to Petals
- Round 2:
- Insert your hook into the first stitch of the magic ring, yo, pull through, and make a sl st.
- In the next stitch, work 1 sc.
- In the next stitch, work 1 hdc.
- Round 3:
- Work 7 dc into the next stitch to create a raised, textured part of the petal.
- In the following stitch, work 1 dc.
- In the next stitch, work 1 hdc.
- Finally, 1 sc into the next stitch.
- Anchor the edge of the petal with a sl st into the next stitch.
- Repeat for All Petals:
- Repeat Round 2 and Round 3 for the remaining petals.
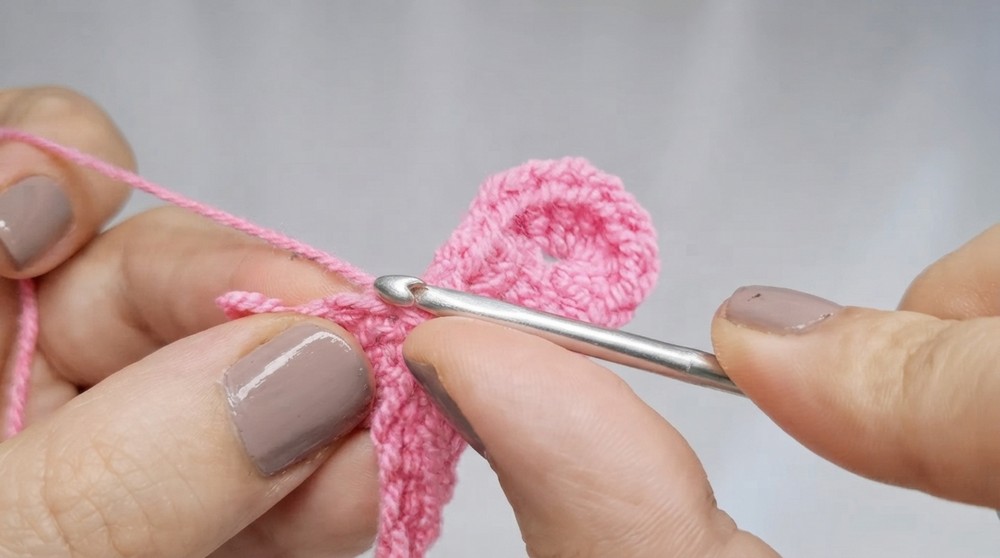
Note: Don’t worry if your petals seem flat at first—the additional texture creates a dimensional effect as the petals curve naturally.
Part Five: Finishing the Flower
- End Round:
- Once all petals are textured and complete, finish the round by working a sl st into the first stitch of the magic ring.
- Ch 1, leave a long tail, and tie off the yarn securely.
- Weave in Ends:
- Use your tapestry needle to weave in any loose ends around the back of the flower.
Tip: If your flower looks uneven, smooth the petals with your fingers, or gently block it by pinning it to a soft surface and spraying lightly with water.
Why I Love This Pattern
Crochet flowers are a delight to make, and you can customize them in endless ways, from varying the number of petals to experimenting with new textures using different stitches (like picots or clusters). This pattern is simple yet impactful, offering an opportunity for even beginners to feel like accomplished crocheters.
Potential Difficulties & Solutions
1. Trouble with the Magic Ring:
Solution: Replace the magic ring with a foundation chain circle if needed. The petals will still take form.
2. Uneven Petal Sizes:
Solution: Count each stitch carefully as you work, especially the single crochets in each petal’s loop.
3. Curling Edges:
Solution: Stretch the petals gently outward, or slightly block the finished flower for a more defined shape.
Final Thoughts
This gorgeous crochet flower pattern is a fantastic starter project for beginners and brings instant gratification. From learning how to work multiple stitch types to mastering the magic ring, you’ll gain confidence and be ready for more complex projects. Let your creativity flourish by experimenting with yarn colors, textures, or by adding embellishments like beads to the center of your flower.