
Adorable Crochet Pikachu Pokémon Free Pattern for Anime Fans
Start making an easy Crochet Pikachu Pokémon with simple steps to create a cute and soft character you can use as a toy, decoration, or gift for friends.
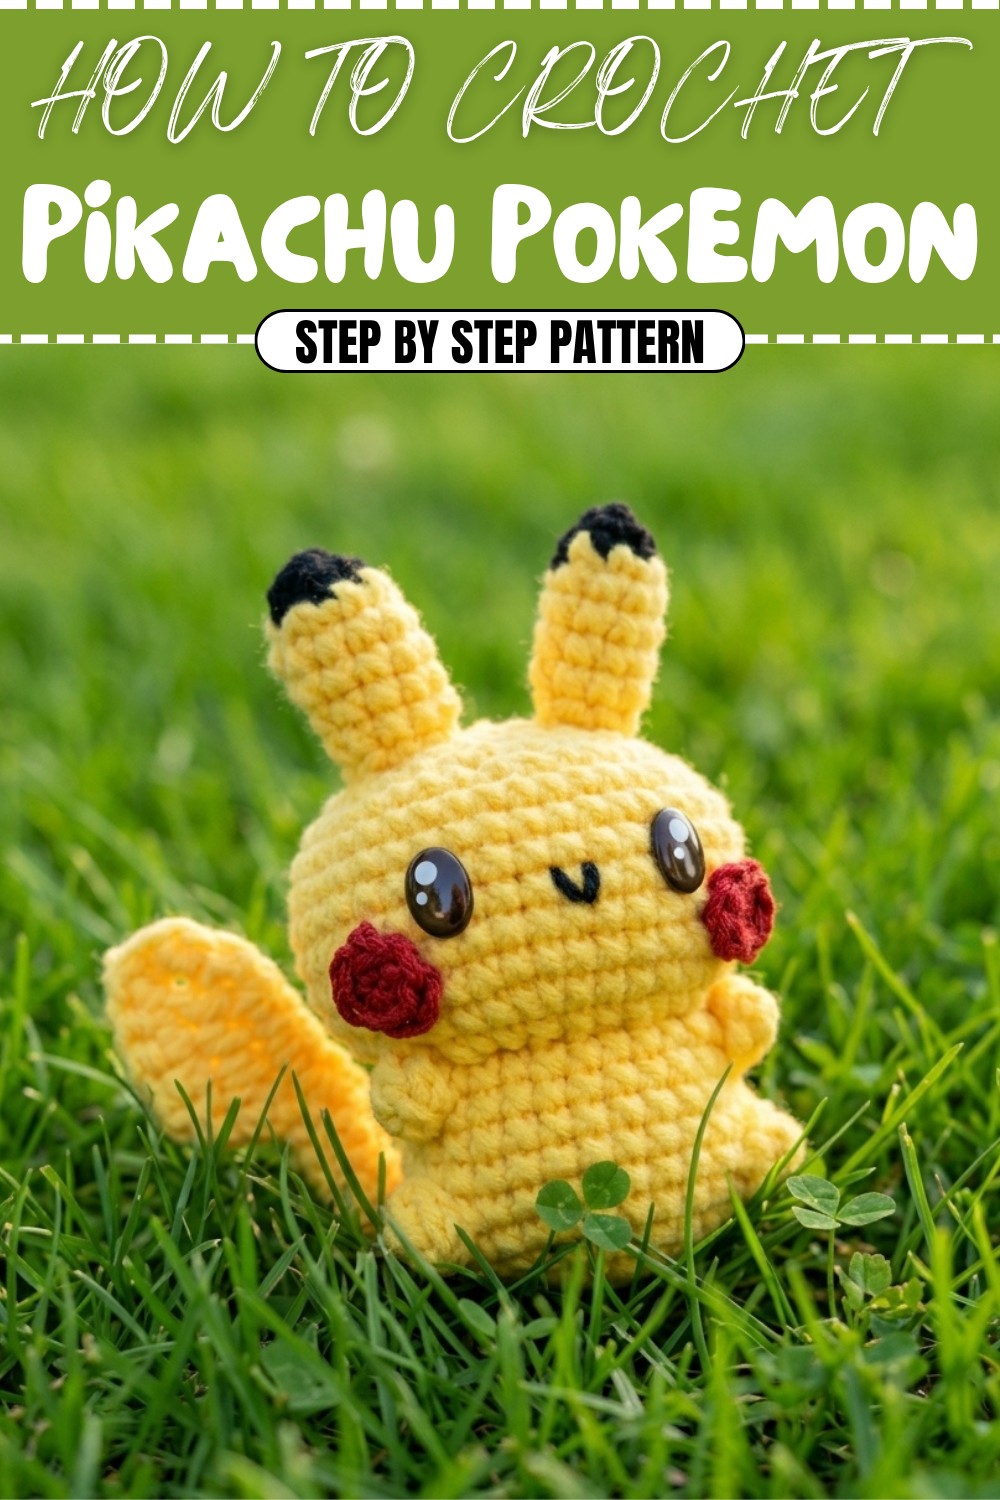
A small and soft crochet figure inspired by a beloved Pokémon character brings a lively dash of fun and color to any space. This cute Pokémon crochet piece features bright round cheeks, pointy ears, and the iconic lightning-shaped tail that fans instantly recognize. Its compact size makes it a charming decoration for desks, shelves, or a sweet, handmade gift for friends and family who appreciate unique collectibles.
Easy Crochet Pikachu Pokémon Free Pattern for Handmade Collectibles
This project is well suited for beginners and those with some crochet experience looking to improve their skills. It offers a chance to practice key amigurumi techniques such as crocheting in continuous rounds, using the magic ring to start, and working increases and decreases for shaping. The design keeps stitches simple but manages to capture the character’s playful features clearly, making the crocheting process enjoyable without being too difficult.
For the yarn choice, soft acrylic or cotton yarns in bright yellows, black, and red are excellent selections to bring out the vivid colors of the character. Using a smaller crochet hook helps create tight stitches, which is important for maintaining the figure's shape and durability. These materials also give the finished piece a pleasant texture that feels nice to hold.
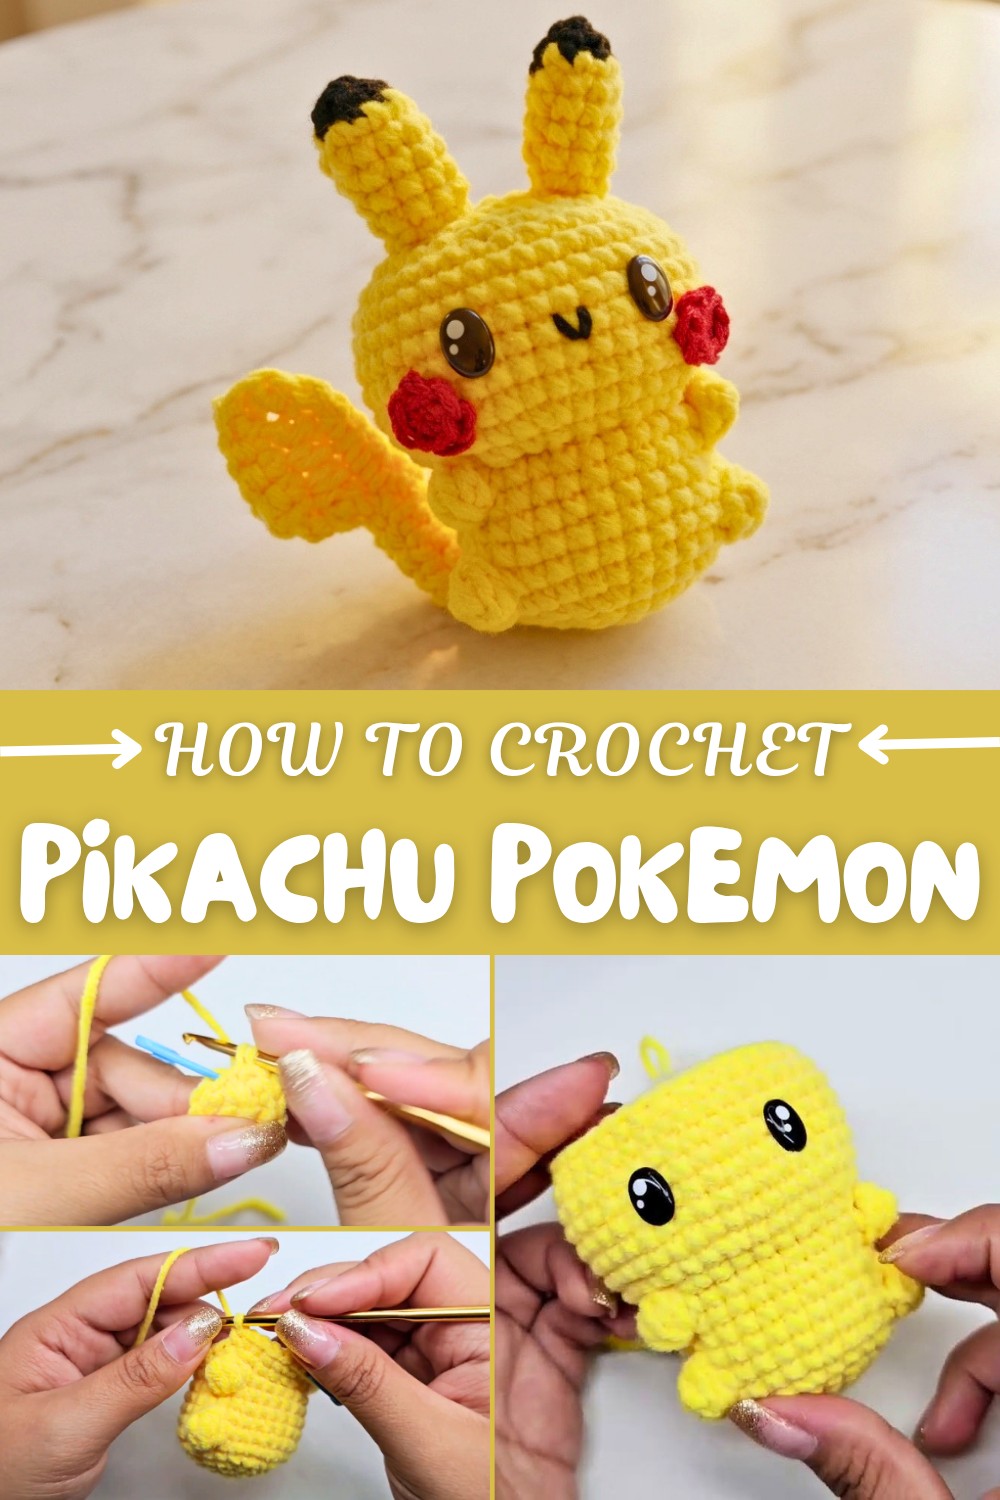
With detailed and easy-to-follow instructions, this Crochet Pikachu Pokémon project guides you through making a cute and recognizable amigurumi toy. It’s a wonderful way to add a bit of personality and nostalgia to your handmade collection or give a thoughtful, handmade gift. Crochet Pokémon fans alike will find this project both satisfying and enjoyable.
Pikachu Crochet Pattern
Pattern Notes
- Work in continuous rounds unless otherwise stated.
- Use stitch markers to track the beginning of rounds.
- Maintain consistent tension throughout to achieve uniform stitch size.
- Color changes are worked seamlessly; fasten off and weave in ends neatly.
- The pattern includes increases and decreases to shape the figure accurately.
Skill Level
Intermediate – Familiarity with basic crochet stitches, working in the round, increases, decreases, and color changes is recommended.
Materials
- Yarn: Worsted weight yarn in yellow, black, red (for cheeks), and brown (for stripes).
- Crochet hook: 3.0 mm (US C/2) recommended.
- Stitch marker.
- Yarn needle for sewing parts and weaving ends.
- Fiberfill or stuffing material.
- Scissors.
- Optional: hairspray or fabric stiffener to shape ears.
Measurements / Sizing
- Finished size approximately 10-12 cm in height (depending on yarn and tension).
- Scalable by using different yarn weights or hook sizes.
Gauge
- Not critical to the success of the project, but recommended gauge is approximately 22 single crochet stitches and 26 rows = 10 cm square using 3 mm hook.
Stitch Abbreviations
- ch: chain
- sc: single crochet
- dc: double crochet
- hdc: half double crochet
- sl st: slip stitch
- inc: two single crochets in the same stitch (increase)
- dec: single crochet decrease (invisible or standard)
- st(s): stitch(es)
Special Stitches
Unfinished Double Crochet Cluster: Work 5 double crochets in the same stitch leaving last yarn over on hook; yarn over and pull through all loops on hook to close cluster.
The Crochet Pattern
Body:
Round 1: Using 3 mm hook and yellow yarn, start with a magic ring. Crochet 6 sc into the ring. (6 sts)
Round 2: Inc in each st around—(2 sc in each of the 6 sts). (12 sts)
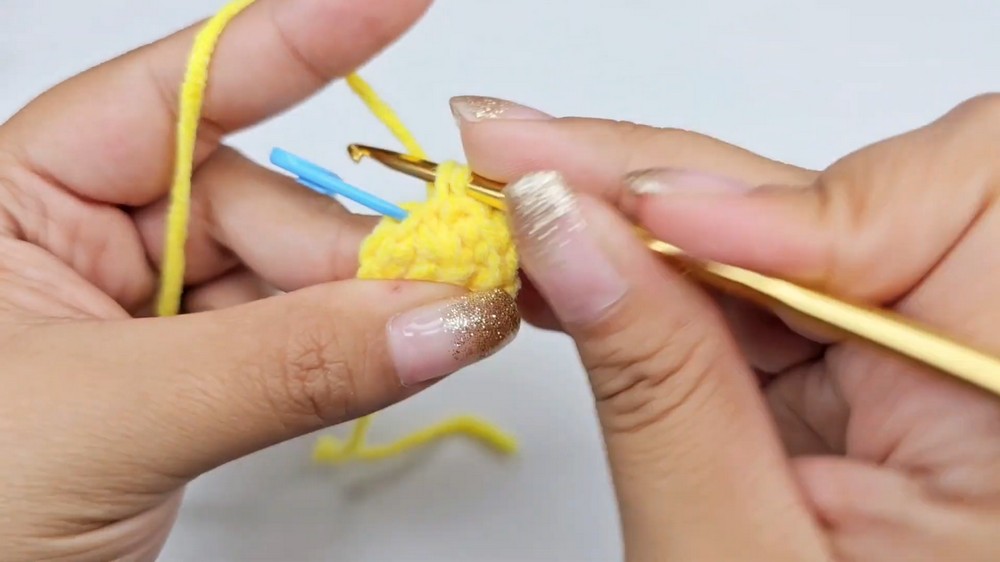
Mark the first stitch of this round.
Round 3: 1 sc, inc repeat around. (18 sts)
Round 4: 2 sc, inc repeat around. (24 sts)
Round 5: 3 sc, inc repeat around. (30 sts)
Rounds 6-7: Sc in each st around, place marker at first stitch. (30 sts)
Round 8: Create loops for tail/base texture
- Crochet 5 unfinished double crochets in one stitch as cluster (5 dc without finishing yarn over in same st, then yarn over and pull through all loops), sl st to next stitch.
- Sc 10 stitches in a row.
- Repeat cluster of 5 unfinished dcs in next stitch space.
- Sc 10 stitches.
- (Follow the same loop cluster and sc 10 repeats to complete round.)
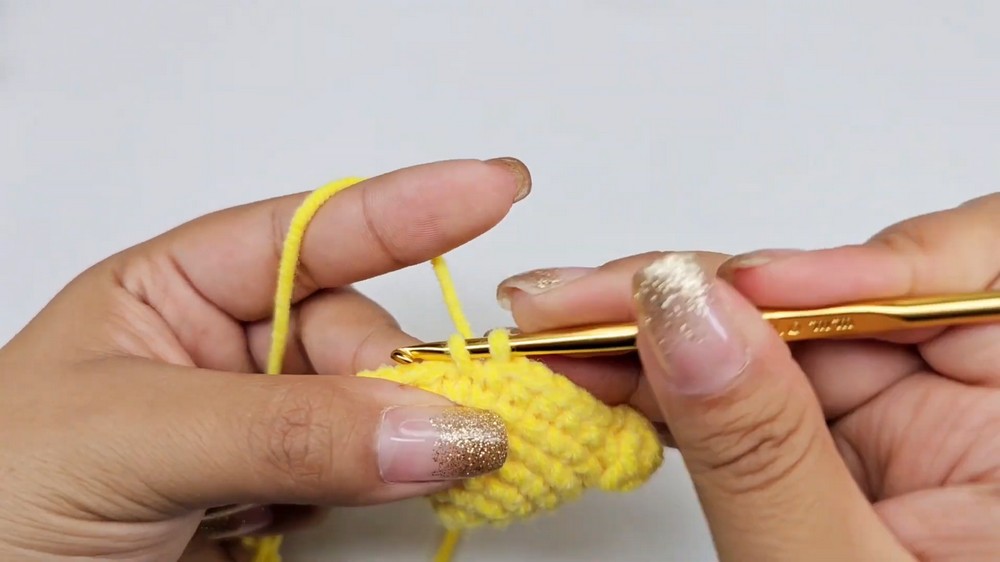
Rounds 9-11: Sc in each stitch around for 3 rounds maintaining stitch count.
Round 12:
- Sc 5, then repeat cluster of 5 unfinished dc in next stitch space, sc 10, repeat cluster of 5 unfinished dc.
- Continue for entire round, alternating clusters and single crochets.
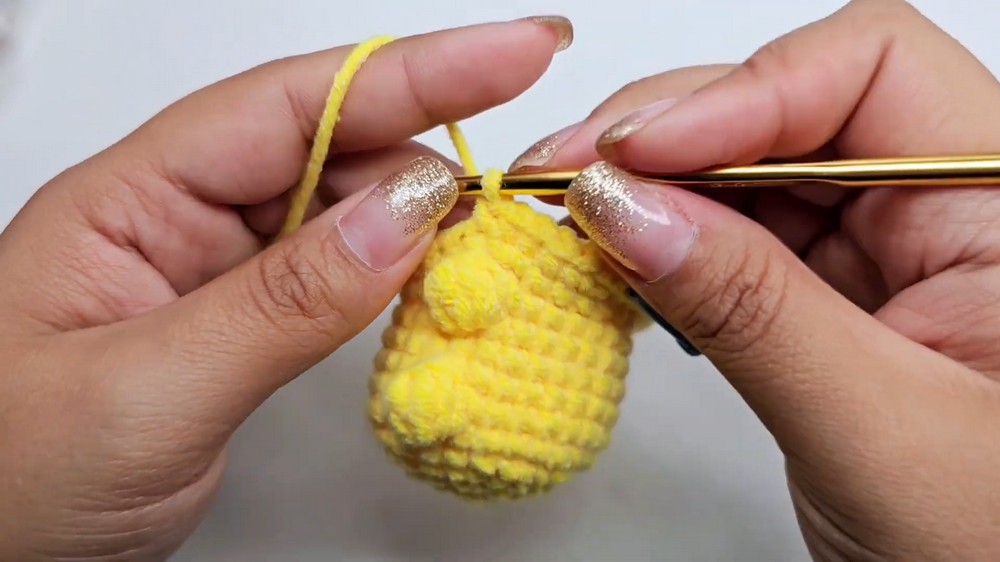
Round 13-18:
- Sc in each stitch around, no increases or decreases to build height. Mark beginning of round.
Round 19 (Shaping starts):
- 2 sc, dec repeat around. (36 sts)
- Verify stitch count; the piece is beginning to taper.
Round 20:
- 5 sc, inc repeat around (42 sts).
Rounds 21-26:
- Sc 1 in each stitch around, no increases.
Round 27 (Beginning decreases):
- 5 sc, dec repeat around (36 sts).
Round 28:
- Sc 1 in each stitch around.
Round 29:
- 4 sc, dec repeat around (30 sts).
Round 30:
- 3 sc, dec repeat around (24 sts).
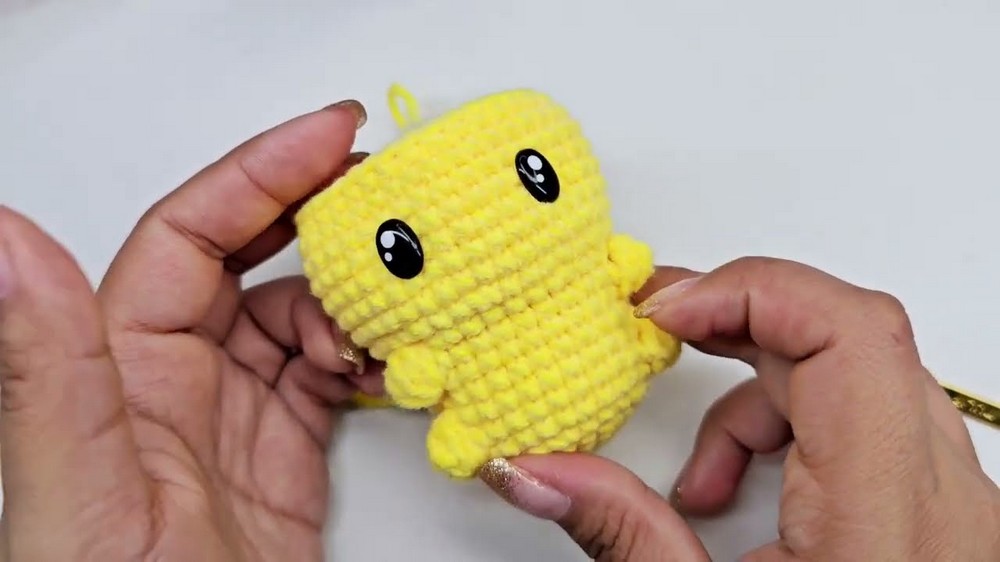
Round 31:
- 2 sc, dec repeat around (18 sts).
Round 32:
- 1 sc, dec repeat around (12 sts).
Round 33:
- Work only dec around. (6 sts)
- Fasten off leaving a long tail for closing the hole.
- Stuff the body firmly with fiberfill.
- Close the opening by drawing yarn through all remaining stitches and pulling tightly.
Eyes and Details:
- Use black yarn to embroider eyes at appropriate round (approximately round 14).
- Chain 4 with black yarn, join to form a ring and crochet half double crochets for eye patches with single crochet around to form shape.
- Embroider cheeks with small red circles or work small red crochet circles.
- Add brown stripes on the back: chain short lengths and sew or embroider stripes symmetrically.
Ears (Make 2):
Round 1: Magic ring with yellow, 5 sc in the ring. (5 sts)
Round 2: 1 sc, inc repeat around. (7 sts)
Round 3: 2 sc, inc repeat around. (9 sts)
Rounds 4-7: Sc in each stitch around, no increases—4 rounds. Fasten off leaving a tail for sewing.
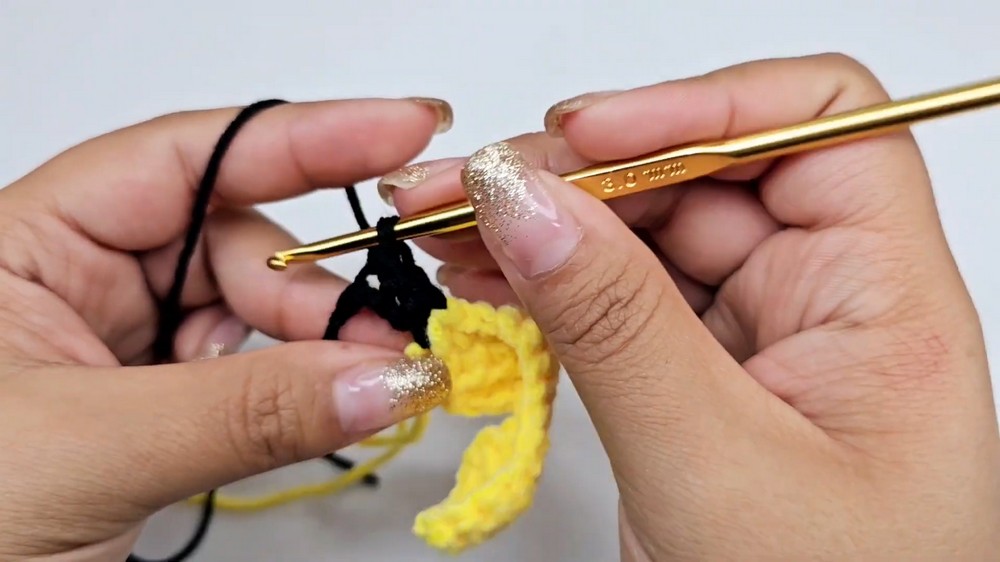
- Attach black tips by a row of single crochet or embroidery on ear tips.
- Use optional fabric stiffener or hairspray on ears to make them stand erect.
Tail:
- Start with a red yarn magic ring of 6 sc. (6 sts)
- Increase rounds to shape tail (not detailed in original video; adapt from reference images).
- Embroider or sew additional stripes with brown yarn to mimic Pikachu’s tail pattern.
- Attach securely to back of body.
Assembly:
- Sew ears on top of the head, spacing evenly.
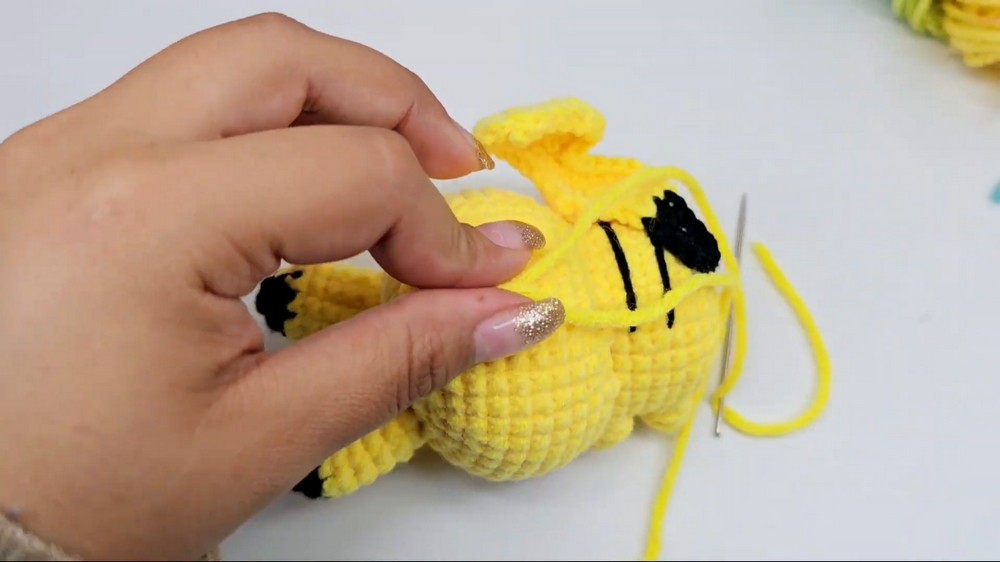
- Attach eyes symmetrically on the front of the head.
- Sew tail to back lower area securely using yarn needle.
- Embroider nose and mouth using black yarn carefully.
- Weave in all loose ends.
- Gently shape ears and tail using recommended methods.
Finished Size
- Approximately 10-12 cm tall depending on materials.
- Body circumference: ~30 cm at the widest point.
- Ears height: ~4 cm each.
- Tail length varies depending on personal shaping.
Summary
This detailed Pikachu crochet pattern guides you through crafting an adorable Pikachu amigurumi suitable for keychains or gifts. Worked mainly in rounds, this pattern combines simple stitches with some special techniques to create a charming character with layered details, including ears, eyes, and tail. Instructions are clear and marked step-by-step to ensure smooth progress.
Helpful Tips
- Use stitch markers after each round to keep track easily.
- Keep tension consistent for smooth shaping.
- When working clusters of unfinished double crochets, keep loops loose but uniform.
- Stuff firmly but not too tight to avoid distortion.
- Adjust hook size or yarn type to experiment with size.
This Pikachu crochet pattern combines simple stitches and shaping techniques into a fun project for those who love Pokémon and amigurumi. The detailed layering rounds, looped textures on the body, and careful color changes help produce a recognizable and delightful figure that can brighten any space or gift collection.