
Colorful Free Crochet Star Blanket Pattern for Warm Winter Days
Use this easy crochet pattern to create a star shaped blanket full of vibrant colors while learning a fun and relaxing project step by step.
The star shaped blanket is both eye catching and practical, making it a favorite project among crochet enthusiasts. Its shape is unique and symmetrical, featuring five pointed edges that are fun to work with and admire. Whether used as a blanket, a decorative table mat, or a heartfelt gift, its versatility shines through, adding charm to everyday spaces.
Colorful Free Crochet Star Blanket Pattern for Sweet Baby Gifts
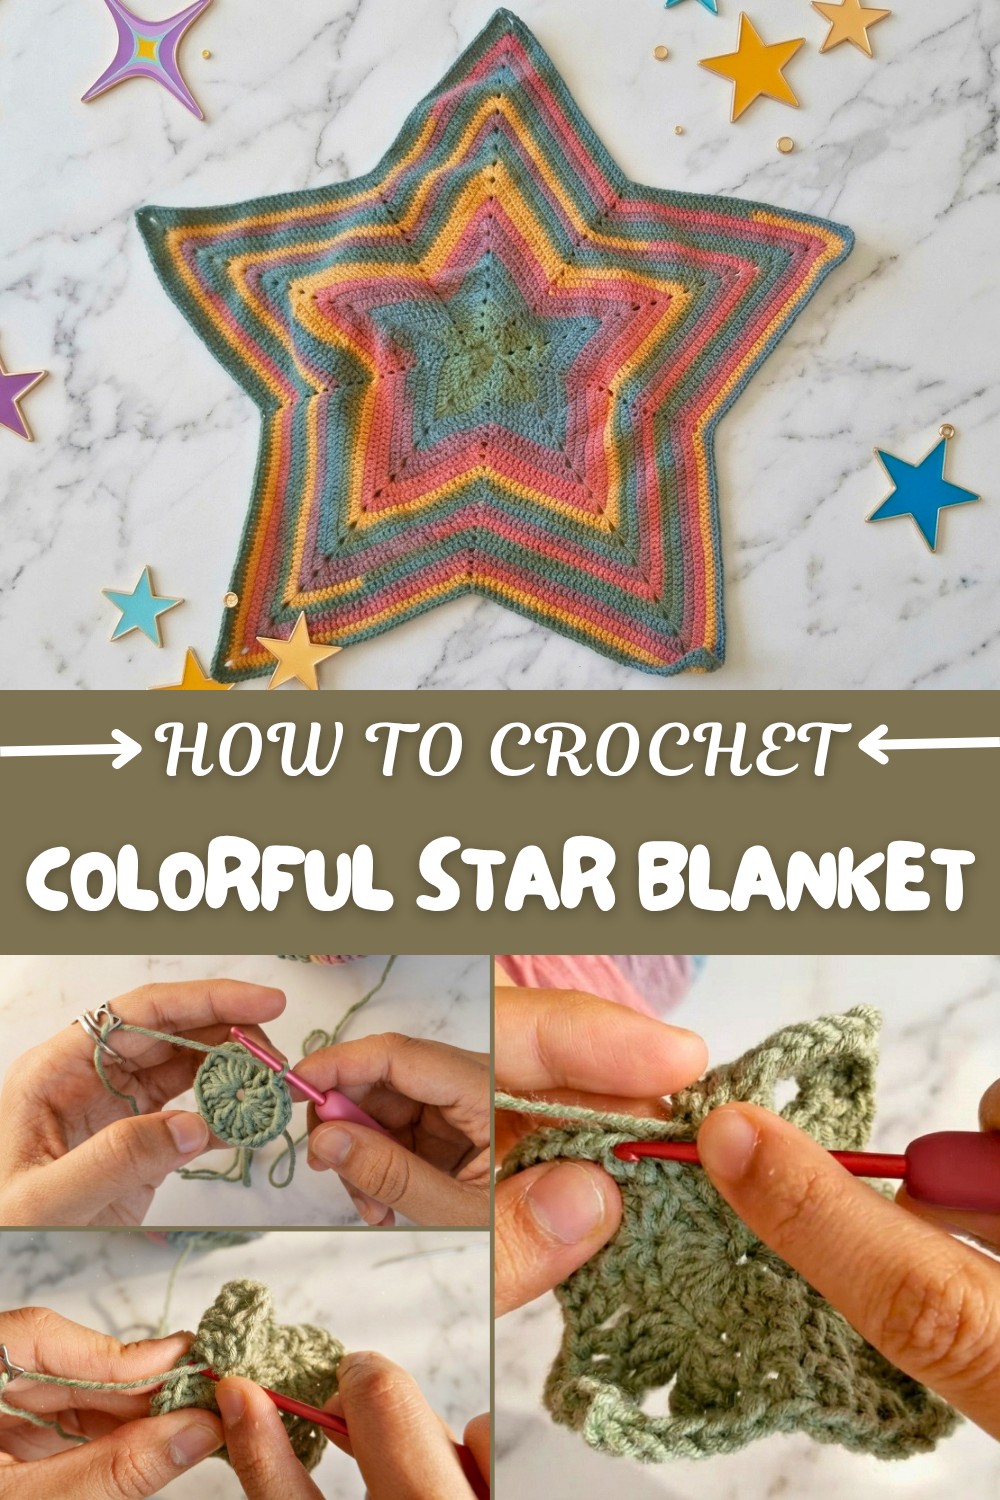
The process of working on this blanket begins with a small magic circle and grows outward through carefully layered stitches. With a combination of chains and double crochets, the star gradually forms into its distinct and recognizable shape. What sets this design apart is the small “space” between its points, adding a light and airy texture to its overall appearance. When made using gradient yarns, colors naturally merge to give the blanket a lively and radiant look, making it ideal for those who want a cheerful, standout piece.
Its adaptability in size means the project can be adjusted to suit various needs. Larger versions work well as throw blankets, while smaller adaptations can be used as festive home décor or even a baby blanket. Pairing the geometric star layout with colors thoughtfully enhances its visual appeal, bright tones provide a playful vibe, while neutral shades bring a soft sophistication.
For anyone interested in making this stunning blanket, Lesha Crochets has an excellent tutorial on her YouTube channel. She guides viewers every step of the way, demonstrating techniques to help even beginners achieve the perfect star shape. If you're looking for a detailed guide, her video is sure to be a helpful resource.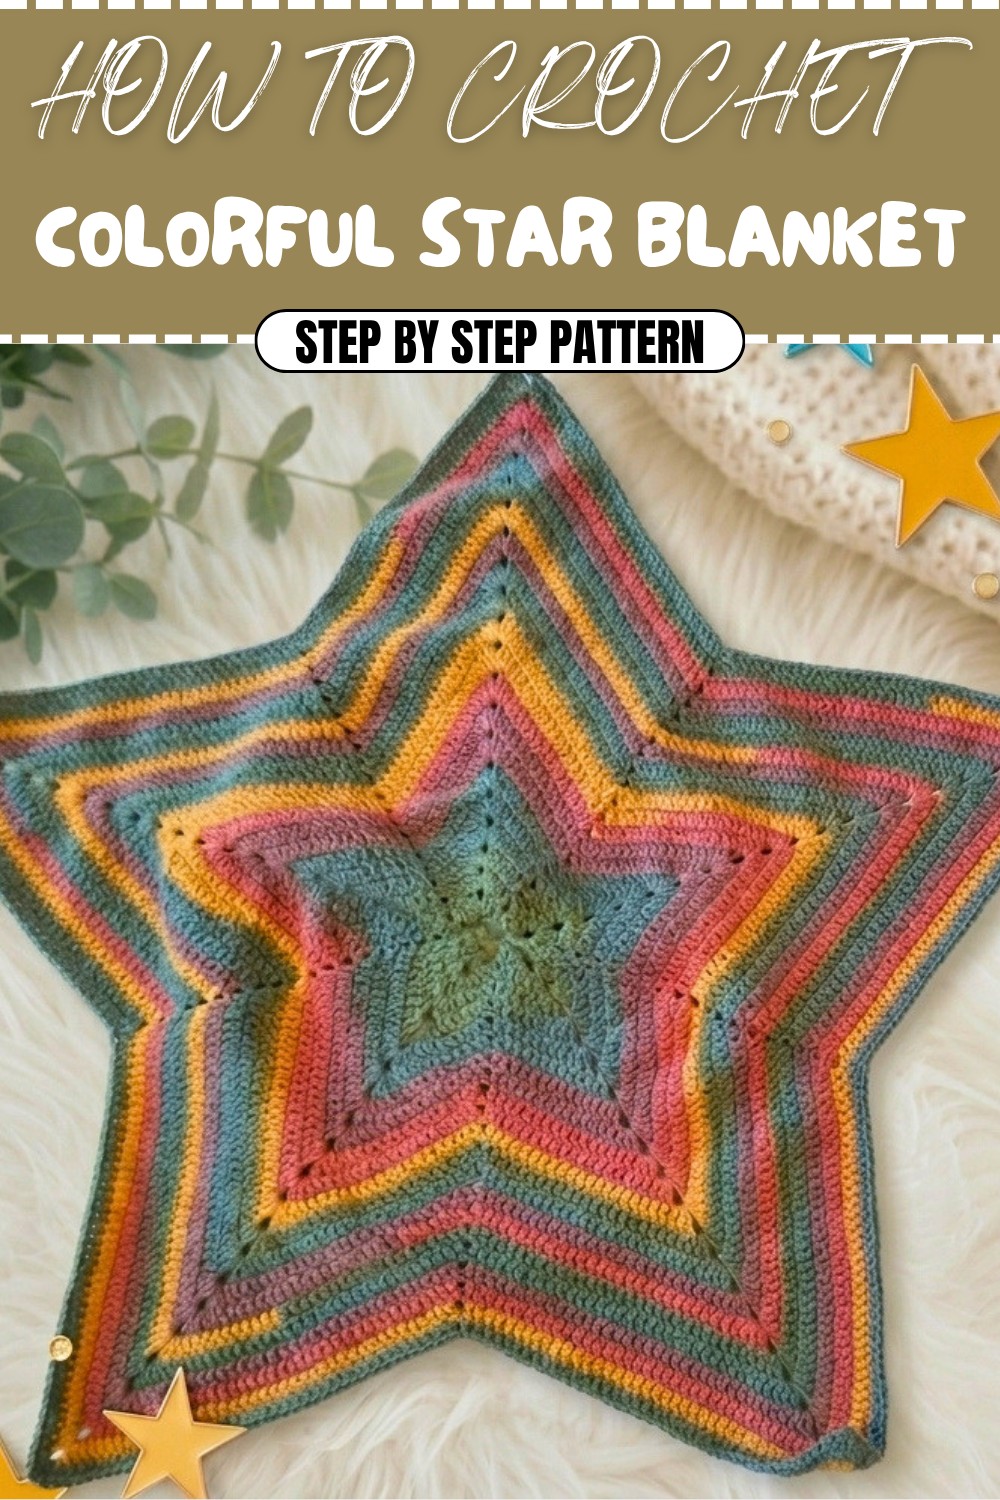
Crochet Star Blanket Pattern
Quick Overview Of Pattern
- Project Type: Star Shaped Blanket or Small Mat
- Best For: Home décor, kids’ play mats, decorative table centerpieces
- Skill Level: Beginner–Intermediate
- Techniques Used: Magic circle, double crochet, chain, single crochet
- Number of Rounds: Multiround pattern, repeatable for desired size
Notes
- This project is worked in rounds, starting with a magic circle.
- Each point of the star is created using double crochets and chain stitches.
- The number of stitches in the ascending and descending sections increases by 2 stitches every new round.
- You can customize the size by adding rounds.
Skill Level
Beginner–Intermediate. Familiarity with basic stitches (ch, sc, dc, sl st) and working in rounds is required.
Materials
- Yarn: Rainbow gradient yarn cake or any DK weight yarn
- Hook: 3 mm crochet hook
- Notions:
- Darning needle
- Tension ring (optional for smooth tension)
- Stitch marker (optional for marking the beginning of rounds)
Measurements / Sizing
- Customizable blanket size (e.g., 15–20 inches diameter for the sample shown).
Gauge
Gauge is not critical. If desired, work a swatch with 16 dc stitches x 9 rows = 4” x 4”.
Stitch Abbreviations
| Abbreviation | Meaning |
|---|---|
| ch | Chain |
| sl st | Slip Stitch |
| sc | Single Crochet |
| dc | Double Crochet |
| st(s) | Stitch(es) |
| yo | Yarn Over |
Special Stitches
Magic Circle
- Wrap the yarn three times around your finger.
- Insert the hook under all three loops.
- Pull the working yarn through the loops and secure with 1 ch.
- Pull the tail to tighten the circle after stitches are worked into it.
Construction (Round by Round Details)
Step 1: Creating the Magic Circle
- Wrap yarn three times around your finger.
- Insert hook beneath all three loops and grab working yarn to pull through.
- Pull the third loop through the second and first loops to secure.
- Insert hook under the long yarn tail and ch 1.
- Remove the circle from your finger and pull the yarn tail to tighten.
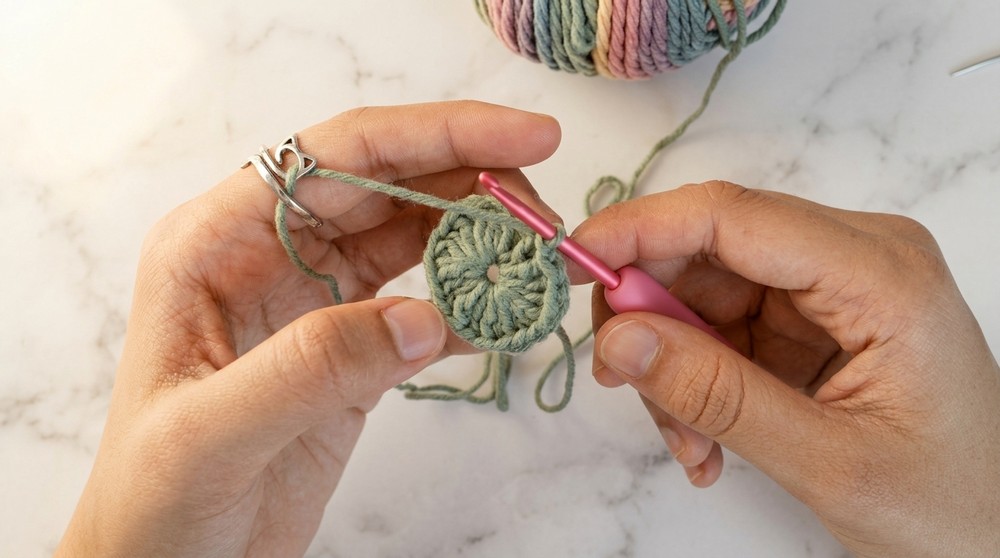
Round 1 – Foundation Round
- Ch 2 (does not count as a stitch).
- Work 20 dc into the magic circle:
- Yarn over (yo).
- Insert hook into the circle and pull up a loop (3 loops on hook).
- Yarn over, pull through 2 loops.
- Yarn over, pull through the remaining 2 loops.
- Once all 20 dc are complete:
- Tighten the circle by pulling one of the loops.
- Pull until the hole is completely closed.
- Join the round:
- Insert hook into the top of the first dc.
- Yarn over and pull up a loop.
- Immediately pull through the loop on your hook (sl st).
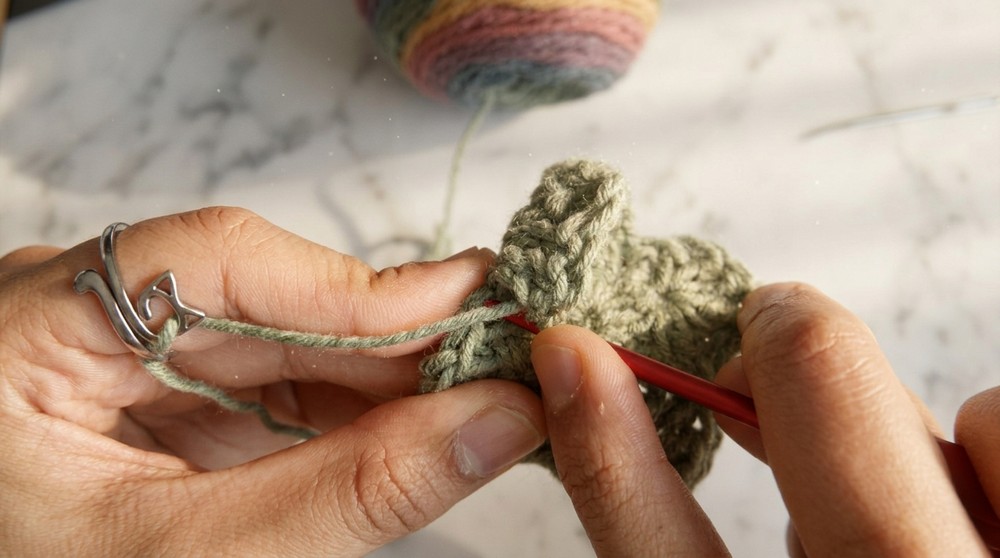
Round 2 – Creating Points of the Star
- Ch 2 (for height).
- Skip the sl st from the previous round. Insert your hook into the next stitch.
- In the next stitch, work:
- 1 sc (insert hook, pull up loop, yo, pull through 2 loops).
- Skip 1 stitch.
- Into the next stitch, work:
- 3 dc into the same stitch.
- Ch 3.
- 3 dc into the same stitch again.
- (This creates one star point).
- Skip 1 stitch.
- Into the next stitch, work:
- 1 sc.
- Repeat the following pattern around the circle:
- Skip 1 st, then work: 3 dc, ch 3, 3 dc (to form a star point).
- Skip 1 st.
- Work 1 sc into the next st.
- When you have made 5 star points, complete the round:
- Sl st into the first sc of the round.
- Ch 2, ready for the next round.
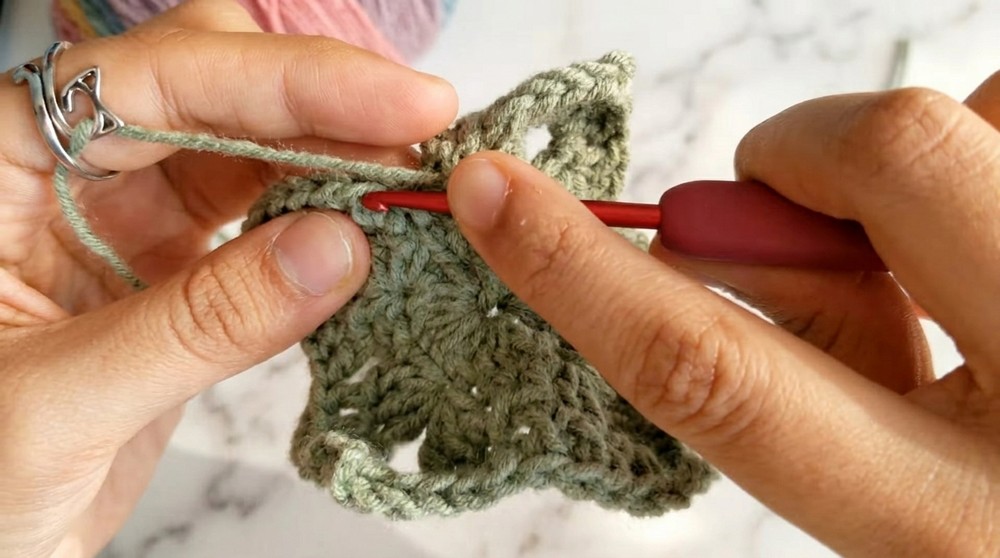
Round 3 – Expanding the Star (2 dcs per section)
- Sl st into the next st (move into position).
- Ch 2 at the start of the round.
Work as follows:
Ascending section
- Into the next 2 sts, work:
- 1 dc in each st → (Total: 2 dc).
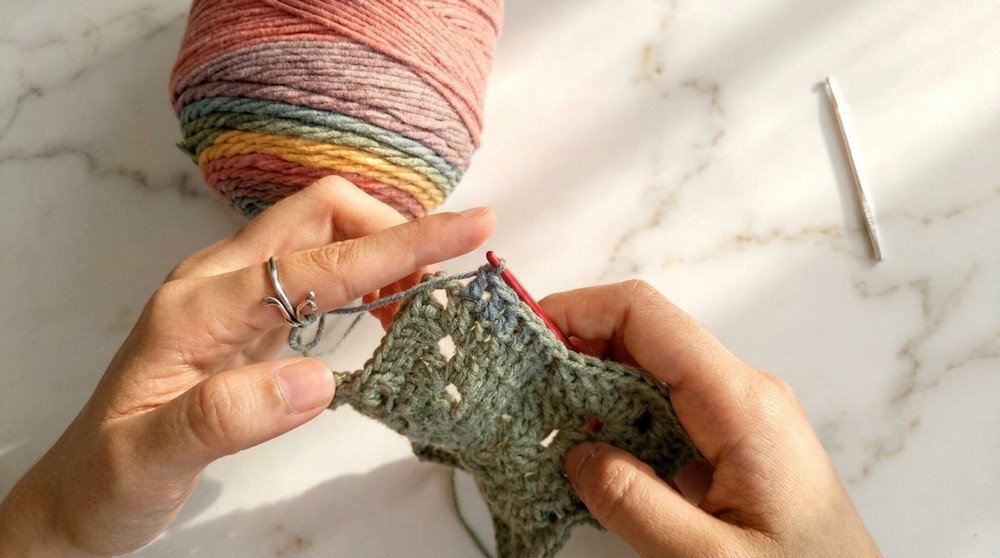
Point section
- At the ch‑3 space, work:
- 3 dc in the space.
- Ch 3.
- 3 dc in the space again → (This completes the point).
Descending section
- Into the next 2 sts, work:
- 1 dc in each st → (Total: 2 dc).
Between points
- Skip 2 sts.
- Into the next stitch, repeat the pattern from Ascending section onward.
Repeat the entire sequence for all 5 points.
End the round:
- Sl st into the first dc of this round.
Round 4 – Expanding (4 dcs per section + hidden stitch)
- Sl st into the next st (move into position).
- Ch 2 at the start of the round.
Work as follows:
Ascending section
- Into the next 4 sts, work:
- 1 dc in each st → (Total: 4 dc).
Point section
- At the ch‑3 space, work:
- 3 dc in the space.
- Ch 3.
- 3 dc in the space again → (This completes the point).
Hidden stitch after point
- Pull the previous dc stitches a little apart until you locate the hidden stitch.
- Into this stitch, work:
- 1 dc.
Descending section
- Into the next 3 sts, work:
- 1 dc in each st → (Total: 4 dc including hidden st).
Between points
- Skip 2 sts.
- Into the next stitch, repeat the pattern from Ascending section onward.
Repeat the entire sequence for all 5 points.
End the round:
- Sl st into the first dc of this round.
Round 5 – Expanding (6 dcs per section)
- Sl st into the next st, then Ch 2 (to move into position and start round).
Work as follows:
Ascending section
- Into the next 6 sts, work:
- 1 dc in each st → (Total: 6 dc).
Point section
- At the ch‑3 space, work:
- 3 dc in the space.
- Ch 3.
- 3 dc in the space again → (This completes the point).
Hidden stitch after point
- Find and pull apart the point stitches.
- Into the hidden stitch, work:
- 1 dc.
Descending section
- Into the next 5 sts, work:
- 1 dc in each st → (Total: 6 dc including hidden st).
Between points
- Skip 2 sts.
- Into the next stitch, repeat the pattern from Ascending section onward.
Repeat the entire sequence for all 5 points.
End the round:
- Sl st into the first dc of this round.
Continuing the Pattern
- For each new round, increase the number of stitches in ascending and descending sections by 2 sts.
- At the ch‑3 space of each point, repeat:
- 3 dc, ch 3, 3 dc.
- Always include the hidden stitch after each point.
- Always skip 2 sts between points, then continue the pattern.
Assembly & Finished Size
- When you reach the desired size, fasten off.
- Weave in all ends with a darning needle.
- Optional blocking step:
- Lightly pin the star tips outward.
- Steam or spray the blanket with water, allowing it to dry overnight.
Conclusion
Congratulations, You’ve completed your star blanket.
This project makes a beautiful small mat, decorative piece, or baby blanket. Add rounds for larger designs or try color variations for fun effects.