
Elegant Crochet Star Earrings Pattern You’ll Want to Wear
Add a fun twist to outfits fast with the Free Crochet Star Earrings Pattern for chic, standout earring designs.
Brightening up your day with a twinkle you can wear is easier than you think! These star-shaped earrings are not only charming but also surprisingly simple to make, offering a perfect mix of fun and style. What makes them stand out is the clever use of the magic ring technique combined with single and double crochet stitches to form sharp, defined star points that hold their shape beautifully. The airy gaps between stitches give the stars a delicate lace effect, making them light and comfortable to wear all day long.
Beginner-Friendly Crochet Star Earrings Pattern for Bright Style
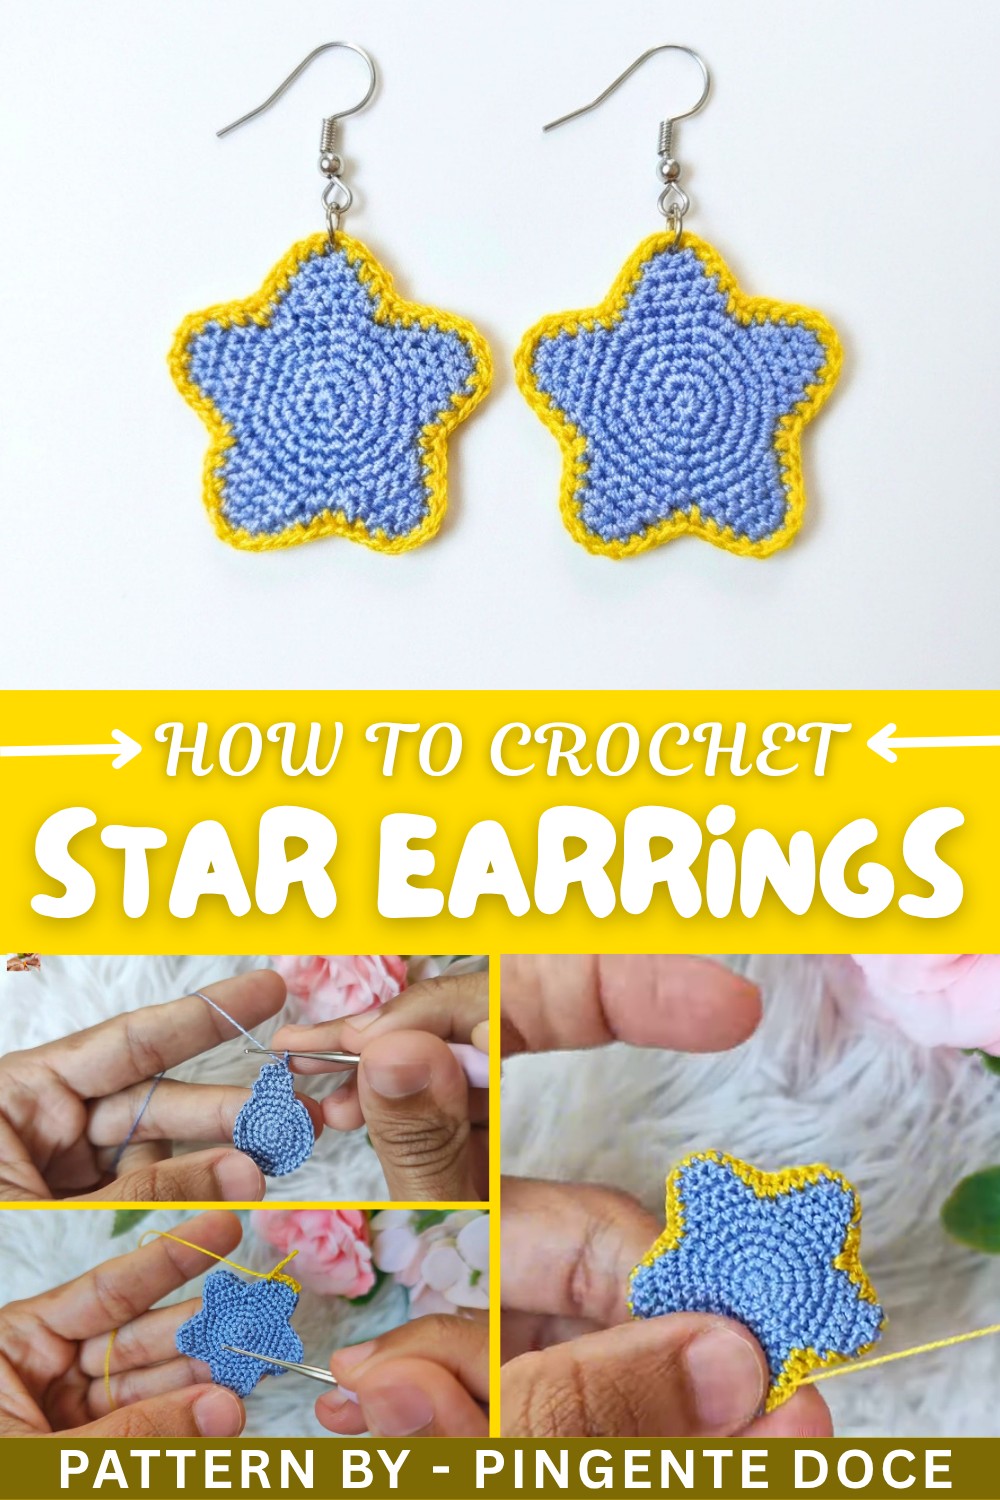
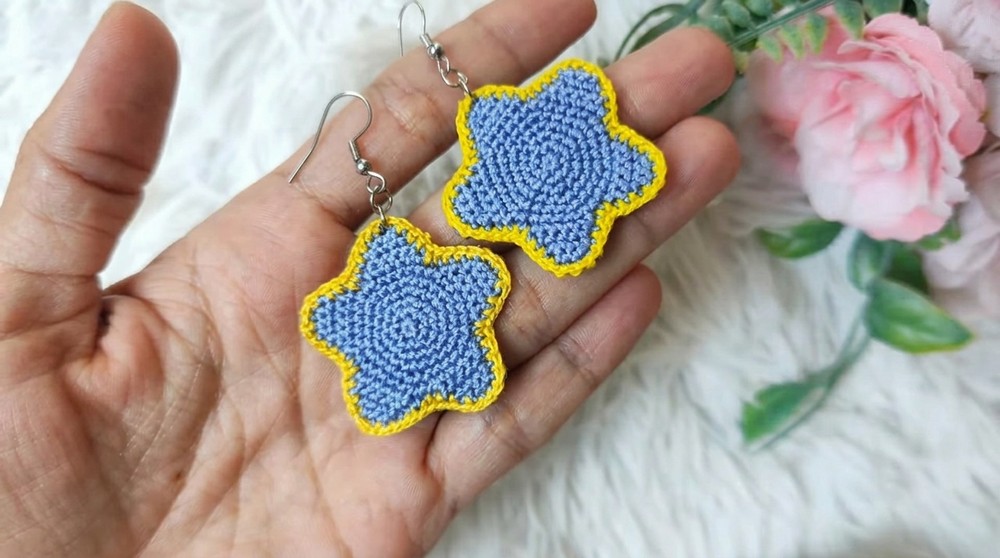
Starting with a magic ring gives you a tight, polished center, which grows into star points by carefully increasing stitches. The pattern uses double crochets for volume and single crochets along the edges to neatly join layers, creating a two-sided charm with a pop of color when you join two pieces together. Because the stars are stitched together with care, they feel sturdy without losing their softness. A quick touch of fabric glue helps keep their form, ensuring your earrings stay perfect no matter how often you wear them.
Beyond Earrings: More Ways to Use This Star Pattern
This versatile star shape offers lots of creative options. Smaller stars become adorable pendants or keychain charms, while bigger ones can be stitched into blankets, cushions, or festive decorations. Line up several stars for eye-catching garlands or use them as appliques on bags and hats. Different yarn textures and colors make every project uniquely yours, letting this playful star pattern shine in endless ways.
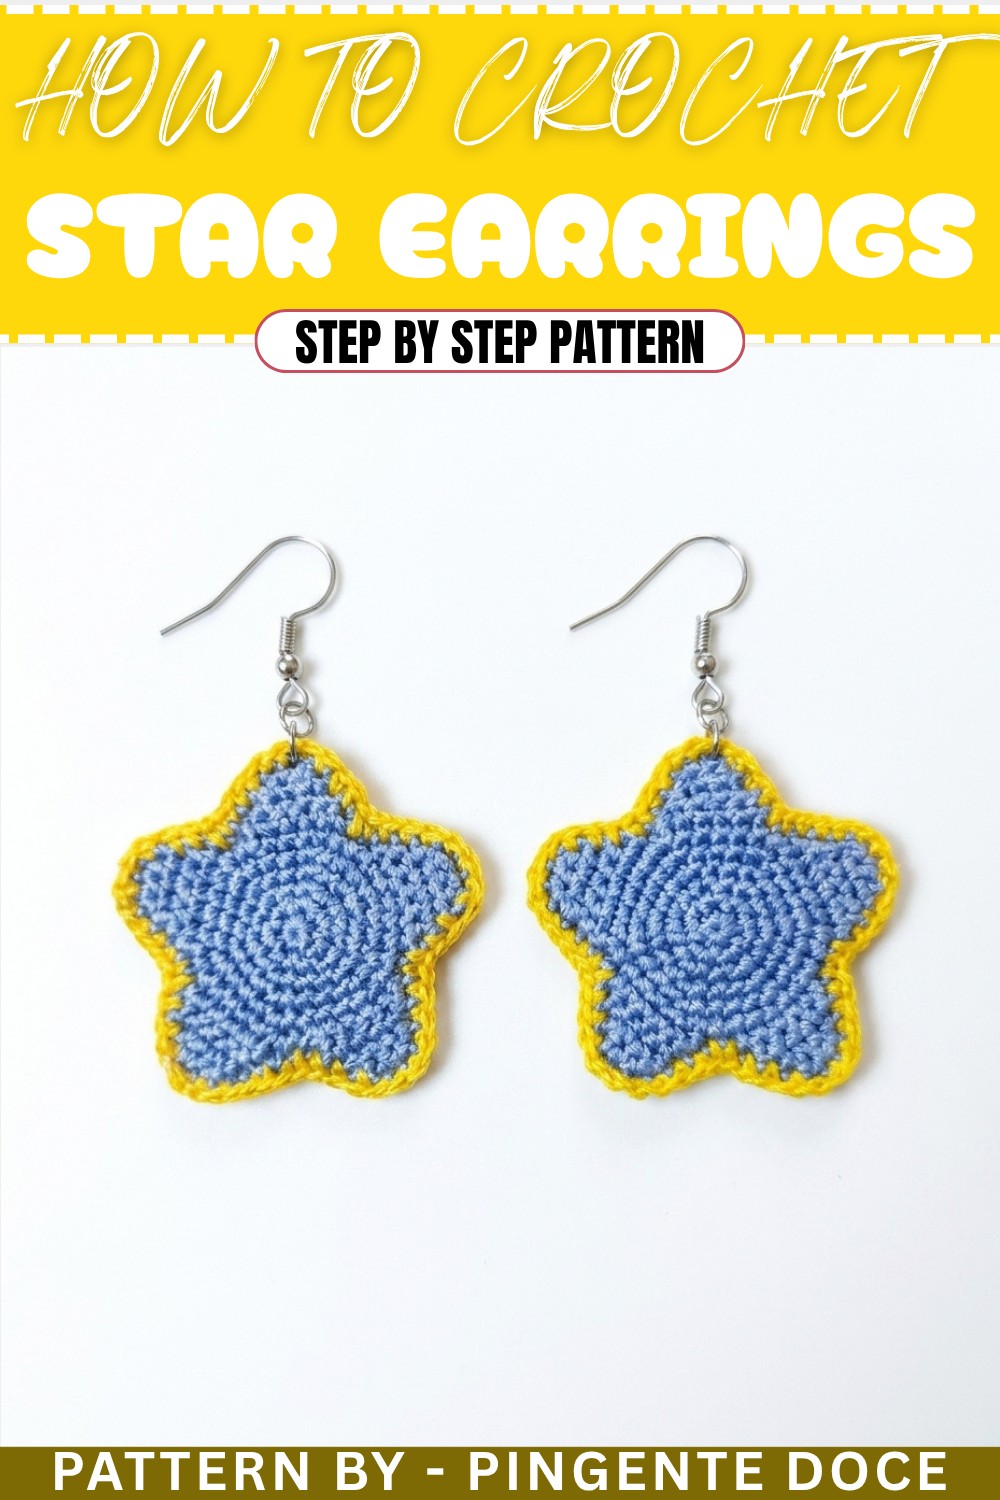
Crochet Layered Petal Earring Pattern
Crochet earrings are a timeless and intricate accessory that adds elegance to any outfit. This layered petal earring pattern is a beautiful option suitable for casual or formal wear. Combining foundational stitches like single crochet, double crochet, slip stitches, and seamless joining techniques, these earrings are designed to have a gorgeous, petal-like layered flow. This project is easy to customize with different thread colors or sizes depending on your style. Whether you are keeping them for yourself or gifting them to someone special, this pattern creates a versatile piece of handmade jewelry.
Skill Level & Terminology
- Skill Level: Intermediate: This pattern uses basic and intermediate crochet techniques, including increases, decreases, and joining pieces together. If you’re comfortable with working in rounds and practicing chain-based shape building, this pattern is suited for you.
- Terminology: US Crochet Terms are used:
- Magic Ring (MR): A secure way to start crochet in the round.
- Chain (Ch): A basic loop of yarn formed by pulling it through the hook.
- Slip Stitch (Sl st): Used to join stitches or rounds as well as finish off.
- Single Crochet (Sc): A compact and simple stitch.
- Double Crochet (Dc): A taller stitch requiring yarn overs before insertion.
Materials & Tools
- Thread:
- Incor embroidery threads in various colors (e.g., #8). Choose vibrant complementary tones for added effect.
- Hook: 1 mm crochet hook.
- Scissors: For trimming thread ends.
- Earring Hooks and Rings: Jewelry components for assembling earrings.
- Sewing Needle: For weaving in loose ends and finishing.
- Fabric Glue: For stiffening the earrings.
- Optional: Brush to apply glue evenly.
Gauge
Gauge is not critical for this pattern as you can modify the size by changing your thread thickness and hook size. The finished earrings in this pattern measure approximately 3 inches in height.
Abbreviations List
| Abbreviation | Meaning |
|---|---|
| MR | Magic Ring |
| Ch | Chain |
| Sl st | Slip Stitch |
| Sc | Single Crochet |
| Dc | Double Crochet |
Special Stitch Instructions
Magic Ring (MR):
- Wrap the thread around your fingers to create a loop.
- Insert your hook into the loop, yarn over, and pull through.
- Chain 1 to secure the ring and begin working the number of stitches specified into the loop.
What You’ll Learn & Why You’ll Love This Pattern
You’ll Learn:
- How to create layered petal-like shapes through increases and strategically placed decreases.
- Basic techniques of joining parts to create a polished final look.
- Correct method for stiffening crochet earrings for long-term wearability.
Why You’ll Love It:
The design of these earrings is delicate and floral, making them perfect for spring and elegant occasions. Additionally, they’re lightweight, quick to make, and infinitely customizable with different thread shades. This pattern teaches foundational skills while producing a stunning, professional-grade jewelry piece.
Finished Size
The finished earrings measure approximately 3 inches long, including the hooks and layered petal extensions.
The Pattern Itself
Part 1: Circular Base
Round 1:
- Start with a Magic Ring (MR).
- Work 6 Single Crochets (Sc) into the ring.
- Pull the tail of the ring to close it tightly.
- Finish with a Slip Stitch (Sl st) into the first Sc (optional for advanced crocheters).
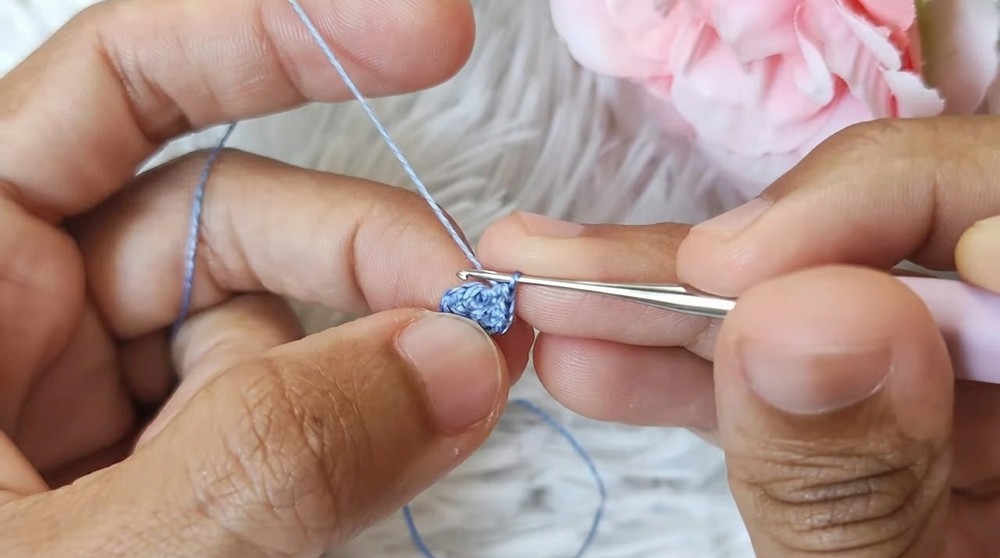
Quick Tip: The magic ring creates a clean and small center for the earring, providing a stable foundation for the design.
Part 2: Expanding the Base
Round 2:
- Chain 1 (Ch) and make 2 Single Crochets (Sc) in the first stitch (increase).
- Continue working 2 Sc into each stitch around for a total of 12 stitches.
- Close the round with a Sl st into the first stitch.
Round 3:
- Chain 1 (Ch). In the first stitch, make 1 Sc.
- In the next stitch, work 2 Sc (increase).
- Alternate between 1 Sc and 2 Sc (increase) around the circle, totaling 18 stitches.
- Finish with a Slip Stitch (Sl st) into the first stitch.
Round 4:
- Chain 1 (Ch). Work 1 Sc into each of the first 2 stitches.
- In the next stitch, work 2 Sc (increase).
- Continue the pattern 2 Sc, increase around for a total of 24 stitches.
- Close with a Sl st.
Overview: This round establishes the full circular shape and provides space for the petals to build outward later.
Part 3: Petal Extensions
Rows for Petals:
- Row 1:
- Work 6 Sc, one in each stitch.
- Chain 1, turn, and skip the first stitch.
- Row 2:
- Work 5 Sc, one in each stitch.
- Chain 1, turn, and skip the first stitch.
- Row 3:
- Work 4 Sc, one in each stitch.
- Chain 1, turn, and skip the first stitch.
- Work 4 Sc, one in each stitch.
- Row 4:
- Work 3 Sc, one in each stitch.
- Chain 1, turn and skip the first stitch.
- Row 5:
- Work 2 Sc, one in each stitch.
- Finish the petal and walk your single crochet down the edge of the petal rows to reach the circular base edge again.
- Repeat Petal Rounds:
- Work around the remaining base stitches, repeating the petal sequence to create 5 petals. Finish each round by slip stitching into the first stitch to close.
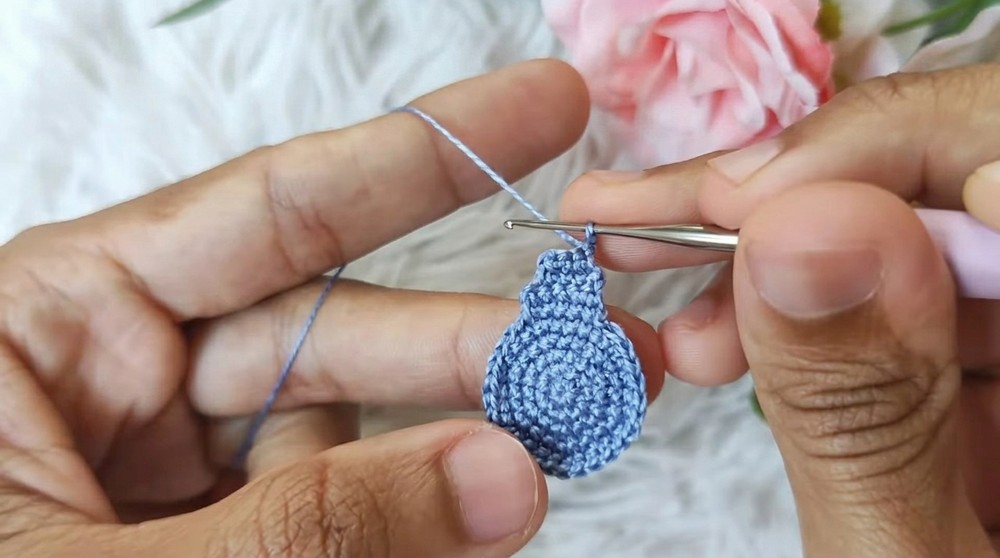
Quick Tip: Each petal becomes smaller as you progress through the rows, giving the earrings their tiered floral look.
Part 4: Joining Layers
- Make Two Identical Pieces: Crochet another piece following the instructions above so you have two identical floral parts.
- Place the pieces wrong side to wrong side for layering.
Joining the Pieces:
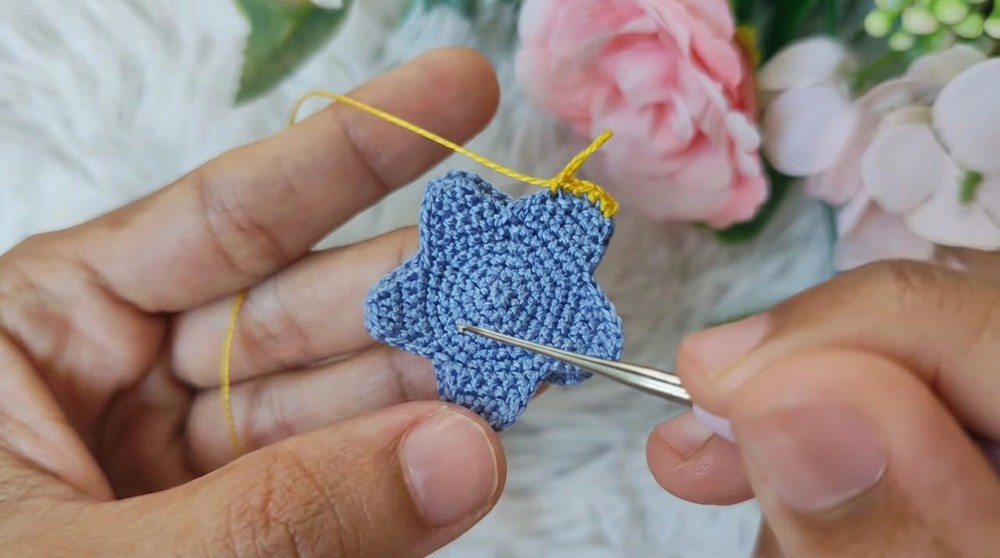
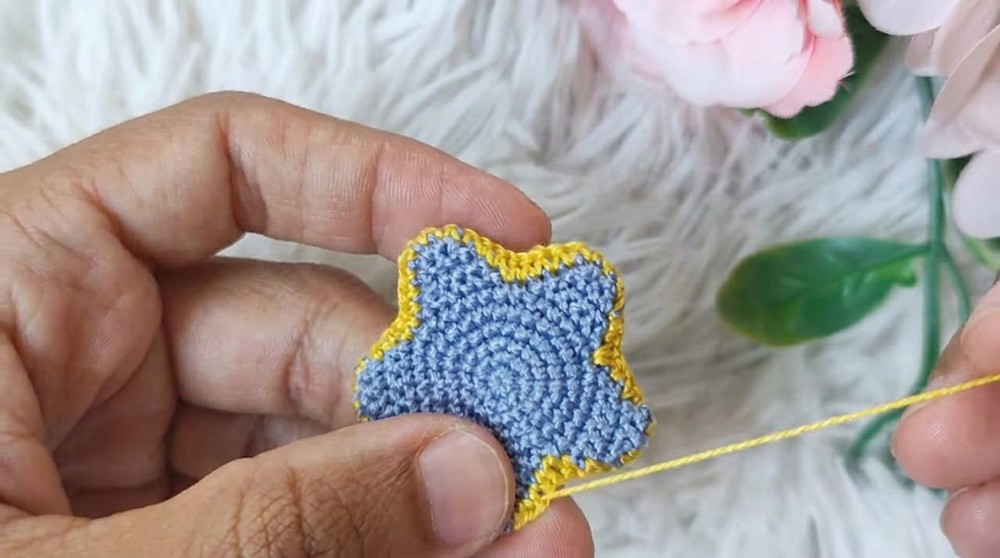
- With a new color of thread, insert the hook at the top edge of one piece, making sure to include both layers.
- Chain 1, and begin working Single Crochets (Sc) around the entire border.
- As you go, ensure the two layers are securely stitched together.
Assembly & Finishing
- Weave Ends:
- Use a sewing needle to weave in all loose threads on the back of the earring piece.
- Stiffen the Earrings:
- Mix fabric glue with water in a 1:1 ratio.
- Use a brush to lightly coat the back and edges of the earrings to stiffen them. Allow them to air-dry fully before proceeding.
- Attach Earring Hooks and Rings:
- Use jewelry tools (like pliers) to attach the earring hooks to the top of the crochet piece. Ensure they’re secure.
- Use jewelry tools (like pliers) to attach the earring hooks to the top of the crochet piece. Ensure they’re secure.
Difficulties & Solutions
Challenge: Uneven Petal Tension
Solution: Work slowly, ensuring you maintain consistent tension, especially when creating smaller petal rows. If a petal appears smaller or uneven, block the piece gently by pinning it into shape before stiffening.
Challenge: Layers Not Aligned Perfectly
Solution: When joining two layers, pin them before sewing to make sure that all edges lie flush. Take your time stitching through corresponding loops for a clean finish.
Final Thoughts
This layered petal earring pattern is beautiful and rewarding to make. The combination of a circular base and a layered petal design creates a lightweight, yet structured earring that looks professional and elegant. The versatility of this project lies in the color combinations and material options that you can explore, so it’s perfect for experimenting with your creativity. These earrings are as fun to make as they are to wear, and they’ll surely grab attention wherever you go.