
Cheerful Free Crochet Little Monster Pattern for Kids Room Decor
Shake up your crochet routine with a free crochet little monster pattern that's easy, fun, and sure to spark joy with every stitch.
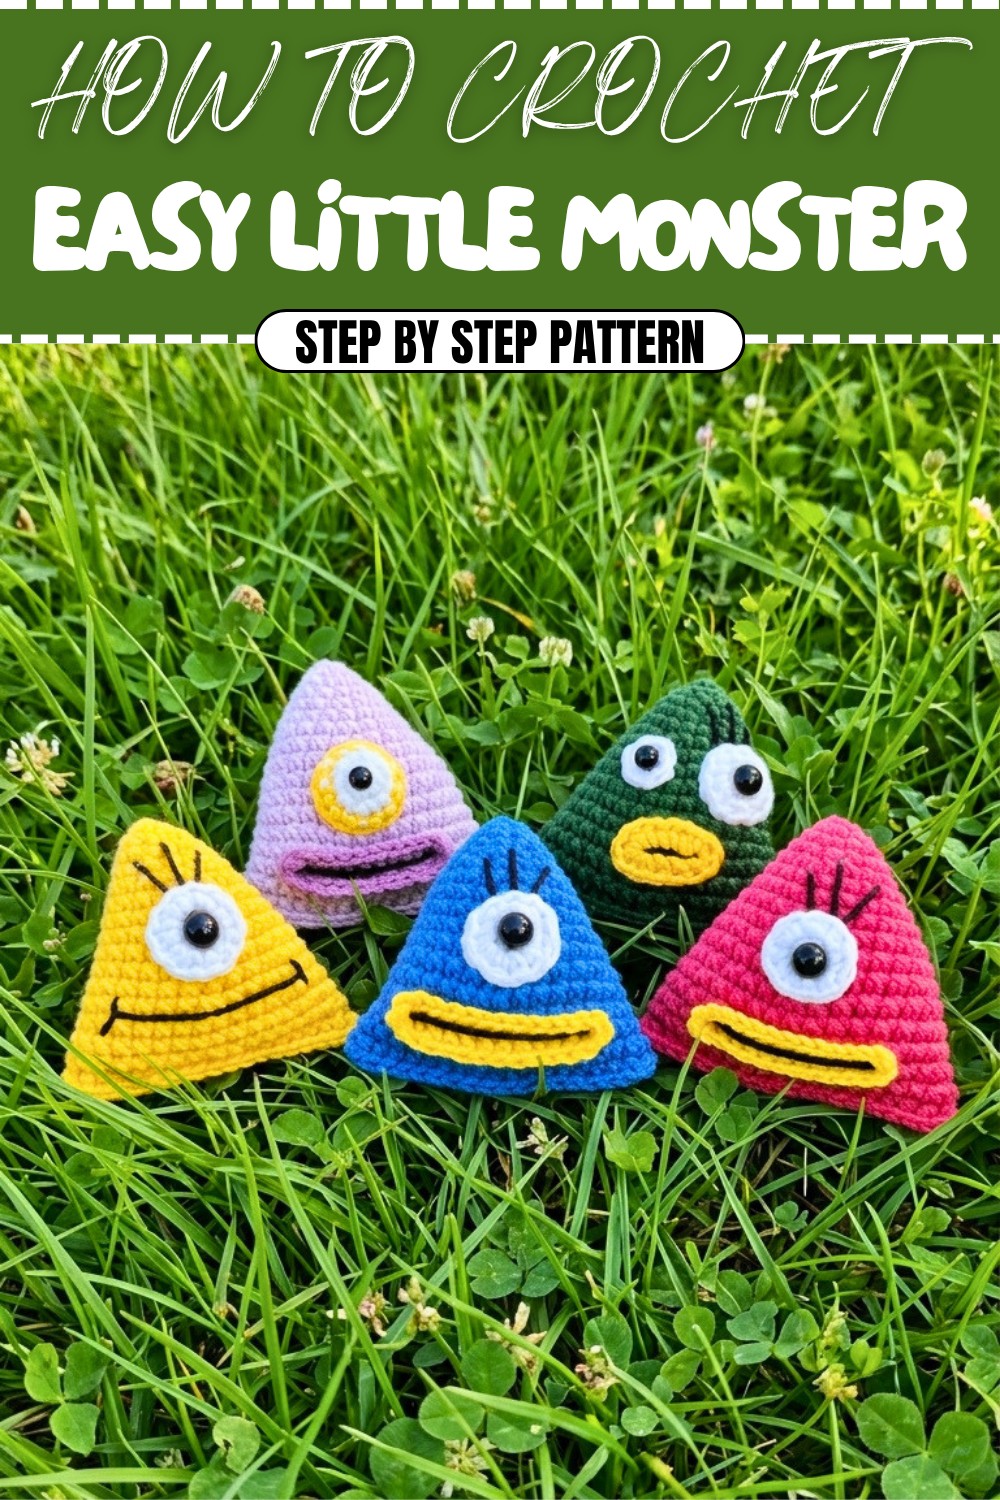
Looking for a playful and creative crochet project? Say hello to this adorable little monster pattern! With its quirky triangular shape, charming big eyes, and optional long or short mouth designs, this little monster will bring a touch of fun to your crocheting. Vibrant color combinations, like bold greens, purples, or blues for the body paired with contrasting pink or white accents, make this project stand out and spark joy. Whether you want to attach it to a keychain, decorate a bag, or give it as a handmade gift, this project is sure to bring smiles wherever it goes.
Playful Free Crochet Little Monster Pattern for Amigurumi Fun
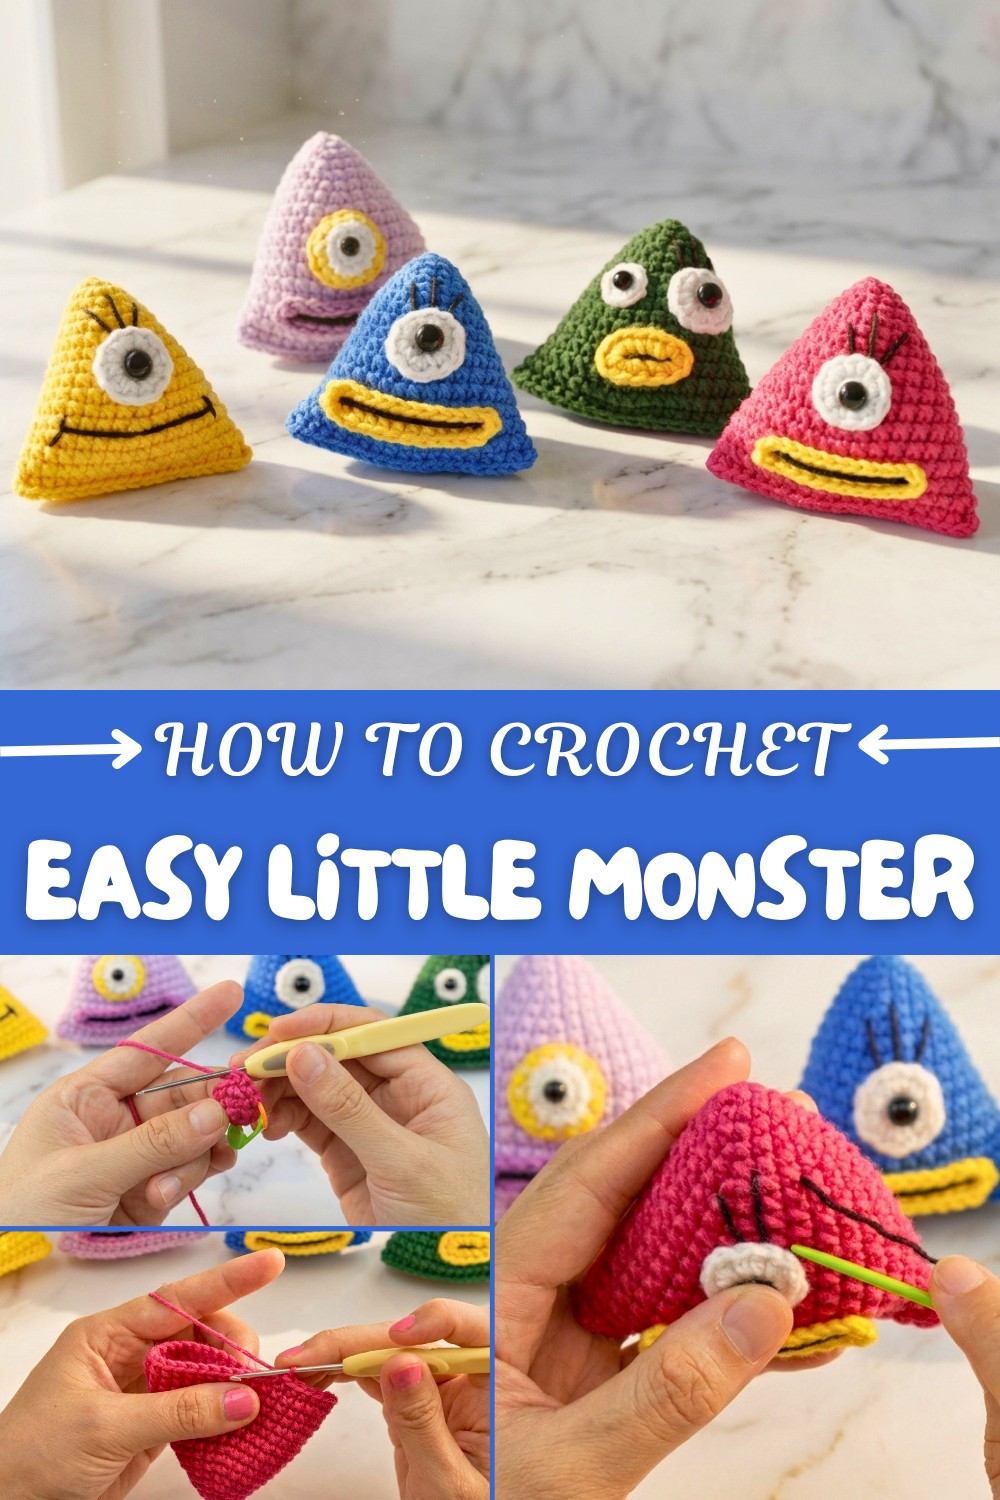
This pattern is beginner-friendly and uses simple yet versatile stitches like single crochet, chain stitches, and slip stitches. For added detail, you'll work on creating features like eyes, mouths, and eyelashes using yarn embroidery, giving each monster a unique personality. Even if you’re new to crocheting, the step-by-step process allows you to practice foundational techniques while experimenting with fun accessories like fiber filling for the body. You can even customize its size or features to make a family of little monsters!
What You Can Crochet Beyond This Pattern
- Triangle bag keychains using the same shapes.
- Amigurumi characters by customizing features like ears or horns.
- Custom bags or pocket pouches in monster designs.
- Monster appliqués for sewing onto clothes or accessories.
Why You’ll Love This Pattern
- Easy and fun design perfect for beginners.
- Customizable features make each monster unique.
- Practical uses, from decor to gifts and keychains!
Detailed Crochet Triangle Bag Monster Pattern
This simple yet adorable crochet pattern will guide you through creating a Triangle Bag Monster—a fun triangular-shaped creature ideal as a keychain, bag charm, or playful gift. The pattern is highly customizable, with options for big or small eyes, long or short mouths, and creative color combinations. This pattern uses basic stitches like single crochet, increases, slip stitches, and the magic ring technique, perfect for beginners looking for an easy yet satisfying project.
Skill Level & Terminology
- Skill Level: Beginner
- Terminology: US Terminology
Materials & Tools
- Yarn:
- Green (or desired color) for the main body (worsted weight).
- Yellow thread for mouth details (worsted weight).
- Black thread for face details like eyelashes and mouth outlines (thin weight, split if necessary).
- Crochet Hook: Size 3.5mm (E/4) or any hook suitable for tension.
- Accessories:
- Tapestry needle for assembly and detailing.
- Fiber fill for stuffing.
- Scissors.
- Stitch markers (optional but recommended).
Gauge
Exact gauge is not critical, but stitches should be snug enough to prevent stuffing from peeking through.
Abbreviations List
- ch: Chain
- sc: Single Crochet
- sl st: Slip Stitch
- inc: Increase (2 sc in the same stitch)
- st(s): Stitch(es)
- MR: Magic Ring
Special Stitch Instructions
- Magic Ring: Wrap yarn around your finger to form a loop, insert the hook through the loop, pull up the yarn, and secure with a chain stitch.
- Increase: Crochet two single crochets into the same stitch.
- Invisible Join: Used for seamless finishing by inserting the needle through the front loops of adjacent stitches.
Finished Size
Approximately 5 inches in length by 4 inches in width when stuffed.
What You’ll Learn from This Pattern
- Creating a magic ring as a base for a seamless circular start.
- Mastering simple stitches like single crochet, increases, and chain stitches for shaping.
- Learning how to fold and stitch parts together neatly.
- Adding embroidery details like eyes, mouths, and eyelashes using yarn for customization.
- Stuffing and assembling amigurumi-style projects.
Detailed Pattern
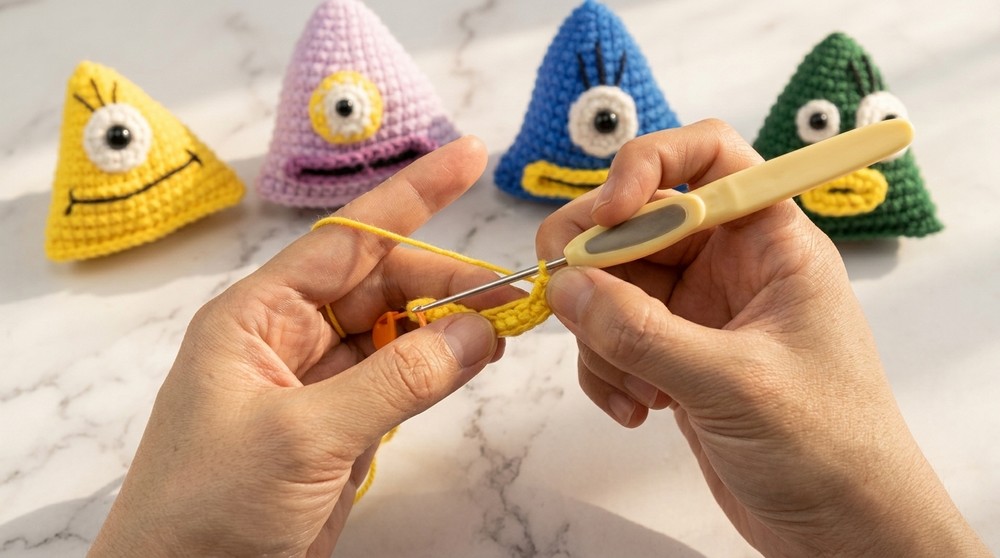
Main Body
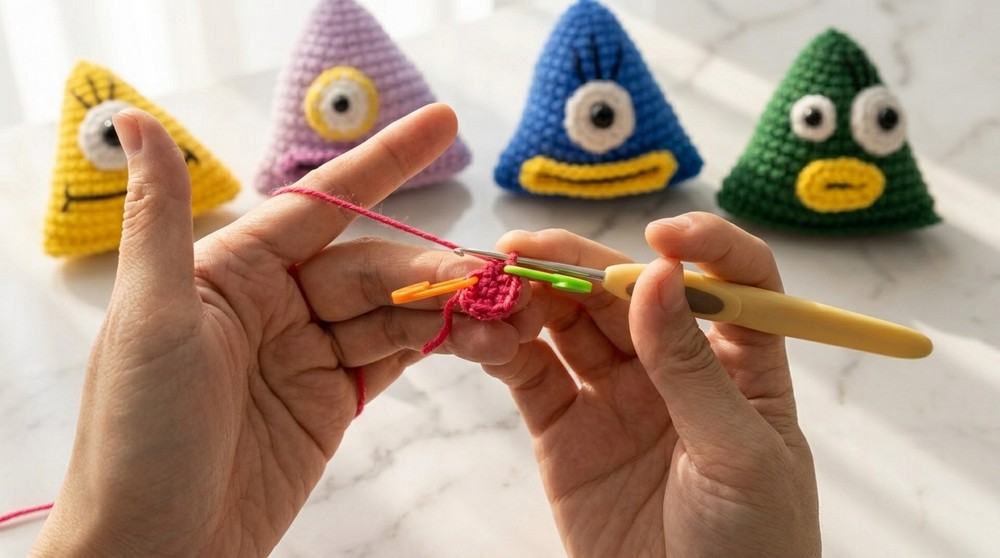
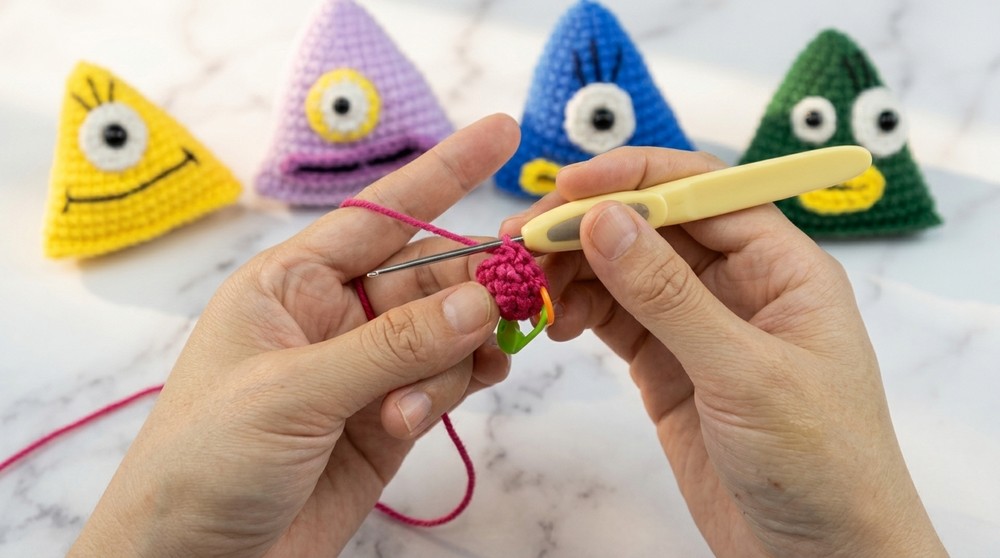
- Start with a Magic Ring (MR):
- Inside the MR: 4 sc. Tighten the loop to close. (4 sts)
- Round 2: Inc in each st around (4 inc). (8 sts)
- Round 3: 1 sc, inc; repeat * around. (12 sts)
- Round 4: 2 sc, inc; repeat * around. (16 sts)
- Rounds 5-17: Work as follows:
- Increase evenly in every round by following the pattern for gradual expansion (e.g., 3 sc, inc for R5, 4 sc, inc for R6, and so on).
By Round 17, you should have 36 sts.
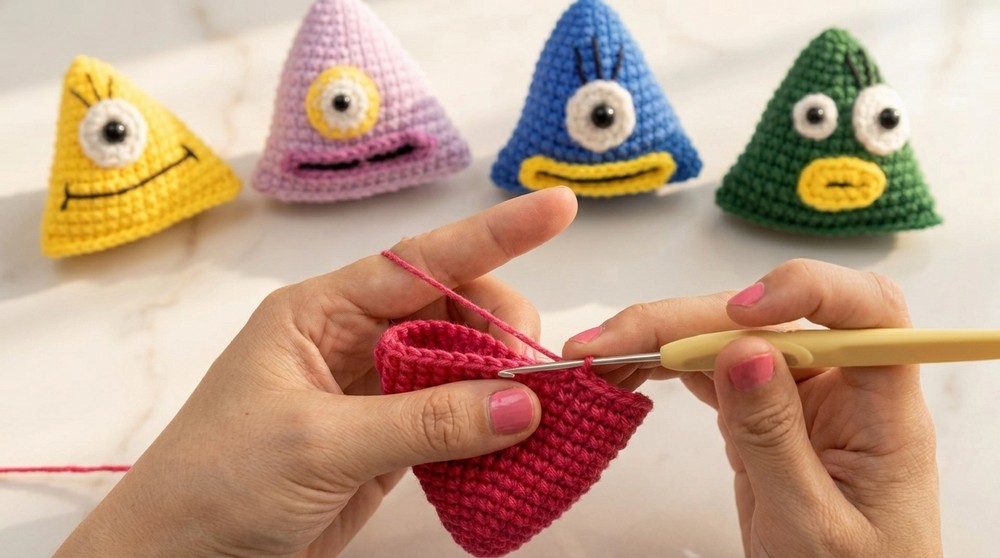
- Round 18: Fold the piece in half and crochet through both sides simultaneously:
- Crochet 18 sc across, ensuring both sides are aligned perfectly.
- Stuff the Triangle: Fill with fiber fill until firm but not overstuffed.
Completion Insight: After completing the main body, you'll have the triangular monster base ready for added details like the mouth, eyes, and optional keychain attachment.
Long Mouth
- Begin with a chain base:
- Ch 14, keeping the tension consistent.
- Row 1:
- Insert the hook into the second chain from the hook. Work 1 sc into each chain across. (13 sc)
- Row 2:
- At the end of the first row, work 3 sc into the last chain to create the rounded edge.
- Work 1 sc into each stitch as you reverse along the opposite side of the chain base.
- Final Edge:
- At the last stitch, add 2 sc to form a rounded increase.
Fasten off and leave a long tail of yarn for sewing.
Completion Insight: The long mouth is designed for monsters with exaggerated facial styles. Adjust the chain length based on personal preference!
Short Mouth
- Start with a Magic Ring (MR):
- Inside the MR: 15 sc. Tighten the loop to close.
- Finish:
- Work an invisible join through the final stitch.
Fasten off with a long tail of yarn for sewing.
Completion Insight: The short mouth offers a minimalistic option and takes only minutes to create!
Eyes
- Start with Magic Ring (MR):
- Inside the MR: 6 sc for small eyes, 8 sc for big eyes.
- Optional Size Adjustment:
- Add 1 round of sc for larger eyes.
Fasten off and leave a tail for sewing.
Completion Insight: The eyes bring personality to your monster! Mix big and small eyes or colors for a lively character.
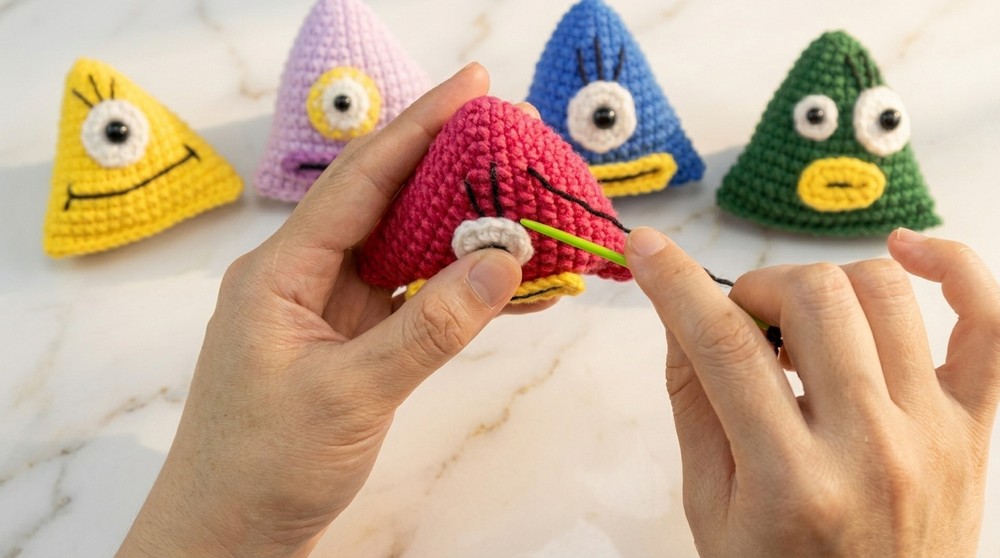
Face Details (Eyelashes and Mouth Edges)
- Split black yarn into thinner strands if needed for detailing.
- Eyelashes: Using a tapestry needle, create small straight or curved strokes above the eyes.
- Mouth Outline: Sketch a shape using the needle, working carefully around the mouth edges.
Completion Insight: These small touches transform your monster into a quirky, emotive figure!
Assembly & Finishing
- Attach the Mouth:
- Position the long or short mouth at the base of the triangle.
- Sew securely around the edges using a tapestry needle.
- Attach the Eyes:
- Place the eyes symmetrically near the top flat section or offset them for a playful look.
- Sew securely.
- Detailing:
- Add eyelashes and mouth outlines in black thread using a tapestry needle for stitching fine details.
- Hide Ends:
- Weave in any extra thread or yarn tails securely inside the triangle’s stuffing.
Enjoy Your Triangle Bag Monster!
Your quirky monster is complete! Use it as a bag charm, keychain accessory, or whatever strikes your fancy. Customize its face further by experimenting with different smiles, frowns, or expressions.
Feel free to crochet multiple monsters in various colors and expressions for a fun collection!
Tips for Beginners
- Using a stitch marker is handy to track your rounds, especially during increases.
- If your stitches feel uneven, crochet slowly for better tension control.
This pattern uses single crochet throughout, with magic ring techniques for precise circular shapes. The finished piece is straightforward yet versatile, ensuring every monster is unique!
Challenges & Solutions
Crocheting this little monster can come with a few challenges, especially for beginners. Achieving a neat magic ring start or ensuring the increases and decreases stay consistent might feel tricky at first. Additionally, folding and stitching the pieces together neatly can require extra attention. The solution is; Take it slow and use a stitch marker to track your rounds and stitches. Practice making the magic ring a few times on scrap yarn until it feels natural. For sewing the pieces together, pin them lightly in place to ensure alignment before stitching. Remember, patience and practice will help you achieve a cute, polished result every time!