
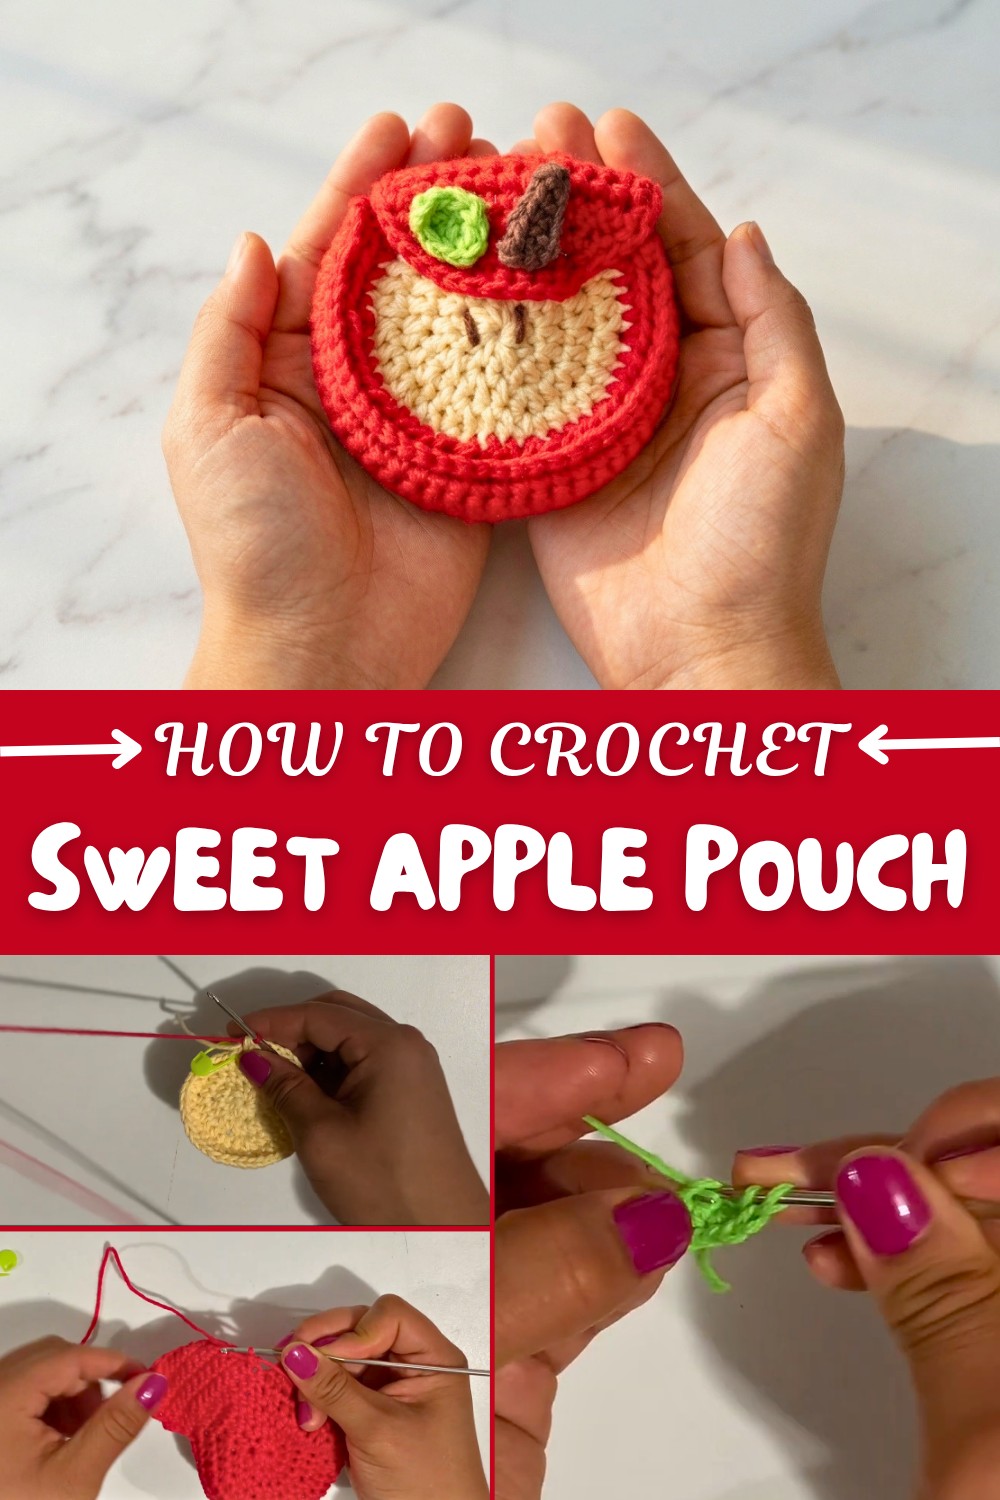
How to Crochet Apple Pouch With Easy & Free Pattern
Make a charming apple-shaped pouch with this free crochet pattern, offering simple steps and creative details for a perfect blend of style and functionality.
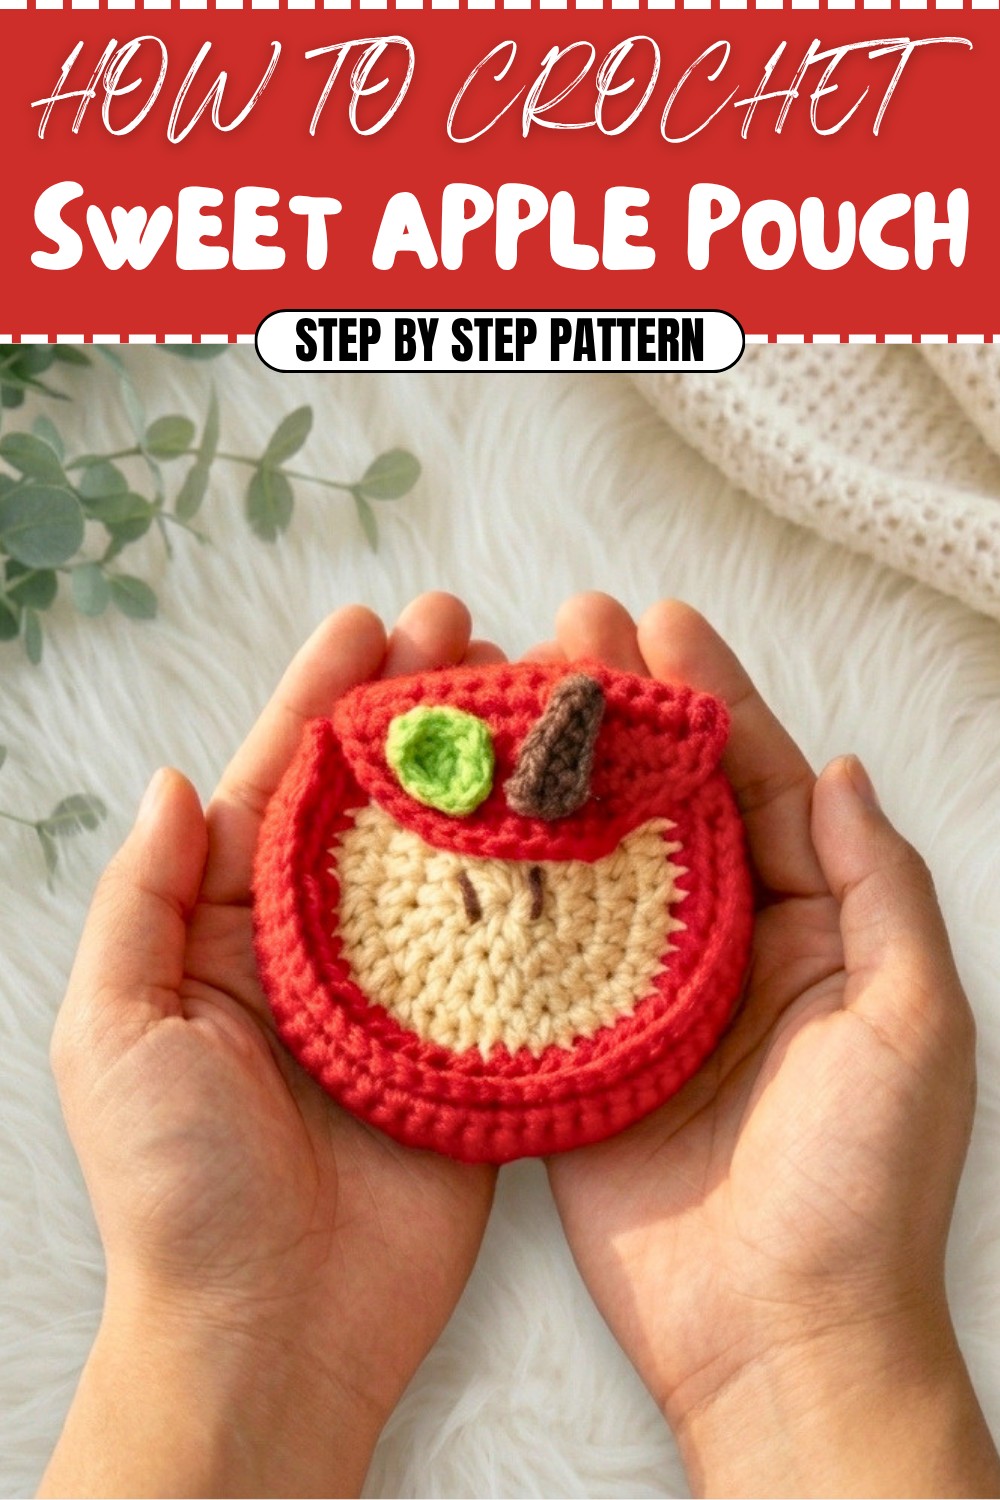
Colorful creations always brighten up your day and add personality to your handmade collection. The free crochet apple pouch pattern stands out for its vibrant red color, adorable leaf detail, and charming round shape. Its soft and neat texture gives it a fresh, inviting look.
Free Crochet Apple Pouch Pattern – Adorable & Easy
What makes this pouch really attractive is the realistic apple design, finished with a cute stitched leaf and stem that look sweet and playful. The easy stitches make it simple to create, so even beginners can enjoy making this apple pouch without stress. If you feel creative, you can change the yarn color and make pouches that look like oranges or lemons, following the same steps.
Crocheters find joy in projects like this because the apple pouch is quick to finish and allows for small variations. You can make them in different sizes or add extra leaves for a unique touch. Plus, the pattern is so flexible that it inspires other fruit-themed pouches too.
Practical and cute, the apple pouch can be used to store coins, jewelry, or little accessories. Slip it into your bag for easy organization, or let kids use it for their tiny keepsakes. It’s also a thoughtful handmade gift perfect for teachers, friends, or anyone who appreciates crochet surprises.
Apple Slice Coin Purse Crochet Pattern
Crochet this adorable and practical apple slice coin purse a perfect beginner-to-intermediate project! This little pouch features clever shaping, a playful color transition, and classic apple details for a fun, realistic look.
The pattern uses simple stitches, regular increases, and straightforward assembly, making it ideal for those learning to join flat pieces and add decorative elements. Your finished coin purse will be a hit as a gift, craft fair item, or cheerful personal accessory.
Skill Level & Terminology
- Skill Level: Advanced Beginner / Intermediate
- Terminology: US Crochet Terms
Materials & Tools
- Yarn: Cotton or acrylic 2/0 (light/DK) in cream/white (flesh), red (peel), light brown (stem), and green (leaf).
- Hook: 2.5mm (or hook suitable for your yarn for a tight fabric)
- Tapestry Needle
- Stitch Marker/Separator
- Scissors
- Fabric glue or hot glue (for attaching leaf, optional)
Gauge
Gauge is not critical for this pattern. After completing the main circle with increases, it should measure about 8–9 cm (3–3.5 inches) across using the recommended yarn and hook.
Abbreviations List
| Abbreviation | Meaning |
|---|---|
| MR | Magic ring (magic circle) |
| ch | Chain |
| sc | Single crochet |
| hdc | Half double crochet |
| inc | Increase (2 stitches in same st) |
| dec | Decrease (sc2tog) |
| sl st | Slip stitch |
| st(s) | Stitch(es) |
| FO | Fasten off |
Special Stitch Instructions
- half double crochet (hdc): Yarn over, insert hook into stitch, yarn over and pull up a loop (3 loops on hook), yarn over and pull through all three loops.
- Increase (inc): Work 2 stitches into the same stitch.
- Decrease (dec): Insert hook into stitch, yarn over and pull through, insert hook into next stitch, yarn over and pull through, yarn over and pull through all three loops (single crochet decrease).
- Magic Ring (MR): Loop yarn around fingers, insert hook, draw up a loop and ch to secure; work stitches into ring and pull tight.
Finished Size
Approximately 9 cm (3.5") across and 6.5–7 cm (2.5") tall when closed, not including leaf and stem.
Stitches Used & How To Start
The main stitches for this purse are half double crochet (hdc) for the apple slice and single crochet (sc) for the edging, leaf, and stem. Start with a magic ring for a neat, closed center and increase in the round, switching to rows for the interior wallet space and flap.
If you are not comfortable with written patterns:
You start with a round, add color for the skin, work a rectangle for the body, join two halves together with slip stitch, and add a small flap, leaf, and stem.
The Pattern Itself
Apple Flesh and Peel (Make 2 identical pieces)
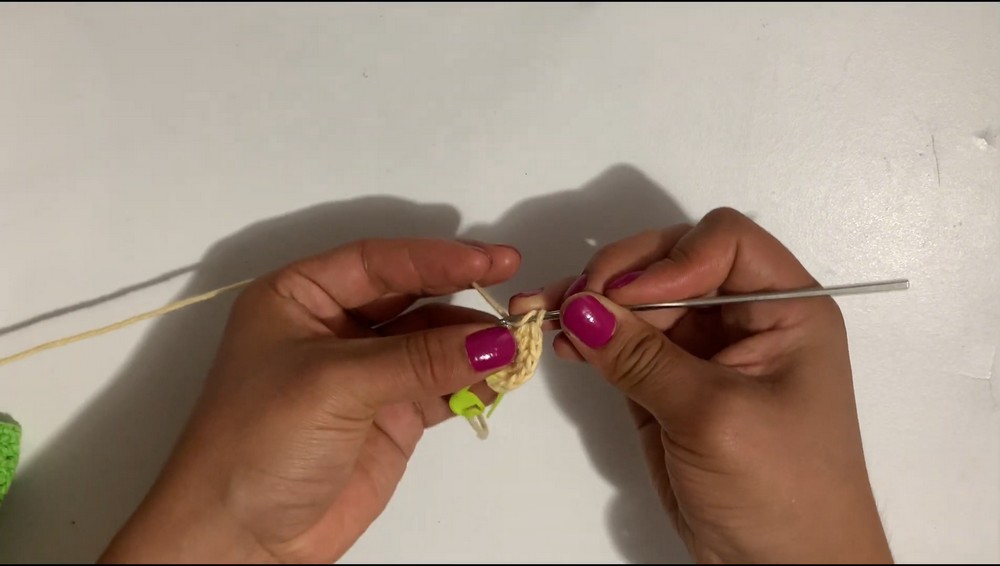
With cream or white yarn and 2.5mm hook:
- Round 1:
MR, 10 hdc in ring. Place marker in first st.
(10 sts) - Round 2:
2 hdc in each st around. (20 sts) - Round 3:
(1 hdc, inc) around. (30 sts)
[hdc in next st, 2 hdc in next st] repeat. - Round 4:
(2 hdc, inc) around. (40 sts)
[hdc in next 2 sts, 2 hdc in next st] repeat. - Color change to red (for peel):
On the final step of the last hdc in round 4, switch to red yarn by pulling through all 3 loops on your hook with red. Proceed, leaving a tail and knotting to secure. - Round 5:
(3 hdc, inc) around. (50 sts)
[hdc in next 3 sts, 2 hdc in next st] repeat. FO.

After this section, you should have a neat circle with a cream center and a red border.
If you do not read patterns:
Make a flat circle, increasing every round, and switch from cream to red for the last round. Repeat for two pieces.
Open Pocket Portion
With one finished circle still on your hook, turn and work flat to create the pocket:
- Row 1:
Ch 1, work 38 sc across center stitches of the red-edged piece. (Leave 6 sts unworked at each side). Turn. - Rows 2–4:
Ch 1, 1 sc in each st across (38 sc). Turn for each row.
You should have a rectangular flap covering the straight part of the “apple slice.”
If you do not read patterns:
Work three rows of single crochet back and forth across the straightest part of your circle to make a flap for coins.
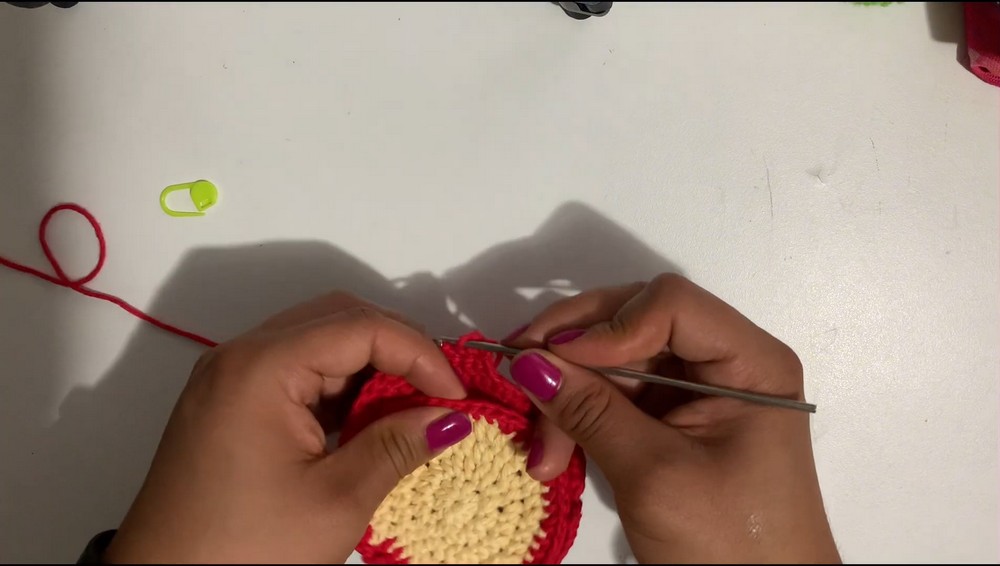
Joining Both Halves
Hold both apple circles wrong sides together, with the pocket section facing out.
- Working through back loops only of each piece, join with sc or sl st along the edge of the circle—do not join the top open straight edge (it’s the “mouth” of the purse).
- Continue all the way around the curve, FO and weave in ends.
If you do not read patterns:
Join both pieces together around the curved part, leaving the top open, using single crochet or slip stitch for a neat seam.
Flap (Apple Closure)
Attach white or cream yarn to the back top center (unjoined portion) where the two halves meet.
- Row 1:
Sc in the next 12 back loop sts along the curved edge of the back circle. (12 sc), turn. - Rows 2–5:
Ch 1, 1 sc into each sc across (12 sc). Turn. - Row 6:
Ch 1, dec (sc2tog), 8 sc, dec (sc2tog) (10 sts), turn. - Row 7:
Ch 1, dec, 6 sc, dec (8 sts), turn. - Row 8:
Ch 1, dec, 4 sc, dec (6 sts). FO.
If you do not read patterns:
Make a short rectangle from the back center for the flap, decreasing at sides to angle it in.
Edging Around Pocket and Flap
Using red or cream, sc evenly along both sides of the open pocket and flap for neatness. Work 8 sc up each short side, 2 sc in the corner, then 4 sc, 2 sc in the second corner, and 8 sc down the other short side. FO and weave in ends.
Stem
With brown yarn:
- Ch 6,
- Sc in second ch from hook and next 3 chs,
- Hdc in next ch,
- 2 hdc in same last ch. FO.
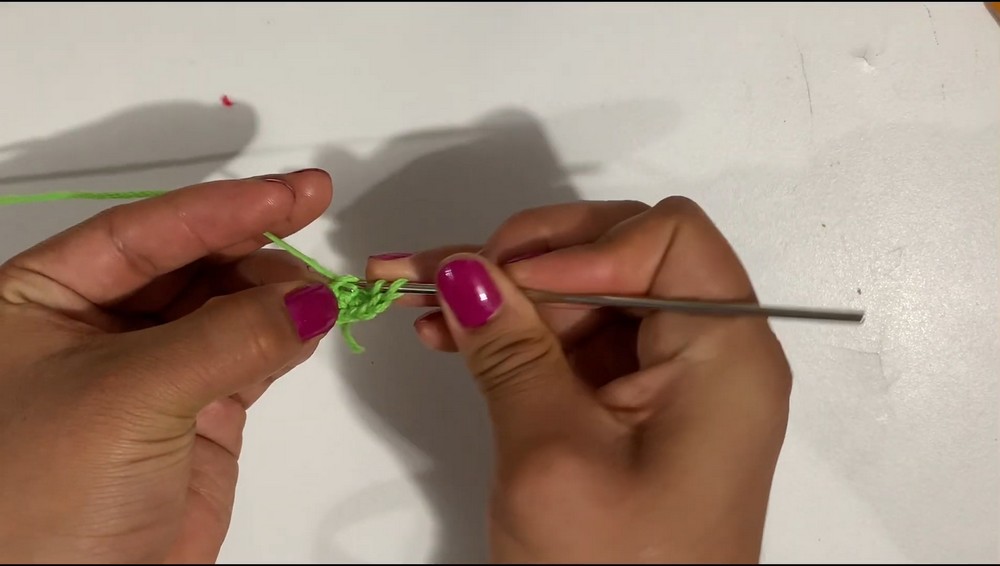
Leaf
With green yarn:
- Ch 5,
- In second ch from hook: sc,
- Next ch: hdc,
- Next ch: hdc,
- Last ch: 3 sc (turn leaf to work along other side),
- Next ch: hdc,
- Next ch: hdc,
- Next ch: sc. FO.
Seeds (Details)
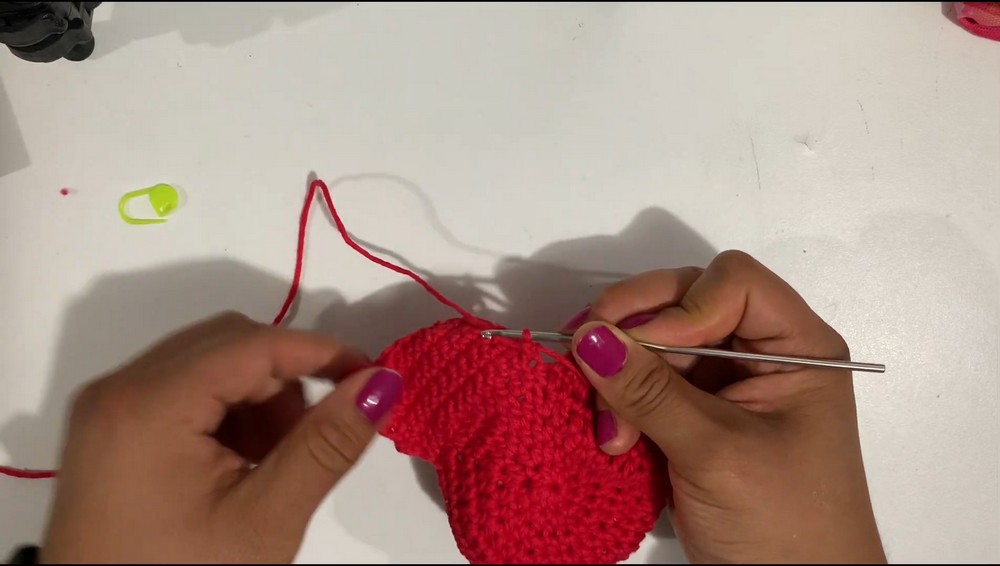
With black or brown embroidery thread or yarn, use a tapestry needle to make 2–3 small seed-shaped lines in the cream area. Pull ends through to inside and knot before weaving in.
Assembly & Finishing
- Hide all ends on the inside of the purse using a tapestry needle.
- Attach the leaf and stem at one side of flap with sewing or glue.
- Press gently with a cool iron if desired to shape.
- Ensure the flap closes neatly.
Conclusion
Congratulations! Your delightful apple slice coin purse is finished. You’ve practiced magic ring, hdc, sc, color changes, flat row work, simple shaping, and decorative finishing. This pattern is highly adaptable to other fruits and is perfect for showcasing small yarn leftovers.
You can now add a button or snap to the flap if added closure is desired, or simply enjoy your new coin purse as-is.
Stitches used: magic ring, half double crochet, single crochet, increases, decreases, slip stitch.
You start with a round, build up with hdc and increases, switch to rows for the pocket, and finish with fun little shapes and details.