
Best Free Crochet Demogorgon Amigurumi Pattern | Fun Tutorial
Make your own creepy cute Demogorgon Amigurumi with this free crochet pattern great for gifting or adding a scary fun touch to your space.
If you’ve ever wanted to bring a famous TV show monster to life, this crochet project is perfect for you. Loopa Crochets has created a wonderful step-by-step guide to help you make a Demogorgon-inspired amigurumi. With her calm and simple teaching style, even beginners can follow along and create this unique and eye-catching piece. Her instructions are clear, making the crocheting process a fun and stress-free experience.
Free Crochet Demogorgon Amigurumi Pattern for Fans of Stranger Things
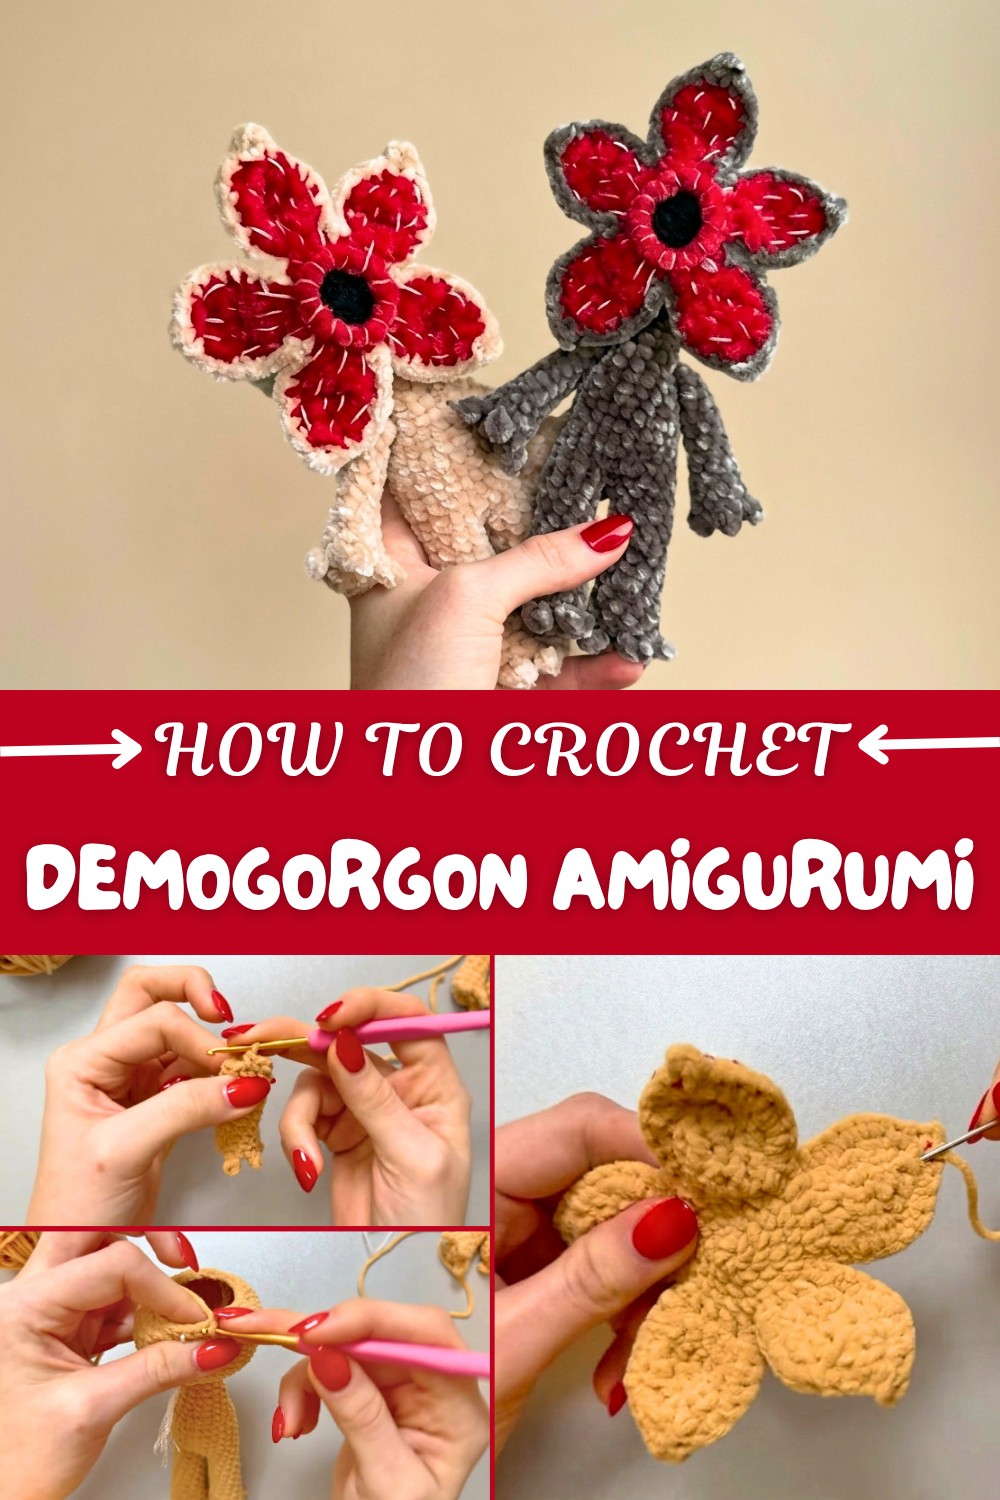
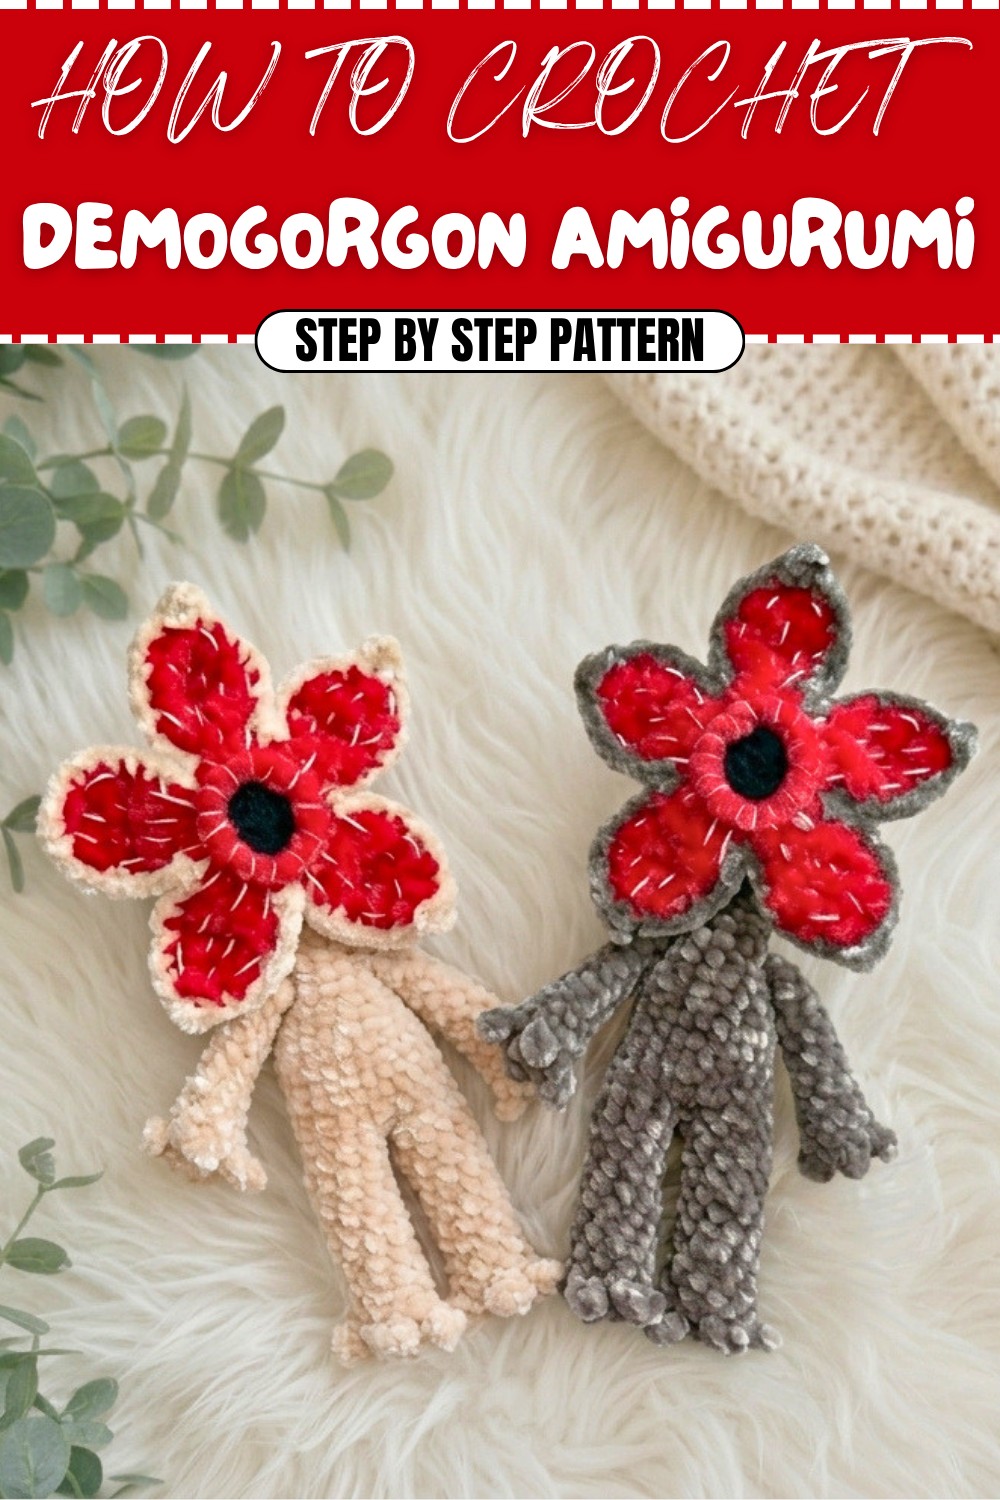
This design is special because of its striking details. The open petal-like mouth, made with red and black yarn, is the highlight of the piece, giving it that signature creepy-yet-cute look. The body, arms, and legs are shaped with precision to capture the monster’s recognizable appearance, all while keeping the soft and cuddly charm of an amigurumi. The final touches, like embroidered details and the lightweight filling, add a polished and lifelike feel to your creation.
The finished piece is more than just a toy, it’s a creative conversation starter. Whether you use it as home décor, a gift for a fan of the show, or a collectible for yourself, its unique design is sure to grab attention. With its manageable size and easy-to-follow pattern, it’s the perfect project for anyone who loves crocheting and wants to create something truly one-of-a-kind. Give it a try and bring this iconic creature to life.
Demogorgon Amigurumi Crochet Pattern
This Demogorgon amigurumi is an expressive, slightly eerie character inspired by iconic monster design, worked in small, detailed parts for a neatly finished figure. The construction is modular: you will first crochet the arms, then the legs, body, and head as one continuous piece, followed by the mouth, and finally assemble all sections. The result is a compact, posable creature with a striking multi-petal mouth feature.
Skill Level
Intermediate – This pattern uses amigurumi techniques, shaping with increases and decreases, working in the round, joining legs to form the body, and using back loop only/front loop only to build the mouth petals. Some experience with reading patterns and constructing small 3D shapes is recommended.
Materials
- Yarn
- Beige yarn (for arms, legs, body, and head)
- Red yarn (for mouth petals)
- Black yarn (for inner mouth base)
- Hook
- 2.5 mm crochet hook (or hook size appropriate to your yarn for a tight amigurumi fabric)
- Notions
- White embroidery thread (for details on the mouth or face)
- Fiberfill stuffing
- Embroidery / tapestry needle
- Scissors
Use similar weights for all yarns to keep proportions consistent.
Special Stitches and Techniques
Magic Ring (MR)
Used to begin crocheting in the round:
- Loop yarn around your fingers to form a ring.
- Insert hook into ring, yarn over, pull through, and chain 1 (or the number required).
- Work the required number of stitches into the ring.
- Pull the tail to close the ring.
Increase (inc)
Work 2 sc into the same stitch to increase by one stitch.
Decrease (dec)
Work sc2tog:
- Insert hook into the first stitch, yarn over, pull up a loop.
- Insert hook into the next stitch, yarn over, pull up a loop (3 loops on hook).
- Yarn over, pull through all 3 loops.
Back Loop Only (BLO)
Insert the hook into the back loop only of the stitch (the loop farthest from you), leaving the front loop unworked.
Front Loop Only (FLO)
Insert the hook into the front loop only (the loop closest to you), leaving the back loop unworked.
These loop techniques are used in the mouth to create layers of petals and inner structure.
Stitch Abbreviations
- MR = Magic ring
- ch = Chain
- sc = Single crochet
- inc = Increase (2 sc in same stitch)
- dec = Decrease (sc2tog)
- BLO = Back loop only
- FLO = Front loop only
All rounds are worked in continuous spirals unless otherwise stated. Use a stitch marker at the beginning of rounds if needed.
Useful Tips
- Tension: Maintain a tight, even tension so the stuffing does not show through the stitches.
- Stuffing: Stuff gradually as you work, especially in the arms and head, to achieve smooth shaping.
- Counting: Frequently count your stitches at the end of each round to avoid unnoticed increases or decreases.
- Color changes: For the mouth, switch from black to red neatly by completing the last stitch of the previous round with the new color.
- Loop work: When working BLO/FLO in the mouth, be careful to distinguish front and back loops; misplacing these can distort the petal shapes.
Detailed Pattern
1. Arms (make 2)
Use beige yarn.
- Round 1:
- MR, 5 sc into the ring. (5)
- Round 2:
- 1 inc, 1 sc in the first two stitches.
- For finger on the 3rd stitch: ch 3, skip 1st chain, 2 sc into remaining 2 chains, 1 sc into the same stitch on the arm.
- Repeat this finger construction on the 4th stitch: ch 3, skip 1st ch, 2 sc in chain, 1 sc in same arm stitch.
- On the 5th stitch, work 1 inc.
- You will have a small arm with two finger projections.
- Rounds 3–4:
- 1 sc in each stitch around. Maintain the stitch count established in Round 2.
- Round 5:
- Work (3 sc, 1 dec) x2 around, forming a gentle taper in the arm.
- Rounds 6–13:
- 1 sc in each stitch around for 8 rounds, forming the length of the arm.
- Lightly stuff half of the arm so it holds shape but remains flexible.
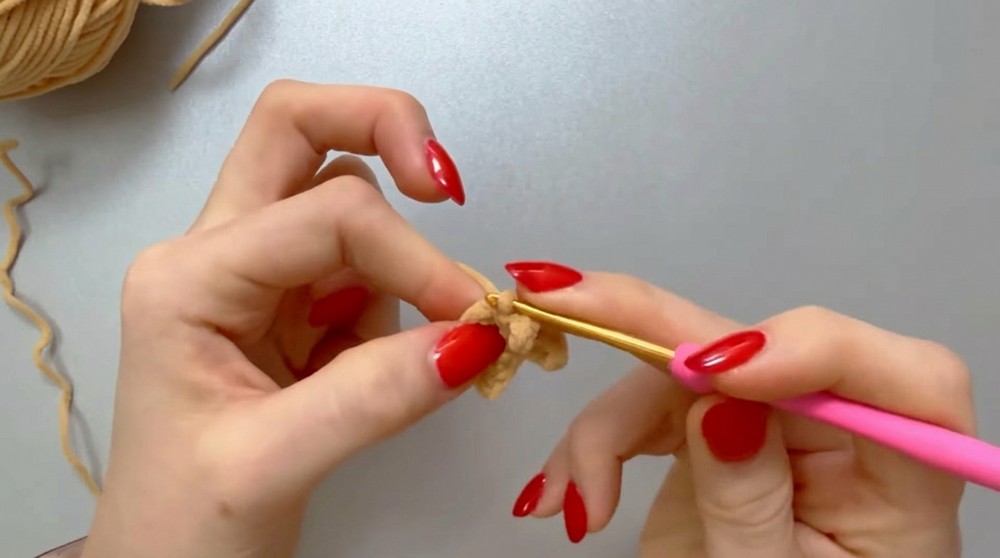

To close the arm:
- Fold the open end of the arm flat, aligning stitches.
- Work 4 sc through both layers to close the arm, forming a flat edge ready for sewing to the body.
Repeat for the second arm.
2. Legs, Body, and Head (one continuous piece)
Legs (make 2, then join)
Use beige yarn.
First leg:
- Round 1:
- MR, 6 sc. (6)
- Round 2:
- Work: 2 inc, 1 sc, (ch 3, 2 sc in chain), 1 sc, 2 sc, 2 sc, 1 inc.
- This creates small toe-like protrusions and increases overall stitch count to form the foot.
- Rounds 3–4:
- 1 sc in each stitch around to stabilize the foot.
- Round 5:
- (4 sc, 1 dec) x2 around to taper the leg above the foot.
- Rounds 6–13:
- Work 10 sc in each round, forming the leg length.
- Fasten off the first leg. Do not cut yarn on the second leg when you finish Round 13; it will be used to join the legs.
Second leg:
- Make as for the first leg. At the end of Round 13, keep the yarn attached.
Body (joining the legs)
- Use the working yarn from the second leg.
- Round 14 (Join Legs):
- ch 2, then work 10 sc around the first leg,
- 2 sc into the chain space,
- 10 sc around the second leg,
- 2 sc into the other side of the chain space.
- You should now have 24 stitches (10 + 2 + 10 + 2).
- Rounds 15–20:
- 24 sc around. This forms the torso.
- Round 21:
- (4 sc, 1 dec) x4 = 20 stitches.
- Round 22:
- 20 sc around.
- Round 23:
- (3 sc, 1 dec) x4 = 16 stitches.
- Rounds 24–25:
- 16 sc around.
- Round 26:
- (2 sc, 1 dec) x4 = 12 stitches.
- Rounds 27–28:
- 12 sc around.
Stuff the legs and lower torso as you go so the shape is firm before you begin the head.
Head
Continue with the same yarn from the body.
- Round 29:
- (1 sc, 1 inc) x6 around = 18 stitches.
- Round 30:
- Pattern: 1 sc, 1 inc, 2 sc, 1 inc x5, 1 sc.
- This structured increase creates gradual expansion of the head, leading to 24 stitches.
- Round 31:
- (3 sc, 1 inc) x6 = 30 stitches.
- Round 32:
- Pattern: 2 sc, 1 inc, 4 sc, 1 inc x5, 2 sc.
- Head continues to widen, increasing to 36 stitches.
- Round 33:
- (5 sc, 1 inc) x6 = 42 stitches.
- Rounds 34–41:
- 42 sc around for 8 rounds.
- This builds the main sphere of the head.

Begin stuffing the body and head firmly during these rounds, adding fiberfill gradually to avoid lumps.
- Round 42:
- (5 sc, 1 dec) x6 = 36 stitches.
- Round 43:
- Pattern: 2 sc, 1 dec, 4 sc, 1 dec x5, 2 sc.
- This structured decrease begins to close the top of the head.
- Round 44:
- (3 sc, 1 dec) x6 = 30 stitches.
- Round 45:
- Pattern: 1 sc, 1 dec, 2 sc, 1 dec x5, 1 sc = 24 stitches.
- Round 46:
- (1 sc, 1 dec) x6 = 18 stitches.
Stuff the head fully and neatly. Use additional rounds of dec as needed to close completely, then fasten off and weave in the end.
3. Mouth
The mouth is composed of an inner black base and an outer red petal structure, then joined together.
Inner Base (Black Yarn)
- Round 1:
- MR, 6 sc into ring. (6)
- Round 2:
- 6 inc = 12 stitches.
- Round 3:
- (1 sc, 1 inc) x6 = 18 stitches.
- This forms a small circular disc that will sit at the center of the mouth.
Change to red yarn for outer petals.
Outer Petal Structure (Red Yarn)
Using BLO and FLO across subsequent rounds:
- Begin by working BLO sc around to create an underlying base ring.
- Then, on the unused FLO of earlier rounds, work small petal shapes, using patterns such as:
- (sc, hdc, sc) in FLO of one stitch, ch 1, skip next FLO to form small points.
- Continue building petals evenly around the circle to create a multi-lobed mouth.
- The exact number of petals should match the structural design: aim for 5–6 evenly spaced petals with slight points.

Once both inner (black) and outer (red) parts are complete:
- Place them together, wrong sides facing each other.
- Crochet around the perimeter, working through both layers to join them securely.
- At the peaks of each petal, you may add small chain loops (e.g., ch 3, sl st back into same stitch) to accentuate the pointed shapes.
- Use white embroidery thread to add small “teeth” or texture details along the inner red edge if desired.
4. Assembly and Sizing
Assembly
- Arms:
- Position arms symmetrically on either side of the upper torso.
- Sew the closed flat end of each arm to the body using your tapestry needle. Ensure fingers face forward.
- Mouth:
- Center the mouth on the front of the head.
- Sew securely around the back edge of the red petal base, shaping it slightly so that the petals can flare outward.
- Add further embroidery details with white thread if desired.
- Final Adjustments:
- Check symmetry of all parts.
- Weave in all remaining ends carefully to maintain a clean finish.

Sizing
With a 2.5 mm hook and standard amigurumi-weight yarn, the finished Demogorgon amigurumi will be approximately 10–15 cm tall, depending on tension and stuffing density. Adjust hook size or yarn thickness to scale the figure up or down, keeping stitch counts the same for proportional shaping.
Conclusion
This Demogorgon amigurumi pattern combines structured shaping with layered mouth detailing to create a distinctive miniature creature. The modular construction of arms, legs, body, head, and mouth allows for focused work on each section, while the final assembly brings the character to life. With careful tension, stuffing, and attention to BLO/FLO techniques, the finished piece will be a striking collector’s item or gift that showcases creative monster-inspired crochet.