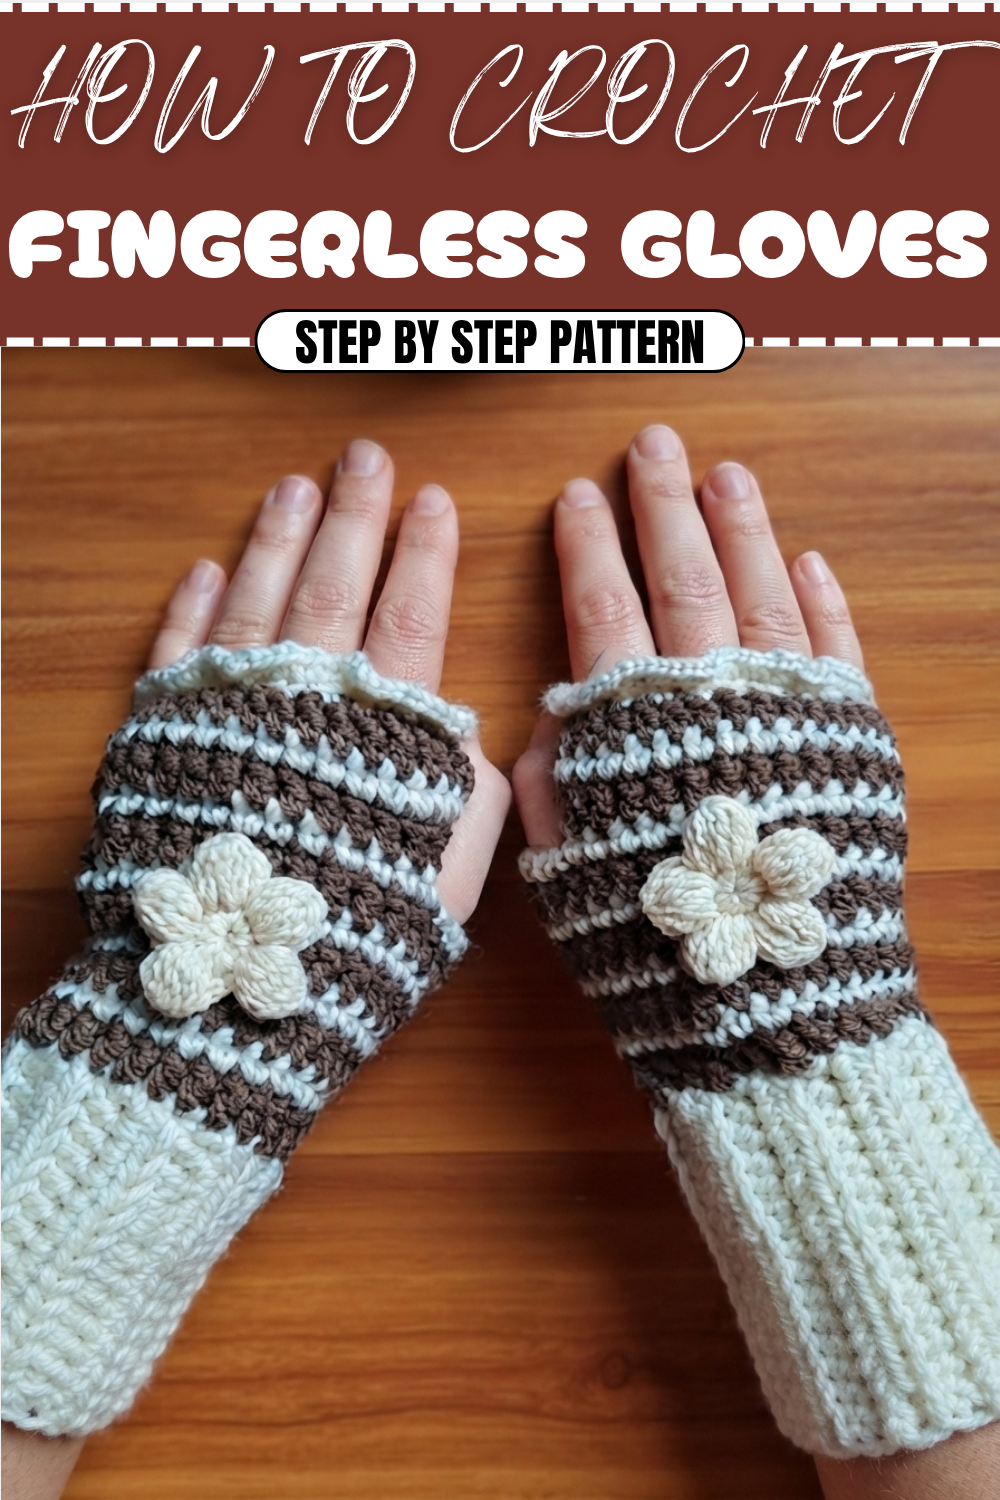
Beginners Crochet Fingerless Gloves Pattern Free & Fashionable
Elevate your everyday look by adding a free crochet fingerless gloves pattern offering personalized, fashion-forward hand warmth.
There’s a special charm in accessories that blend beauty and functionality effortlessly. These fingerless gloves pattern stand out with their elegant wavy texture, which not only looks stylish but also adds a cozy feel. The open-finger pattern makes them perfect for keeping your hands warm while allowing full freedom to use your fingers. They are ideal for texting, typing, or crocheting in cooler weather. Whether you wear them at home, outdoors, or as a fun fashion statement, their lightweight yet snug fit makes them a versatile addition to any wardrobe.
How Can You Crochet Cozy Fingerless Gloves With This Free Pattern
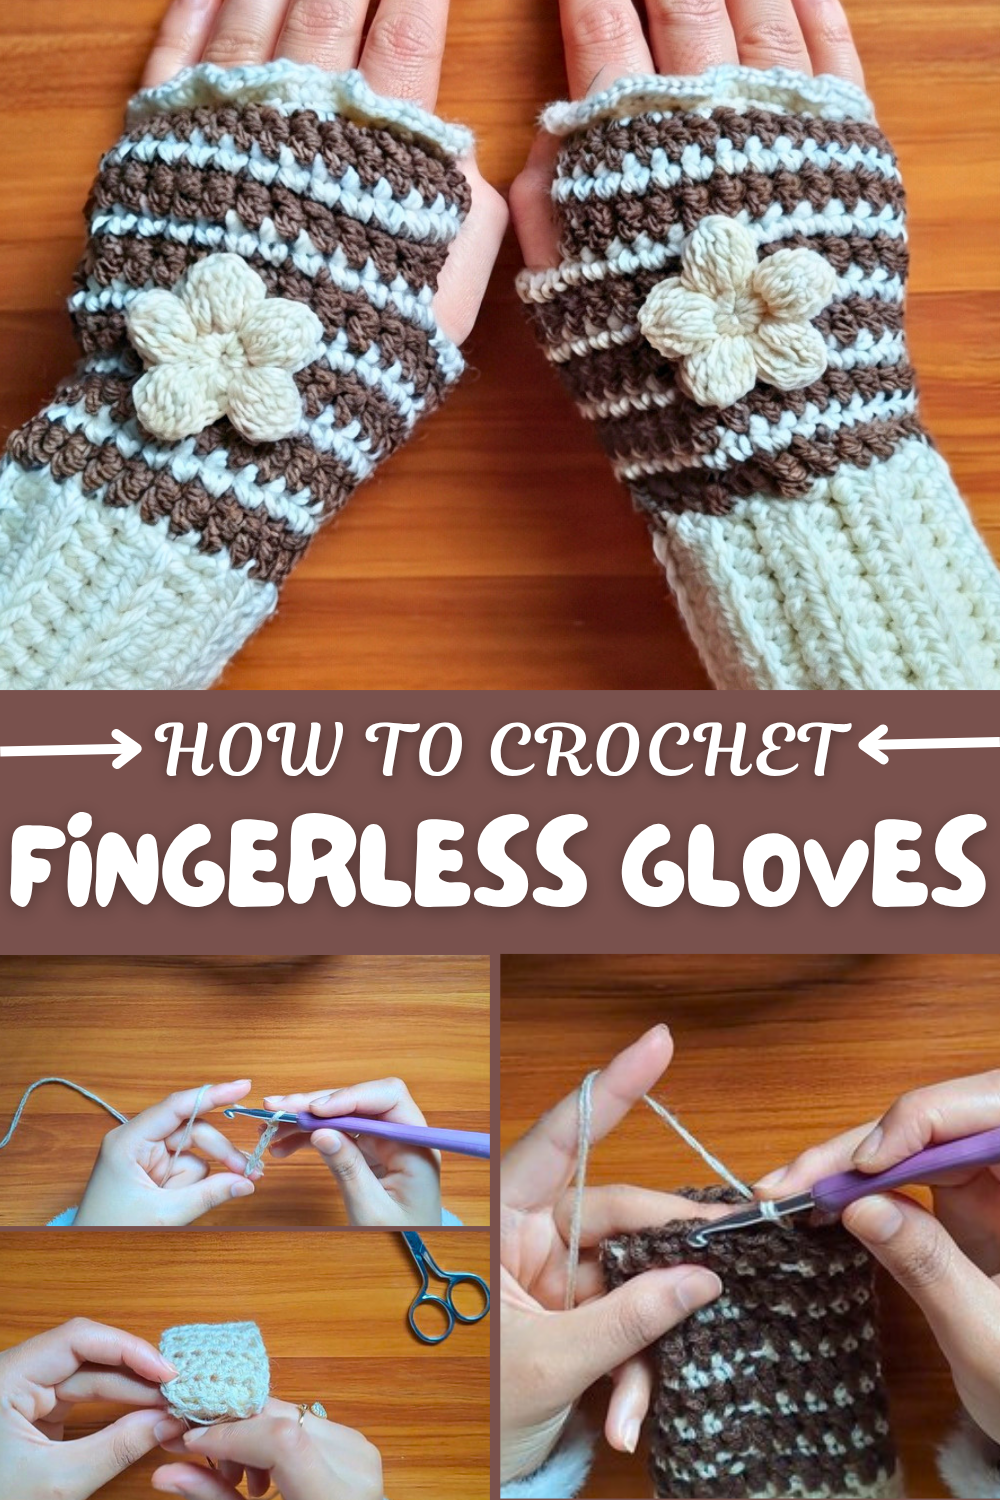
Starting with a simple chain, the pattern grow using the half double crochet stitch, known for its softness and stretchiness. Alternating rows of single and double crochet stitches form the wavy bands that give the gloves their unique, flowing design. The thumb opening is cleverly made by skipping a few stitches, ensuring comfort without complicated sewing. Color changes allow you to personalize your gloves easily, while the finishing crab stitch edging provides a polished, professional touch that frames the design beautifully.
Creative Possibilities Using This Pattern
Once you’ve crocheted these gloves, you can use the same wavy stitch pattern to make a variety of cozy accessories. If a matching headband or hat that carries the same gentle ripples, or a scarf and cowl that wraps you in soft waves of warmth. This pattern is a wonderful starting point for creating stylish, handmade pieces that keep you cozy and looking great all season long.
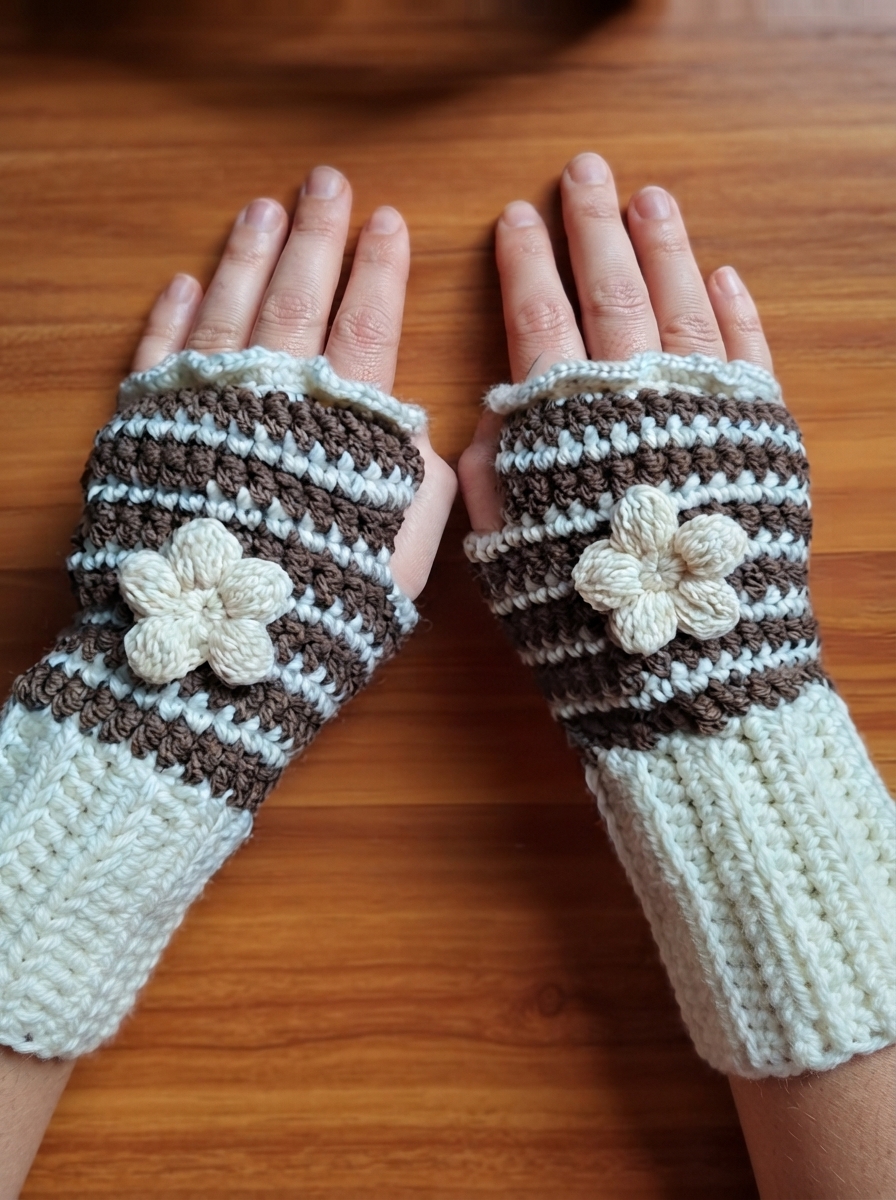
Fingerless Gloves with Wavy Bands and Flower Accent Pattern
This pattern guides you to crochet stylish fingerless gloves with wavy bands and an optional flower accent. Featuring alternating rows of single crochet and double crochet to create a beautiful wavy texture, this project is quick, simple, and perfect for beginners. The gloves are customizable in size and color, making them a versatile gift or accessory for any season. Adding the optional flower gives the gloves an elegant final touch.
Uses of This Pattern
- Fashion Accessory: Perfect for cooler months or as a stylish statement piece.
- Practical Warmth: Keeps your hands warm while leaving your fingers free for typing or tasks.
- Customization: Create in any color combination to match personal style or festive occasions.
Skill Level & Terminology
- Skill Level: Beginner (simple stitches and repetitive pattern).
- Terminology: US Crochet Terms.
Materials & Tools
- Yarn:
- Two colors of medium-weight yarn (e.g., worsted weight).
- Suggested colors: Brown and white (or any desired contrasting colors).
- Hook Size: 4 mm crochet hook.
- Extras:
- Tapestry needle for sewing and weaving in ends.
- Scissors.
Gauge
Gauge is not critical for this pattern. For reference:
6 half-double crochets x 4 rows = 1 inch.
Finished Size
One size fits most. Instructions are provided for resizing the wristband to fit your wrist snugly.
Abbreviations List
| Abbreviation | Description |
|---|---|
| ch | Chain |
| sc | Single Crochet |
| hdc | Half-Double Crochet |
| dc | Double Crochet |
| sl st | Slip Stitch |
Special Stitch Instructions
Single Crochet Decrease:
- Insert hook into the front loop of the first stitch.
- Insert hook into the front loop of the second stitch.
- Yarn over, pull through both front loops (two loops left on the hook).
- Yarn over, pull through both loops to complete the decrease.
This is used to create decreases for shaping the wavy bands and fingers.
What You’ll Learn From This Pattern
- Mastering foundational crochet skills like half-double crochets, double crochets, and slip stitches.
- How to create a wristband using ribbed texture and crochet a thumb opening.
- Adding decorative and practical accents, such as wavy bands and a crochet flower.
The Pattern
Part 1: Creating the Ribbed Wristband
Step 1: Foundation of the Wristband
- Ch 7. (You can adjust the number of chains for a wider or narrower wristband).
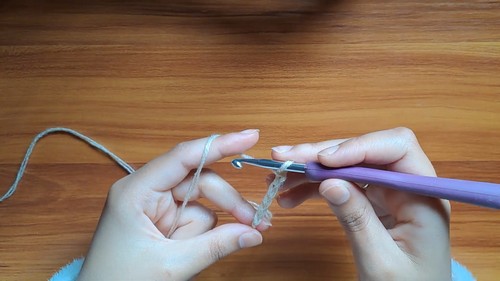
- Starting from the 2nd chain from the hook, work 1 hdc in each chain across. (6 hdc total).
- Ch 1, turn the work.
Step 2: Building the Rib Texture
- Work 1 hdc in each stitch, into the back loop only.
- Repeat until the wristband fits snugly around your wrist.
- Fasten off, leaving a long tail for sewing.
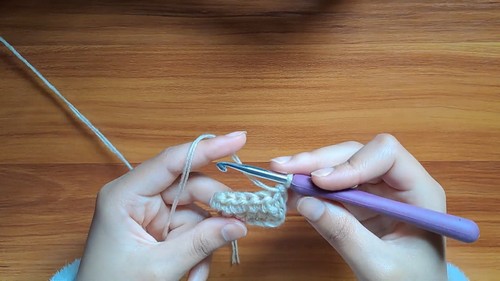
Step 3: Joining the Wristband
- Fold the wristband in half.
- Sew the short edges together using the tapestry needle and long tail. Align the center loops for a neat seam.
- Weave in the ends.
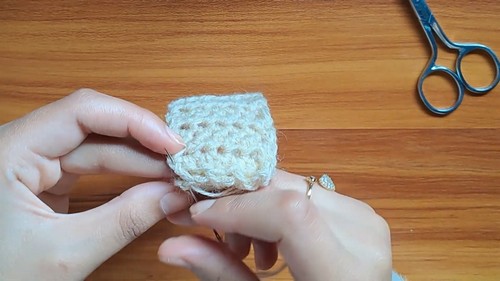
The ribbed wristband provides a stretchy foundation for the glove. It’s comfortable and fits securely on your wrist.
Part 2: Adding the Wavy Bands
Step 1: Starting the Pattern Around the Wristband
- Attach your first color yarn (brown) at the seam using a slip knot.
- Ch 3 (counts as the first dc).
- Work 1 dc in every other gap along the edge of the wristband. Keep the crocheted stitches spacious to maintain a wavy appearance.
- Join with a sl st into the 3rd chain of the starting ch-3.
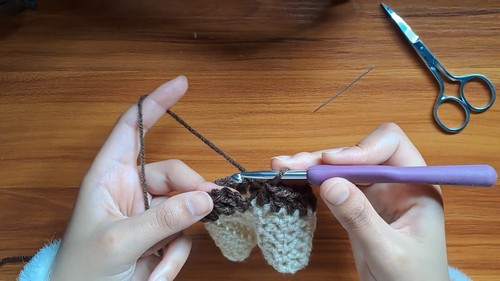
Step 2: Alternating Rows of Wavy Bands
- Attach your second color yarn (white).
- Ch 2 and work 1 sc in every stitch around.
- Join with a sl st into the 2nd chain of the starting ch-2.
- Alternate rows:
- Brown: Work 1 dc in each stitch around.
- White: Work 1 sc in each stitch around.
- Continue repeating the pattern until you reach the knuckle of the thumb.
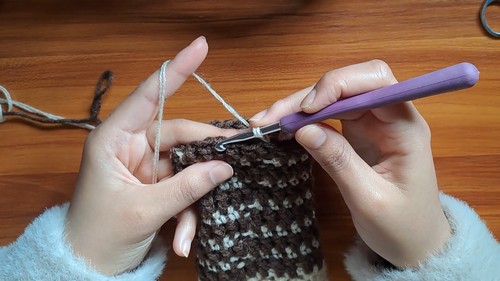
The alternating rows of double crochet and single crochet create the wavy band texture and give the gloves a unique look.
Part 3: Adding the Thumb Opening
Step 1: Creating the Opening
- When starting a white single crochet round, work 4 sc.
- Ch 5, skip the next 3 stitches, and continue the single crochet row into the next stitch.
- Finish the round as usual.
Step 2: Working Around the Thumb Opening
- In the next brown double crochet row, work 1 dc in each stitch across, including 1 dc in each of the 5 chains made for the thumb opening.
- Continue alternating the double crochet and single crochet rows until you reach the knuckles of the fingers.
Creating the thumb opening is simple by chaining over skipped stitches, leaving enough space for the thumb to move comfortably.
Part 4: Adding the Wavy Edging
Step 1: Decorative Wavy Band
- Switch back to white yarn.
- Work 1 sc in the first stitch, then a decrease over the next two stitches.
- Repeat the sequence (1 sc in the next stitch, decrease in the next two stitches) around.
- Join with a sl st and ch 1 at the end.
Step 2: Adding Volume
- Work 1 sc in the first stitch, and 2 sc in the next stitch (increase).
- Repeat this sequence (1 sc, then an increase) around.
- Join with a sl st at the end.
This wavy edging adds a delicate flared finish to the gloves, giving them a refined look.
Part 5: Creating the Optional Flower Accent
Step 1: Flower Center
- With white yarn, ch 4 and join into a ring using a sl st.
- Ch 1, work 12 sc into the ring to form the flower center. Join with a sl st.
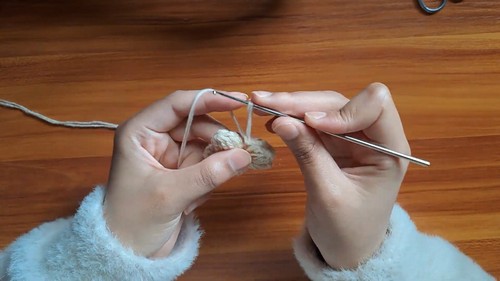
Step 2: Creating Petals
- Ch 3.
- In the next stitch, work [yarn over, pull up, yarn over, pull through two loops] × 3, keeping all working loops on the hook.
- Yarn over, pull through all loops on the hook, ch 3, and sl st back into the same stitch.
- Repeat this process until you have 5 petals.
Step 3: Finishing the Flower
- Fasten off, leaving a long tail for sewing.
- Use a tapestry needle to sew the flower onto the base of the glove for a decorative accent.
The optional crochet flower adds a touch of elegance and femininity to the glove design.
Assembly & Final Touches
- Thumb Edge Finish (Optional):
- Work 1 round of single crochet around the thumb opening for a clean edge.
- Fasten off and weave in ends.
- Finishing: Check for loose threads, weave in all loose ends, and block the gloves lightly to shape them perfectly.
Why You’ll Love This Pattern
These Fingerless Gloves with Wavy Bands are stylish yet practical, making them the ideal balance of form and function. The alternating colors and wavy texture give the gloves a sophisticated, handcrafted look. Meanwhile, the thumb opening ensures that the gloves are comfortable and usable. Adding the optional flower lets you personalize the design further.