
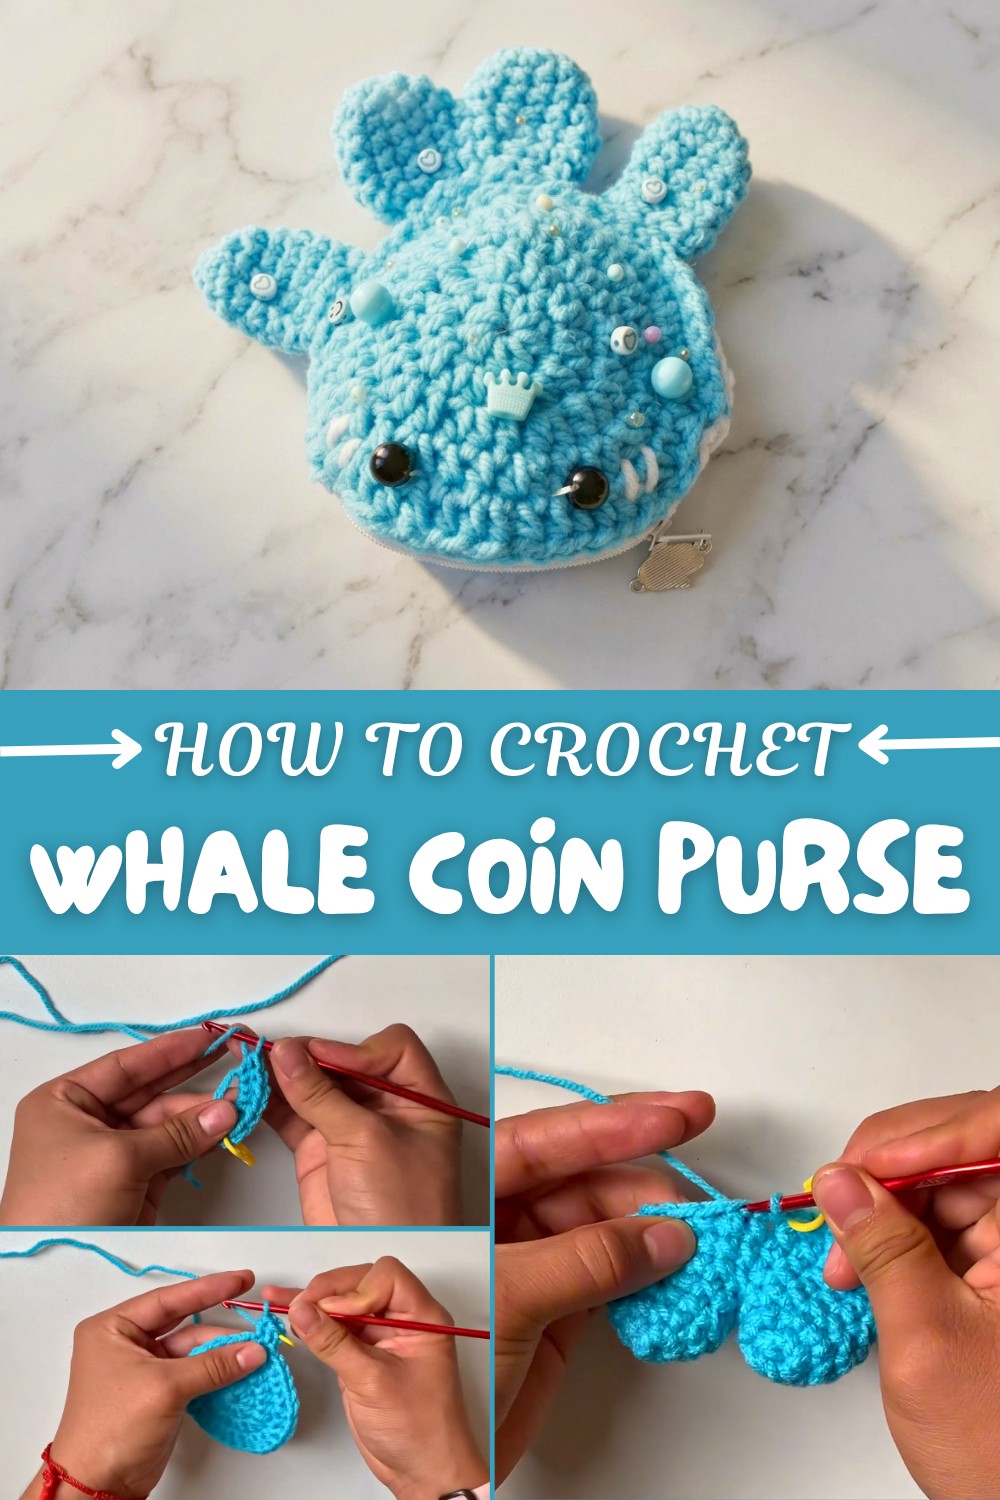
Adorable Whale Coin Purse (Free Crochet Tutorial!)
Try a free crochet whale coin purse pattern with easy stitches, a magic ring start, a secure zipper, and cute details for a delightful accessory.
Handmade projects like this bring both joy and usefulness to your crocheting time. If you’re searching for a fun and practical accessory, this crochet whale coin purse pattern is a delightful option. Every part of this project from the playful whale shape to the tiny fins and cute zipper closure makes it a unique addition to your collection.
Easy Whale Coin Pouch Crochet Pattern for All Skill Levels
Soft textures, thoughtful details, and a secure closing ensure the purse is both charming and reliable for daily use. You’ll enjoy crocheting each feature, knowing the end result is not just cute but also sturdy and handy for carrying coins or small treasures.
This pattern is approachable for crocheters of all levels and allows room for your own flair, choose different yarn colors or add little embellishments to personalize your whale. The finished purse is perfect for gifting, using as a bag accessory, or simply enjoying as a cheerful handmade piece in your own routine. Bringing together creativity and practicality, this little coin purse is bound to make you smile every time you use it.
Crochet Whale Coin Purse with Zipper Pattern
Create a charming and functional whale coin purse with this fun and well-structured crochet pattern! Designed for adventurous beginners to intermediate crocheters, this coin purse uses basic shapes, a seamless zipper, and simple embroidery to achieve a professional finish. The project is perfect for gifting, selling, or adding a splash of cute to your accessories.
Skill Level & Terminology
- Skill Level: Adventurous Beginner/Intermediate
- Terminology: US Crochet Terms
Materials & Tools
- Yarn: Worsted weight cotton/acrylic in blue (main color), white (belly/fins).
- Hook: 4mm (US G-6) crochet hook or size to achieve tight fabric.
- Zipper: 10–12 cm (4–5 in) zipper in white or matching color.
- Stitch Marker/Separator
- Tapestry Needle
- Scissors
- Pins or Clips (optional, for zipper)
- Black beads or small black stones for eyes (or safety eyes)
- Pink or red embroidery thread for cheeks
- Sewing needle and regular thread (to secure zipper and eyes)
- Strong glue (optional, for eyes)
Gauge
Gauge is not crucial. Your finished circles after increases (body) should be around 9–11 cm in diameter with worsted yarn and a 4mm hook.
Abbreviations List
| Abbreviation | Meaning |
|---|---|
| MR | Magic ring (magic circle) |
| ch | Chain |
| sc | Single crochet |
| hdc | Half double crochet |
| inc | Increase (2 stitches in same st) |
| dec | Decrease (single crochet 2 together) |
| sl st | Slip stitch |
| st(s) | Stitch(es) |
| FO | Fasten off |
Special Stitch Instructions
- Half Double Crochet (hdc): Yarn over, insert hook, yarn over and pull up a loop (3 loops on hook), yarn over, pull through all 3 loops.
- Single Crochet Increase (inc): Work 2 sc into the same stitch.
- Single Crochet Decrease (dec): Insert hook into next st, yarn over, pull up a loop, insert hook into the following st, yarn over, pull up a loop, yarn over and pull through all 3 loops.
- Magic Ring: Make a loop with yarn, insert hook, yarn over and draw up a loop, chain as directed, then work required stitches into the ring; pull tight to close.
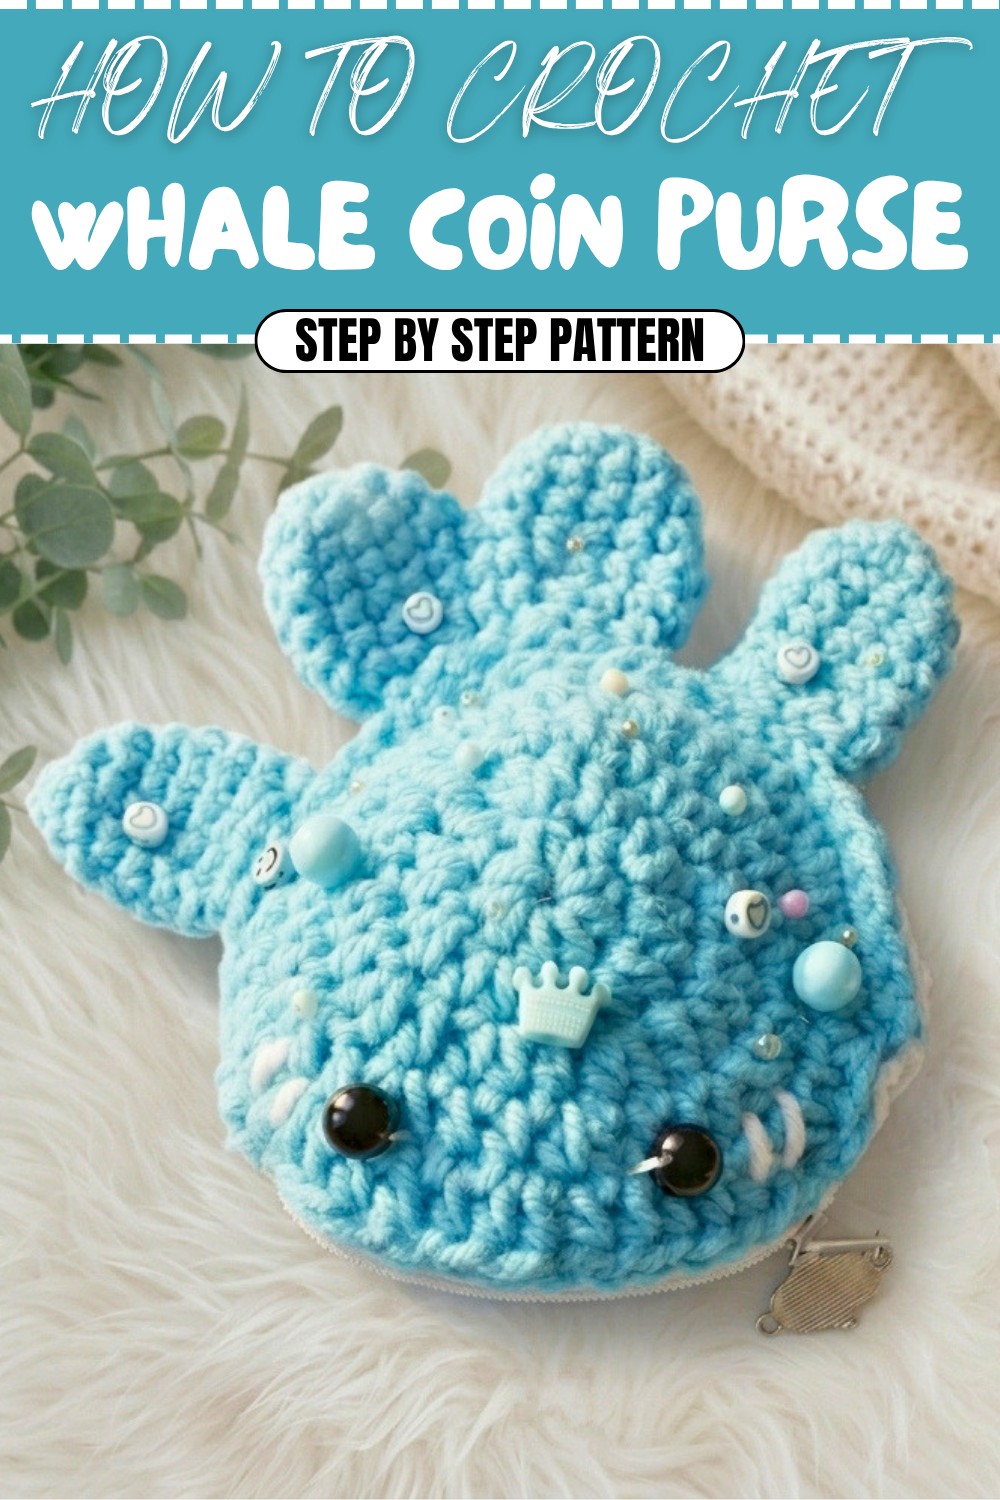
Finished Size
Approx. 12 cm (4.75") wide x 7 cm (2.75") tall when made with recommended materials.
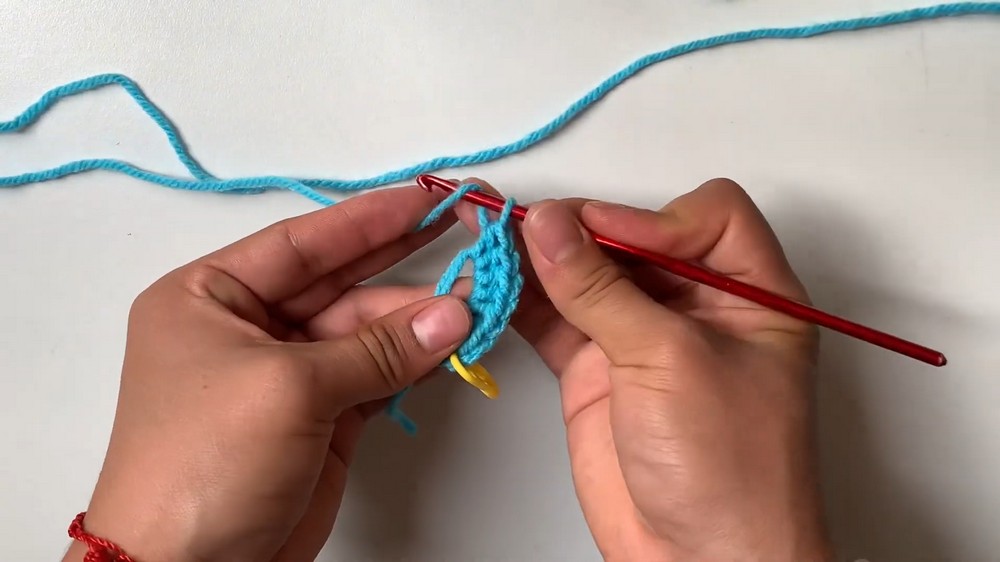
Stitches Used & How To Start
You will use magic ring, chain, single crochet, half double crochet, slip stitch, increases, and decreases for this pattern. Begin each part with a magic ring for a neat, seamless start. Pieces are joined by slip stitch and sewn.
The Pattern Itself
Whale Body (Make 2: 1 Blue, 1 White)
With chosen color and 4mm hook:
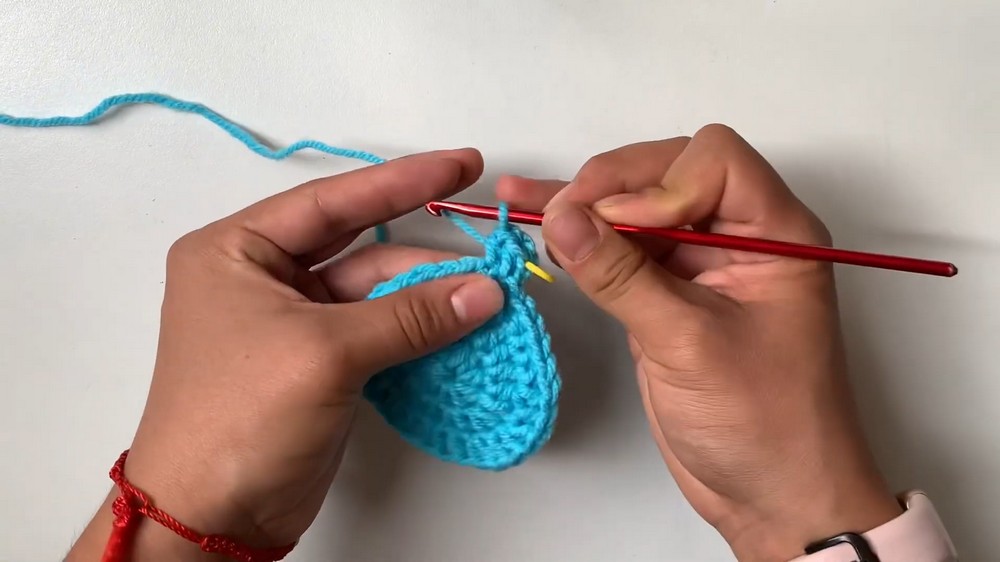
- Round 1:
MR, ch 2 (counts as first hdc), 9 hdc into ring (total 10 hdc). Join to top of ch-2 with sl st. - Round 2:
Ch 2, 2 hdc in each st around (20 sts). Join with sl st. - Round 3:
Ch 2, (1 hdc in next st, 2 hdc in next st), repeat around (30 sts). Join with sl st. - Round 4:
Ch 2, (1 hdc in next 2 sts, 2 hdc in next st), repeat around (40 sts). Join with sl st. - Round 5:
Ch 2, (1 hdc in next 3 sts, 2 hdc in next st), repeat around (50 sts). Join with sl st.
FO. Weave in end.
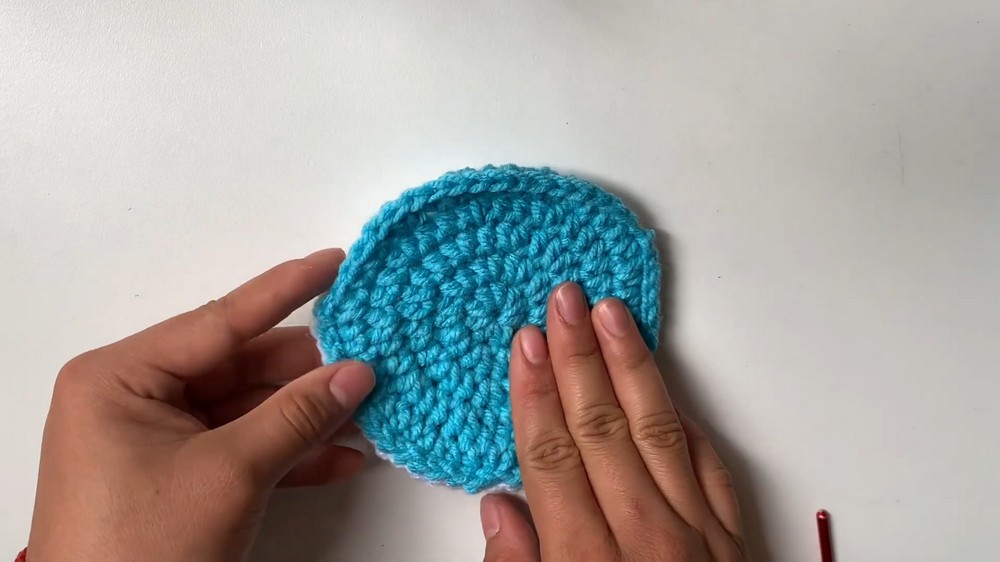
You will repeat these steps for the blue and white pieces. At the end, you have two large flat circles.
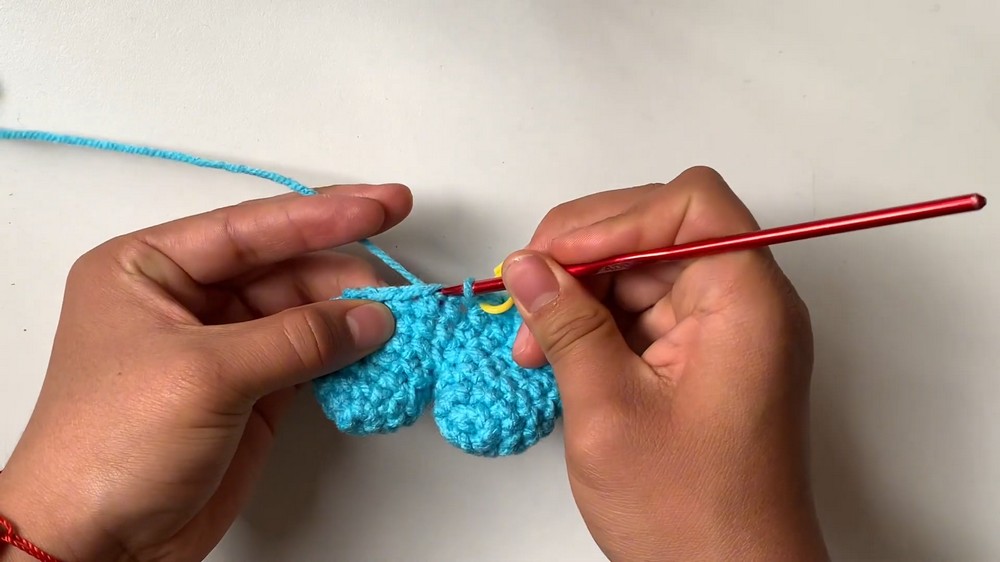
Joining Body and Adding Zipper
- Align blue and white circles, right sides out.
- Mark with pins or separators where you want your zipper opening (typically at the top).
- Join the unmarked part: With blue yarn and hook, insert through both circles at the first st beside the zipper opening and sl st around (through both pieces) until you reach the other side of the zipper opening. FO and weave in end.
- Insert the zipper between circles. Pin/ziptie in place.
- Hand-sew the zipper in with needle and thread, using small, neat stitches. FO and hide ends.

If you’re not used to pattern reading: Simply hold both circles together and slip stitch around (leaving the zipper part open). Then sew the zipper between the two pieces as shown, keeping your stitches neat for a clean finish.
Whale Tail (Make 2: 1 Blue, 1 White)
- Round 1:
MR, 6 sc into ring (6 sts). Join with sl st. - Round 2:
2 sc in each st around (12 sts). Join with sl st. - Rounds 3–4:
Sc in each st around (12 sts). Join with sl st at end of each round. - Round 5:
Sc in each st around (12 sts). FO one color (leave a tail for sewing), do not FO the second piece. - Assembly:
Place both fins together, right sides out. Join with sl st all the way around through both layers, using the yarn still attached from round 5 of one fin. FO and leave a long tail for attaching.
Make another identical set for the other side of the tail.
Whale Fins (Make 2: 1 Blue, 1 White)
- Round 1:
MR, 5 sc into ring (5 sts). Join with sl st. - Round 2:
2 sc in each st around (10 sts). Join with sl st. - Rounds 3–7:
Sc in each st around (10 sts). Join with sl st at end of each round. - Assembly:
Pair blue and white fins, right sides out. With the working yarn from the white fin, sl st around fin, joining the edges. FO and leave a long tail for sewing.
You now have a thick, firm fin for each side.
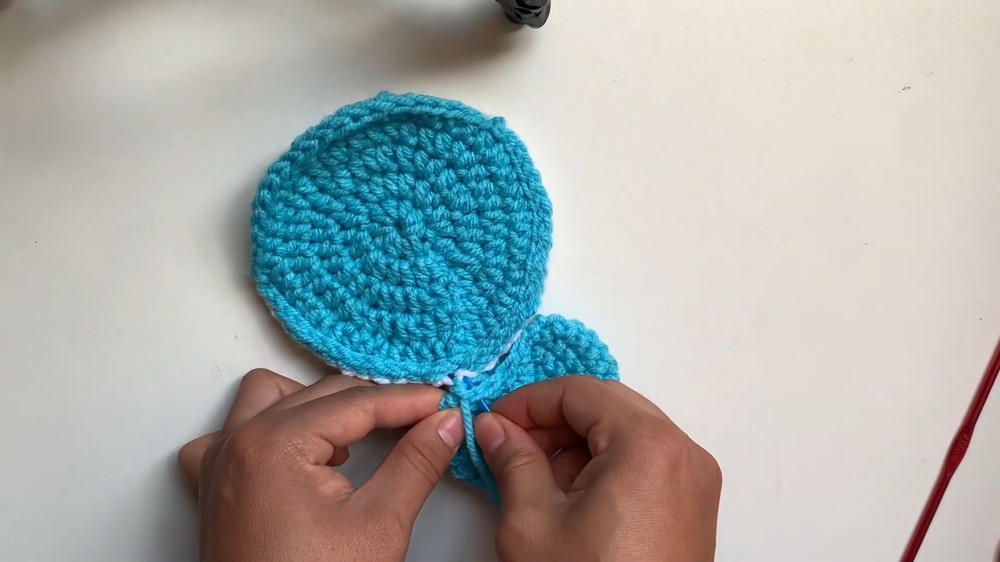
Assembly & Details
- Attach the tail:
Sew the joined tail pieces securely to the seam of the purse, opposite the zipper. - Attach the fins:
Sew each fin to each side, in line with the lower sides of the purse (near bottom third). - Add eyes:
Sew or glue two small black beads/stones in place, or use safety eyes, above where the zipper is at the front of the blue side. - Embroider cheeks:
Thread pink yarn or embroidery thread and create two short horizontal lines beneath the eyes for cheeks. - Finish:
Weave in all yarn tails and cut. Test the zipper and smooth the shape.
If you don't read patterns: Sew the fins and tail to the purse body after joining, add eyes and cheeks, and make sure your zipper opens and closes easily.
Conclusion
Congratulations! You have crocheted a delightful whale coin purse complete with a functioning zipper and adorable facial details! This project lets you practice magic rings, working in the round, increases, slip stitch joining, basic sewing, and simple embroidery. Use this structure to explore different sizes or animal themes in the future.
Stitches used: magic ring, chain, single crochet, half double crochet, increases, decreases, slip stitch.
You start with a magic ring for smooth circles, building up with half double crochet and increases, then create shaped fins/tail, and assemble with easy hand-sewing and slip stitch.