
Free Crochet Doily Pattern for Stunning Home Decorations
Spark vintage charm across your dining table using a Free Super Easy Crochet Doily Pattern, a pretty lace mat to display under flower vases.
There’s something truly charming about the soft elegance of a doily resting on a table or adding a delicate touch to a cozy corner in your home. Its lacy textures and intricate loops catch the light, almost like a spider’s web spun by magic. These little treasures are more versatile than they seem, you can use them as a graceful addition to your coffee table décor, frame them for wall art, or even fashion them into a small pouch for storing keepsakes. With just some yarn and a hook, you can bring this classic yet whimsical piece to life, all while learning essential techniques along the way.
Free Crochet Doily Pattern Beginners Will Fall in Love With
This easy to follow guide teaches you how to work with a magic ring, crochet loops, and stitch simple double crochets to form clean, aesthetic textures. You’ll see how tiny stitches come together to make a pattern that looks much harder than it is. By the time you finish, not only will you have your own charming handmade doily, but you’ll also gain confidence to take on more ambitious projects.
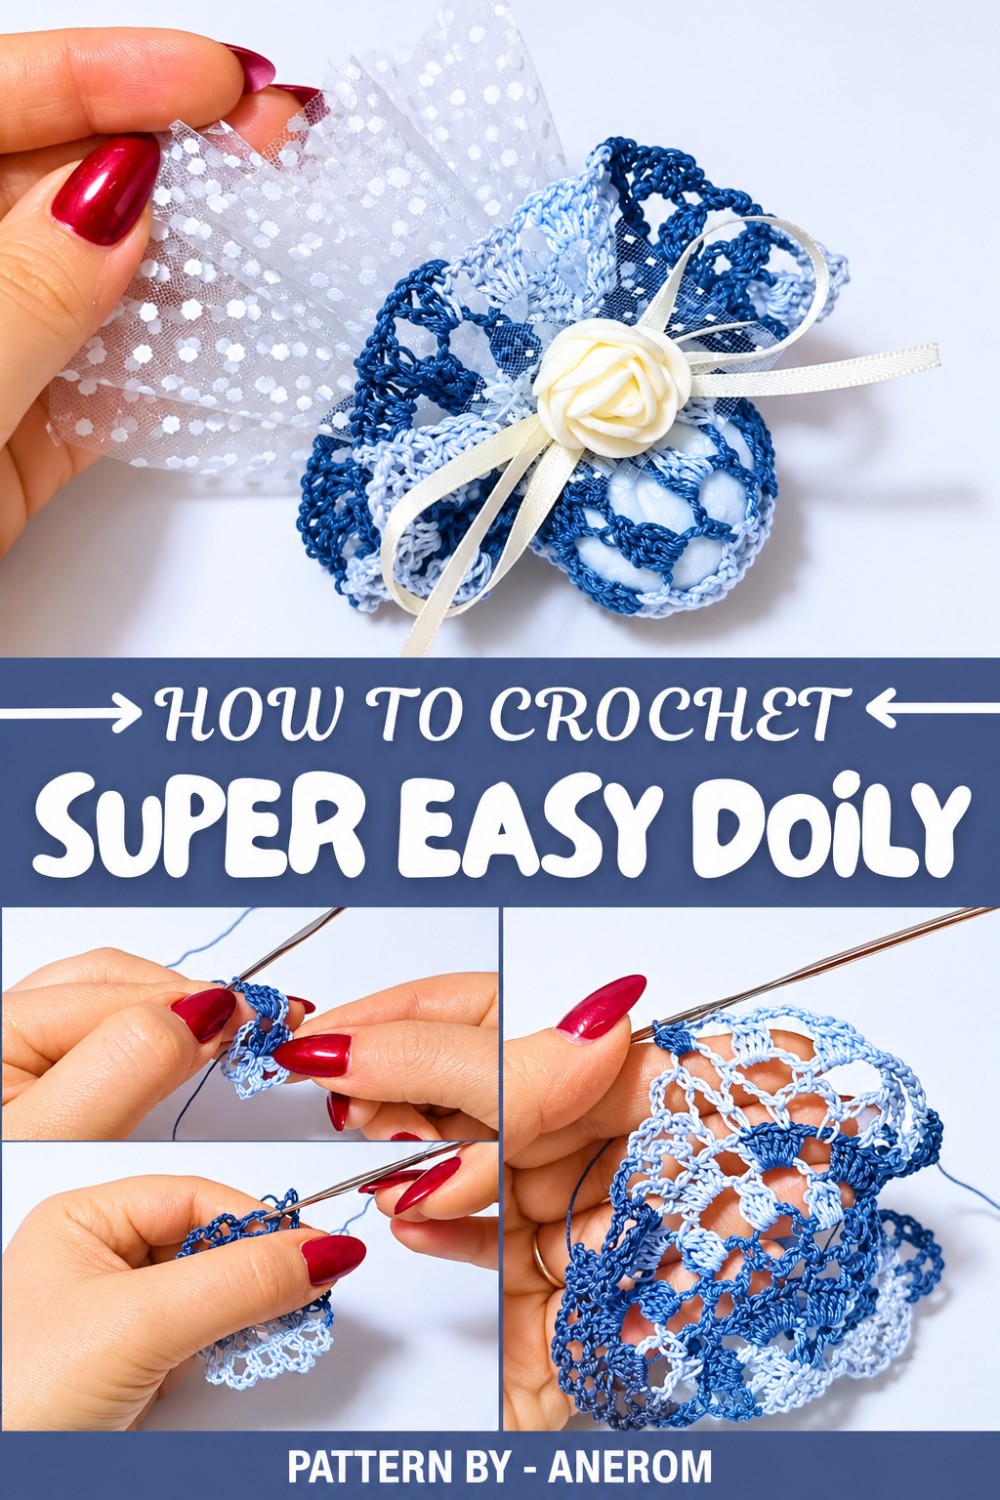
The possibilities don’t stop at doilies. Using the same stitches, you can make elegant placemats, festive buntings, coasters, or even miniature ornaments for the holidays. The techniques in this project open the door to an array of beautiful creations perfect for gifts or sprucing up your favorite spaces.
Pattern By Anerom
If you’re worried about making mistakes, don’t be. Messing up is part of the process, and the key is to stay relaxed and patient. Keep an eye on where you place your stitches, and don’t hesitate to pull a few out if something looks off, we can all use a little wiggle room once in a while. With a bit of practice, you’ll be polishing off projects that look like they were made by professionals, award winning ones, to say the least.
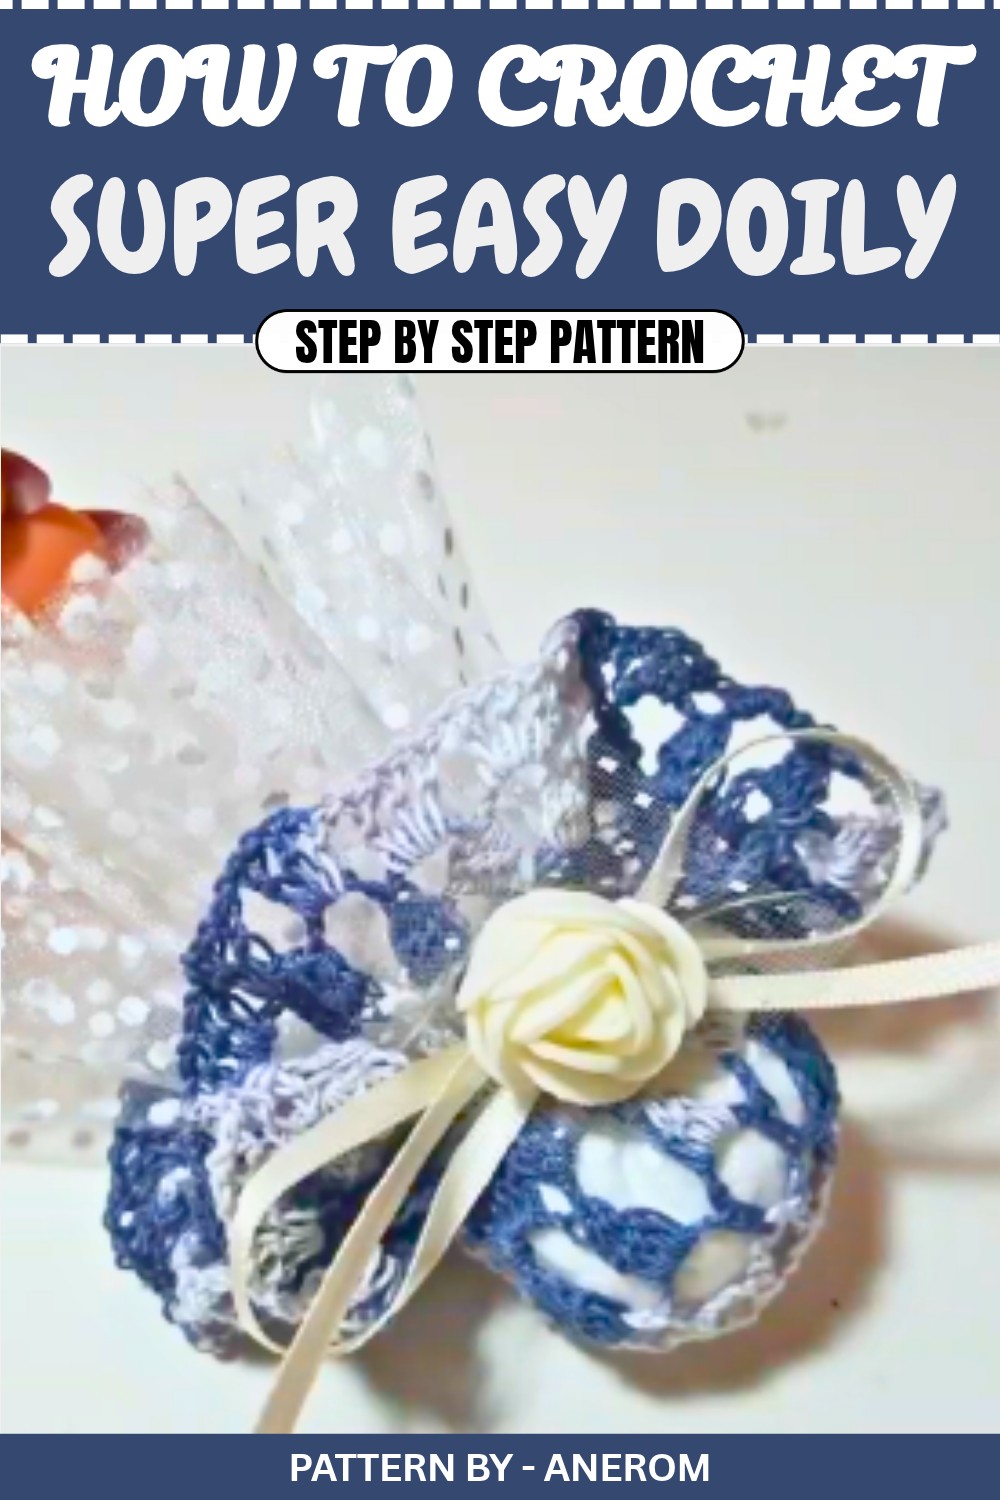
Crochet Pattern: Doily Favor Pouch (Bomboniera)
Materials
- Yarn: Lightweight or thread yarn in the color of your choice.
- Crochet Hook: Suitable for your yarn’s weight.
- Tulle fabric (for assembly)
- Confetti or filling material (if using as a pouch)
- Decorative Ribbon and Flower (optional for embellishments)
- Tapestry Needle: For weaving in ends.
- Scissors
Stitch Abbreviations
- ch: chain
- sc: single crochet
- dc: double crochet
- sl st: slip stitch
- dc2tog: double crochet 2 together (crochet 2 double crochets closed together)
Pattern Instructions
Round 1
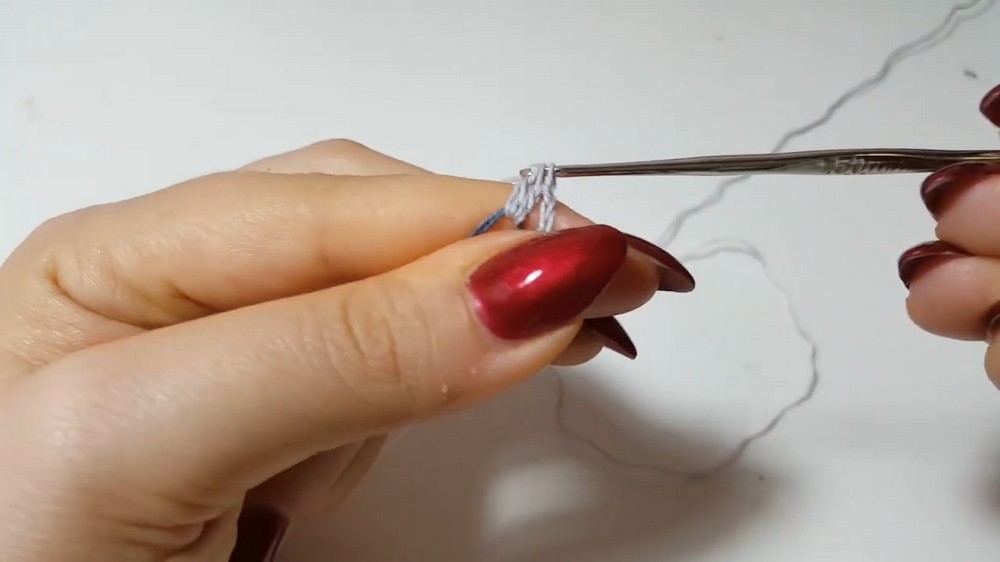
- Start with a magic ring.
- Chain 2 (counts as the first dc), then work 1 dc into the ring.
- Create 5 more clusters of 2 dc closed together. Each cluster is separated by 3 chains.
- Pull the tail of the magic ring to tighten and close the center.
- Join with a sl st into the third chain of the starting chains.
- You should have six clusters separated by chain spaces.
Round 2
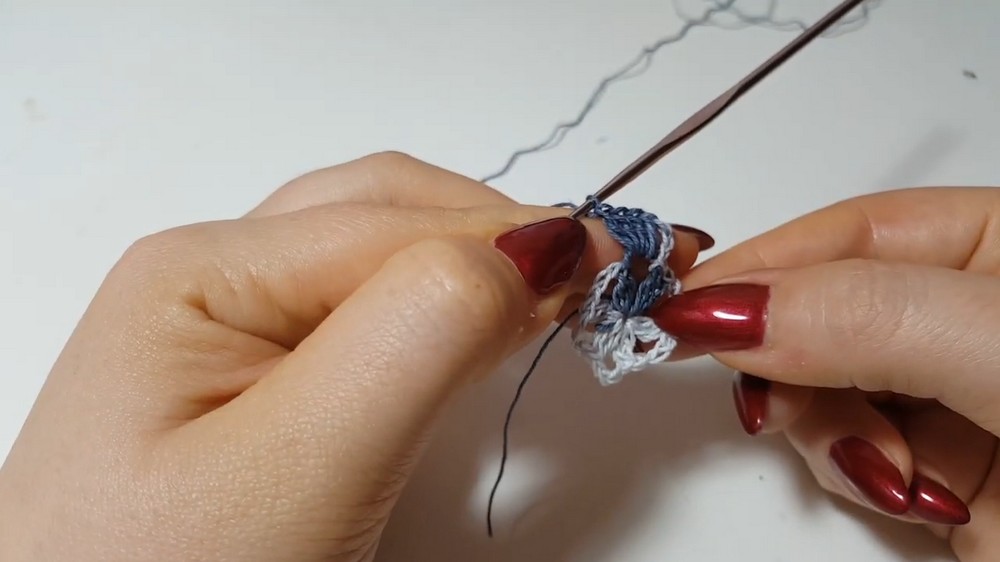
- Slip stitch into the first chain space of the previous row.
- Chain 3 (counts as 1 dc). Work 4 more dc into the same chain space.
- Chain 1, move to the next chain space.
- Work 5 dc into each subsequent chain space.
- Close the round with a sl st into the third chain of the starting chains.
Round 3
- Chain 4. Skip the next stitch and sc into the following stitch.
- Repeat the pattern of ch 4, skip 1 stitch, and sc into the next stitch for the entire round.
- Join with a sl st into the first chain.
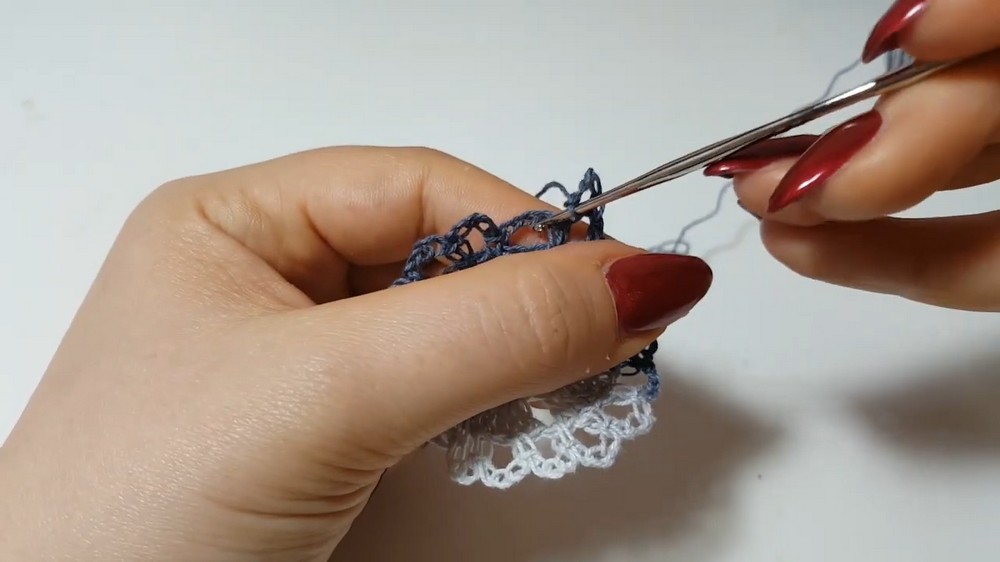
Round 4
- Slip stitch into the first arch created by the ch 4 space of the previous round.
- Chain 5 and make an sc into the next chain space.
- Repeat ch 5, then sc into the next chain space around the piece.
- Close with a sl st into the starting chain.
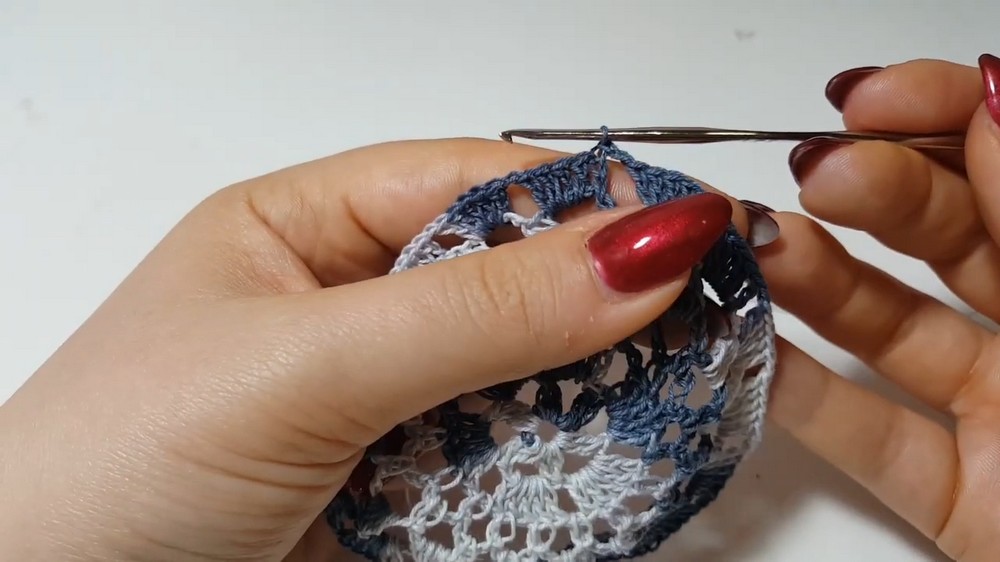
Round 5
- Chain 3 (counts as the first dc).
- In the same space, work 3 dc closed together (dc2tog repeated 3 times and joined at the top).
- Chain 5, then work 4 dc closed together (dc2tog repeated twice and joined at the top) in the next space.
- Repeat this pattern of 4 dc closed together, ch 5 in each chain space around.
- Finish with a sl st into the third starting chain.
Round 6
- Slip stitch into the first chain space to position your hook.
- Chain 3 (counts as the first dc).
- Work 4 dc into the space, separated by 1 chain.
- Move to the next chain space and repeat the sequence of 5 dc separated by 1 ch around.
- Complete the round with a sl st into the third chain of the starting chain.
Round 7
- Chain 5, skip one stitch, and make a sc in the next stitch.
- Chain 5, then make a sc into the next chain space.
- Continue this pattern of ch 5, sc into next stitch or space for the entire round.
- Close the round with a sl st into the starting chain.
Round 8
- Slip stitch into the first chain space.
- Chain 5, make a sc into the next chain space.
- Repeat ch 5, sc for all spaces around.
- Complete the round with a sl st into the starting chain.
Round 9
- Chain 3 (counts as the first dc).
- Work 3 dc closed together (dc2tog repeated three times and joined at the top).
- Chain 5, then work 4 dc closed together in each subsequent chain space.
- Repeat the pattern around and close with a sl st into the starting chain.
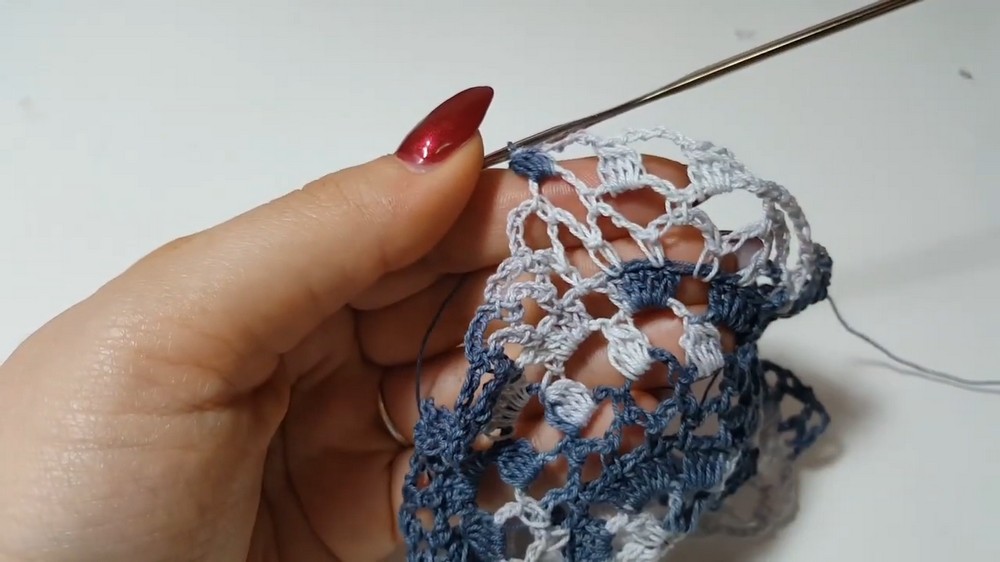
Round 10
- Chain 4 (counts as 1 dc and 1 chain).
- In the same space, work (1 dc, 1 ch) three more times.
- Move to the next space and repeat the sequence of (1 dc, 1 ch) x 4 for every chain space around.
- Finish the round with a sl st into the starting chain.
Assembly
Step 1: Weave in Ends
After completing the last round, cut the yarn and use a tapestry needle to weave in all the ends neatly.
Step 2: Transform into a Pouch
- Lay the doily flat on your workspace.
- Place a small wisp of tulle in the center with confetti or another filling of your choice (candies, almonds, etc.).
- Gather the edges of the doily upward to form a pouch shape.
- Secure the gathered edges with a decorative ribbon. Tie it into a bow and add a small flower or embellishment for an elegant finish.
Conclusion
This delicate doily not only works beautifully as a table decoration but also doubles wonderfully as a versatile favor pouch. With its intricate yet approachable design, it’s the perfect project for celebrating special occasions. Experiment with different yarn colors and embellishments to match your event theme. Enjoy showcasing your handcrafted bomboniera, and happy crocheting!