
Trendy Free Crochet Granny Squares Pouch Pattern
Try this Free Crochet Granny Squares Pouch Pattern to make a cute little pouch with colorful yarn that is perfect for keeping small things safe and handy.
Ever meet upon a hobby so adorable that it leaves you wanting more? Well, crocheting granny squares definitely fits the bill, especially when they turn into something as useful as a pouch. These little squares, shine with texture and color, offer the perfect balance of creativity and relaxation. And when stitched together into a pouch, they bring extra joy to everyday moments with their handcrocheted beauty and usefulness.
Free Crochet Granny Squares Pouch Pattern for Storage
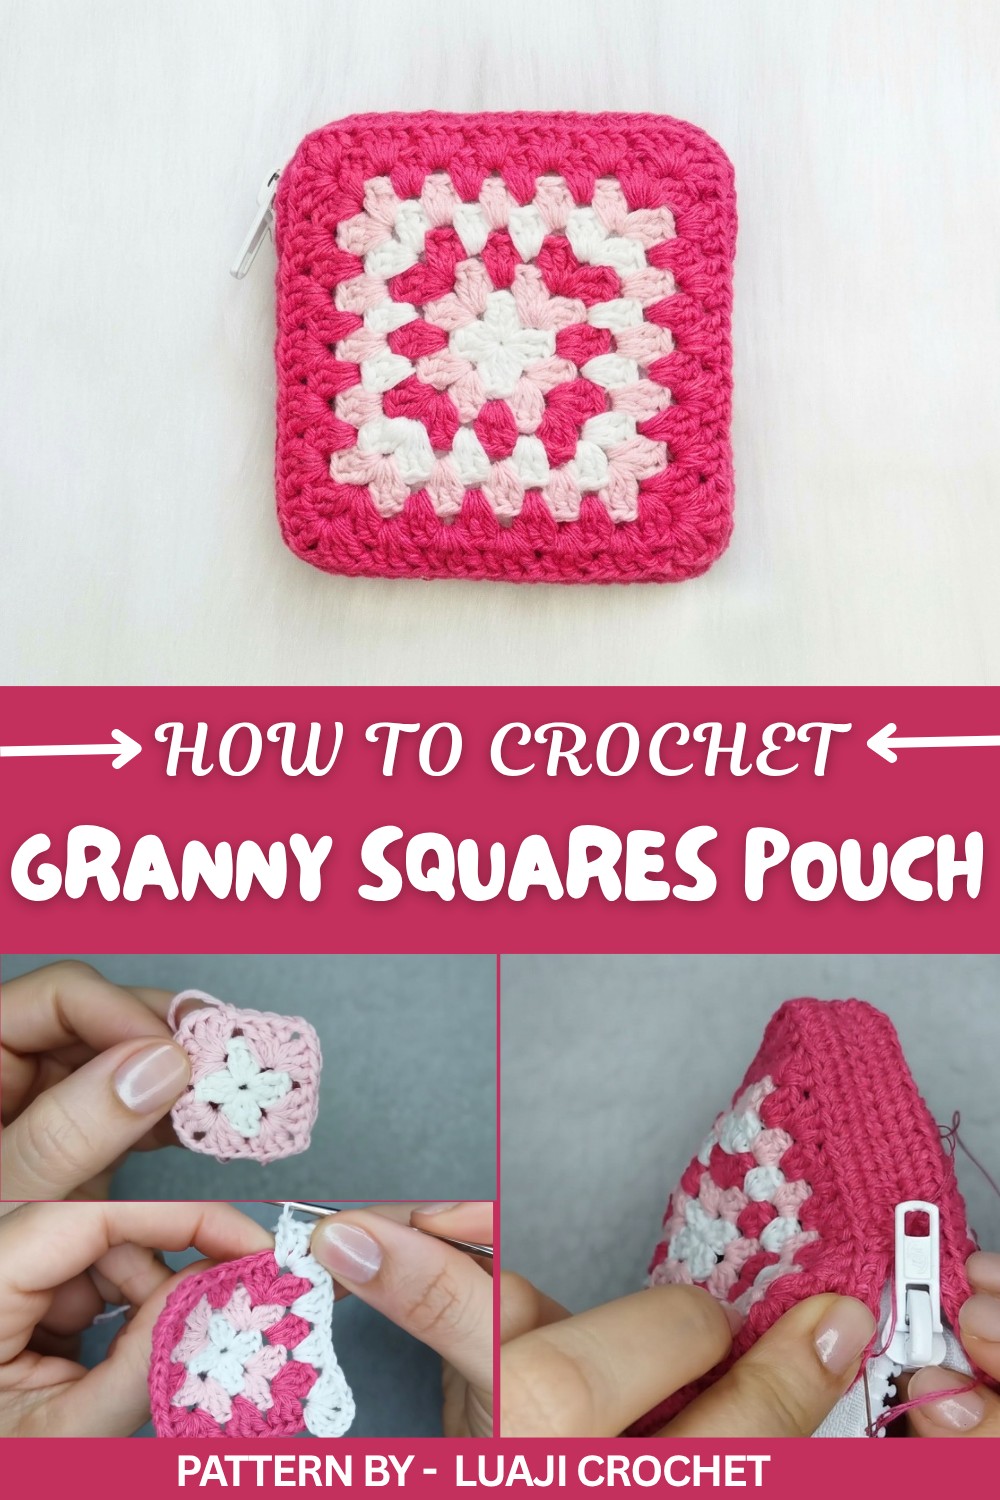
Pattern By
This amazing pouch pattern is beautifully demonstrated by Luaji Croch. Known for her clear instructions and approachable style, she ensures that crocheters of all levels can follow along with ease. The video takes you through the entire process, from crocheting the granny squares to assembling them into a functional pouch. Luaji shares helpful tips on color combinations, adding a neat single crochet edge, sewing a zipper, and even lining the pouch for a professional finish.
This pouch is like a tiny treasure chest made of yarn, full of charm and personality. With just two granny squares stitched together, you’ll end up with a small bag that’s perfect for keeping makeup, coins, headphones, or even little notes safe. The fun part? Choosing the colors. You could go bold with bright hues or keep it chill with soft pastels, it’s all up to you. And that classic granny square texture? It’s pure eye candy that gives the pouch its cozy, old school vibe.
The process is straightforward, but the results are so satisfying. You start with two equal, vibrant squares, easily worked up with double crochets, and then add a neat border. Next, you’ll secure the squares together and attach a zipper for functionality. Want it to feel a bit fancy? Line the inside with fabric, and there you have it, a cute item that’s practical and adorable.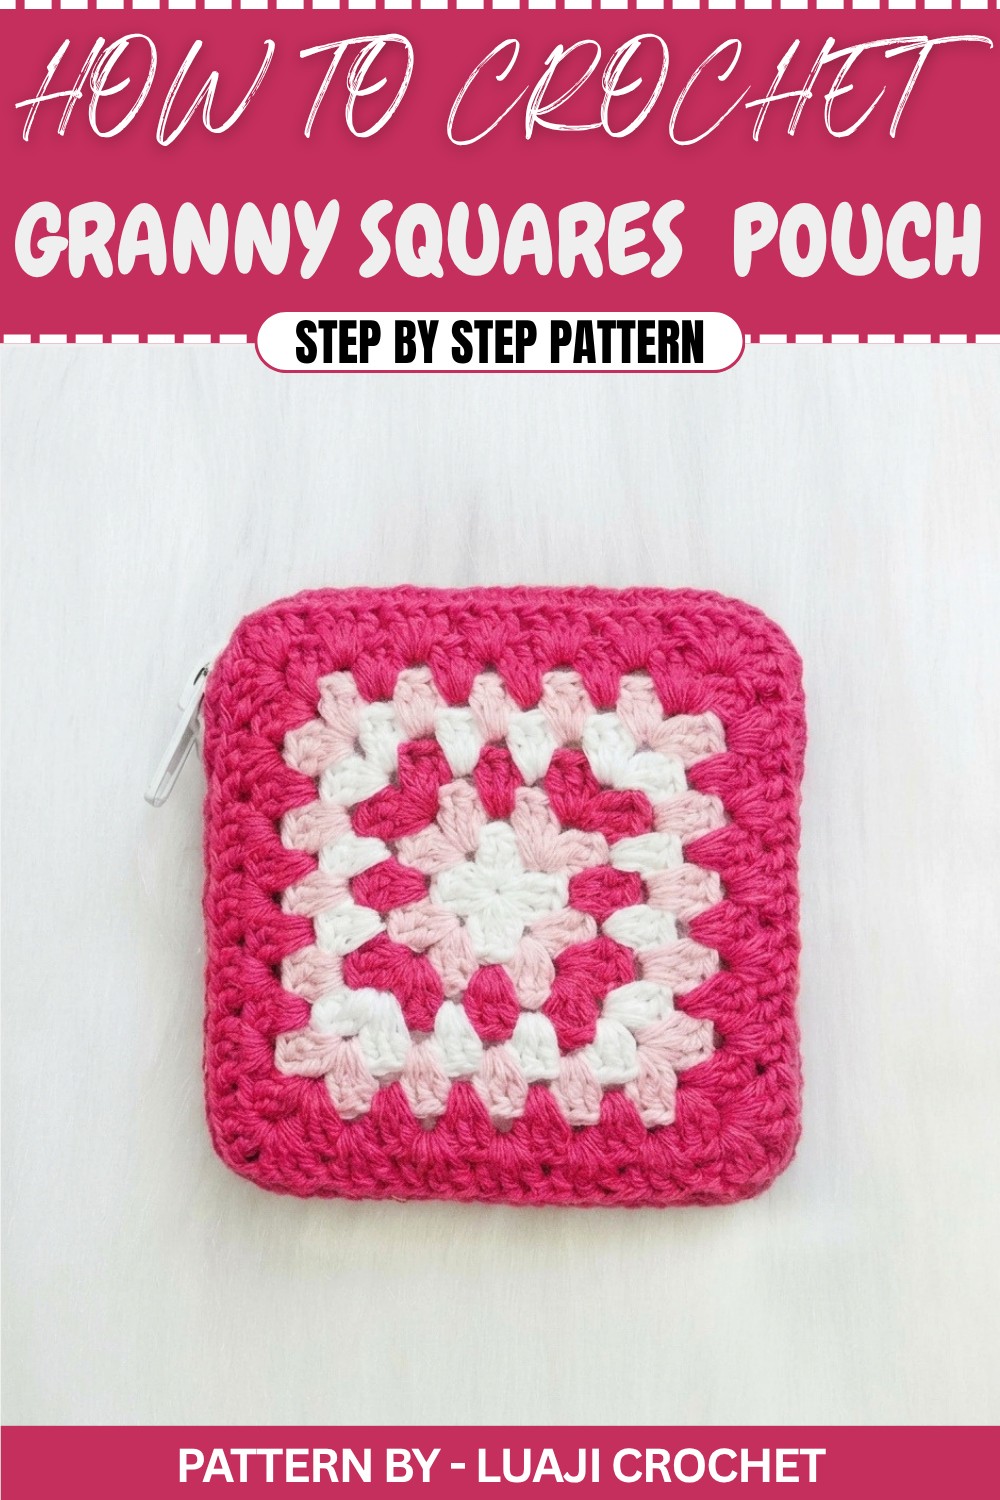
Perfect for gifting or keeping, this pouch adds a touch of handmade fun to your day. With guidance, even beginners can feel confident making something so delightful. Pick your hook and favorite yarn, and let the magic of this pouch inspire your next project.
Granny Square Pouch Crochet Pattern
Quick Overview of the Pattern
- Pattern: A pouch made using two crocheted granny squares sewn together.
- Stitches: Basic double crochets, single crochets, chains, and slip stitches.
- Additional Details: The pouch includes a zipper and a felt lining for the interior.
- Process: Divided into two parts—crocheting the granny square and assembling the pouch.
Notes
- Maintain an even tension throughout the project for a consistent shape.
- Start with a magic ring for a neat center in the granny squares.
- Use a 2mm crochet hook, or adjust the size based on your yarn weight.
- Each square will have rounded edges; ensure corners are evenly spaced with chain stitches.
Skill Level
Beginner
Materials
- Yarn: Assorted colors (at least three colors suggested).
- Crochet Hook: 2mm or size suitable for your yarn.
- 12 cm Zipper (adjust length based on your pouch size).
- Felt (for lining).
- Needle (for sewing).
- Thread (matching yarn color).
- Scissors.
Gauge
Not critical. Granny squares will measure approximately 12 cm by 12 cm, but size can vary based on personal tension or yarn thickness.
Stitch Abbreviations
- ch: Chain
- dc: Double Crochet
- sc: Single Crochet
- slst: Slip Stitch
Special Stitches
Magic Ring
- Wrap yarn around your finger twice to form a loop.
- Insert the hook through the loop, grab the working yarn, and pull it through.
- Pull to secure the ring.
The Crochet Pattern: Granny Square Pouch
PART 1: How to Make the Granny Square
Round 1 (Foundation)
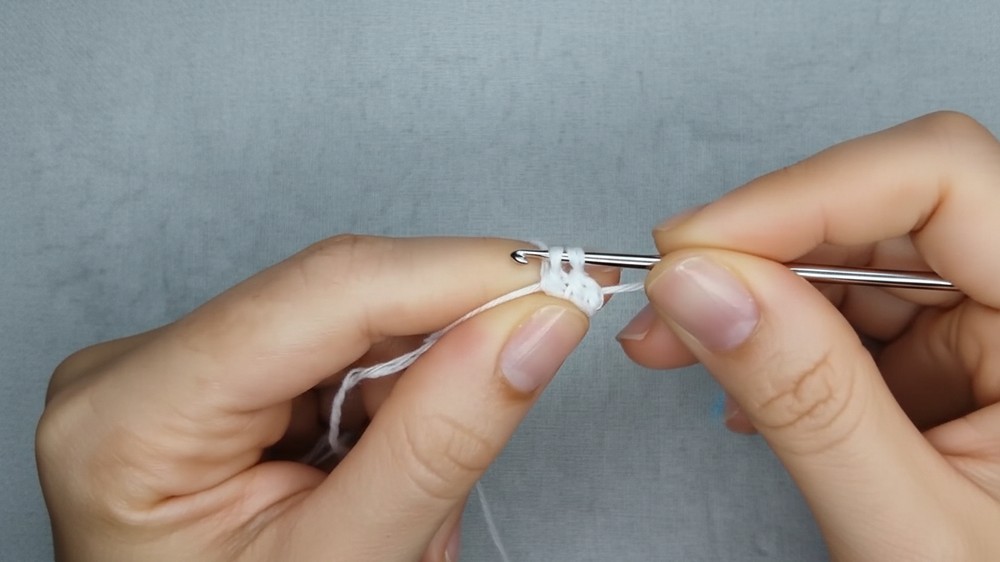
- Start with a magic ring.
- Ch 2 (counts as first dc).
- Work 2 dc into the magic ring. (First group of 3 dc)
- Ch 2 (corner chain).
- Work 3 dc into the magic ring. (Second group of 3 dc)
- Ch 2 (corner chain).
- Work 3 dc into the magic ring. (Third group of 3 dc)
- Ch 2 (corner chain).
- Work 3 dc into the magic ring. (Fourth group of 3 dc)
- Ch 2 (last corner chain).
- Pull the ring tight to close the center.
- Slst into the top of the beginning Ch 2.
Round 2 (Color Change)
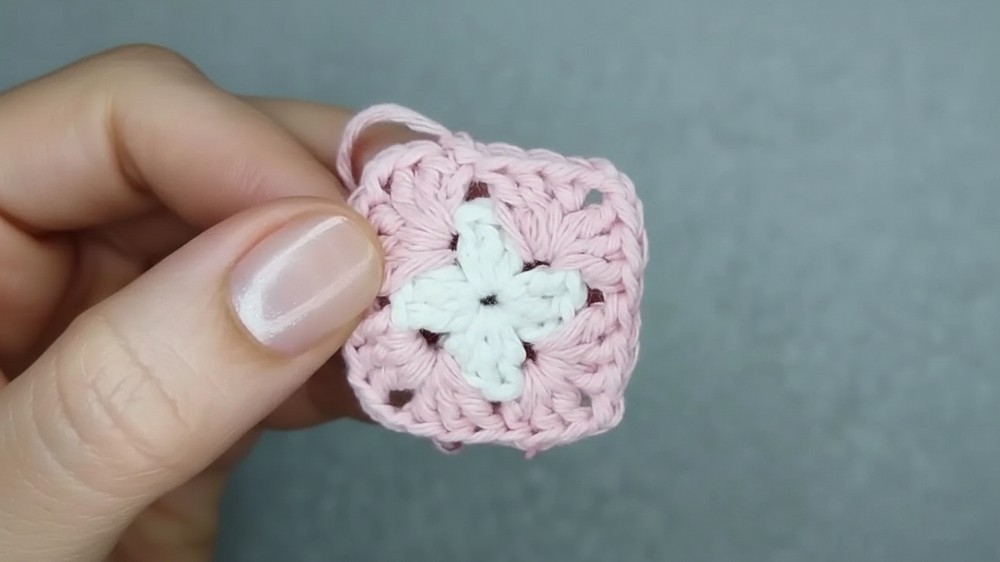
- Attach a second yarn color in any corner.
- Ch 2 (counts as first dc).
- Work 2 dc into the same corner space. (First group for this corner)
- Ch 2 (corner chain).
- Work 3 dc into the same corner space. (Second group for this corner)
- Move to the next corner space.
- Work 3 dc, Ch 2, 3 dc in this corner.
- Repeat Step 6 for the next two corners.
- Slst into the top of the beginning Ch 2.
- Cut the yarn and fasten off.
Round 3 (Color Change)
- Attach a third yarn color in any corner space.
- Ch 2 (counts as first dc).
- Work 2 dc into the same corner space.
- Ch 2, and work 3 dc into the same corner space.
- Move to each side space (between corners) and work 3 dc into each space.
- Continue in the corner spaces by working:
- 3 dc, Ch 2, 3 dc into each corner.
- Repeat Step 5 and Step 6 for all remaining spaces and corners.
- Slst into the top of the beginning Ch 2.
- Cut the yarn and fasten off.
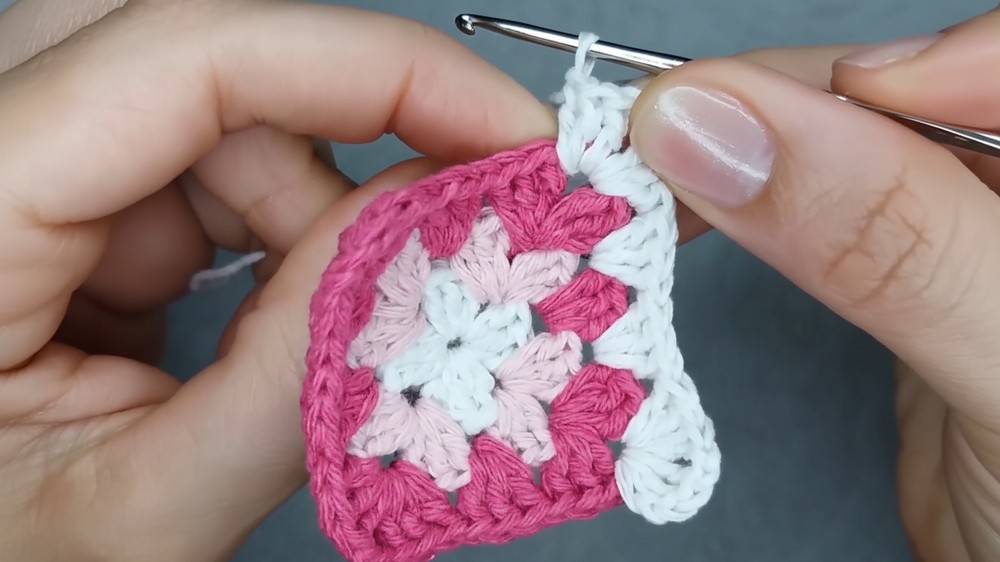
Rounds 4–7
- Repeat the granny square pattern: continue enlarging each side by adding groups of 3 dc into each side space and maintaining the corners as:
- 3 dc, Ch 2, 3 dc in each corner space.
- Your granny squares will grow larger as you complete each round.
- For the last round, ensure both squares are the same size (7 total rounds are recommended).
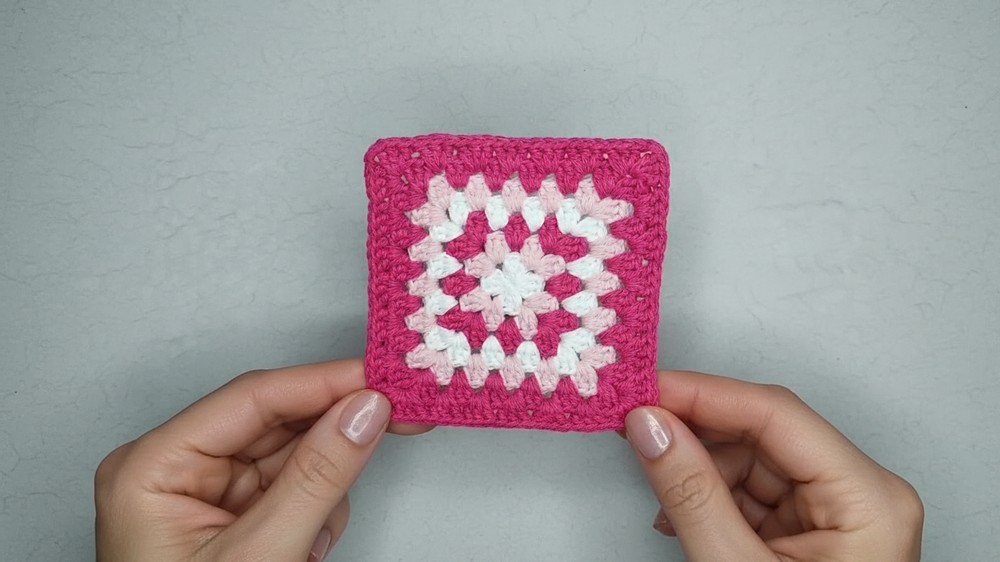
PART 2: Making the Pouch
Step 1: Add Single Crochet Edges
- Choose one square to begin. Start at any corner with the color of your choice:
- First Ch 1 to count as the first sc.
- Work sc stitches evenly across each edge touching only the back loop.
- For each corner, work 3 sc to ensure sharp corners are formed.
- Join the round with a Slst into the first Ch 1.
- Cut the yarn, leave a long tail for sewing later, and fasten off.
Step 2: Prepare the Second Square
- Follow Step 1 to make a single crochet border around your second granny square.
Step 3: Sew Squares Together
- Align both granny squares evenly, ensuring the zipper spaces are marked and level with each other.
- Position the squares inside out before sewing for a clean finish.
- Use the yarn tails left from the previous step to whip stitch along the three edges, leaving one side open (where the zipper will be added).
Step 4: Attach the Zipper
- Select a zipper, approximately 12 cm long (or as needed).
- Position the zipper along the open edge of the joined squares.
- Using matching thread and a sewing needle, sew along the zipper carefully:
- Catch only the loops of the single crochet stitches for a discreet finish.
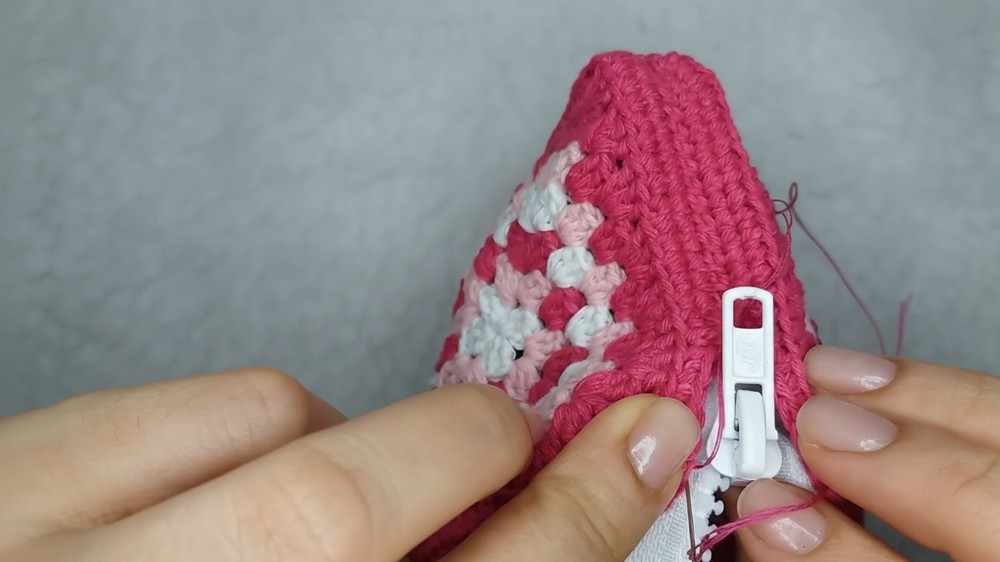
Step 5: Add Felt Lining
- Cut a piece of felt to the size of your pouch.
- Place the felt inside the pouch, aligning it snugly with the edges.
- Whip stitch the felt lining close to the zipper. Use small stitches around the felt to prevent it from interfering with zippered closure.
Final Dimensions
- Finished pouch: Approximately 12 cm x 12 cm.
- Perfect as a small storage case for coins, makeup, or stationery.
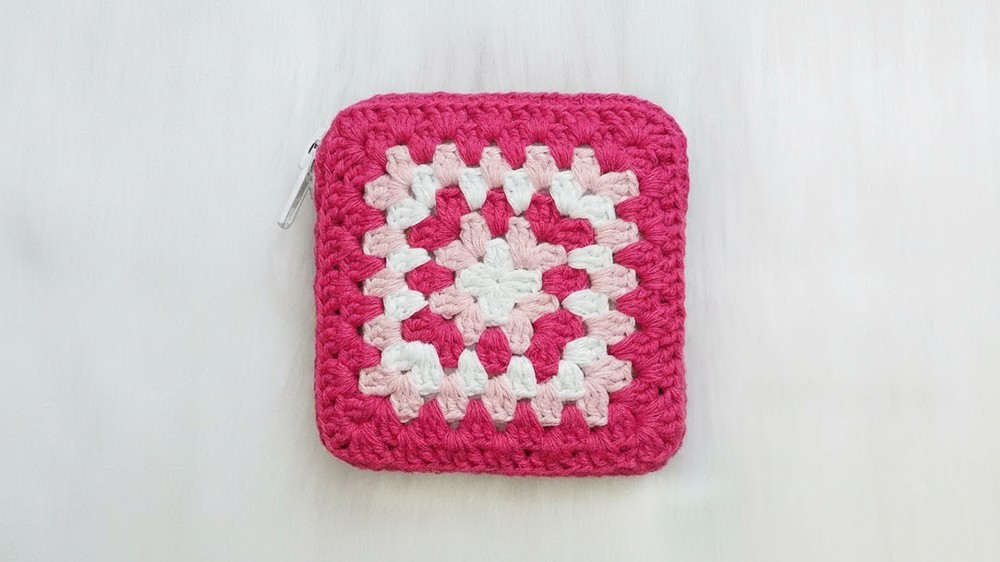
Conclusion
Congratulations, You’ve completed your first Granny Square Pouch. This beginner-friendly project demonstrates the versatility of crochet granny squares and simple assembly techniques. With your own choice of colors and materials, this pouch can be customized for any occasion or gifting needs.