
Free Crochet Foot Pattern That’s as Fun as It Looks
Surprise your friend with a hilarious birthday prank by making a giant yarn foot using a Free Crochet Foot Amigurumi Pattern for endless laughs and unforgettable fun.
Crocheting a foot shaped design is both unique and creative, offering a fun and satisfying project for crocheters of all skill levels. Over on the Anerom channel, there’s a wonderful tutorial that breaks down the process step by step, making it easy to follow along. This lifelike crochet foot is not only adorable but also versatile, perfect as a gift for new parents, a decorative piece, or even a cute keychain charm. You can customize it with different colors to suit any occasion, adding a personal touch to your creation.
The process begins with a magic ring, which serves as the foundation for shaping the base of the foot. Using single crochet stitches and carefully planned increases, the pattern gradually takes shape, ensuring the final design looks realistic and well proportioned. After crocheting and lightly stuffing the main body of the foot, you’ll add the toes individually. Each toe is crocheted with precision, using separate rounds that are sewn together to complete the design.
This Free Crochet Foot Pattern is Too Cute to Miss
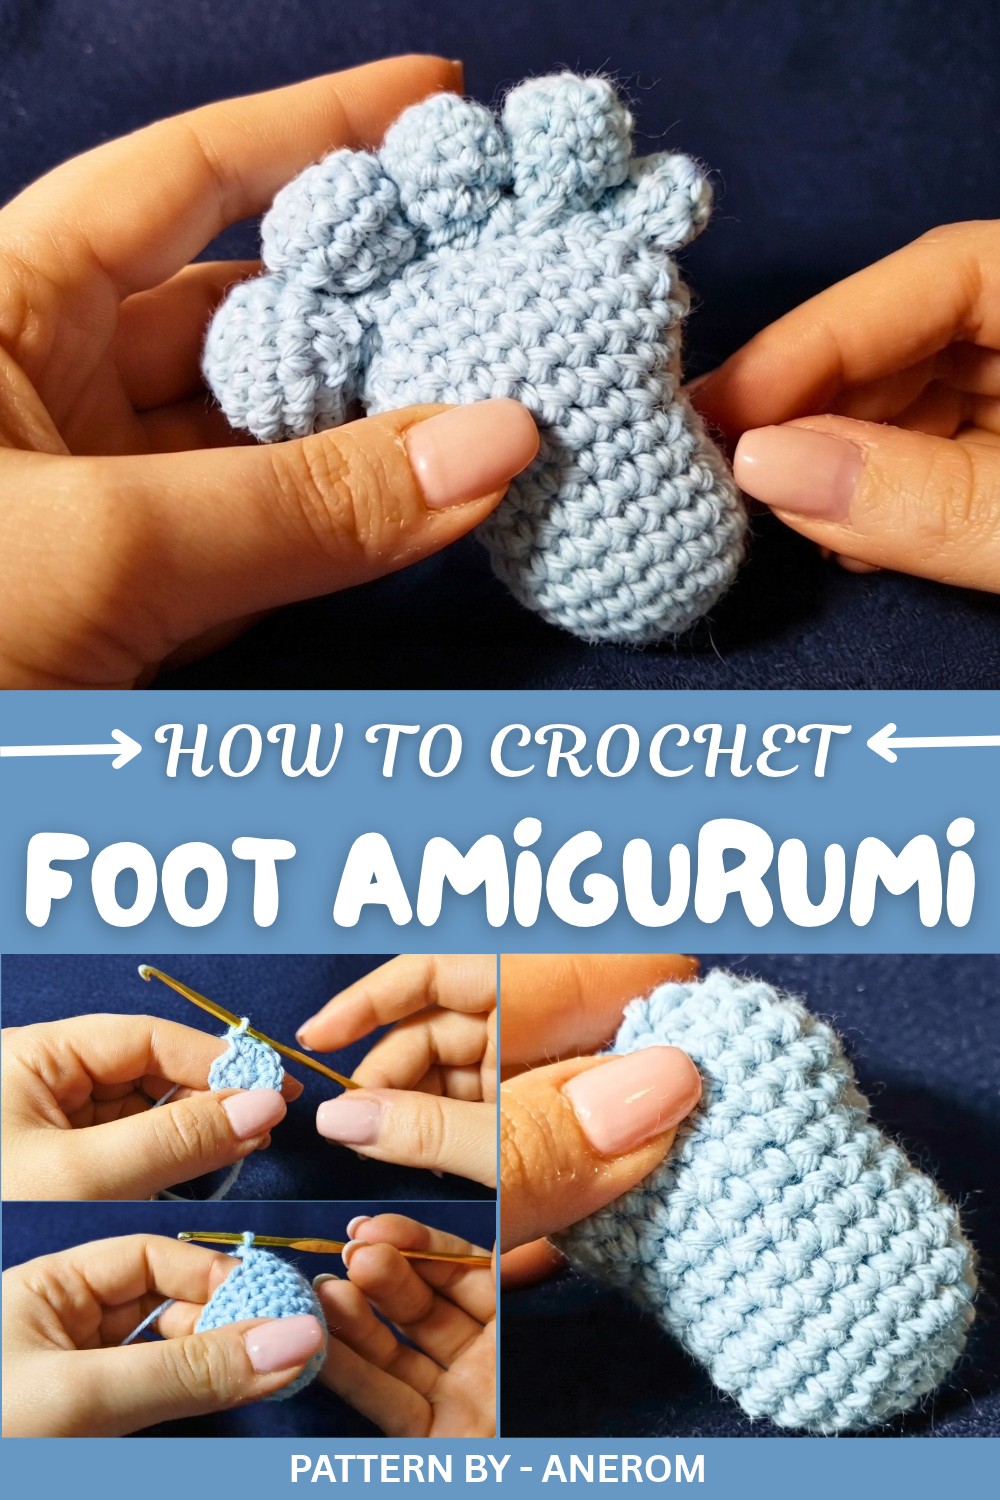
The attention to detail in forming the toes and positioning them perfectly on the foot is what makes this pattern stand out. The carefully crocheted toes, round heel, and smooth proportions make it both intricate and charming. Its compact size makes it ideal for small gifts or as a decorative touch to baby showers or events.
This crochet foot pattern is more than just a craft project, it’s a wonderful way to explore creativity and make something truly special. Whether you’re an experienced crocheter or a beginner, this project is a great way to challenge yourself and create something beautiful.
Crochet Pattern: Baby Foot Amigurumi
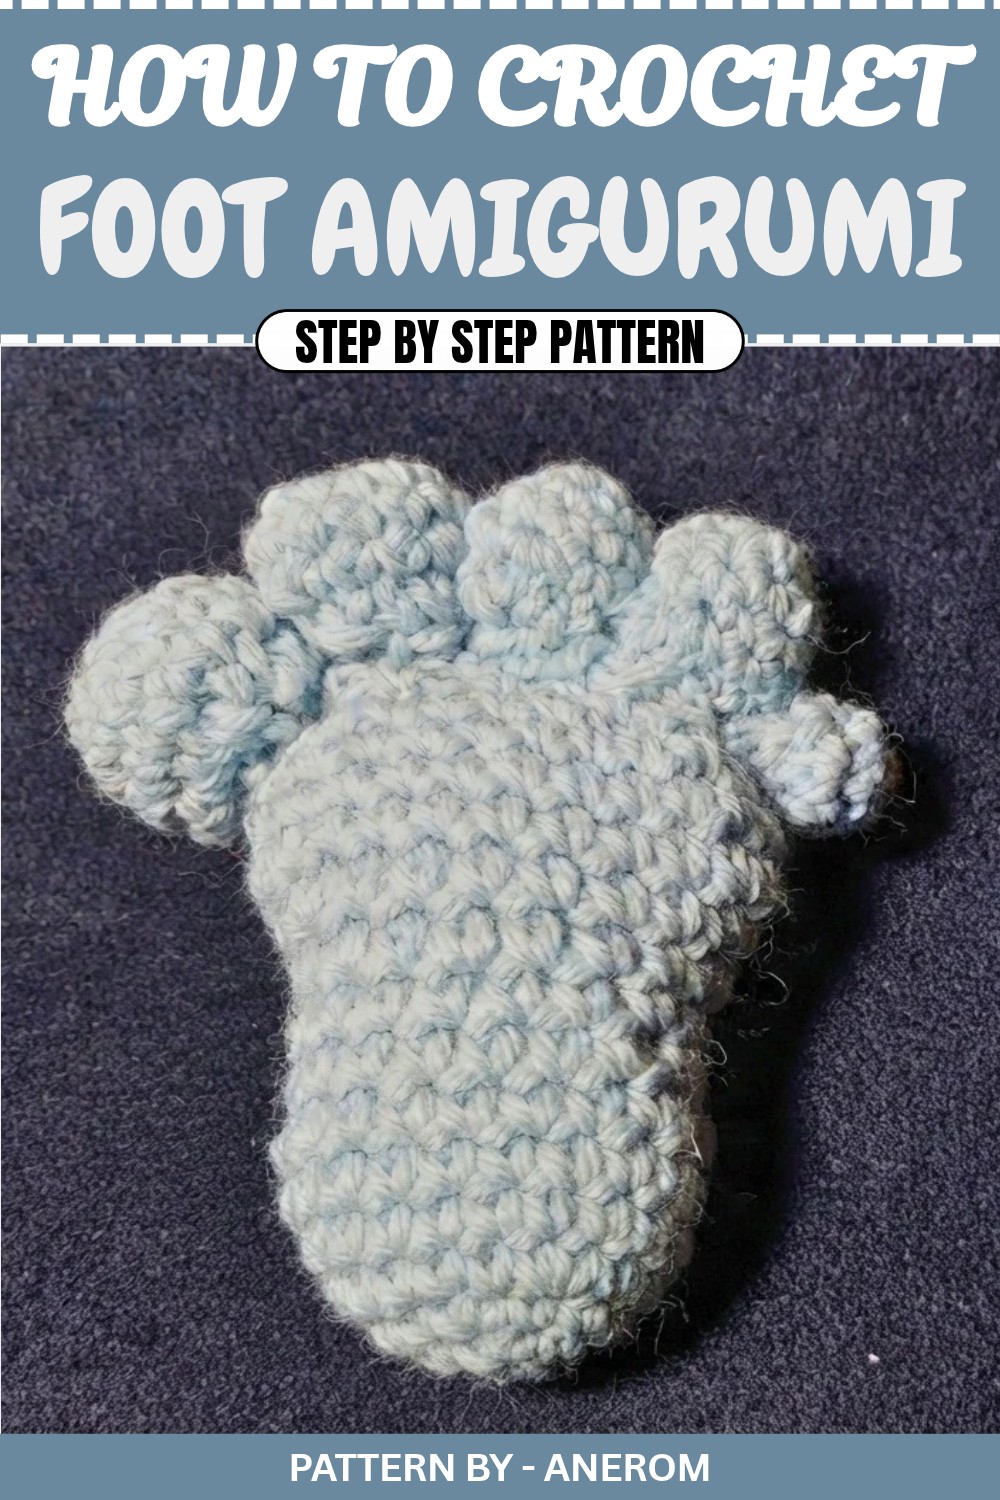
This crochet baby foot amigurumi is a sweet and customizable creation, ideal for commemorating special events like baptisms or as a thoughtful gift for new parents. Crocheted using basic crochet stitches and worked in continuous rounds, this pattern is beginner friendly while still being fun and interesting to make. It’s easy to personalize with different colors or yarn types, and it makes an adorable centerpiece or keepsake.
Quick Overview of Pattern
- Foot Structure: The base of the foot is worked in continuous rounds, with a combination of single crochet, increases, and decreases to shape it.
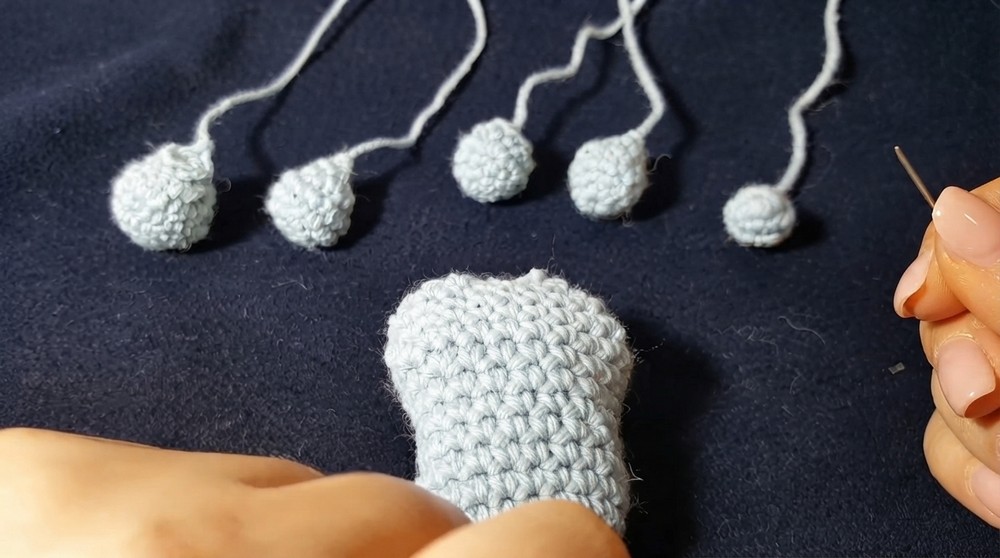
- Five Toes: Each toe is made separately using small rounds, stuffed, and attached to the foot structure.
- Stuffing and Assembly: The foot and toes are stuffed for fullness before being carefully stitched together for a final look.
Notes
- This pattern is worked in continuous rounds, so use a stitch marker to keep track of the first stitch of each round.
- Adjust the size by using different yarn weights and appropriate hooks. For delicate, smaller feet, use cotton yarn. For larger feet, use acrylic yarn.
- Take your time during the assembly stage to ensure neat and symmetrical placement of the toes.
Skill Level
Beginner to Intermediate
Materials
- Yarn: Acrylic or cotton yarn in your desired color (e.g., blue, pink, or skin-toned).
- Crochet Hook: Use a size suitable for your yarn (commonly 2.5mm to 4mm).
- Poly-Fil Stuffing: To fill the foot and toes.
- Tapestry Needle: For sewing pieces together.
- Stitch Marker: To mark the first stitch of each round.
- Scissors
Measurements
The finished size will vary depending on the yarn and hook used. With standard acrylic yarn, the foot will be palm-sized. Using cotton yarn will result in a smaller, more delicate size.
Gauge
Gauge is not crucial for this pattern. However, for a tighter fabric ensuring no stuffing shows, use a smaller hook than typically recommended for your yarn weight.
Stitch Abbreviations
- SC: Single Crochet
- Inc: Increase (2 SC in the same stitch)
- Dec: Decrease (single crochet 2 stitches together)
- Sl St: Slip Stitch
The Crochet Pattern
Part 1: Foot Structure
Round by Round Instructions:
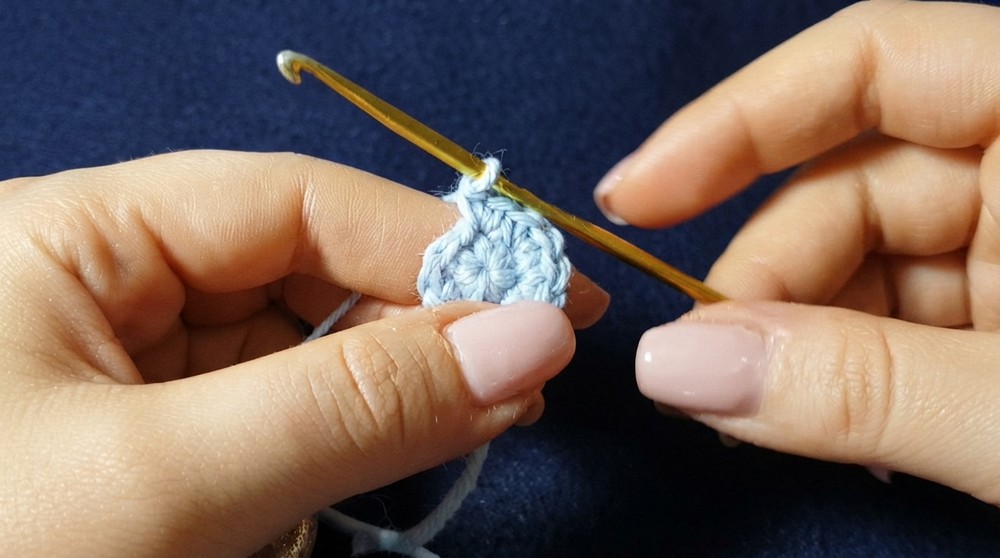
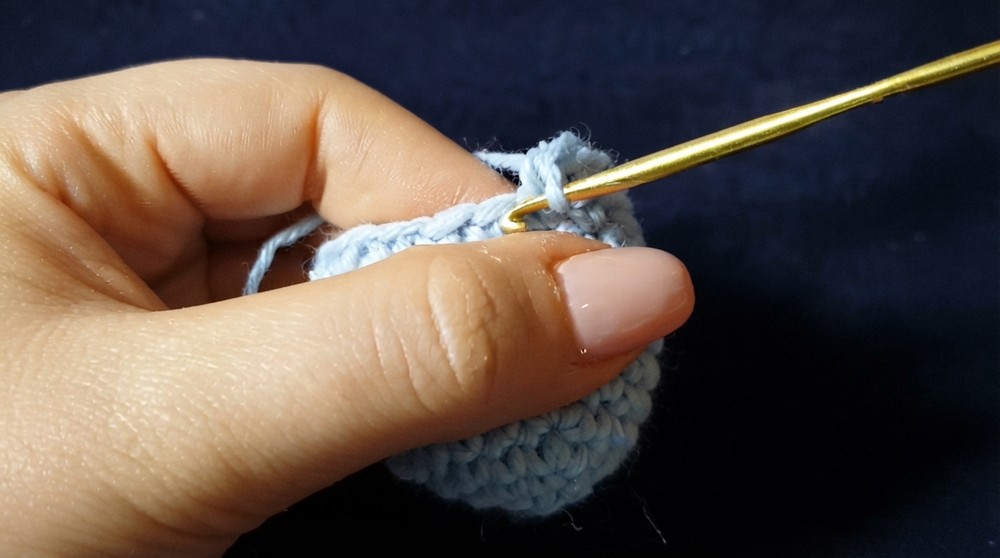
- Round 1: Create a magic ring and work 6 SC into it. (6 SC)
- Round 2: Work 1 Inc in each stitch around. (12 SC)
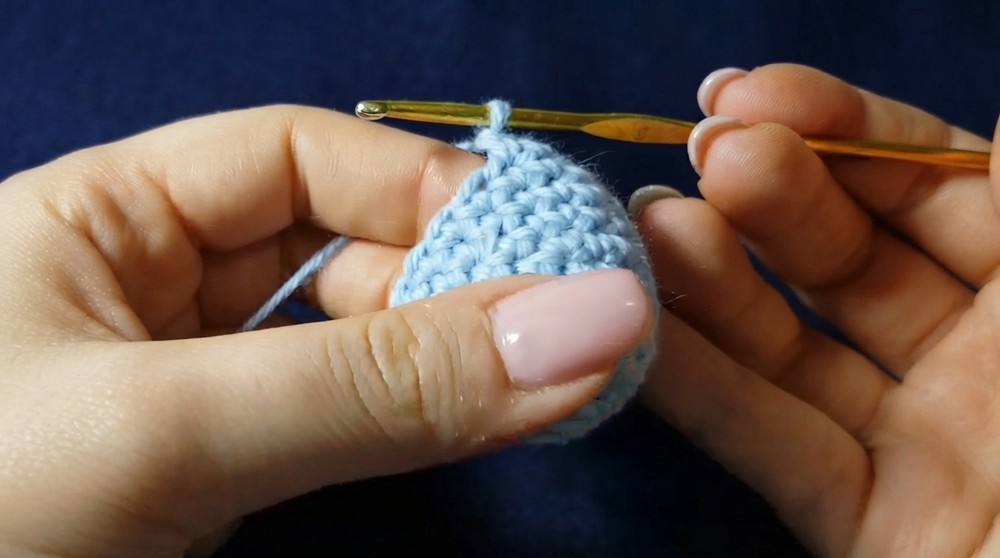
- Round 3: Alternate 1 SC, 1 Inc around. (18 SC)
- Round 4: Work 3 SC, 1 Inc, 4 SC, 1 Inc, then repeat once more, finishing with 3 SC. (21 SC)
- Rounds 5–7: Work 3 rounds of SC with no increases or decreases. (21 SC)
- Round 8: Work 2 Dec, 7 SC, 1 Dec, 6 SC, 1 Dec. (17 SC)
- Round 9: Work 1 SC in each stitch. (17 SC)
- Round 10: Work 2 Inc, followed by 15 SC. (19 SC)
- Round 11: Work 2 Inc, 8 SC, 1 Inc, 7 SC. (21 SC)
- Round 12: Work 1 Inc, 2 SC, 1 Inc, 2 SC, 1 Inc, 2 SC, 6 SC, 1 Inc, 7 SC. (25 SC)
- Round 13: Work 18 SC, 1 Dec, 7 SC. (24 SC)
- Round 14: Work 4 SC, 1 Dec, 1 SC, 1 Dec, 7 SC, 1 Dec, 2 SC, 1 Dec, 3 SC. (20 SC)
- Round 15: Work 4 SC, 1 Dec, 1 SC, 1 Dec, 5 SC, 1 Dec, 1 SC, 1 Dec, 2 SC. (16 SC)
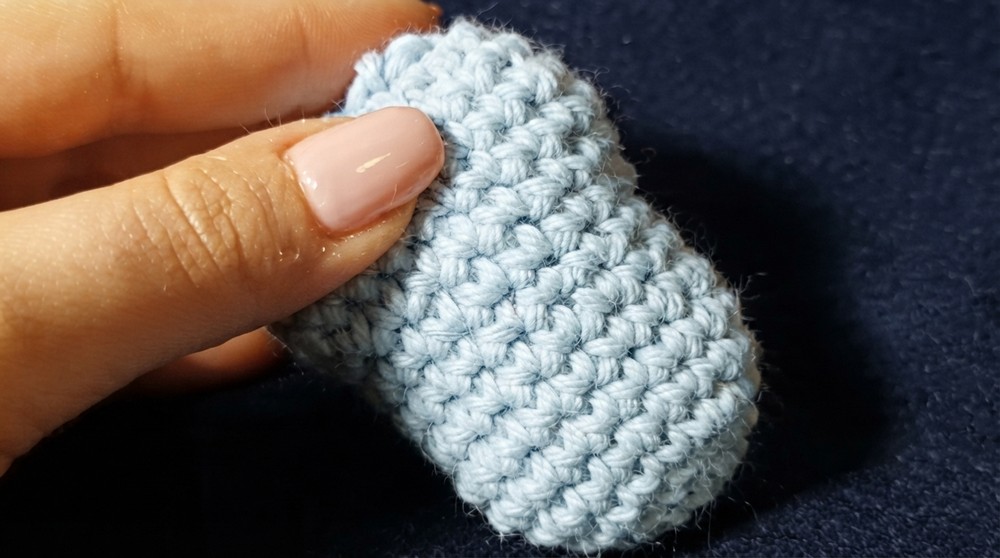
- Round 16: Work 8 Dec, followed by 1 SC (optional to close). Fasten off and stuff the foot firmly.
Part 2: Toes (Make 5 Total)
Big Toe (Toe 1):
- Round 1: Magic ring, 6 SC.
- Round 2: Work 1 Inc in each stitch. (12 SC)
- Round 3: Alternate 1 Inc, 3 SC, repeated 3 times. (15 SC)
- Round 4: Work 1 regular round of SC. (15 SC)
- Round 5: Alternate 1 Dec, 3 SC, repeated 3 times. (12 SC)
- Round 6: Work 6 Dec to close. Stuff and fasten off.
Toe 2 (Second Largest):
- Round 1: Magic ring, 6 SC.
- Round 2: Work 1 Inc in each stitch. (12 SC)
- Round 3: Work a regular round of SC. (12 SC)
- Round 4: Alternate 4 SC, 1 Dec, 4 SC, 1 Dec. (10 SC)
- Round 5: Work 6 Dec to close. Stuff and fasten off.
Toes 3 & 4:
- Round 1: Magic ring, 6 SC.
- Round 2: Work 2 Inc, 1 SC, 2 Inc, 1 SC around. (10 SC)
- Round 3: Work a regular round of 10 SC.
- Round 4: Alternate 2 Inc, 1 SC, repeated 3 times. (14 SC)
- Round 5: Work 7 Dec to close. Stuff and fasten off.
Smallest Toe (Toe 5):
- Round 1: Magic ring, 6 SC.
- Round 2: Alternate 1 Inc, 2 SC, repeated 2 times. (8 SC)
- Round 3: Alternate 1 Dec, 2 SC, repeated 2 times. (6 SC)
- Stuff and fasten off.
Assembly
- Arrange the toes on top of the foot structure, starting with the largest toe on one side and aligning the others in descending size order.
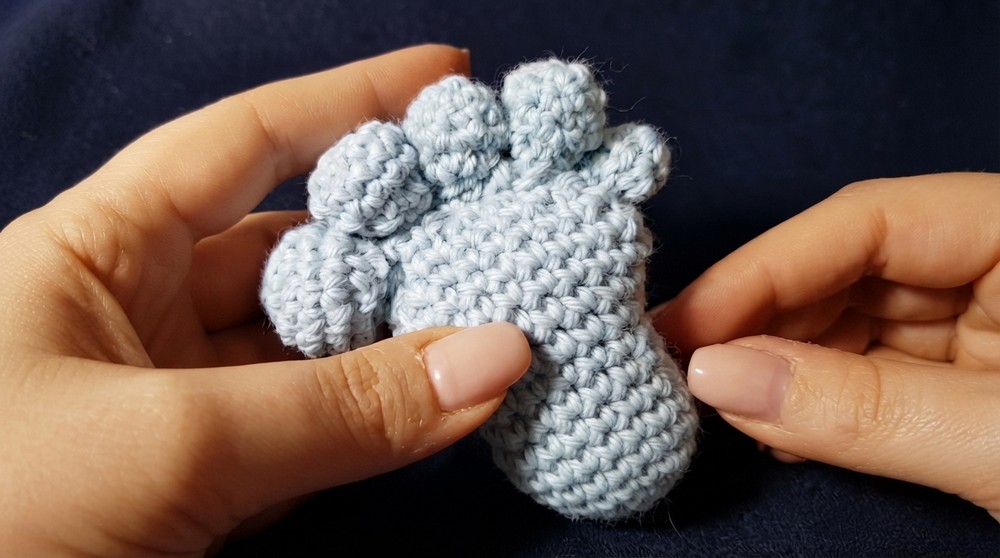
- Using a tapestry needle, sew each toe securely to the foot, spacing them evenly. Use small, tight stitches to ensure they stay firmly attached.
- Double check the alignment and adjust as needed before tightening and fastening off the thread.
- Weave in any remaining ends and adjust stuffing to maintain the shape.
Conclusion and Final Thoughts
Your adorable baby foot amigurumi is now complete. Whether you’re crafting for baptism favors, baby showers, or as a heartfelt keepsake, this little crochet foot is sure to be cherished by all who see it. Feel free to experiment with different yarn colors, weights, or even embellishments to make each creation unique.