
Easy to Follow Free Crochet Heart Pattern for Decorating
Make your day brighter with this fun and free crochet heart pattern that is beginner friendly and super easy to customize with colors you love.
Many crocheters look for a small project that feels relaxing but still creates something beautiful. That is where the tutorials from Annie Stoyanova come in. In her heart tutorial, she uses soft cotton and acrylic blend yarn, a simple hook, and very detailed instructions so that even someone new to crochet can follow along without feeling lost.
A Free Crochet Heart Pattern is charming because of its neat, rounded shape and the way it curves into a clear heart point at the bottom. The stitches build up from a small circle into a full, puffy heart using basic stitches like single crochet, half double crochet, and double crochet. Increases are used through the pattern to grow the heart evenly, and the top curves are shaped by mixing different stitch heights. This gives the heart a smooth outline and a very attractive, balanced look.
Wonderful Free Crochet Heart Pattern for Everyone

The beauty of this design is in its simplicity and its many uses. The finished heart can be used as an applique on hats, bags, and blankets, or made into garlands, keychains, ornaments, or gift toppers. It works nicely in cotton yarn because the stitches are easy to see, especially for beginners. The working style is round by round, starting from a small ring, then expanding with double crochet increases, and finally shaping the top lobes and point with a smart combination of single, half double, and double crochet.
Overall, this pattern is both pretty and practical, perfect for learning core stitches while creating a sweet decorative piece.

Crochet Heart Pattern Tutorial
In this step by step pattern, you’ll learn how to crochet a lovely heart. This beginner friendly pattern is explained in great detail, making it perfect for those new to crochet. By the end, you’ll have a beautiful heart that can be used in a variety of projects, from accessories to decorations.
Quick Overview of Pattern
- Pattern Type: Heart crochet pattern
- Rounds: Multi round pattern with detailed shaping
- Skill Level: Beginner friendly
- Purpose: Versatile heart design for decorations or accents
- Stitches Used: Slip stitch, single crochet, half double crochet, and double crochet
- Customization: Yarn colors, sizes, or usage
Notes
- Cotton or acrylic blend yarn is recommended for its stitch visibility and structure, ideal for beginners.
- Always use a stitch marker to keep track of rounds effectively.
- Tighten the slip knot and tail ends properly during the project for durability and neatness.
- This pattern is worked in rounds, starting with a small chain loop.
Skill Level
Beginner: This pattern is designed with simple stitches and clear instructions, making it ideal for beginners looking to practice essential techniques.
Materials
- Category 2 yarn (cotton acrylic blend recommended; pink or any desired color)
- 4 mm crochet hook (recommended, even if the yarn suggests 3.5 mm)
- Stitch marker
- Yarn needle
- Scissors
Measurements & Sizing
Finished heart size will vary based on yarn and hook choice, but it will be approximately:
- Width: 6—8 cm
- Height: 6—7 cm
Gauge
Gauge is not critical for this project. Work consistently for even stitches and neatness.
Stitch Abbreviations
- CH – Chain
- SL ST – Slip Stitch
- SC – Single Crochet
- HDC – Half Double Crochet
- DC – Double Crochet
Special Stitches
- Slip Knot: Foundation knot to start your work.
- Single Crochet Increase: Two single crochet stitches worked into the same stitch.
The Crochet Heart Pattern
Foundation
- Create a slip knot and place it on your hook.
- CH 4, then insert the hook into the first chain and work a SL ST to form a ring.
Round 1
- CH 1 (this does not count as a stitch).
- Work 6 SC into the center of the ring. Hold the yarn tail along the edge of the ring as you crochet over it to help secure it.
- Pull the yarn tail tightly to completely close the ring.
- Join the round with a SL ST into the first SC.

Round 2
- CH 2 (this does not count as a stitch).
- Work 2 DC into each stitch around for a total of 11 DC. This includes 1 DC in the first stitch, followed by 2 DC in the remaining stitches (creating increases).
- Skip the starting CH and join the round with a SL ST into the first DC.
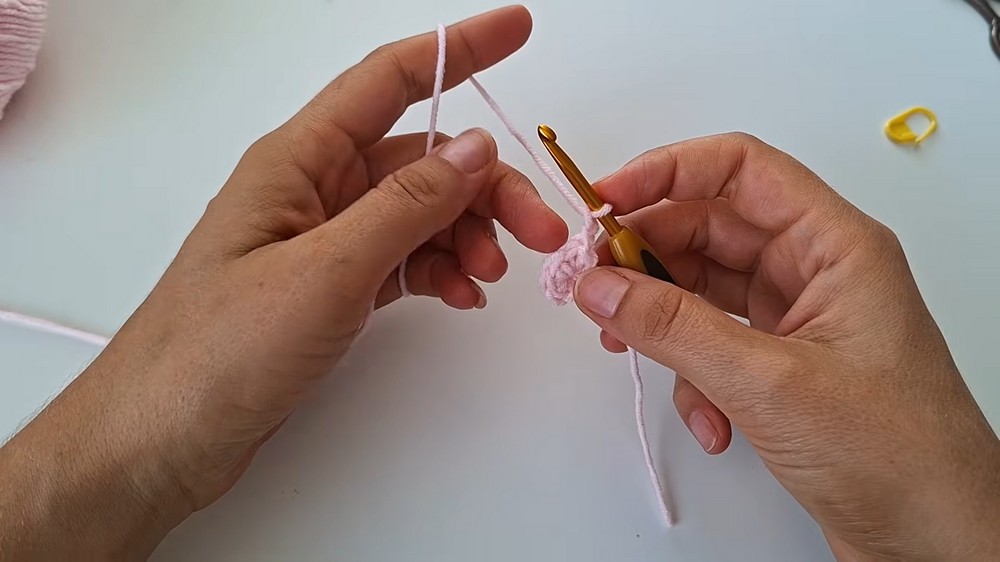
Round 3
- CH 2.
- Work 2 DC in each stitch around for a total of 22 stitches. Each stitch is worked with 2 DC.
- Skip the starting CH and finish the round with a SL ST into the first DC.
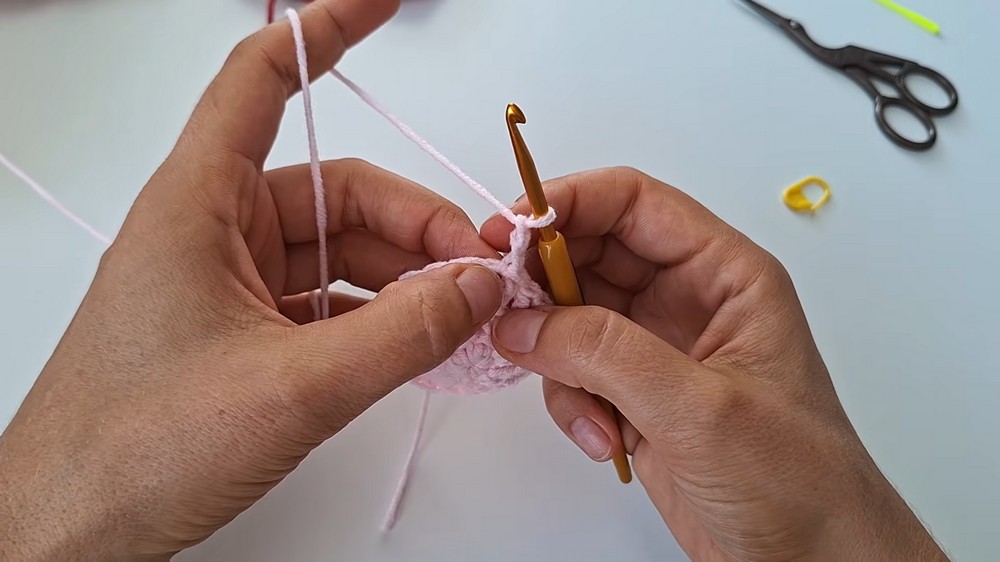
Round 4
- CH 2 (does not count as a stitch).
- Work the following sequence:
- Into the first stitch: Work 2 DC (increase).
- Into the next stitch: Work 1 DC.
- Repeat increase, 1 DC around for a total of 33 stitches.
- Complete the round by joining with a SL ST into the first DC.
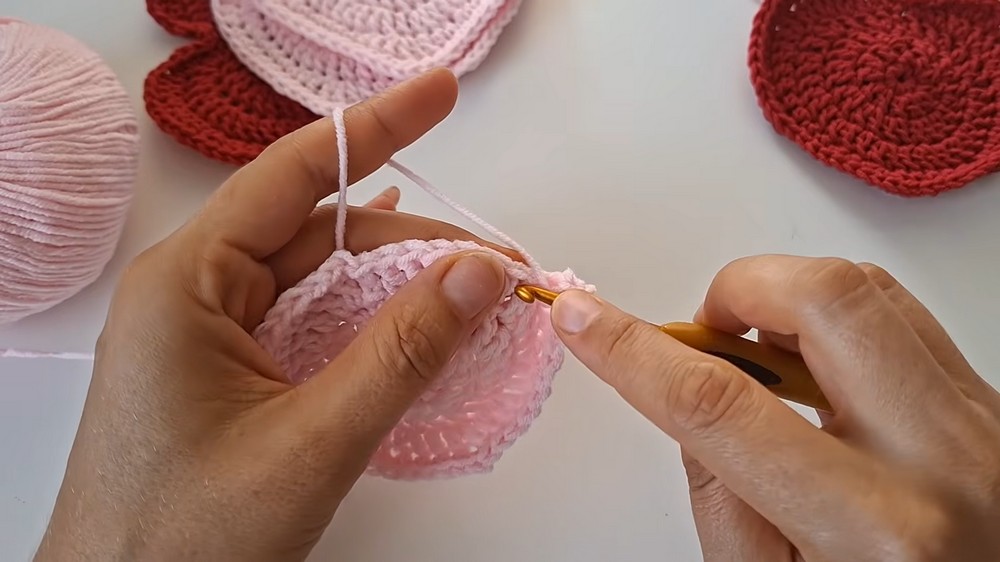
Round 5: Heart Shaping
First Side of the Heart
- CH 1 to start.
- Work the following stitches:
- First stitch: SC 1.
- Next stitch: HDC 1 and DC 1.
- Next 5 stitches: Work 2 DC in each stitch (5 increases).
- Next 2 stitches: Work DC 1 in each stitch.
- Next 2 stitches: Work HDC 1 in each stitch.
- Next 5 stitches: SC 1 in each stitch.
- At the tip of the heart:
- Work SC 3 into the same (middle) stitch.
Second Side of the Heart (Mirror First Side)
Repeat the steps for the first side:
- Work SC 5, followed by HDC 1 in each of the next 2 stitches.
- Next 2 stitches: Work DC 1 in each stitch.
- Next 5 stitches: Work 2 DC in each (5 increases).
- Next stitch: Work DC 1 and HDC 1 together.
- Final stitch: SC 1.
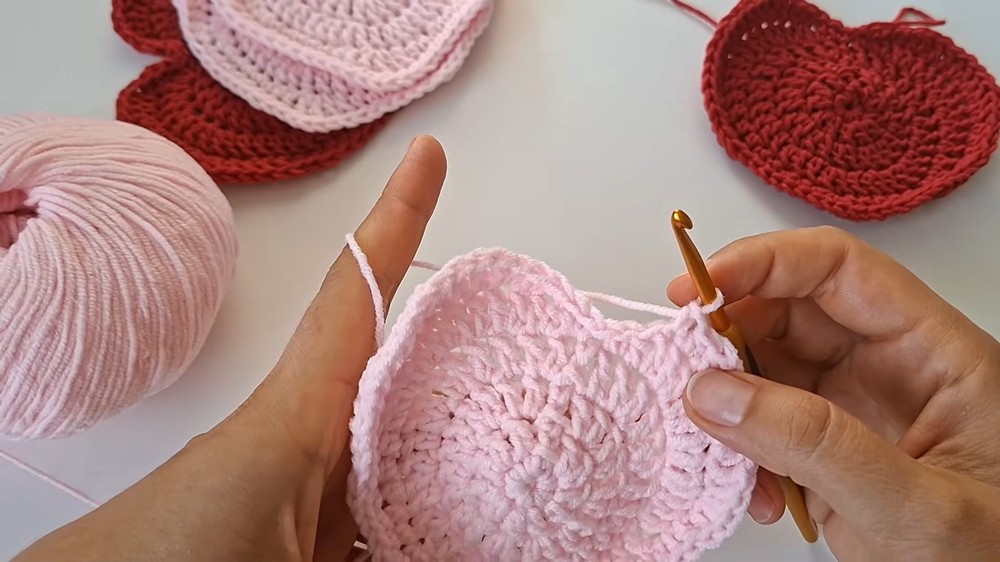
Join the round with a SL ST, but work into the previous round’s SL ST rather than the first SC.
Round 6: Final Shape and Touch Ups
- Slip stitch into the first two stitches with SL ST.
- Begin working the first side of the heart:
- SC 1 into the next stitch.
- HDC 1 and DC 1 into the same stitch.
- Work the sequence (DC 2, DC increase) three times (2 DC, DC increase). This adds more volume to the curve of the heart.
- Transition across the curve of the heart:
- Work HDC 2 into the next two stitches.
- Work HDC increase (2 HDC in the same stitch).
- Work SC 2 into two stitches.
- Work a SC increase (2 SC in the same stitch).
- Work SC 3 into the tip stitch of the heart curve.
For the second side of the heart, mirror the first side:
- Work SC 3 into three stitches.
- Work SC increase (2 SC in the same stitch).
- Work SC 2 into two stitches.
- Work HDC increase into the next stitch.
- Work HDC 2 into the next two stitches.
- Work DC 2, followed by the sequence (DC increase, DC 2) three times.
- Work DC 1, HDC 1, and SC 1 into the last stitch.
- Finish with SL ST 3 around the center edge to ensure a smooth and rounded heart shape.
- Chain 1, cut the yarn, and pull the yarn tail tightly to secure the stitches.
Assembly & Finished Size
- Use the yarn needle to weave in all loose ends neatly.
- Adjust and shape the heart with your fingers.
- The finished heart measures approximately 6–8 cm wide and 6–7 cm tall using DK weight yarn and a 4.0 mm crochet hook.
Conclusion
Congratulations, You’ve completed your crochet heart. This simple yet elegant design is perfect for many projects, such as keychains, appliques, gift decorations, or even garlands. You can experiment with different yarn colors and textures to create unique versions of this heart.