
Chill and Crochet a Cup of Coffee with this Free Pattern
Style your peaceful reading nook with a Free Crochet Cup Of Coffee Amigurumi Pattern as you crochet a soft plush that sits beside your favorite books and adds cozy charm.
This adorable little coffee cup is a perfect blend of creativity and charm. It’s cute, compact, and full of character, making it an ideal gift, a playful desk ornament, or a delightful addition to any crochet collection. From its rounded cup base to its detailed “coffee” surface and matching saucer, every element brings warmth and personality to the design. Plus, those optional googly eyes and a smile? They give it a whimsical, cheerful touch that’s hard to resist.
Impress Friends with a Free Crochet Cup of Coffee Pattern
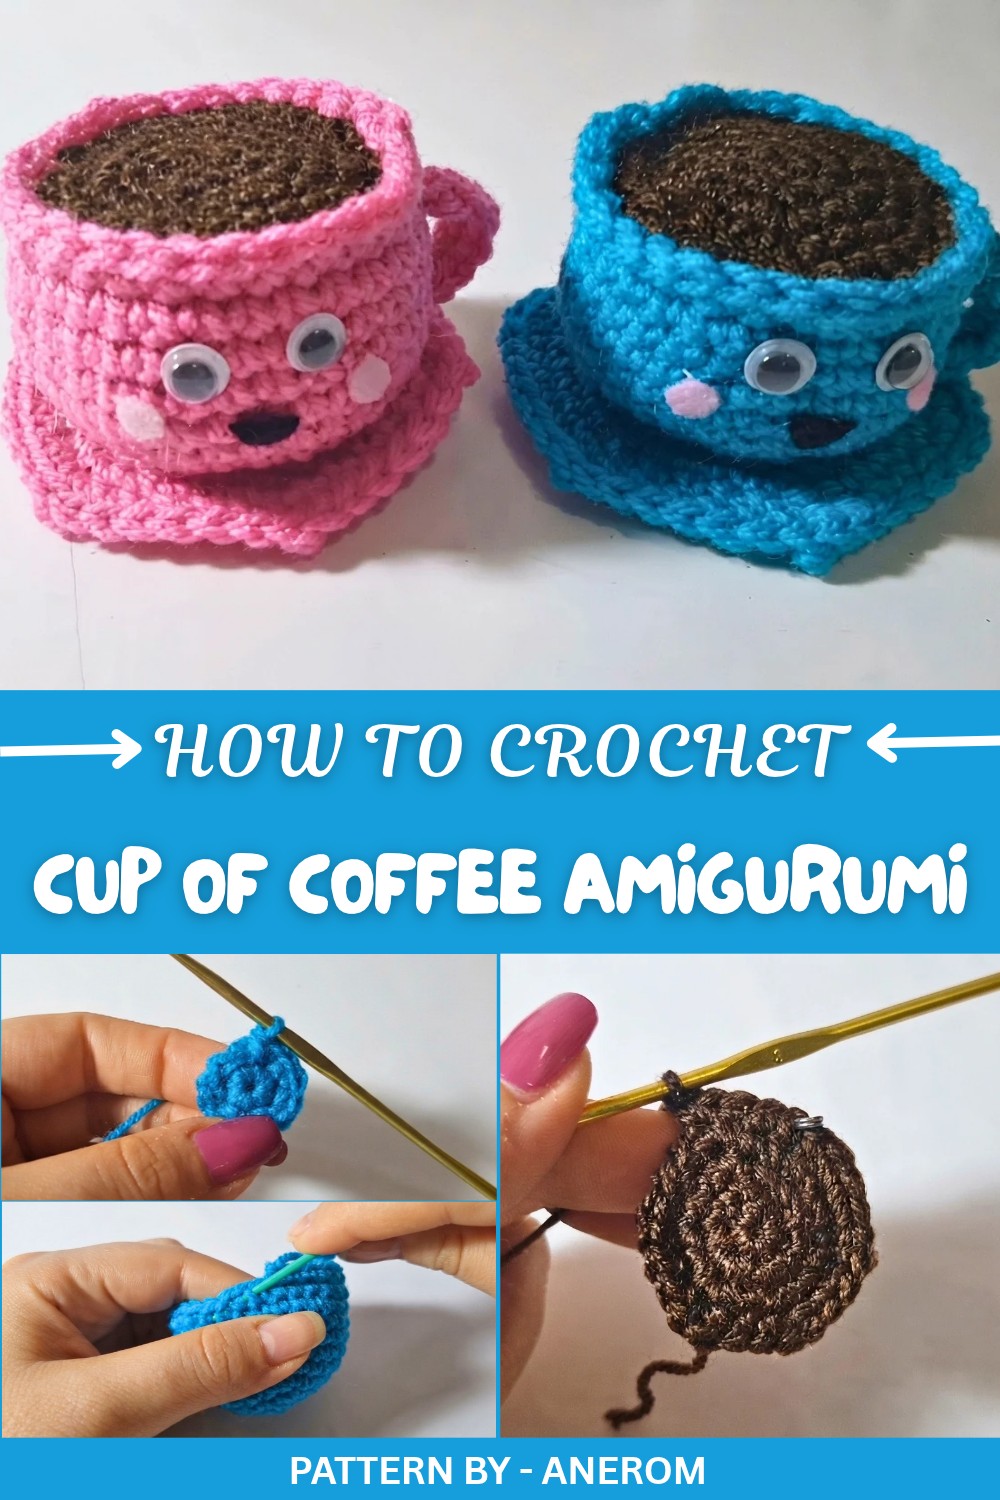
According to pattern, the cup begins with a magic ring and uses basic stitches like single crochets, with gradual increases to shape the base. Once the cup foundation is complete, six rounds of single crochets add height, creating the perfect depth. The saucer comes together just as smoothly, worked in a circular shape with thoughtful increases to create a flat, even surface. The "coffee" top is crocheted separately, using the same techniques, and gently sewn into place for a neat finish.
One of the most eye catching features is the handle. Creates a soft, sturdy loop that adds both visual balance and functionality. For a twist, viewers are shown two design options for the handle, one that’s lightly padded for a fluffier look. The final details, like assembly, stuffing the cup, and securing everything with some stitching or hot glue, make it an easy and enjoyable project from start to finish.
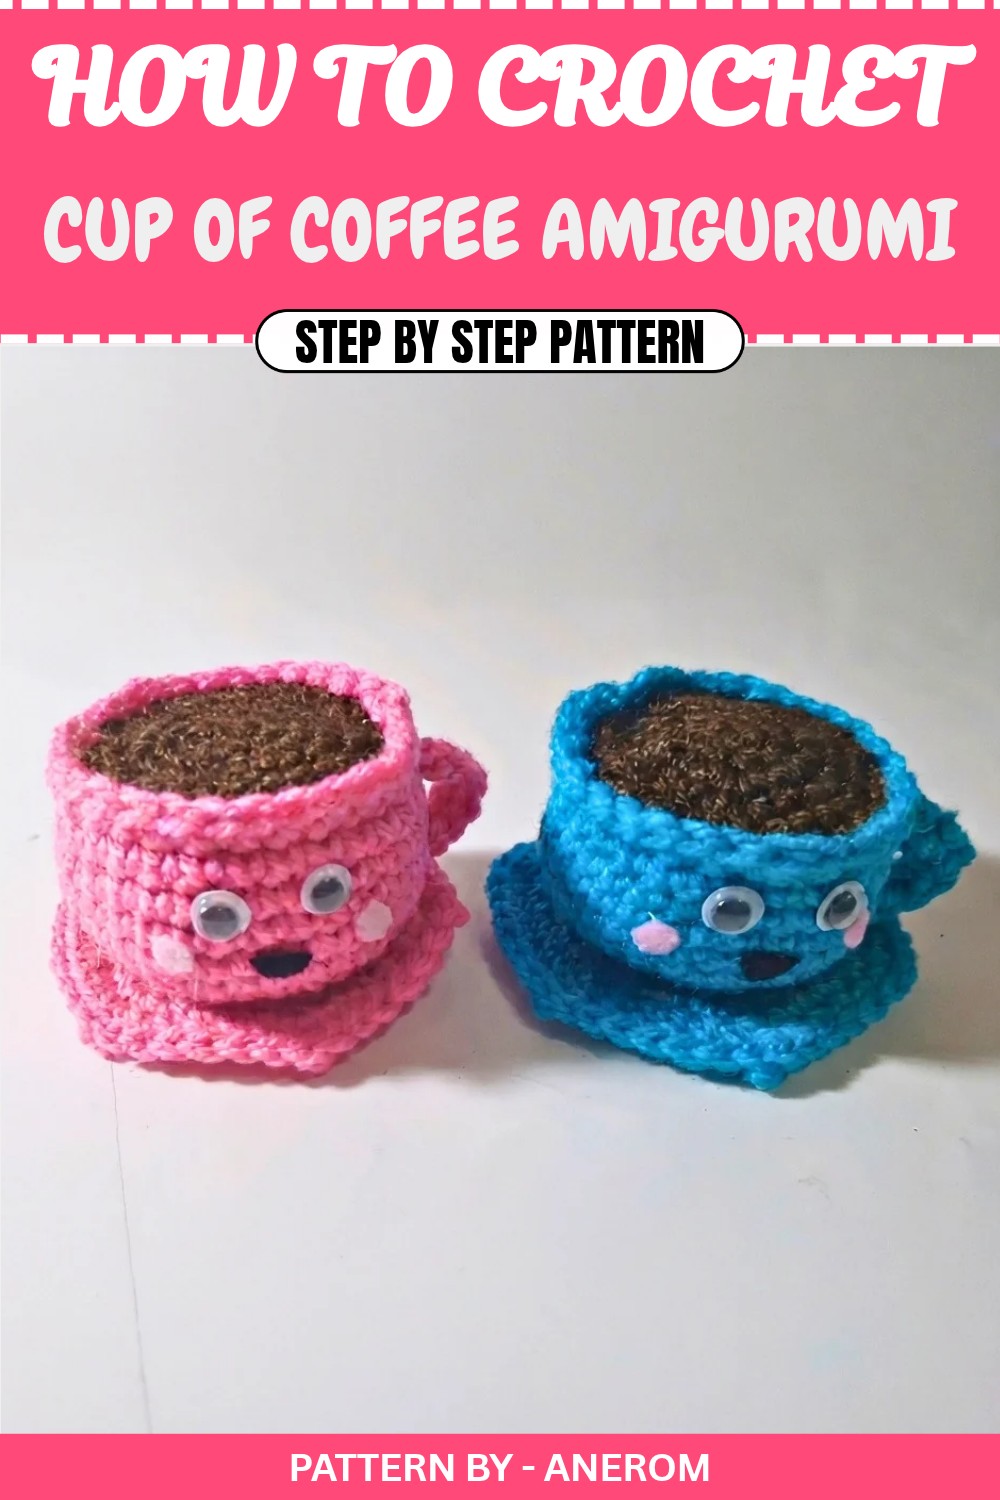
On the Anerom YouTube channel, the steps are explained with clarity and precision, making it a breeze to follow along. The end result? A cute crochet coffee cup that’s practical enough to use as a pin cushion or decorative item and adorable enough to brighten anyone’s day.
Free Crochet Pattern: Cute Coffee Cup Amigurumi
Quick Overview of Pattern
- Coffee Cup: Start with the base structure, worked in continuous rounds with single crochet increases for shaping.
- Saucer: Crochet the flat base to hold the coffee cup.
- Coffee Surface: Create and attach the coffee layer for a realistic look.
- Handle: Add a small piece to complete the coffee cup’s charm.
- Assemble and Decorate: Attach all components and personalize with fun features like eyes and smiles.
Notes
- This pattern is worked in continuous rounds – don’t join at the end of each round unless stated. Use a stitch marker to track the first stitch.
- The project can be customized using different yarn colors or decorative items.
- Hot glue can be used to attach parts quickly, but sewing ensures durability.
Skill Level
Beginner – Basic crochet stitches and simple increases/decreases are used.
Materials
- Yarn: Acrylic yarn in:
- Blue (for the cup)
- Brown (for the coffee surface)
- White/matching color for embellishments and handle
- Crochet Hook: 3mm
- Poly Fil Stuffing: For the cup’s interior.
- Tapestry Needle: For sewing and weaving in ends.
- Hot Glue Gun (Optional): For assembling parts quickly.
- Scissors: To cut yarn.
- Safety Eyes/Embroidery Floss: For details like eyes and a smile (optional).
Measurements / Sizing
The finished size depends on your tension and yarn, but with the recommended materials, the cup will stand approximately 4–5 inches tall.
Gauge
Gauge isn’t essential. Use a hook smaller than standard for your yarn to ensure a tight fabric that holds the stuffing well.
Stitch Abbreviations
- ch: chain
- sc: single crochet
- sl st: slip stitch
- inc: increase (2 sc in the same stitch)
- dec: decrease (sc 2 stitches together)
Special Stitches
Magic Ring: A loop that allows you to crochet in the round tightly, with no gap in the center.
The Crochet Pattern
Part 1: Coffee Cup
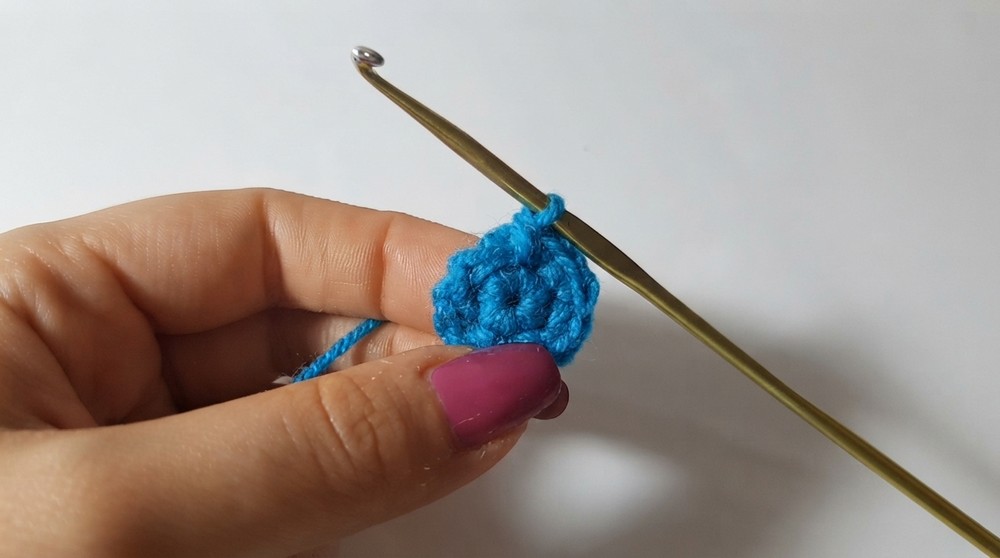
- Round 1: Create a magic ring and work 6 sc into it. (6 sc)
- Round 2: Work 1 inc in each stitch. (12 sc)
- Round 3: Alternate 1 sc, 1 inc around. (18 sc)
- Round 4: Alternate 2 sc, 1 inc around. (24 sc)
- Round 5: Alternate 3 sc, 1 inc around. (30 sc)
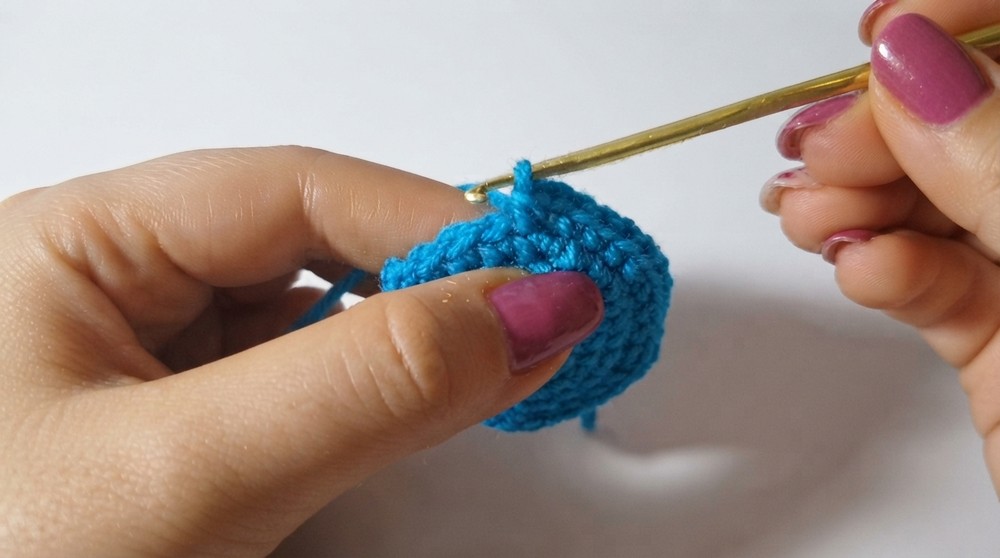
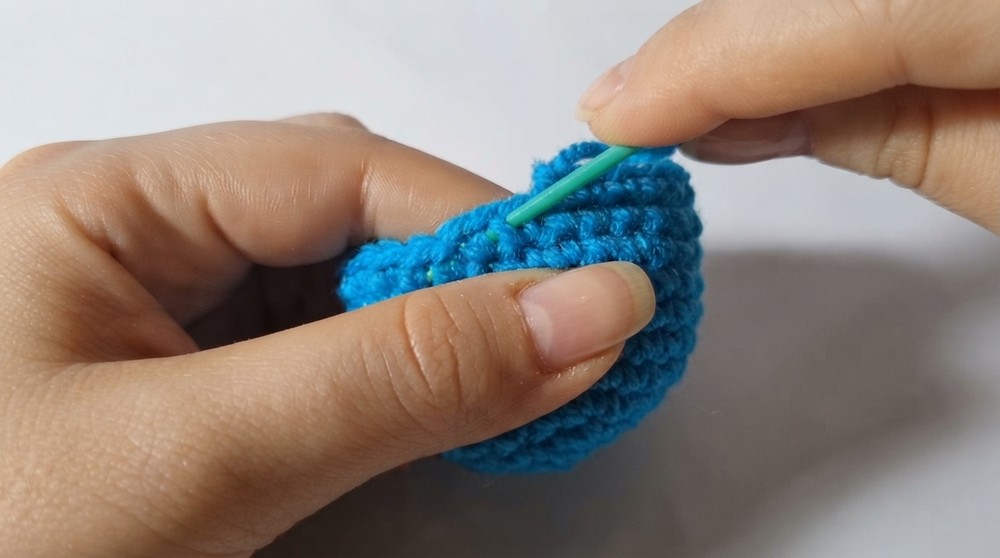
- Rounds 6–11: Work 6 rounds of sc, one in each stitch. (30 sc per round)
- After Round 11, sl st into the next stitch to finish the edge. Trim the yarn and weave in the end with a tapestry needle.
Part 2: Saucer
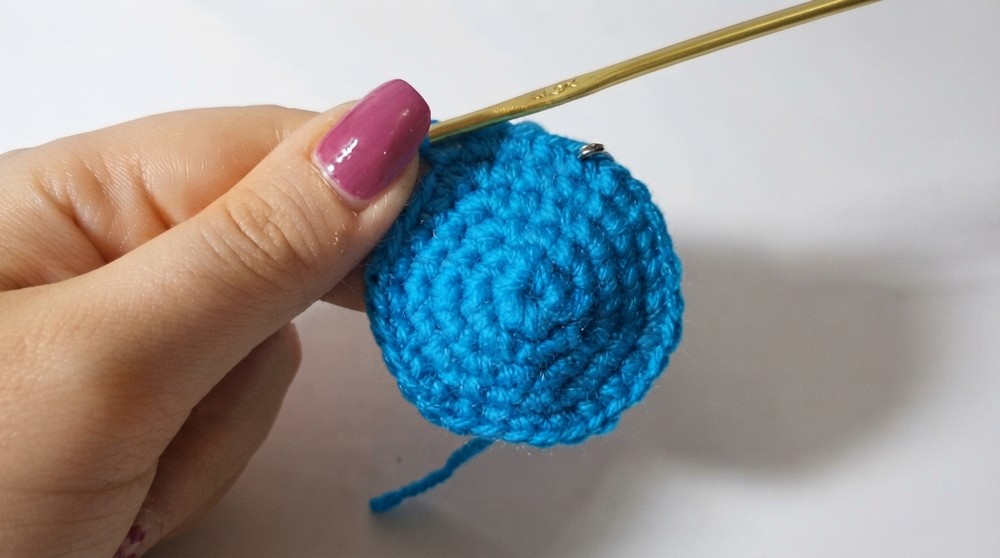
- Round 1: Create a magic ring and work 6 sc into it. (6 sc)
- Round 2: Work 1 inc in each stitch. (12 sc)
- Round 3: Alternate 1 sc, 1 inc around. (18 sc)
- Round 4: Alternate 2 sc, 1 inc around. (24 sc)
- Round 5: Alternate 3 sc, 1 inc around. (30 sc)
- Round 6: Alternate 4 sc, 1 inc around. (36 sc)
- Round 7: Alternate 5 sc, 1 inc around. (42 sc)
- Finish with a sl st, trim the yarn, and weave in the end.
Part 3: Coffee Surface
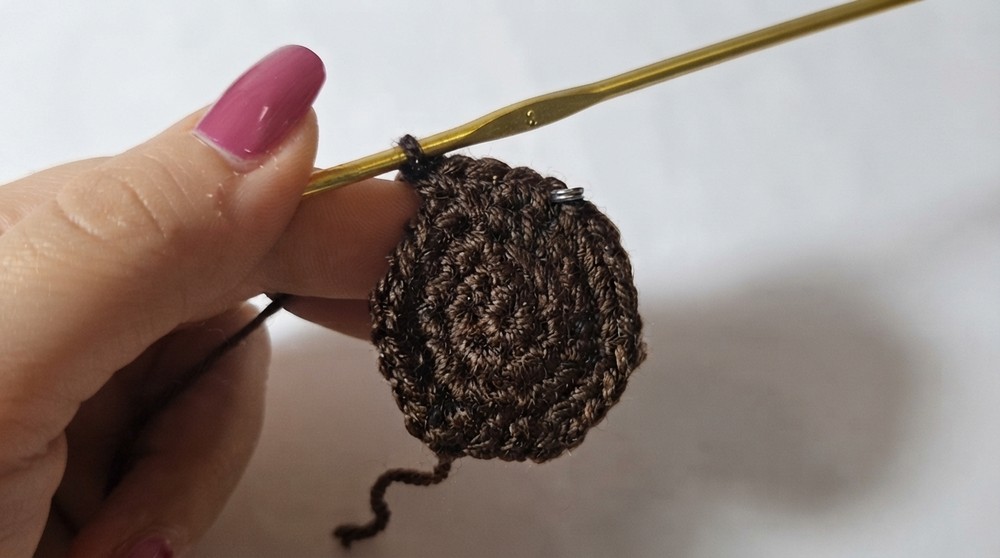
- Round 1: Create a magic ring and work 6 sc into it. (6 sc)
- Round 2: Work 1 inc in each stitch. (12 sc)
- Round 3: Alternate 1 sc, 1 inc around. (18 sc)
- Round 4: Alternate 2 sc, 1 inc around. (24 sc)
- Round 5: Alternate 3 sc, 1 inc around. (30 sc)
- Finish with a sl st, but leave a long tail for sewing. This tail will be used to attach the coffee to the inner edge of the cup.
Part 4: Handle
- Create a foundation chain of 8 chains.
- Work 1 sc in each chain stitch, turning and working backward along the chain. (7 sc)
- Row 2: Ch 1, turn, work 1 sc in each stitch. (7 sc)
- In the last stitch, sl st and leave a long tail for assembly.
Assembly & Details
1. Assemble the Coffee Cup
- Stuff the coffee cup with Poly-Fil. Ensure it’s firm but not overfilled.
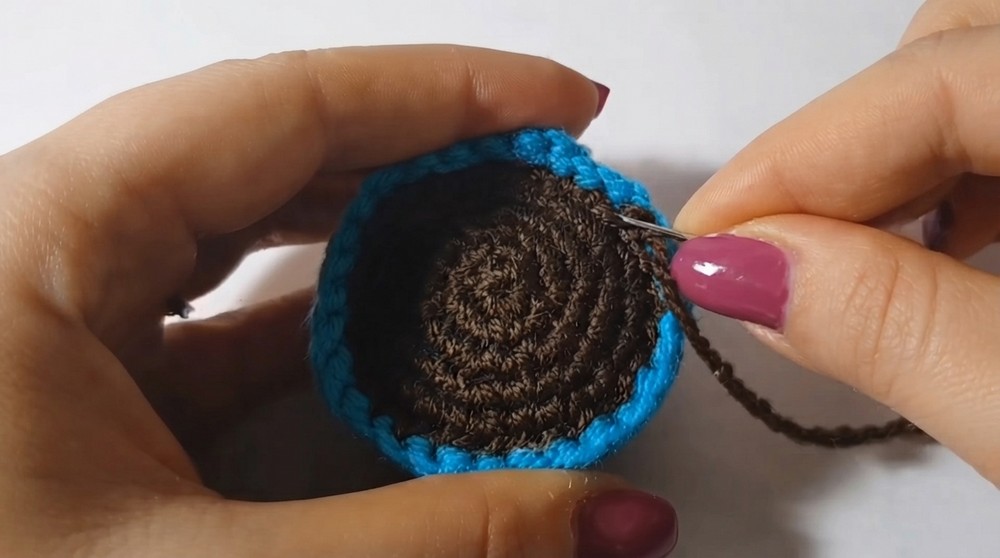
- Attach the coffee surface: Use the long tail of brown yarn, threading it into a yarn needle and attaching the coffee securely by sewing it to the inner edge of the cup. Work neatly in small stitches around the edge.
2. Attach the Handle
- Use the long tail from the handle to sew both ends onto the side of the cup, forming a C-shape. Ensure the handle is secure but aligned neatly with the cup.
3. Finish the Saucer
- Optional: Use hot glue or stitches to attach the coffee cup to the center of the saucer.
4. Add Decorative Features
- Attach safety eyes to the cup and embroider a small smile with black embroidery floss to give it a whimsical face. You could also add rosy cheeks using pink blush or embroidery.
Conclusion and Final Thoughts
Congratulations, you’ve completed your adorable crochet coffee cup amigurumi. Whether you’re using it as a gift, desk decoration, or personal project, this piece is sure to bring warmth and smiles. Customize it with different colors, facial expressions, or embellishments to make each coffee cup unique.