
Free Crochet Headband with Flowers that Sparks Fun
Follow this easy crochet pattern to create a pretty headband with flowers, ideal for everyday wear or as a handmade gift.
Flowers always have a way of making things prettier, don’t they? That’s exactly the charm behind a headband sprinkled with delicate crochet flowers. This beautiful accessory doesn’t just keep your hair neat, but also adds a soft and stylish touch to your look. Whether you want something playful for a casual day out or an elegant piece that turns heads at a special occasion, this headband ticks all the boxes.
Bright Free Crochet Headband with Flowers
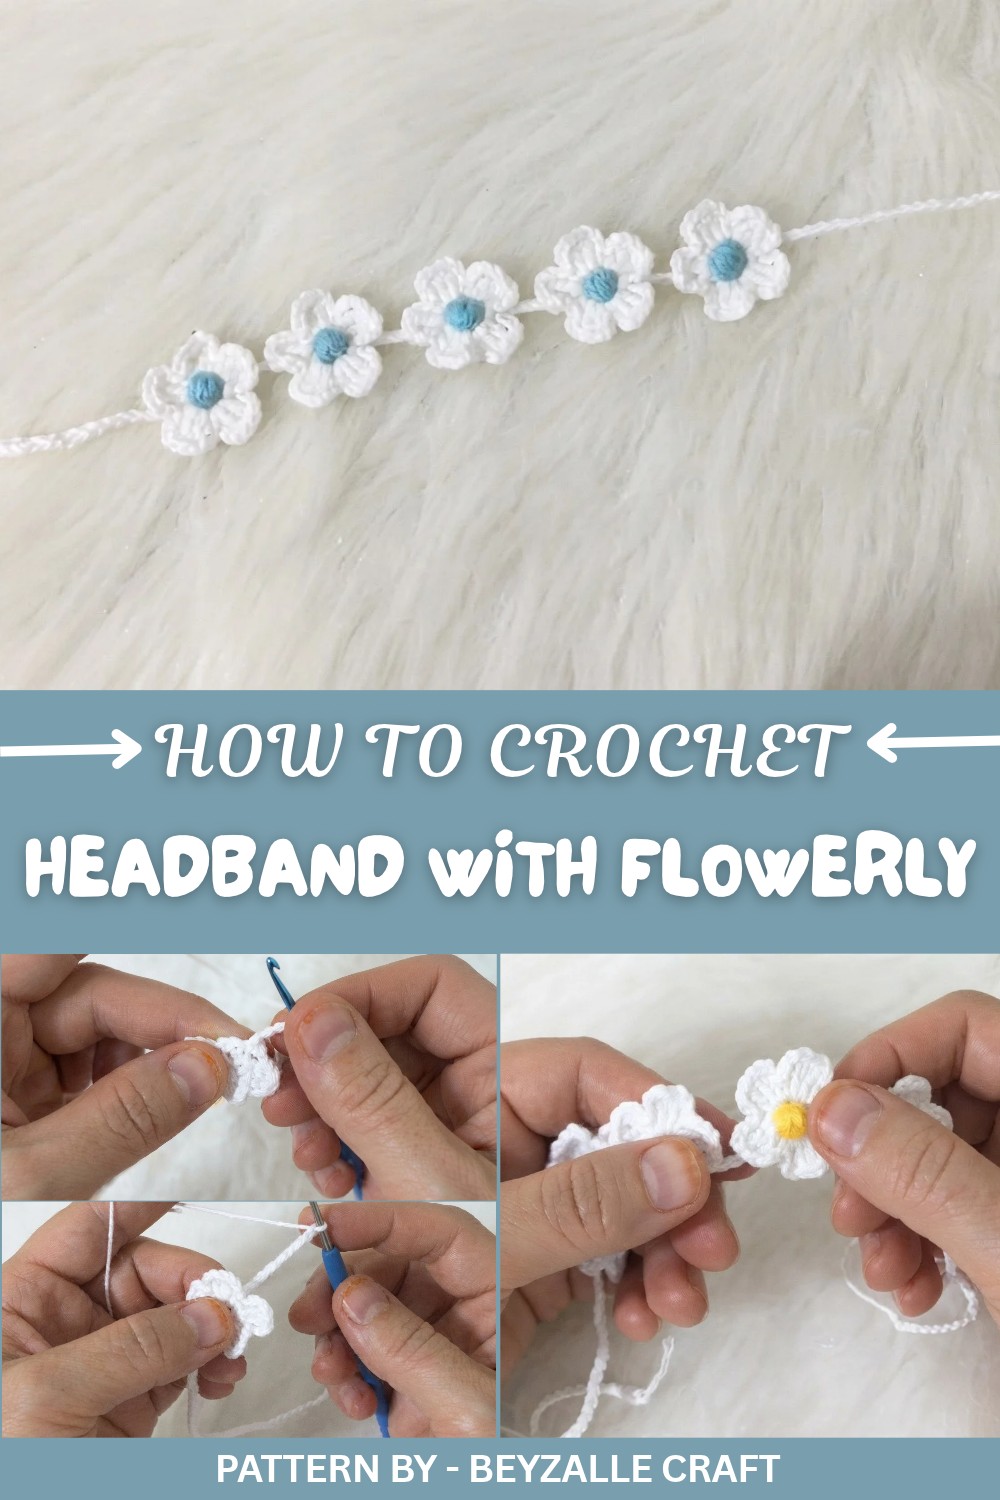
Its floral accents bring an undeniable beauty that complements all hair types and styles. What’s even better is the personalized feel, you can decide the colors and arrangement of the flowers to match your mood or outfit. The lightweight design ensures comfort, while the thoughtful construction promises a snug yet gentle fit for all ages. It’s not just an accessory; it’s a statement of style and personality.
Pattern by
With Beyzalle CRAFT’s wonderful tutorial, making this headband becomes an enjoyable and easy experience. The step by step instructions are clear and beginner friendly, making it fun to bring such a lovely piece to life. The focus of this pattern is on the floral decoration, and every stitch brings out the charm of these tiny blossoms.
Trying this project is almost like adding a creative spark to your day. From casual afternoons to more formal gatherings, this headband is an accessory worth trying. Beyzalle CRAFT’s channel is full of delightful projects like this one, so be sure to explore for more ideas that can inspire and brighten your crafting sessions.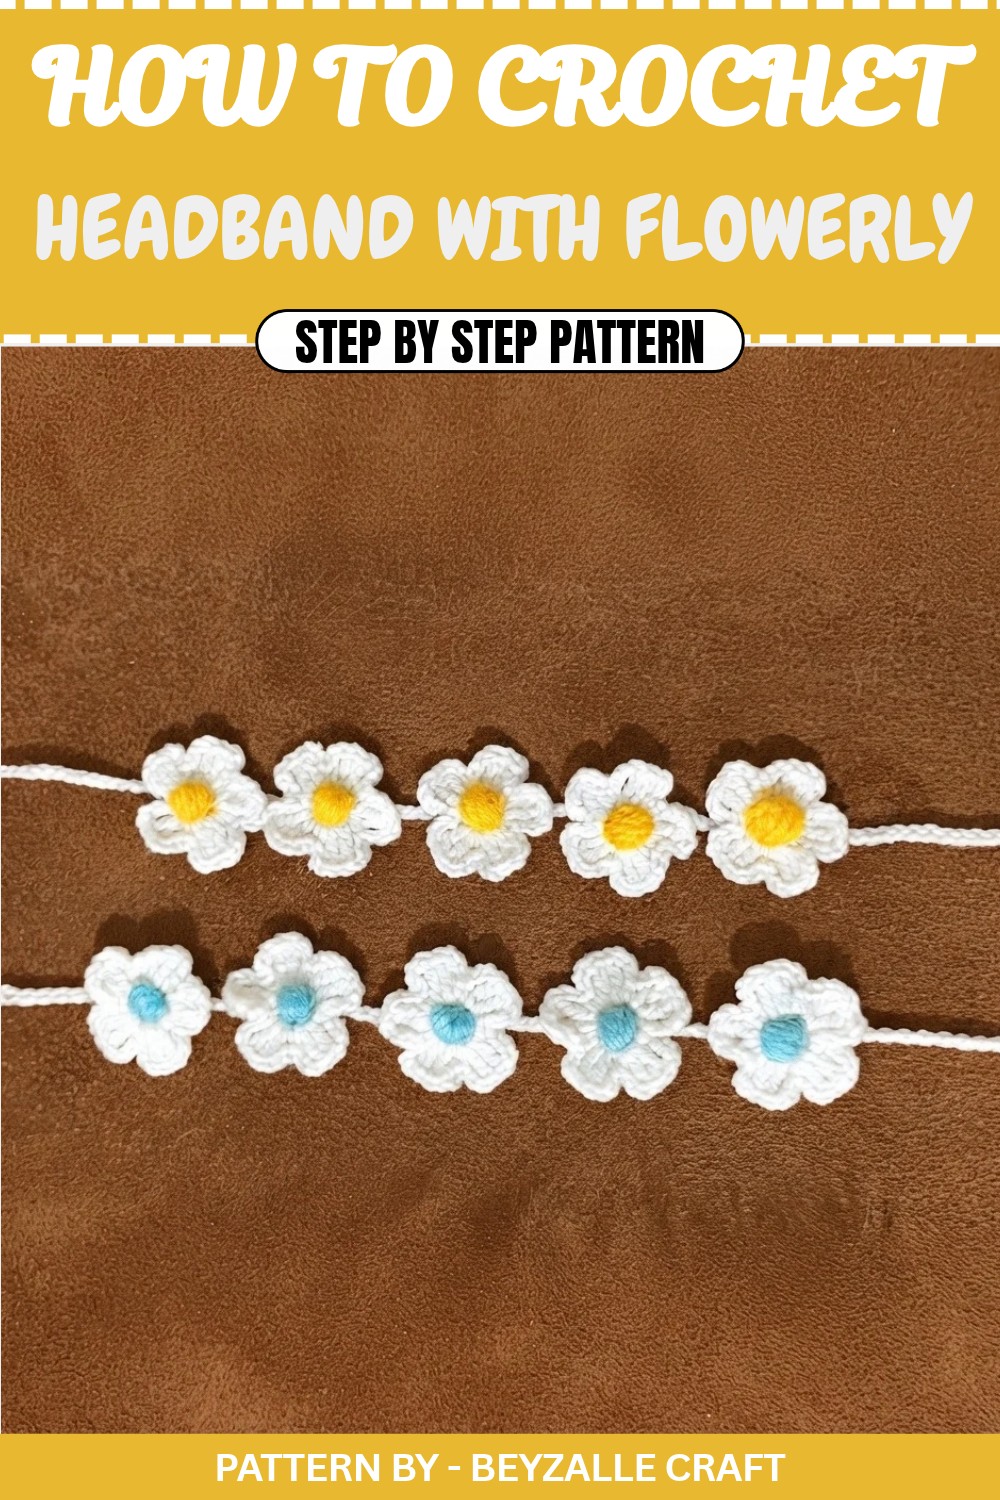
Crochet Headband with Flowers Pattern
Quick Overview of the Pattern
- The crown is made with a sequence of connected daisy motifs without cutting the yarn.
- Each daisy has 5 petals made using chains, single crochets, and double crochets.
- The centers of the daisies are made separately with a magic ring and sewn onto the crown.
- The length of the crown is adjustable depending on the size of your doll or child.
Notes
- You can adjust the number of daisies and the length of the base chain to fit different sizes.
- The pattern can be customized with different colors for the flowers or even multicolor petals.
- Keep an even tension to ensure consistent flower sizes.
Skill Level
Beginner to Intermediate: The pattern includes simple techniques like single crochet, double crochet, chains, and magic rings.
Materials
- Yarn:
- White for petals.
- Yellow or orange for the centers of the flowers.
- Crochet Hook: 3.0mm to 3.5mm, depending on your yarn size.
- Tapestry Needle: For weaving in ends and attaching flower centers.
- Scissors: For cutting yarn.
Measurements / Sizing
- The crown length depends on the initial chain. For example:
- Small dolls: 30–40 chains.
- Larger dolls or children: 50+ chains.
- Each individual flower’s diameter is approximately 2.5 cm.
Gauge
Gauge isn’t critical for this project, but maintain consistent tension to ensure uniform motifs.
Stitch Abbreviations
- ch = Chain
- sc = Single crochet
- dc = Double crochet
- sl st = Slip stitch
- mr = Magic ring
Special Stitches
- Magic Ring (mr): A foundational circular loop, perfect for creating clean, adjustable centers for flowers.
- Double Crochet Cluster (Petal Base): Multiple double crochets worked into the same base chain, connected by a slip stitch for petal shapes.
The Crochet Pattern
Step 1: Base Chain
- Start by chaining 40 (or adjust based on the desired circumference):
- This will determine the length of the crown.
- After completing 40 chains, move to the 39th chain and start the first flower.
Step 2: Crochet the First Daisy
Flower Center:
- Into the 39th chain, work 5 sc to create a small rounded base.
- Join back to the first sc with a sl st to create a circle (center base).
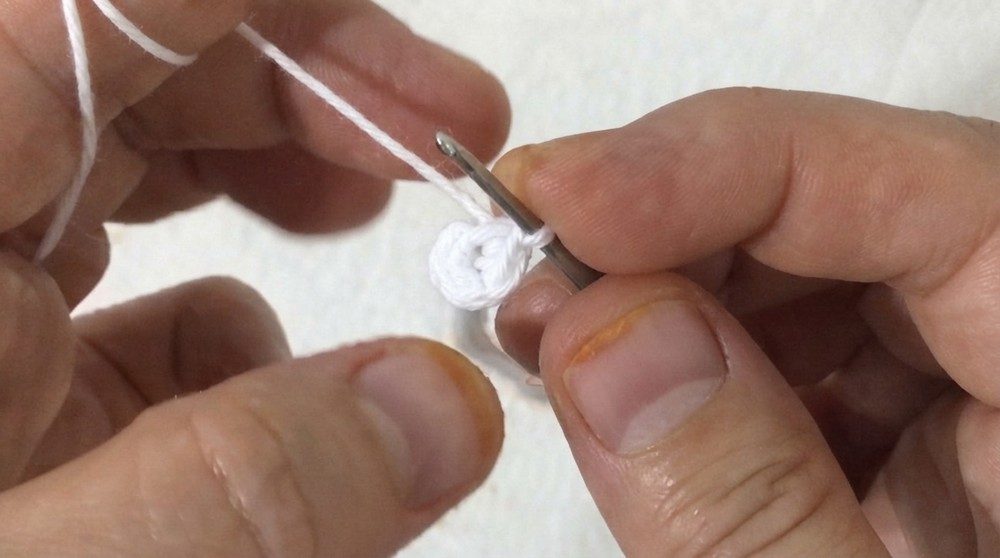
Petals:
- Chain 3, then work 2 dc into the same base stitch as the sl st.
- Chain 3 again, then join with a sl st into the next sc to form one petal.
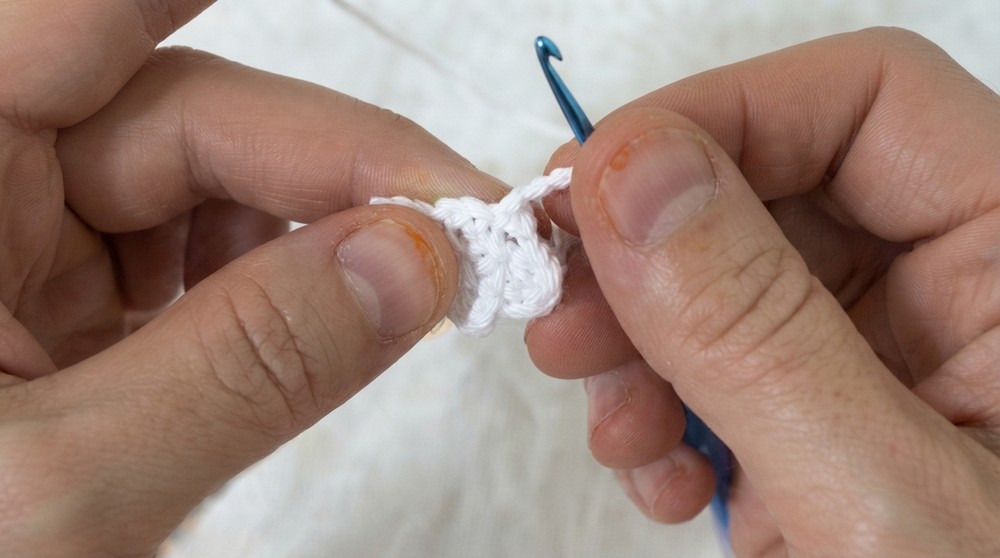
- Repeat the process for all 5 petals:
- Chain 3, make 2 dc, chain 3, and sl st into the next sc.
- After completing all 5 petals, sl st into the first sc to secure the flower.
Step 3: Continue with the Chain
- Once the first flower is complete, chain 11. This creates the spacing between flowers:
- Adjust the chain count if you prefer your flowers closer or farther apart.
- Into the 10th chain, start the next flower:
- Repeat the same process from Step 2:
- Work 5 sc in the 10th chain.
- Create the petals with dc clusters as before.
- Repeat the same process from Step 2:
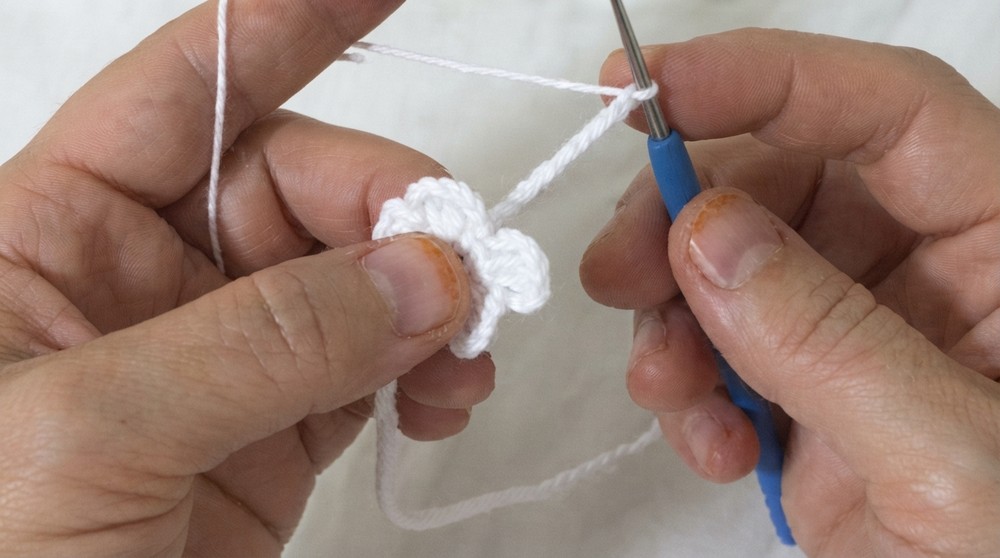
Step 4: Connecting the Flowers
- On the third petal of each new flower, connect the flower base to the chain loop:
- After chaining 3 at the petal tip, insert the hook into the 4th chain from the previous section and pull through a loop to secure.
- Finish the petal as usual by completing the remaining dc and returning to the base.
- This technique keeps the chain taut and ensures the flowers stay neat and evenly spaced.
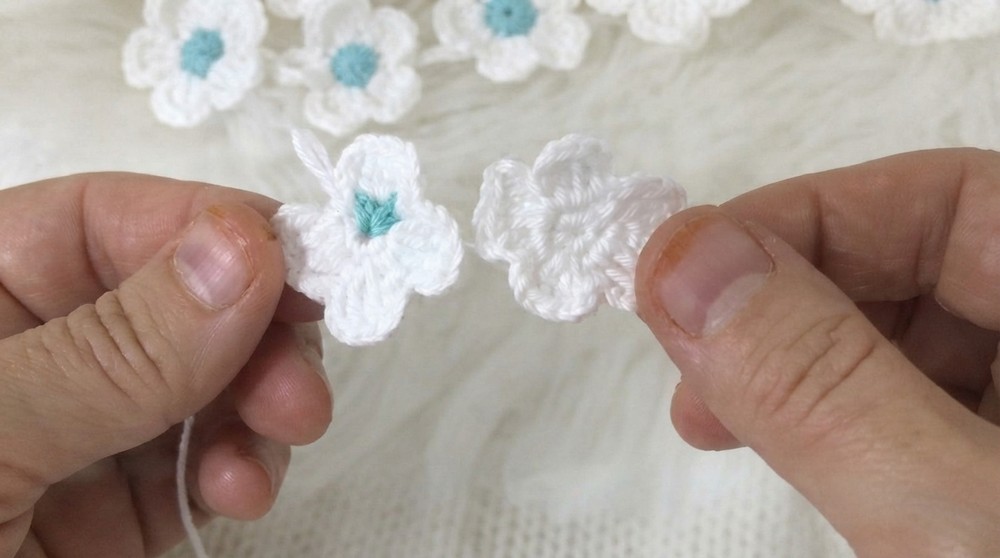
Step 5: Repeat for Desired Length
- Continue the pattern, alternating between chains and flowers.
- Stop once you’ve created enough flowers to fit the desired size.
Step 6: End the Chain
- After completing the last flower, chain 40 (or match the starting length of the base chain).
- Cut the yarn and securely fasten.
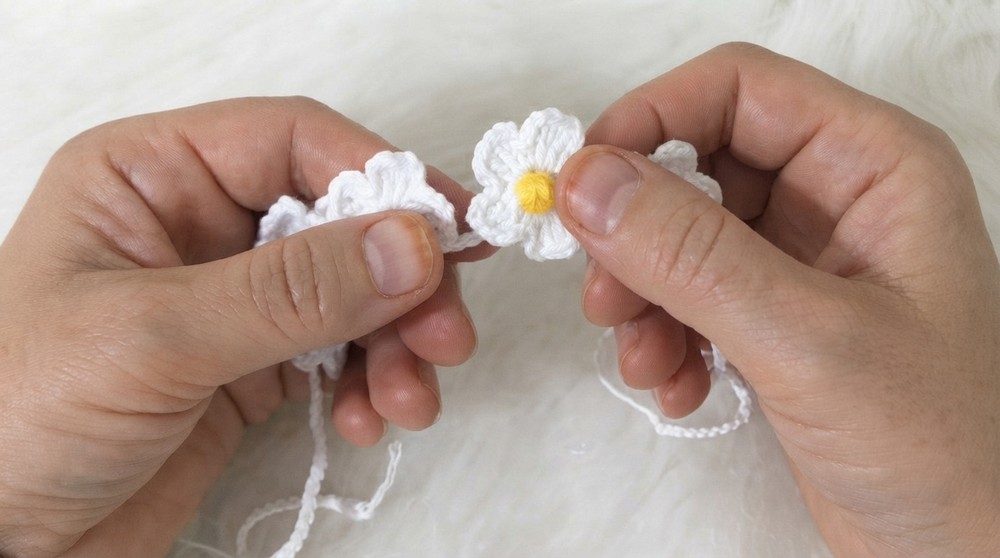
Step 7: Create Flower Centers
- Use yellow or orange yarn to create the centers of the daisies.
- For each daisy center:
- Work a magic ring with 5 sc inside. Join with a sl st to form a small circle.
- Leave a long tail of yarn for sewing.
- Sew each flower center onto its daisy using the long tail to secure it in place.

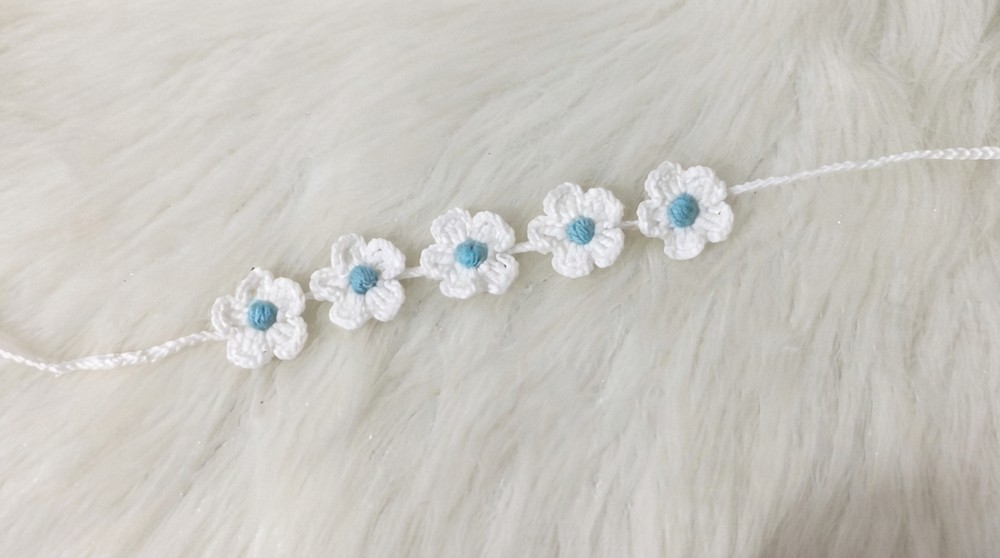
Assembly & Finished Size
- Ensure all flower centers are securely attached.
- Stretch the crown slightly to make sure the flowers and chains are evenly distributed.
Conclusion and Ending Words
Congratulations on completing this beautiful Crochet Headband with Flowers. Perfect for dressing up amigurumi dolls or even as a handmade accessory for children, this project is fun, quick, and full of potential for customization. Keep experimenting with colors and flower arrangements for different looks.