
Free Crochet Scottish Hat Pattern for everyday wear
Add timeless Scottish charm to your wardrobe with this easy to follow, free crochet pattern for a stunning tartan inspired hat.
Scottish heritage has always been a symbol of timeless elegance and cozy charm. From the iconic plaid patterns to the snug woolen accessories, it’s hard not to feel the warmth and tradition that comes with it. One of the most charming pieces inspired by this culture is the Scottish crochet hat. The hat’s distinct texture, paired with its snug yet stylish fit, makes it a perfect choice for keeping your head warm while looking effortlessly classy. It’s ideal for cold weather outings, celebrations, or simply adding a unique touch to any outfit.
The puff stitch is the star of this project, a technique that brings a soft, raised effect to the hat. This versatile stitch is beginner friendly and can also be used to create cozy blankets, trendy cowls, or even beautiful cushion covers, so learning it opens up many creative opportunities. The combination of simplicity and texture is truly eye catching, and it gives the hat a rich depth that looks absolutely stunning.
Free Scottish crochet hat pattern comfy and cute
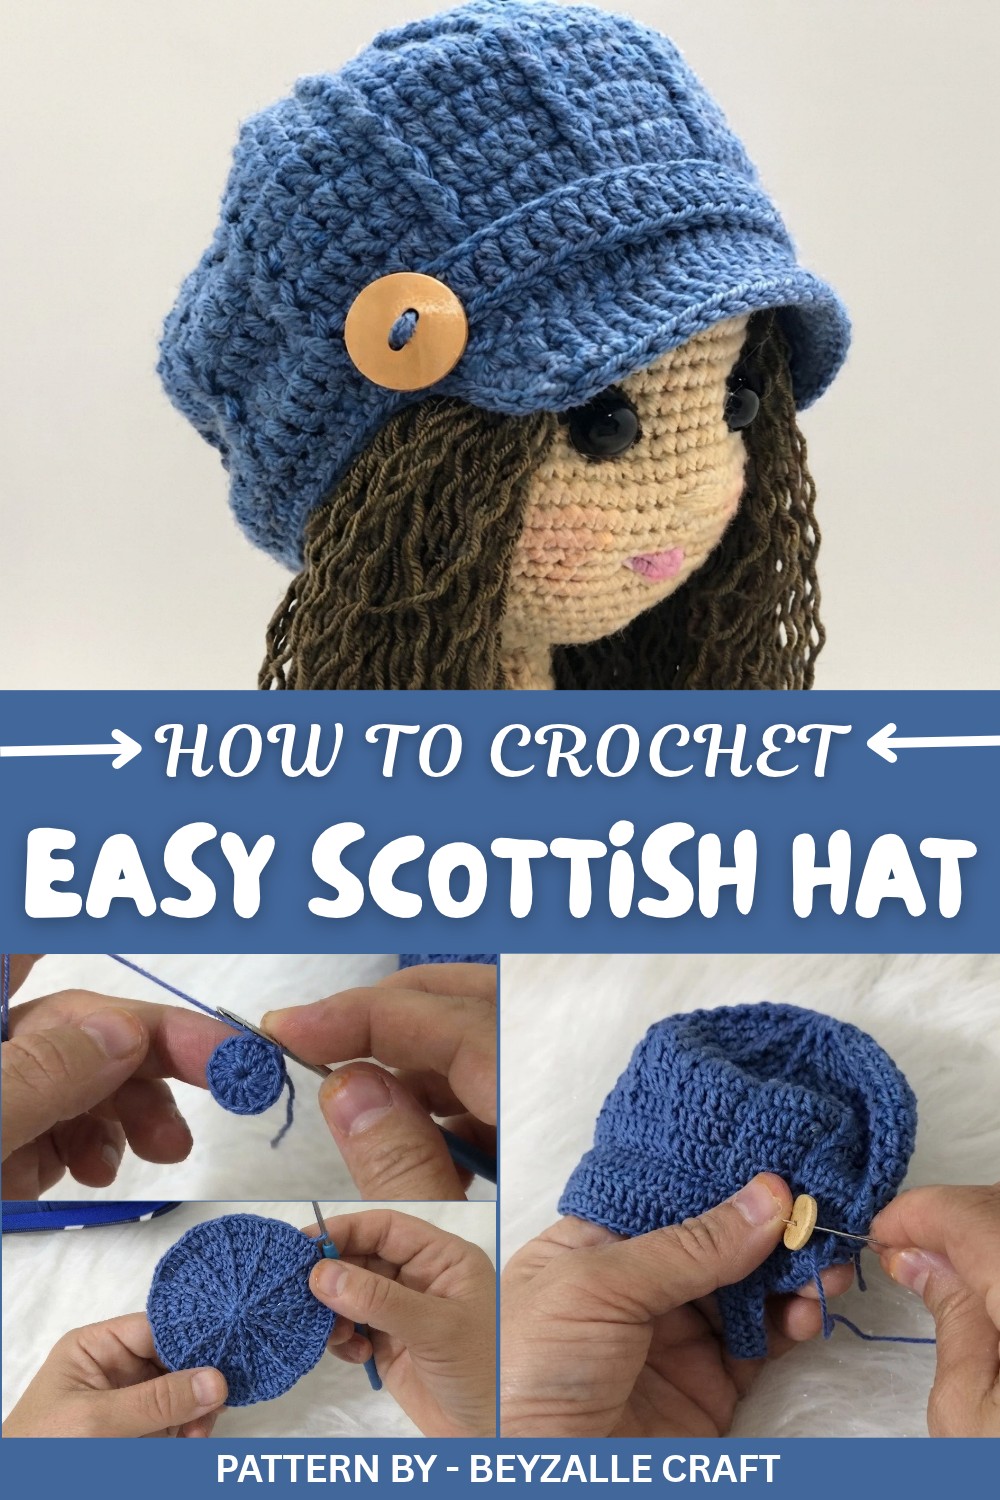
By following this pattern, you’ll learn how to crochet puff stitches, work evenly in the round, and shape the hat for a comfortable fit. Along the way, you’ll also pick up tips on maintaining consistent tension—a skill that’s crucial for any crochet project. It’s a manageable and rewarding challenge for beginners and experienced crocheters alike.
Featured By Beyzalle CRAFT
While puff stitches might seem tricky initially, starting slow is key. Using a well gliding yarn and practicing pulling through loops gently can make things easier. Don’t hesitate to pause, breathe, and adjust your grip—it’s all part of the process, and your confidence will grow with each stitch.
What’s even better? This technique can be turned into many stunning creations. You could use puff stitches to make matching accessories, like scarves, mittens, or tea cozies that complement your hat. With just a little practice, your imagination can take this stitch far beyond cozy headwear.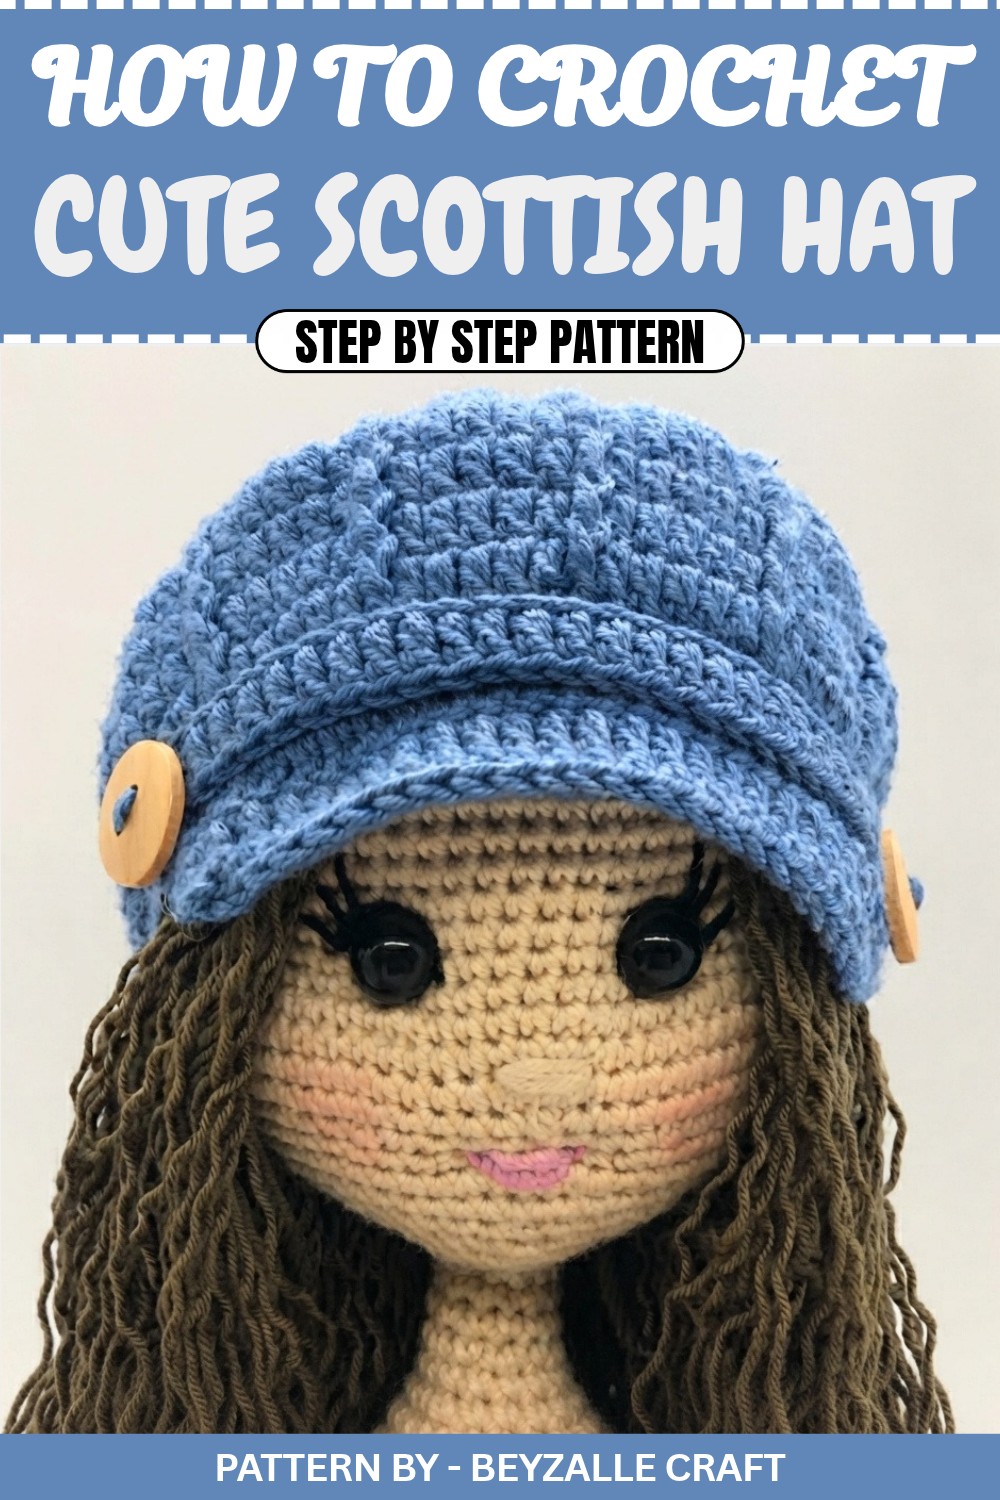
Crochet Pattern: Decorative Loose Fitting Hat (Scottish Style) for Amigurumi Dolls
This pattern allows you to create a beautiful and decorative loose fitting hat, perfect for amigurumi dolls. It uses simple measurements rather than fixed stitch counts for adaptability, ensuring an excellent fit for various doll sizes.
Quick Overview of Pattern
- Crown: Begin with a magic ring, increasing gradually to create the slouchy top.
- Body: Work rows of double crochet with no increases.
- Brim: Add decreases and texture with single crochet (sc) and Front Loop Only (FLO) techniques.
- Strap: Add a standalone band of double crochet and attach buttons for decoration.
Notes
- This pattern assumes that you’ll measure the hat against your doll as you crochet to ensure proper sizing.
- Check your gauge periodically to confirm that stitches are not too tight or too loose.
Skill Level
Intermediate: Ideal for those comfortable with magic rings, post stitches, and working in the round.
Materials
- Yarn: Medium weight yarn in your chosen colors.
- Crochet Hook: 3.0mm or 3.5mm.
- Tapestry Needle: For weaving in ends and sewing.
- Buttons: Two decorative buttons for embellishment.
- Scissors: For trimming yarn.
Stitch Abbreviations
- ch = Chain
- sl st = Slip Stitch
- sc = Single Crochet
- dc = Double Crochet
- FPDC = Front Post Double Crochet
- dec = Decrease (sc two stitches together)
- FLO = Front Loop Only
Special Stitches
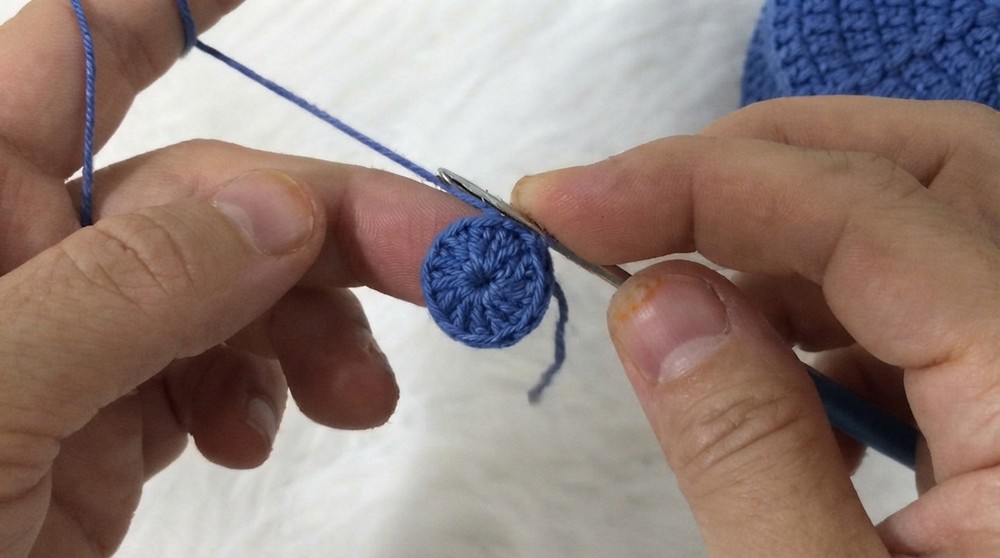
- Magic Ring: Form a loop with your yarn, insert the hook, pull up a loop, chain 1, and work stitches into the loop. Pull the tail to close the ring tightly.
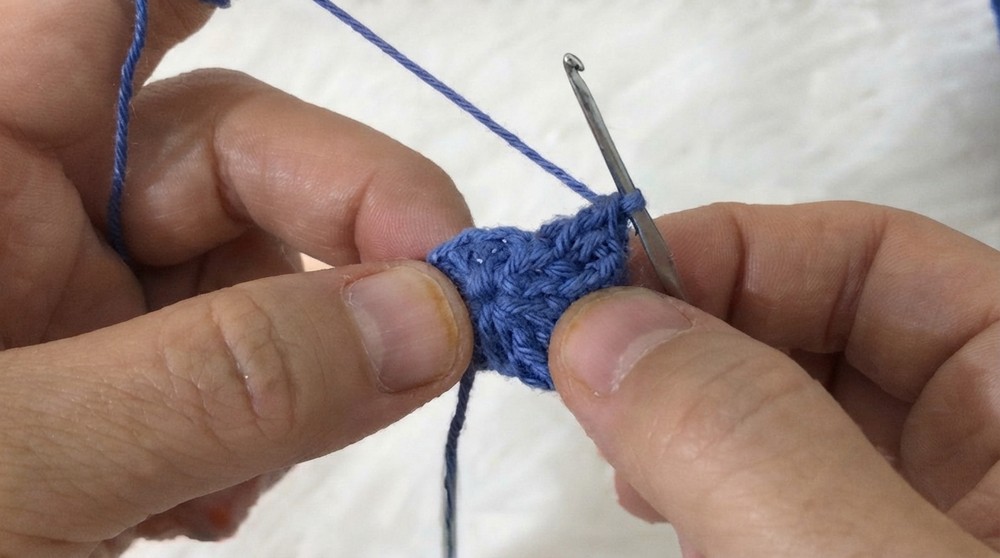
- Front Post Double Crochet (FPDC): Yarn over, insert the hook around the post of the stitch below (front to back to front), yarn over, and complete as a regular dc.
The Crochet Pattern
Step 1: Crown (Increases)
- Start with a magic ring.
- Row 1:
- Chain 2 (counts as the first stitch).
- Work 12 dc into the magic ring.
- Pull the ring tight.
- Join with a sl st into the top of chain 2.
- Row 2:
- Chain 2.
- Work 1 dc into the same space as the join.
- Work 1 FPDC around the post of the same stitch below.
- Repeat this pattern in each stitch (1 dc + 1 FPDC) for a total of 24 stitches.
- Join with a sl st into the top of chain 2.
- Row 3:
- Chain 2.
- Work 2 dc in each stitch, maintaining the pattern of stitching one regular dc into the top and one FPDC around the post.
- Repeat around until you reach 36 stitches total.
- Join with a sl st into the top of chain 2.
- Row 4:
- Chain 2.
- Alternate:
- Work 1 dc into the next stitch.
- Work 2 dc in the next stitch (1 dc in the top + 1 FPDC around the post).
- Repeat this pattern around for a total of 48 stitches.
- Join with a sl st into the top of chain 2.
- Row 5:
- Chain 2.
- Alternate:
- Work 2 dc into the next 2 stitches.
- Work 2 dc in the next stitch (1 dc in the top + 1 FPDC around the post).
- Repeat around to create 60 stitches total.
- Join with a sl st into the top of chain 2.
- Row 6:
- Chain 2.
- Alternate:
- Work 3 dc into the next 3 stitches.
- Work 2 dc in the next stitch (1 dc in the top + 1 FPDC around the post).
- Repeat around to create 72 stitches total.
- Join with a sl st.
- Measure against your doll's head. The crown should extend slightly beyond the head diameter for the slouchy look.
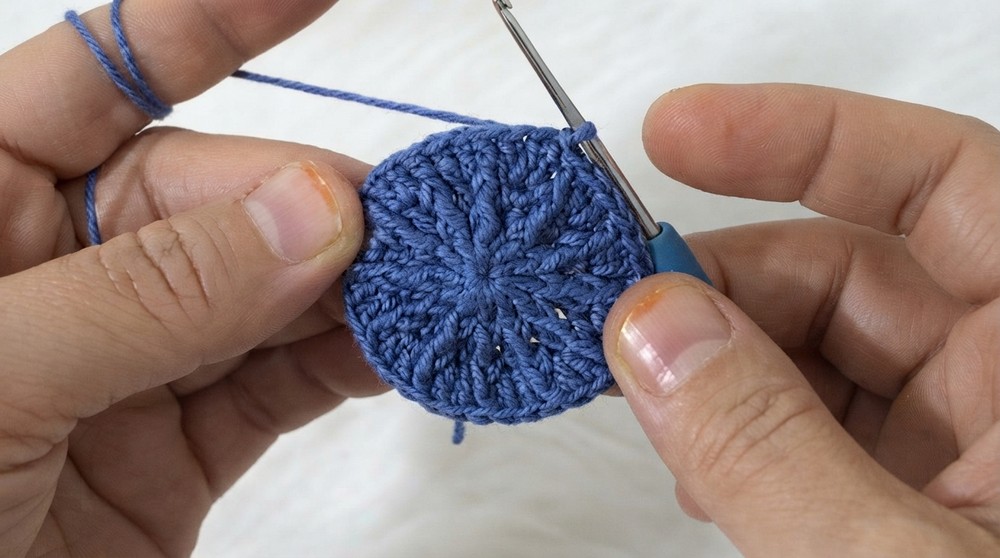
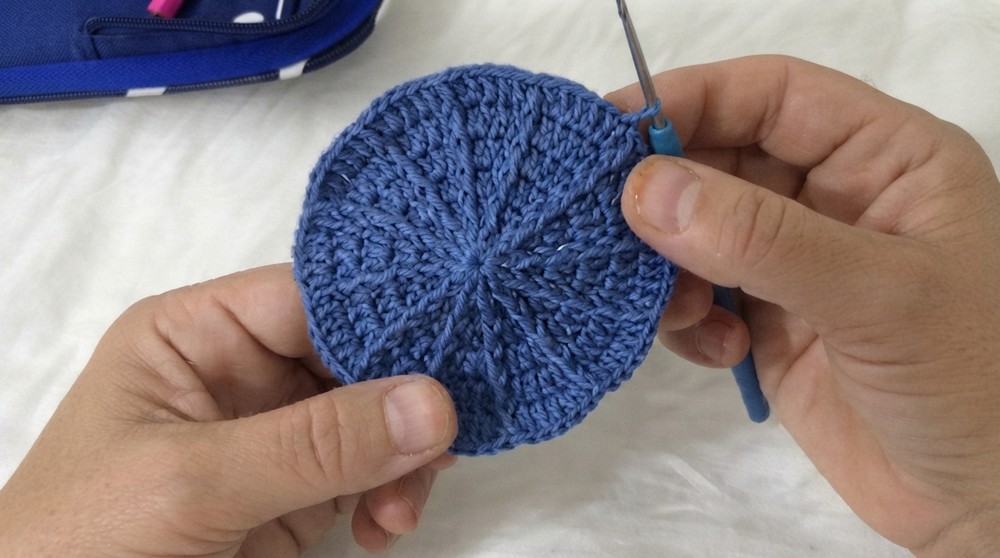
Step 2: Body
- Work 6 rows of dc without increasing or decreasing.
- Start each row with a chain 2.
- Maintain the established pattern of alternating regular dc and FPDC.
- Join with a sl st at the end of each row.
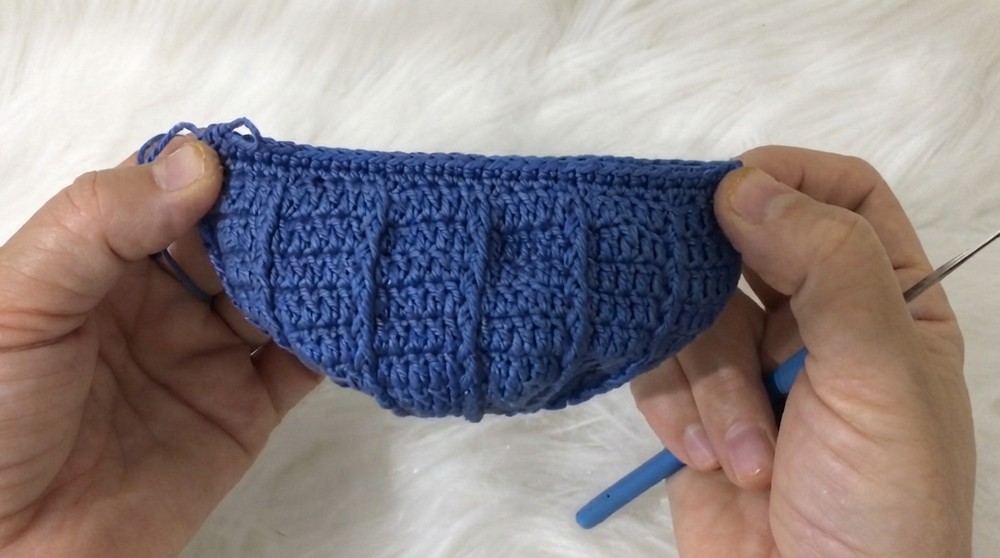
Step 3: Brim
Decrease Row
- Chain 1.
- Work 4 sc, followed by 1 decrease (sc two stitches together).
- Repeat this pattern 12 times around the row.
- Join with a sl st.
Brim Edge (FLO)
- Turn your work and chain 1.
- Work 1 sc in the Front Loop Only (FLO) for approximately half the circumference of the hat.
Brim Structure
- Chain 2 and turn.
- Work 2 rows of dc back-and-forth for the brim.
- Turn again and work 1 row of slip stitches across the brim to tighten its structure.
- Finally, work 1 row of sc around the entire hat brim, including the brim edge, for a firm and neat finish.
Step 4: Decorative Strap
- Chain a length that comfortably stretches across the brim, ensuring it fits neatly (measure against the brim as you go).
- Work 1 row of dc into the chain.
- Leave long yarn tails on both ends of the strap for sewing.
Step 5: Assembly
- Position the strap across the base of the hat's brim.
- Sew both ends of the strap securely into place using tapestry needle and the yarn tails.
- Sew two decorative buttons onto the ends of the strap, completing the design.
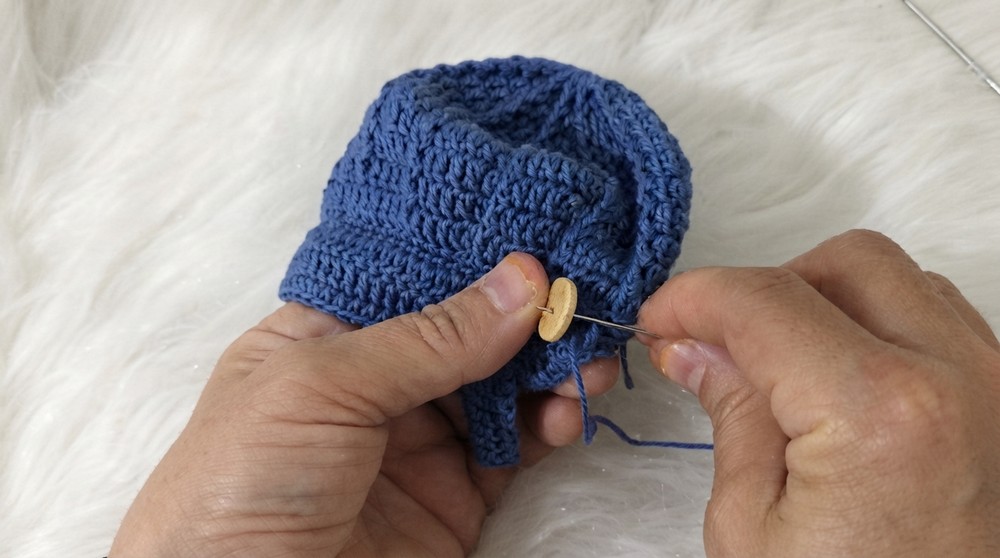
Assembly & Finished Size
Your finished hat should have a loose, slouchy crown and a structured brim that adds a firm, stylish detail. The decorative strap with buttons provides an elegant finishing touch. Ensure your doll’s head fits snugly into the bottom of the hat, with the top loosely draping for that classic “Scottish” look.
Conclusion and Ending Words
Congratulations on completing your decorative Scottish style hat. Its effortless slouch, structured brim, and eye catching strap make it a standout accessory for your amigurumi doll. Feel free to personalize with different yarn colors, button styles, or additional embellishments to make this pattern your own. Keep crafting and enjoy the endless creative possibilities.