
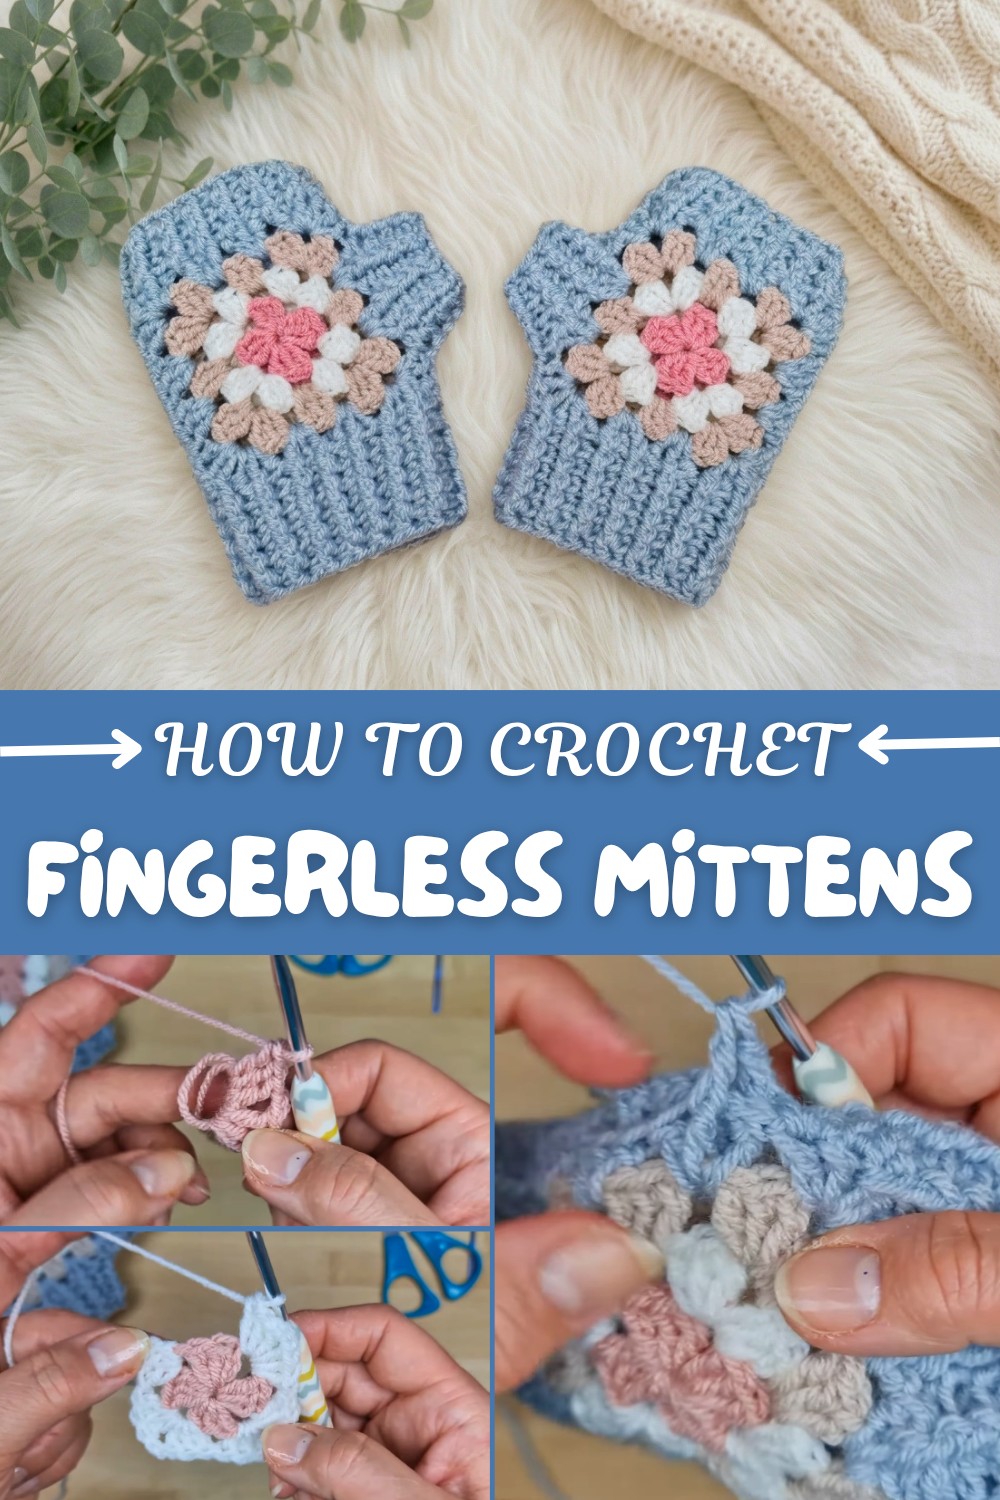
Granny Square Crochet Fingerless Mitten Free Pattern
Step into comfort and creativity with this free crochet fingerless mitten pattern, designed to keep your hands warm and stylish all season long. There is something instantly heartening about a pair of handmade mitts—snug, cozy, and uniquely yours, these fingerless gloves blend tradition with versatility. Perfect for gifting, personal wear, or simply enjoying the art of crochet, this design celebrates the welcoming warmth of handcrafts.
Easy Free Crochet Pattern for Fingerless Mittens
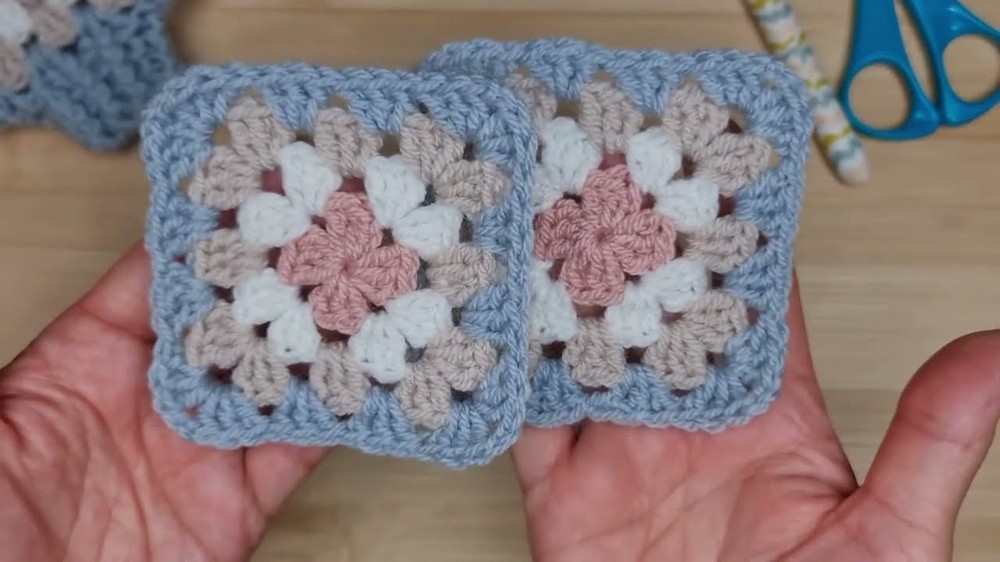
What sets this pattern apart is its delightful composition: an eye-catching granny square forms the heart of each mitten, surrounded by plush ribbed sections at both ends and at the finger edge. The mitts are not only elegant but practical, with an open-ended design that leaves your fingertips free for phone use, typing, or crafting without sacrificing warmth. Their adaptable fit makes them well-suited for both young adults and adults, and with a few simple tweaks—like reducing the number of granny square rounds—they can easily be customized for a child’s hand.
Key features and details include:
- Uses a classic granny square motif as its centerpiece, perfect for introducing texture and bold designs.
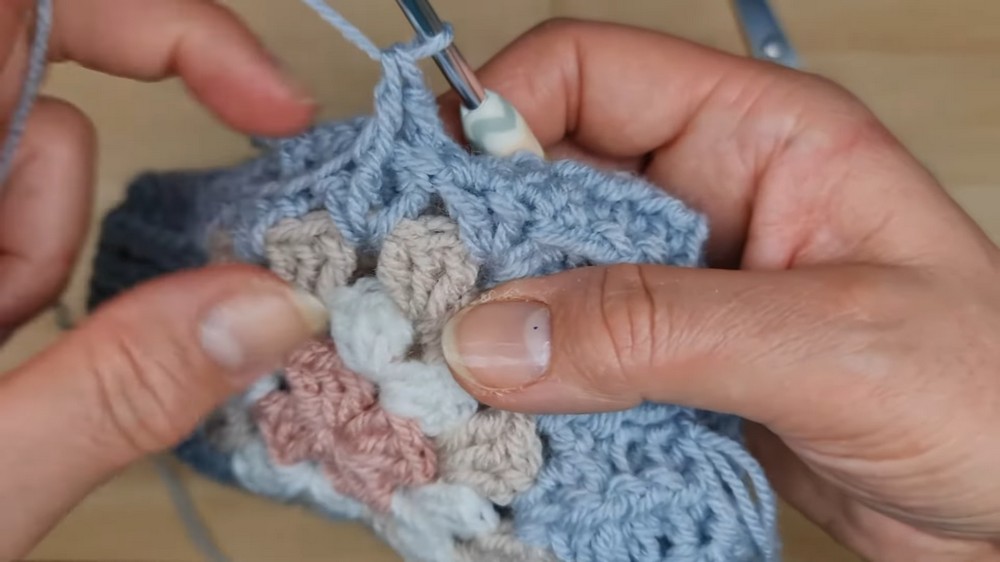
- Surrounded by ribbed edges created with the front and back post double crochet stitch—a special stitch that gives both structure and elasticity.
- Recommended yarn type: Soft DK yarn for warmth, comfort, and breathability.
- Suggested hook size: 4mm (G hook).
- Finished motif: The central flower measures about 5cm (2 inches) across after completion, making it a compact yet decorative focal point.
- The design is intended for versatility—you can make mittens, cuffs, wrist warmers, or even use the squares for larger projects like shawls or blankets.
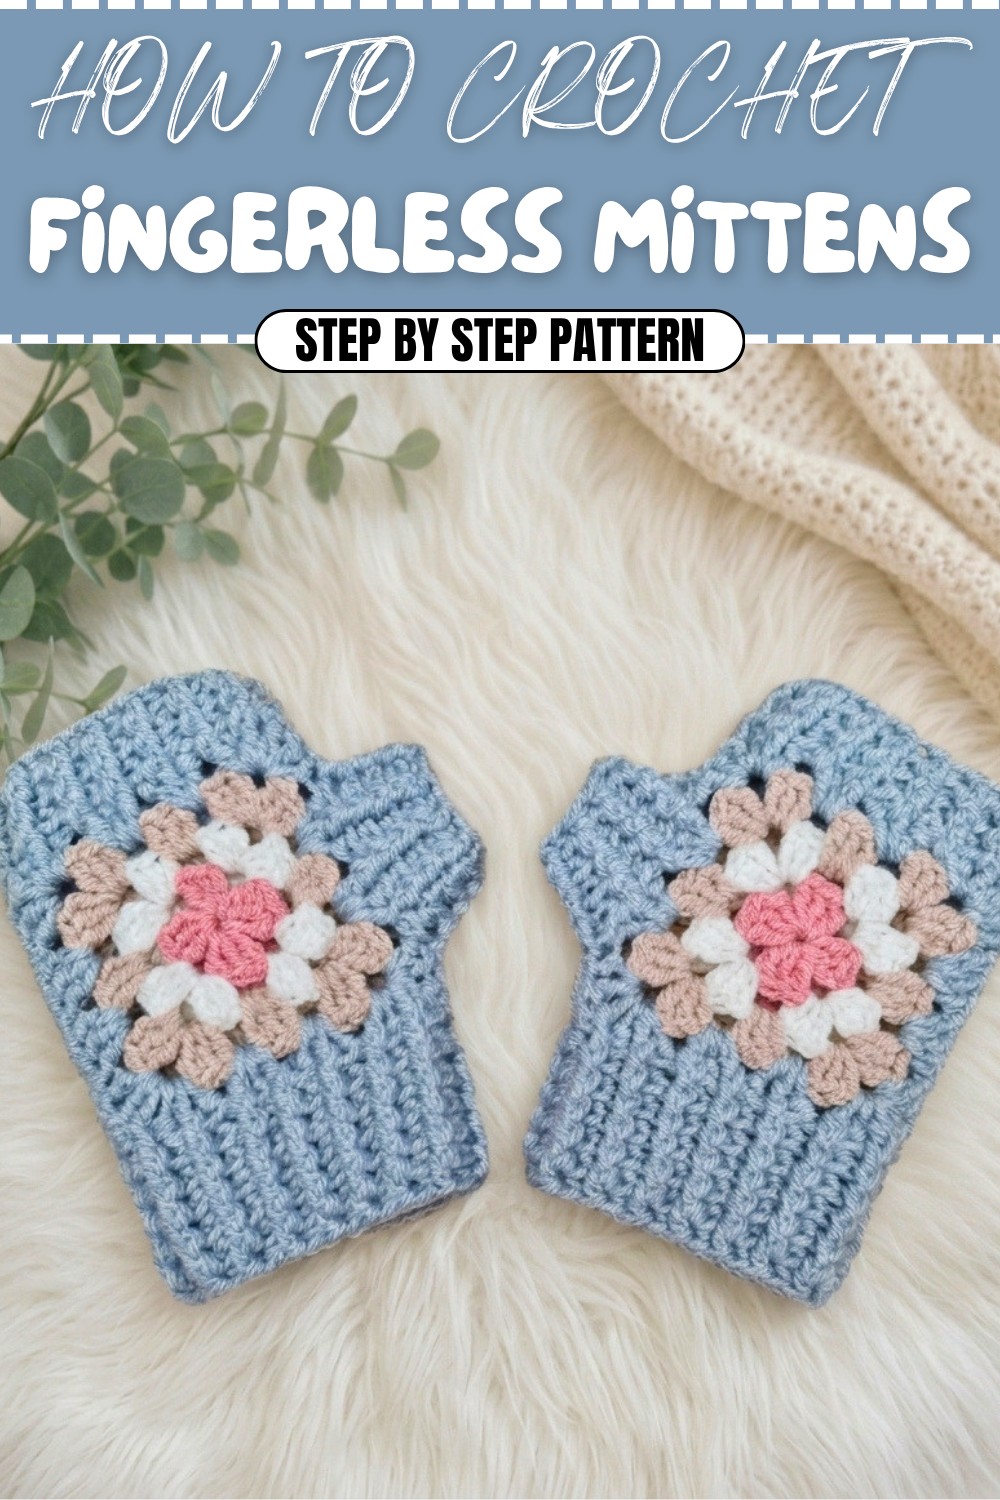
Beauty shines in the color possibilities. While the pattern suggests a blend of gentle pink, creamy white, moonlit gray, and tranquil blue, the real magic happens when you choose your own palette. Whether you prefer bold contrasts or subtle gradients, these mitts are a canvas for self-expression.
This pattern isn’t just about warmth—it’s about making something special with your hands. Fingerless mitts, wristers, and even creative accessories like hand warmers or fashionable cuffs are all within reach. Let your hands do the talking this season as you combine color, texture, and a dash of creativity. Explore the joy of making with this inviting and innovative pattern!
Granny Square Fingerless Mitts Crochet Pattern
Skill Level & Terminology
Skill Level: Advanced Beginner/Intermediate
Terminology: US Crochet Terms
Materials & Tools
- Yarn: Hayfield Bonus DK (Double Knitting), or similar DK weight in four colors:
- Color A (Center of Granny Square)
- Color B (Granny Square second color)
- Color C (Granny Square third color)
- Color D (Main body, ribbing)
- Hook: 4.5 mm crochet hook (or size for gauge)
- Yarn needle for sewing seams and weaving ends
- Scissors
Gauge
Make a 4-round granny square. It should measure approximately 3” x 3” (7.5 cm x 7.5 cm). Adjust hook size if necessary to achieve correct size.
Abbreviations
| Abbreviation | Meaning |
|---|---|
| ch | chain |
| sl st | slip stitch |
| st(s) | stitch(es) |
| dc | double crochet |
| fpdc | front post double crochet |
| bpdc | back post double crochet |
| sp | space |
Special Stitch Instructions
- Front Post Double Crochet (fpdc): Yarn over, insert hook from front to back around the post of the indicated stitch, yarn over and pull up a loop, (yarn over, pull through two loops) twice.
- Back Post Double Crochet (bpdc): Yarn over, insert hook from back to front around the post of the indicated stitch, yarn over and pull up a loop, (yarn over, pull through two loops) twice.
- Standing Double Crochet: Start a new color by making a slip knot on your hook, yo, insert into stitch, pull up a loop, finish dc as normal.
Finished Size
Fits average adult (approx. 7–8” hand circumference). Length is easily adjustable. To make for a larger or child’s size, reduce or add rounds to square or rows to ribbing.
The Pattern
You will crochet two identical granny squares for the center, seam them to form a ‘tube’ with a thumbhole, then add ribbed cuffs and edges using front and back post double crochet.
1. Granny Square Panels (Make 2)
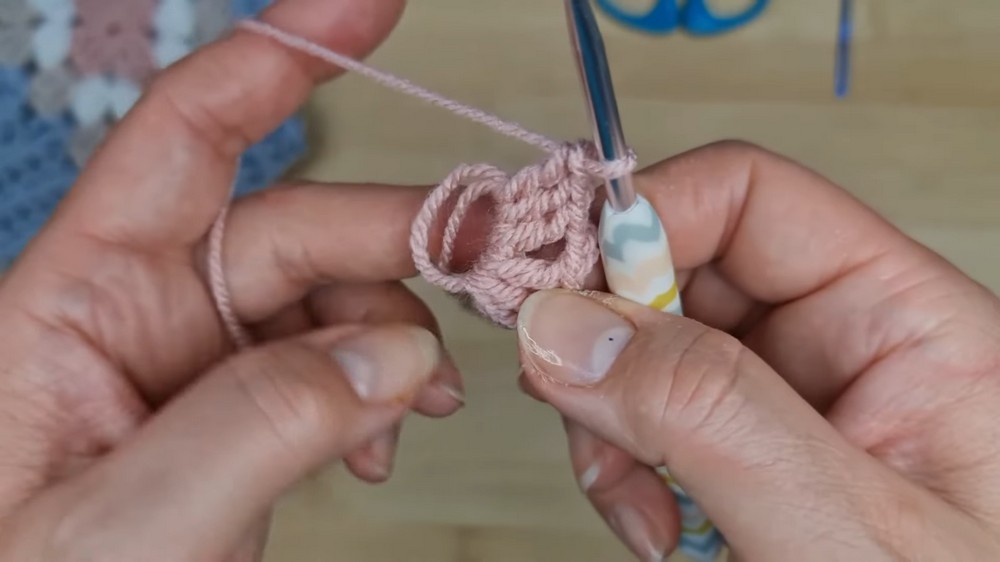
With Color A (center), make a magic ring.
- Round 1:
Ch 3 (counts as dc), 2 dc in ring, ch 2, [3 dc in ring, ch 2] 3 times, join with sl st to top of starting ch-3. Fasten off A. (12 dc, 4 ch-2 corners) - Round 2 (Color B):
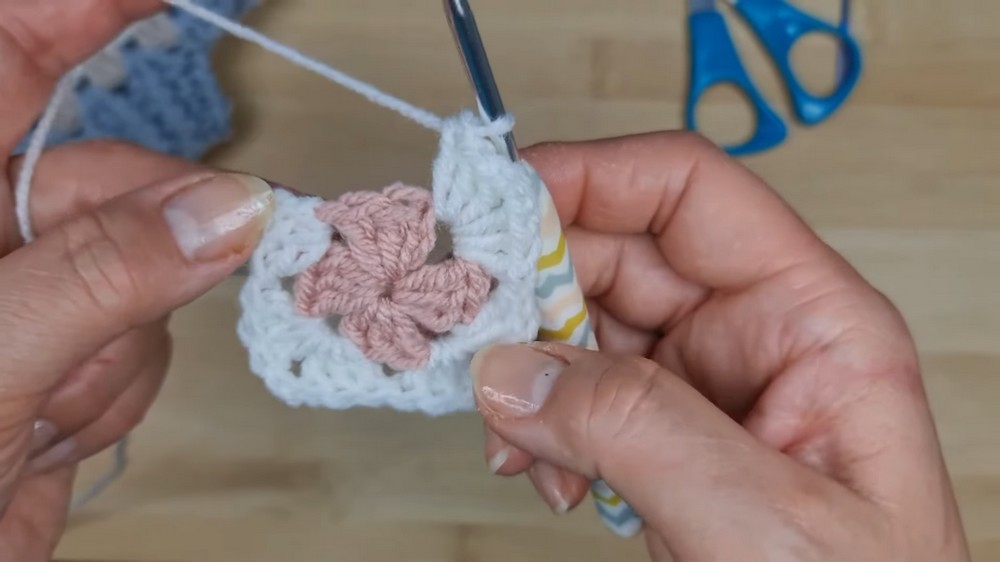
Start in any corner. Attach yarn, [Standing dc or ch 3 as dc] in corner sp, 2 dc in same sp, [ch 2, 3 dc in next corner sp, 3 dc in next sp between clusters] repeat around, ch 2, join with sl st to top of first dc. Fasten off B. - Round 3 (Color C):
As Round 2, work [3 dc, ch 2, 3 dc] in each corner, and 3 dc in each space between clusters. Fasten off C. - Round 4 (Color D):
Same as previous, but with Color D for main/edge; work [3 dc, ch 2, 3 dc] at corners and 3 dc in each space. Fasten off D. Weave in ends.
Repeat for second square.
Summary:
Make 2 classic granny squares, using 3 rounds in chosen colors and 1 final round in main color. Fasten off and sew in all loose ends before assembly.
2. Joining the Squares
Place squares right sides together.
- Side Seams:
With Color D, use whip stitch to join one complete side (for hand back). - Thumbhole:
On the other side, seam from the bottom edge to the first corner space, skip the next 6 stitches (for thumb hole), then seam from next corner space to top edge. - Turn mitt inside-out to right side.
Weave in ends.

Summary:
Sew the squares together to form a tube, leaving a gap for your thumb. Turn it right side out; you now have a ‘mitt’ shape.
3. Ribbed Cuff (Bottom Edge)
- Attach Color D at base, in any space.
- Round 1:
Alternate fpdc and bpdc around each dc (or cluster) from the last granny round; when you reach the joining seam/corner, 1 fpdc or bpdc in every dc. - Slip stitch to first st, ch 1 (does not count as stitch).
- Rounds 2-7 (or as long as you like):
Continue as established: fpdc in every fpdc, bpdc in every bpdc, join with sl st, ch 1 at start of round. - Finish off invisibly (see end for invisible join instructions), weave in end.
Summary:
Add the snug ribbed cuff at the wrist in rows of front and back post double crochet, making it as long as you wish for a comfortable fit.
4. Ribbed Top (Finger End)
- Attach Color D at top edge in any stitch.
- Repeat ribbing as for cuff:
Alternate fpdc and bpdc all the way around. - Work 4 rounds (or to desired length to just cover your knuckles).
- Finish off invisibly, weave in end.
Summary:
Add ribbing to the finger opening, just like you did for the cuff, for a neat, stretchy finish right below the knuckles.
5. Ribbed Thumbhole
- Attach Color D at thumbhole gap.
- Round 1:
Work fpdc and bpdc alternately in every available dc around the thumb opening (should be about 14 sts). - Rounds 2-5:
Continue ribbing (fpdc in fpdc, bpdc in bpdc) for 5 rounds or desired thumb length. - Finish off invisibly, weave in end.
Summary:
Crochet ribbing around the thumbhole for comfort and a finished look. Make it as long or short as you like.
Finishing Touches
Invisible Join
After the final slip stitch of ribbing, cut your yarn, pull through the last loop. Thread onto needle, sew through the top of the starting stitch to create a 'V' and down through the back of the previous stitch. Weave into the stitching on the inside of the ribbing.
- Sew in any remaining ends securely.
Summary:
Neaten all joins using the invisible join method, and weave in all loose ends for a professional finish.
Pattern Recap for Beginners
- First make two granny squares in your chosen colors, working four rounds each.
- Sew the squares together, making a gap for your thumb.
- Turn mitt right side out.
- Add ribbing at the wrist edge, finger edge, and all around the thumbhole—using front and back post double crochet stitches for stretchiness.
- Finish and weave in all ends. Make a matching second mitt.
Pattern Summary
Where to Start:
Begin with two granny squares, then seam the sides, leaving a thumb opening. Add ribbing at the wrist, fingers, and thumbhole in front/back post double crochet rounds.
Stitches Used:
- Double Crochet (dc)
- Chain (ch)
- Whip Stitch (seaming with needle)
- Front Post Double Crochet (fpdc)
- Back Post Double Crochet (bpdc)
- Slip Stitch (sl st)
- Invisible Join (for finishing)