
Free Crochet Mini Conical Hat Pattern as Tiny Party Favors
Convert stitches to beauty with this detailed free crochet mini conical hat pattern that’s quick to make for adding a playful touch to your crochets.
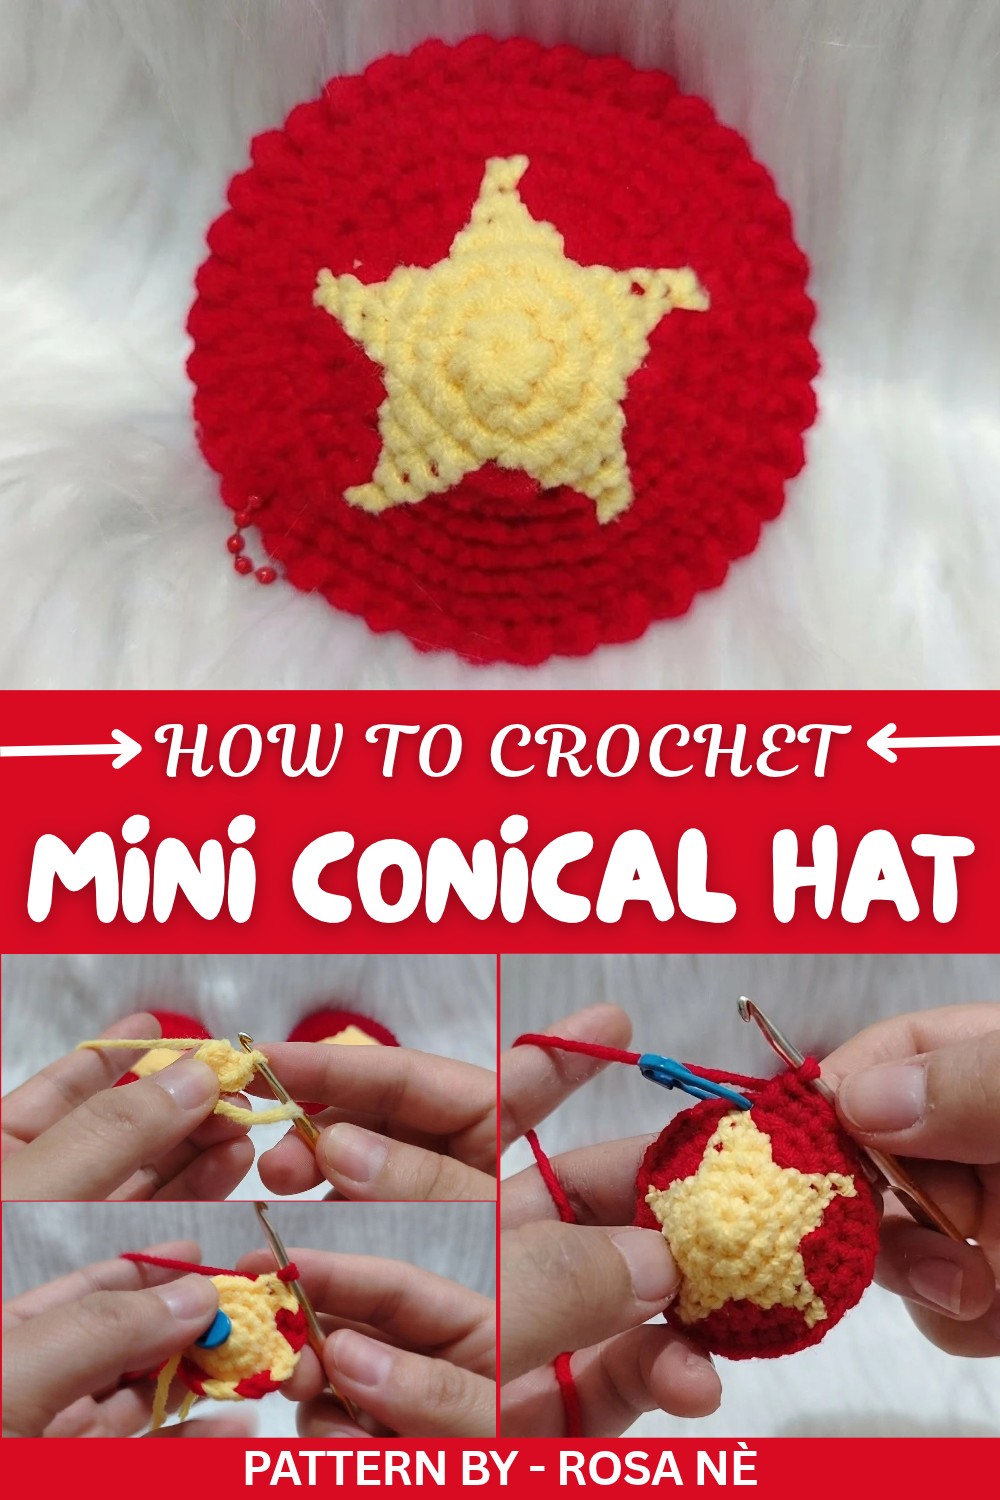
Looking for a new project to keep your hands busy? How about crocheting an adorable mini hat that’s full of charm and personality? This tiny conical hat is a playful and colorful piece that’s sure to add joy to any space. Its cheerful red base and bold yellow star on top make it stand out, whether you’re using it as a decoration for your home, an ornament for special occasions, or as a thoughtful handmade gift.
Free Crochet Mini Conical Hat Pattern for Dollhouse Displays
What truly sets this tiny accessory apart is its carefully formed conical shape. It’s expertly paired with a striking color combination of vibrant red and yellow, making it hard to ignore. The attention to detail, from the perfectly sized star to the neat reverse crochet edging on the brim, gives this miniature piece a polished look that’s both fun and easygoing to the eye.
Pattern By
The tutorial is thoughtfully laid out, showing how to start with a magic circle and gradually shape the hat by increasing and alternating yarn colors for the star. With just a couple of yarns, a hook, and some time to spare, you could be on your way to holding your finished mini hat. Whether you’re experienced or just starting out, this is a straightforward project with all the details you need to bring it to life.
With a quirky finished product that is rooted in Vietnamese tradition, this mini hat is more than a cute keepsake. It’s a conversation starter, a thoughtful gesture, or the perfect addition to your festive décor. Give it a go, and see how fun this project really is.
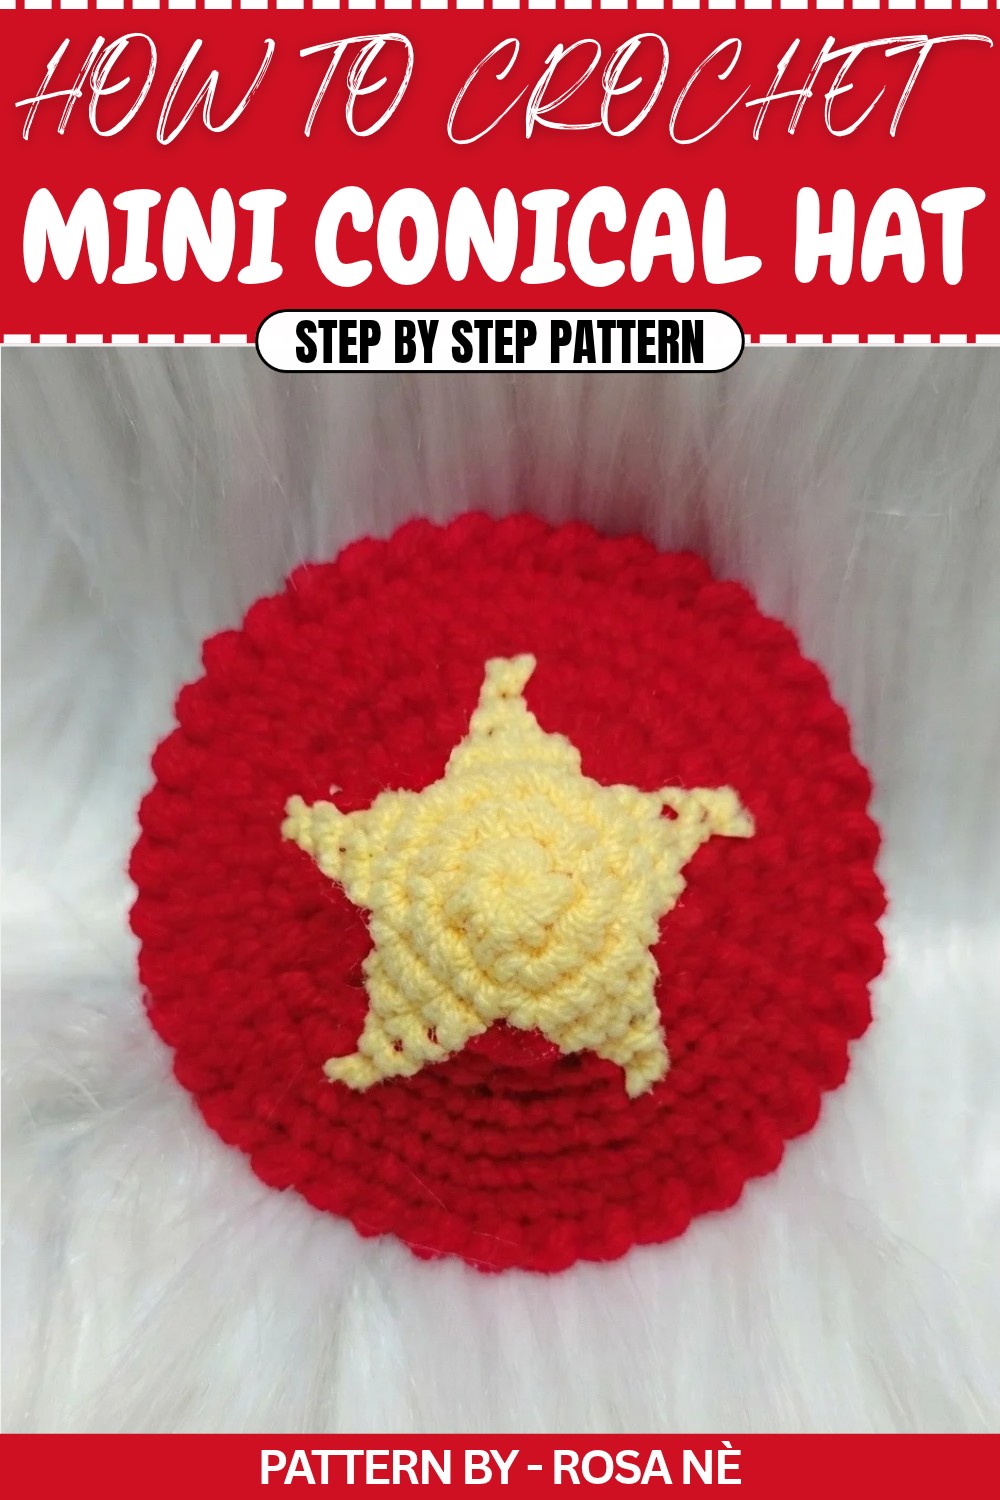
Mini Crochet Red Flag with Yellow Star Pattern
In this tutorial, you’ll learn how to crochet a delightful mini red flag with a yellow star, inspired by symbols of cultural pride or decoration. The design combines spirals, back loops, and color switching. Perfect as décor, gifts, or a fun crafting project.
Quick Overview of Pattern
- Project Name: Mini Crochet Red Flag with Yellow Star
- Purpose: Décor, collectibles, or gifts
- Key Features:
- Spiral rounds for star and flag shapes
- Two color crochet alternating rounds
- Simple detailing for an eye catching finish
- Construction: Worked in spirals and rounds, focusing first on the yellow star, then transitioning to the red flag.
Notes
- Be mindful when switching yarn colors for a seamless transition between yellow and red.
- Crochet in a spiral manner, without slip stitches to close rounds. Use a stitch marker to track the first stitch of each round.
- Stitch counts and increases are critical—keep track to maintain the flag shape.
Skill Level
Beginner to Intermediate. Basic crochet experience with single crochets in spirals and color changes is required.
Materials
- Yarn:
- Yellow cotton yarn for the star
- Red cotton yarn for the flag
- Hook: 5.0mm crochet hook
- Additional Supplies:
- Scissors
- Stitch markers
Measurements / Sizing
- Approximate finished size: 7–10cm depending on your tension and yarn type.
Gauge
Gauge is not critical for this pattern, but ensure the starting star and flag remain firm.
Stitch Abbreviations
- CH: Chain
- SC: Single Crochet
- INC: Increase (2 SC in the same stitch)
- SL ST: Slip Stitch
Special Stitches
- Magic Circle: Make a loop, insert hook, yarn over, pull through, and secure with SCs.
- Color Switch: On the last yarn over of the current stitch, pull through the yarn of the new color to create a clean transition.
The Crochet Pattern
Step 1: Create the Yellow Star Base
- Foundation:
- Begin with yellow yarn.
- Create a Magic Circle and crochet 5 SCs into the circle. Tighten the loop to close the circle, but do not slip stitch to close the round.
- Round 2:
- Work in a spiral. Insert the hook into the first SC, make 1 SC, and mark this stitch with a stitch marker.
- Work 1 INC in the same space (2 SC in the same stitch).
- Continue working 2 SC in each stitch around for a total of 10 SC.
- Round 3:
- In the marked stitch, make 1 SC and mark it again. Work 1 SC in the next stitch, then 1 INC in the following stitch. Repeat this pattern (1 SC, 1 INC) around the circle.
- Total stitches: 15 SC.
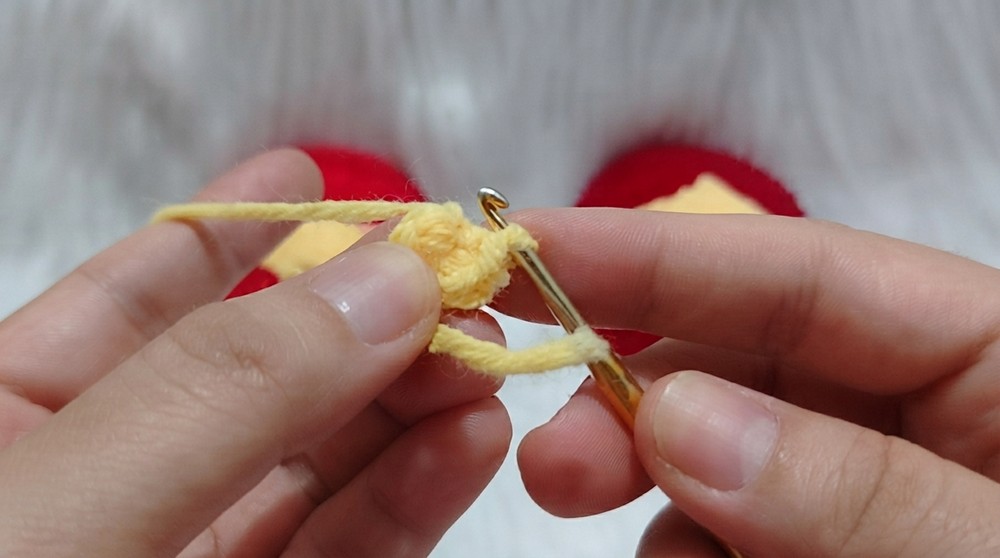
Step 2: Start the Red Flag
- Color Transition to Red:
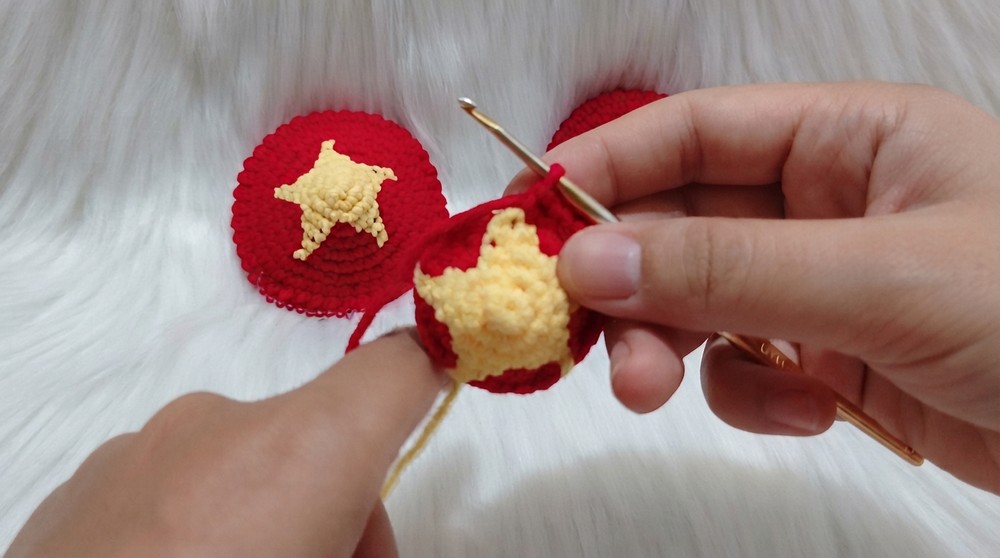
- On the next SC, complete the stitch halfway in yellow (insert hook, yarn over, pull through).
- Then, yarn over with the red yarn and pull through the last two loops on the hook to complete the stitch in red. Pull yellow yarn tight and lay it along the edge; do not cut it.
- Mark First Red SC:
- Place a stitch marker in the first red SC to mark it.
- Round 4:
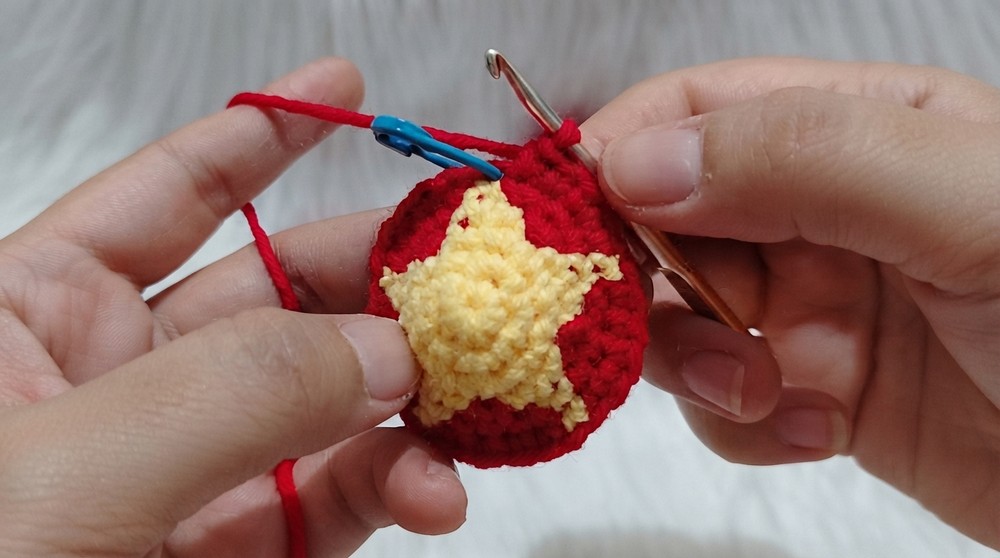
- In the same stitch with red yarn, work 1 SC, then 1 INC in the next stitch. Alternate between 1 SC and 1 INC until you complete the round.
- Round 5:
- Work 1 SC in the first stitch (in red), followed by 2 SC in the next (yellow) stitch.
- Switch back to red yarn for 2 SCs, then work 1 INC (red).
- Continue alternating 2 SCs (yellow) with corresponding increases in red until the round ends.
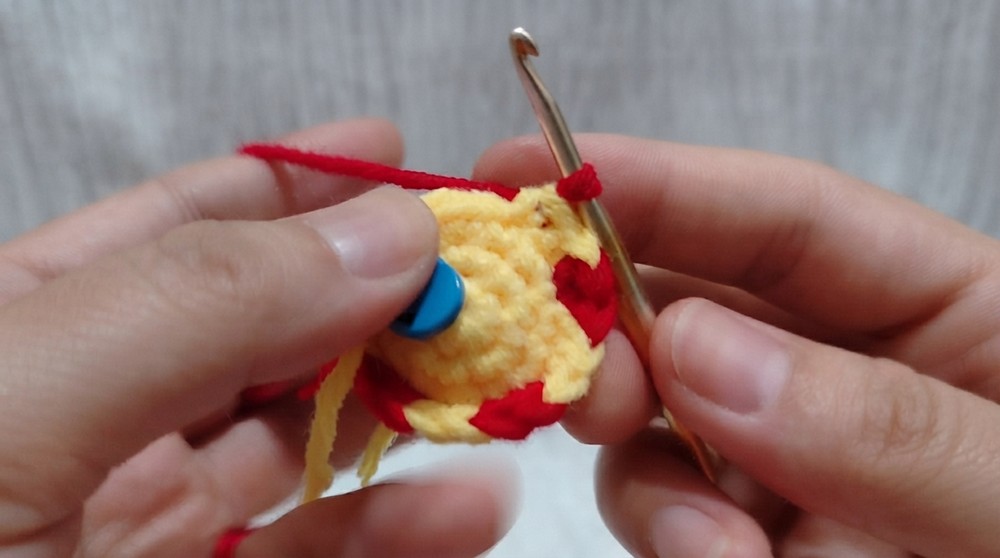
Step 3: Expand the Flag
- Round 6:
- The pattern for this round is 3 SC (yellow) followed by 1 INC (red).
- Crochet alternating sections of red and yellow in this manner, consistently changing colors using the Color Switch technique.
- Round 7:
- Work 4 SC and 1 INC, following the established alternation pattern. Crochet five iterations of this sequence to complete the round.
- Round 8:
- Switch entirely to red yarn for this round. Work 5 SC and 1 INC around. Increase at regular intervals to expand the flag evenly.
Step 4: Build Up the Flag’s Main Body
- Round 9–10:
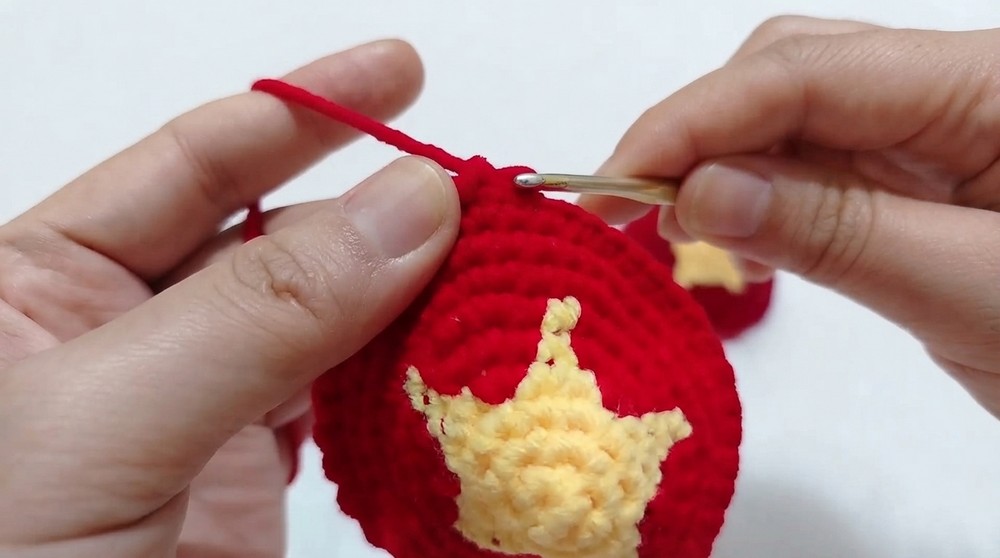
- Crochet additional rounds of 6 SC and 1 INC in red yarn, continuously expanding the breadth of the flag.
- Round 11:
- Crochet one round in SC (red) without any increases or decreases to shape the flag. Close this round with a SL ST and fasten off the yarn.
Step 5: Add Decorative Finishes
- Edging:
- After completing the main body, create a simple edge by working reverse single crochet (crab stitch) around the perimeter of the flag.
- Insert the hook into the stitch from the back to the front, yarn over, and pull through to create twisted edging stitches.
- Shape the Star and Flag:
- Fold and press the star to achieve a crisp shape. Trim and weave in all loose ends neatly with a yarn needle.
Assembly & Finished Size
- Attach Star and Flag:
- Position the yellow star at the top left corner of the red flag.
- Sew the star into place using an invisible stitch or glue for a more permanent hold.
- Final Dimensions: The mini crochet flag is approximately 7–10cm long and wide.
Conclusion
Congratulations, You’ve crafted a charming mini red flag with a yellow star, perfect for expressing pride or adding a decorative touch to your space. Share your project with friends and inspire others to create these adorable crafts.