
Free Soft Crochet Pom Pom Hat Pattern that Keeps You Cozy
Keep extra warm on chilly outdoor walks with this comfortable soft crochet pom pom hat pattern that brings effortless style and snug comfort all winter long.
A crochet project can sometimes surprise you with the way it mimics other techniques, like knitting. One such example is a soft crochet pompom hat that looks like it was knitted with needles but is actually made with a hook. Its simplicity and versatility make it a timeless design for both dolls and kids, perfect for adding a little extra charm and warmth. This hat not only keeps heads cozy but also serves as a thoughtful gift for little ones or as a creative challenge for crocheters of all levels.
Pattern by:
The beauty of the hat lies in the stitching technique used. The hat is crocheted using back loop only stitches, which give the fabric a sleek, knit like appearance. This method creates a soft and refined look, making the hat unique and visually stunning. Additionally, its rectangular structure, folded and sewn into a hat shape, makes it easy to adjust the size and ensures a snug fit. The edges are neat and clean, and the pompom on top adds a playful finishing touch, making it an ideal choice for children’s accessories.
Free Soft Crochet Pom Pom Hat Pattern that Adds Cute Style
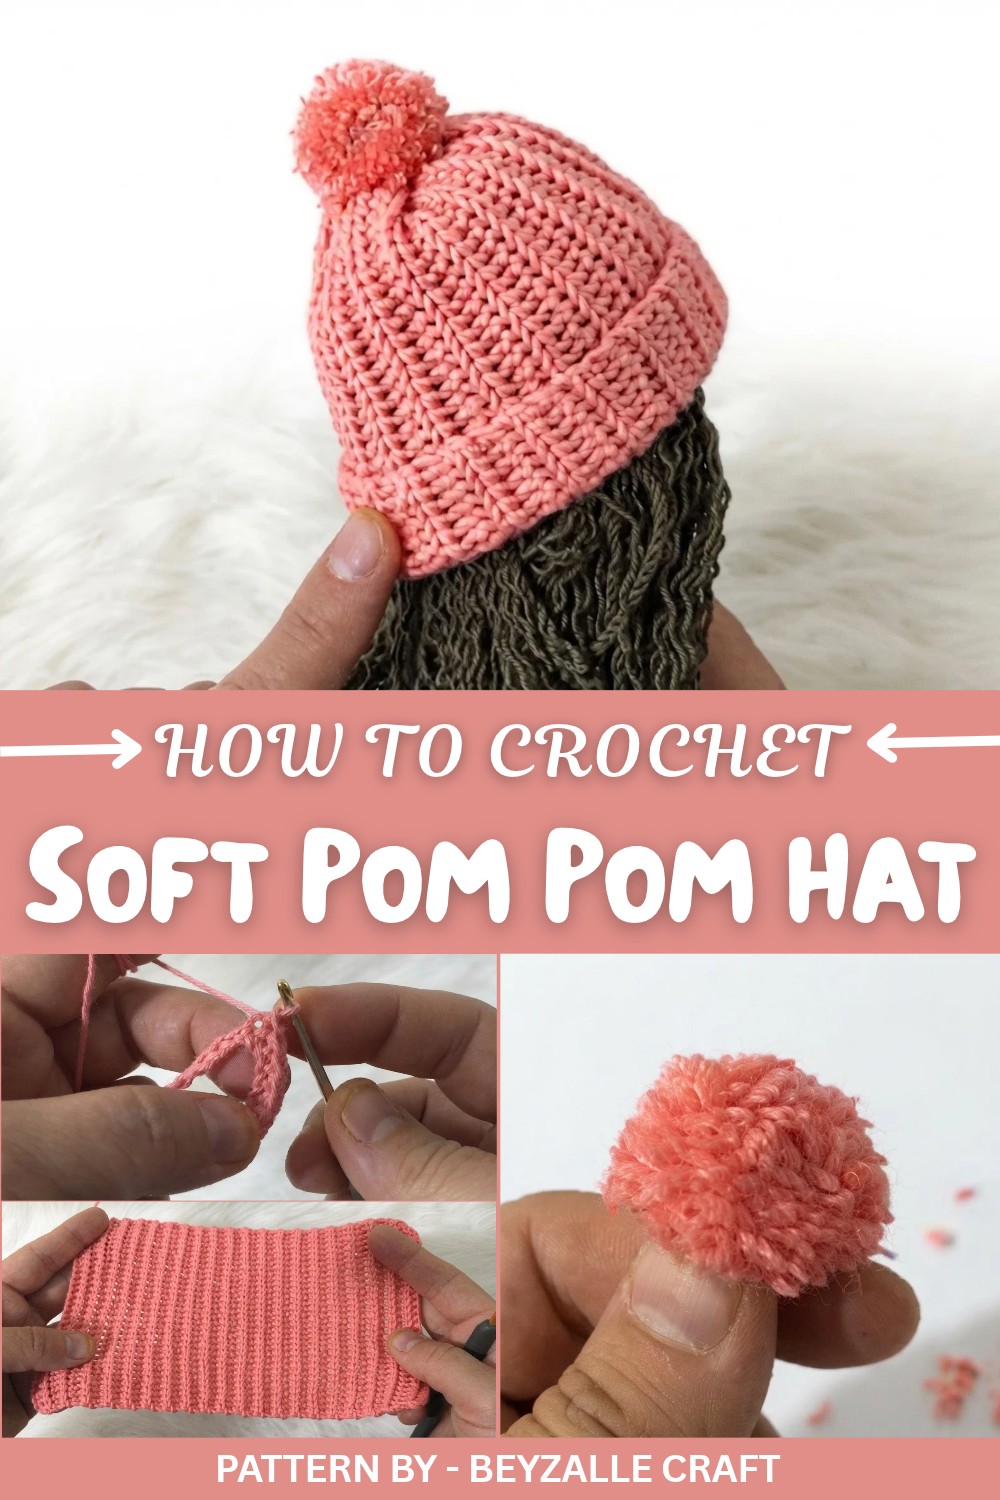
While the stitching may feel different from regular crochet at first, it quickly becomes enjoyable and straightforward to work with. The instructions include measuring the head circumference, crocheting with back loops, and even making a pompom using a fork, a creative hack that works wonders.
This project goes beyond just making a hat. The same stitching technique can be used to crochet mittens, or even doll sized blankets. It’s a fun way to master new skills while creating something practical and adorable. Whether for dolls or small children, this hat will surely be a favorite addition to your crocheting journey.
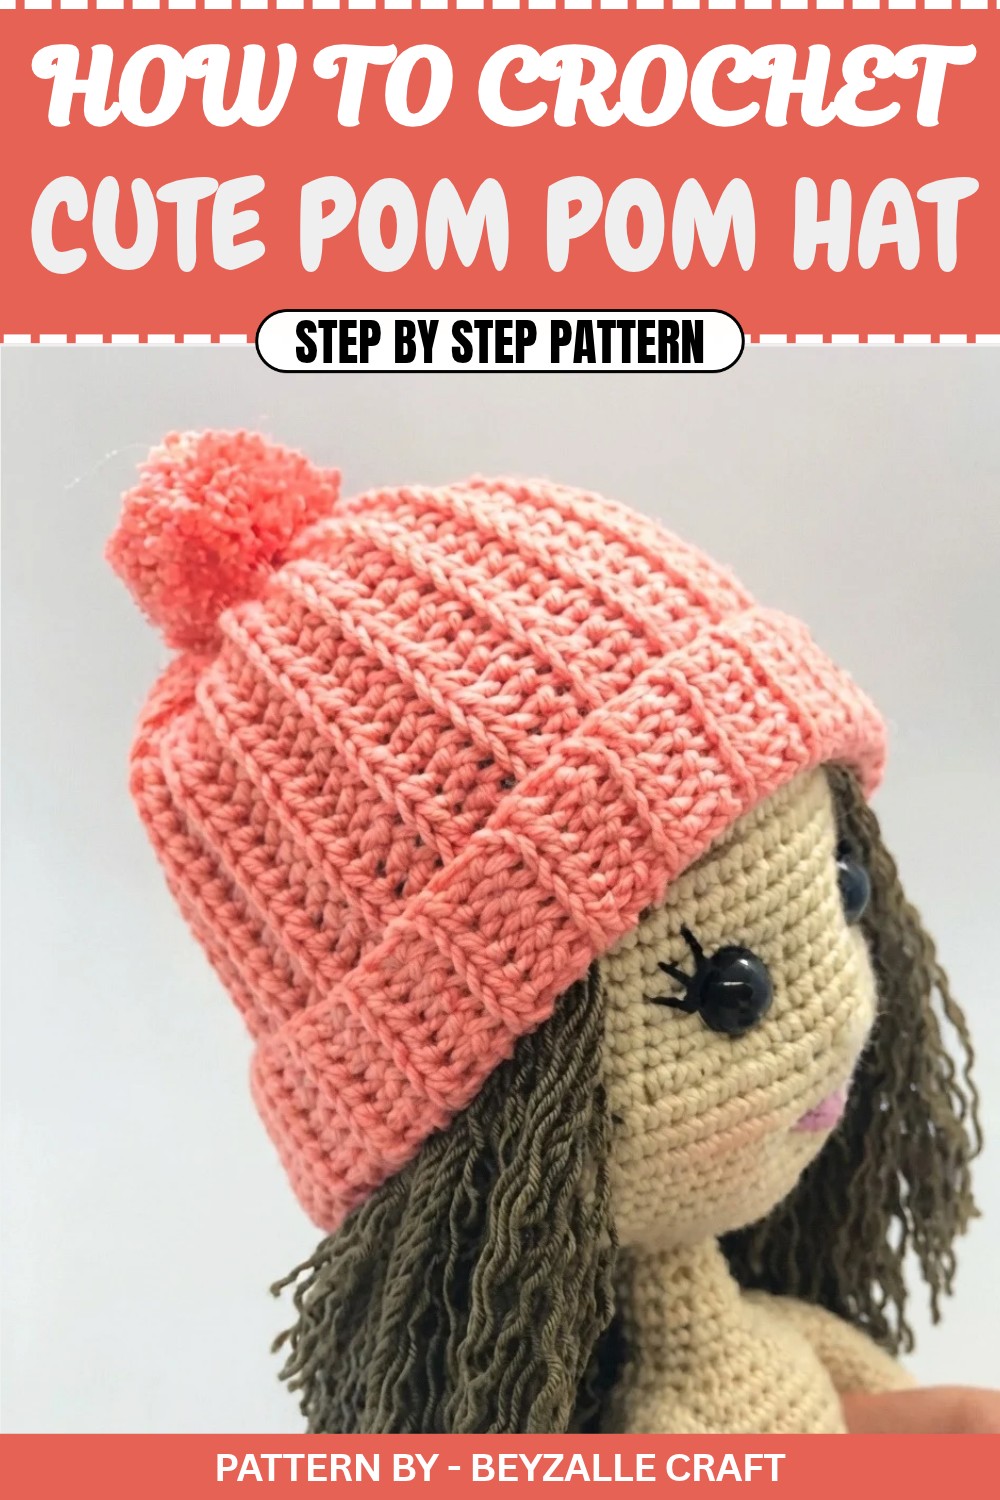
Crochet Pattern: Classic Hat for Amigurumi Dolls
Learn how to crochet a classic ribbed texture hat for amigurumi dolls using an incredible stitch technique that gives the fabric a knitted appearance. This pattern is perfect for beginners and intermediate crocheters looking to add a unique accessory to their handmade dolls. The basic silhouette can be resized or customized with colors and additional features like a foldable brim or cute pompom.
Quick Overview of Pattern
- Measure the doll's head circumference to determine the starting chain length.
- Use a unique back-loop-only stitch method to achieve a ribbed texture that looks like a knitted fabric.
- Work uniform rows, keeping the same stitch count throughout without increasing or decreasing.
- Assemble the hat by sewing the sides, closing the top, and attaching a pompom.
Notes
- Use loose chains for the foundation to ensure easy stitch work and neat edges.
- Maintain consistent tension while working the ribbed stitch for a clean, professional look.
- The number of chains and rows will depend on the size of the doll.
Skill Level
Beginner to Intermediate: While the stitch technique is simple, it may take a bit of practice for beginners to master the “knitted” appearance.
Materials
- Yarn: Medium-weight yarn in your preferred color for the hat.
- Crochet Hook: 3.0mm or 3.5mm hook, depending on your yarn and tension.
- Tapestry Needle: For sewing seams and weaving in ends.
- Scissors: For cutting yarn.
- Fork or Pompom Tool: For creating the pompom (optional).
Measurements / Sizing
- Small Doll Example: The base chain uses 33 chains for a small doll hat.
- General Rule: Measure your doll’s head circumference, and include a margin for folding the brim as desired. Adjust the chain and rows accordingly.
Gauge
Gauge is not critical for this pattern, but it is advisable to consistently work loose chains and stitches to ensure a comfortable fit for the doll’s head.
Stitch Abbreviations
- ch = Chain
- blo = Back loop only
- sl st = Slip stitch
Special Stitches
- Back-Loop Slip Stitch (blo-sl st): Insert the crochet hook into the back loop of a chain or stitch, yarn over, and pull through both loops on your hook. This technique creates a “knitted” ribbed fabric effect.
The Crochet Pattern
Step 1: Measure and Determine the Starting Chain
- Measure your doll’s head circumference using a flexible tape measure.
- Remember to include extra length for a brim (optional).
- Estimate the number of chains based on the measurement. For example: Create 33 chains for a small doll, as demonstrated in the video.
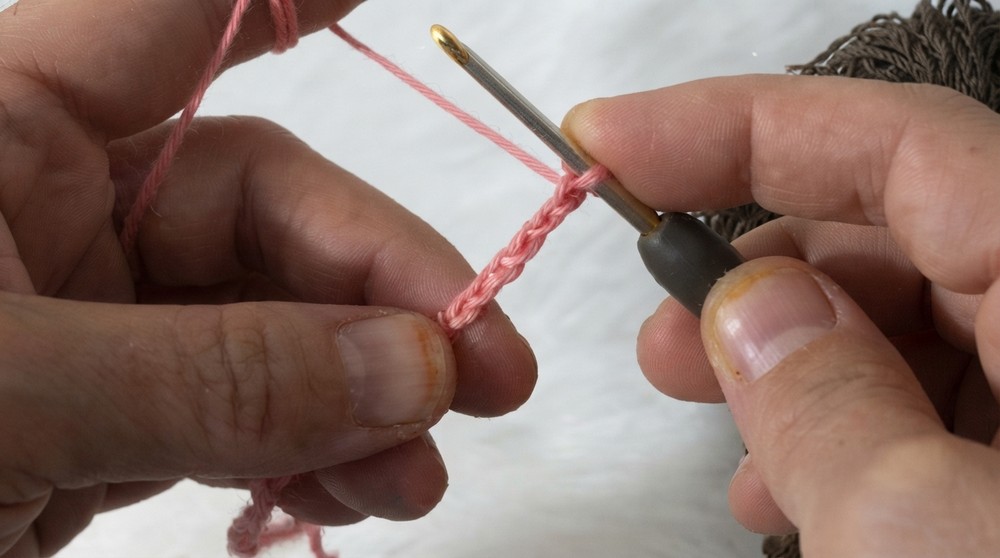
Step 2: Create the Foundation Chain
- Crochet 33 chains (or as many as necessary to fit your doll’s head).
- Make sure the chains are worked loosely to allow for easy stitching in later rows.
Step 3: Row 1 Work the First Row
- Starting in the second chain from the hook, work a blo sl st into each chain:
- Yarn over.
- Insert your hook into the back loop of the chain.
- Pull through the loop and draw through both loops on the hook (similar to slip stitch).
- Repeat across all chains. This row will establish the ribbed texture of the hat.
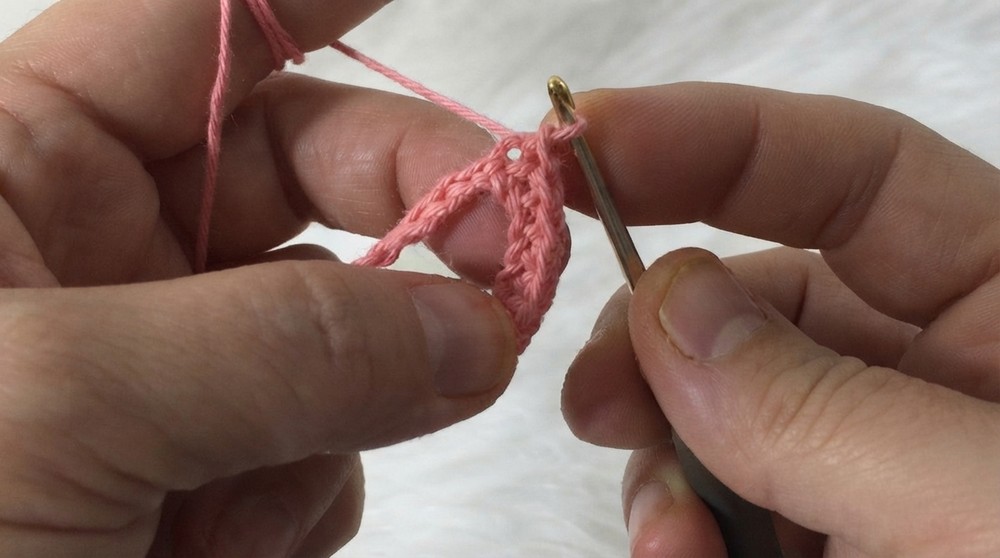
Step 4: Row 2 Turn and Continue
- Chain 1 at the end of Row 1 and turn your work.
- Work a blo sl st across the row as before, inserting the hook only into the back loop of each stitch from the previous row.
- Maintain the same stitch count (do not increase or decrease).
Step 5: Repeat Rows Until the Desired Width
- Continue working rows using the blo sl st technique.
- Periodically measure your fabric around the doll’s head to ensure the width fits properly.
- The fabric should wrap snugly around the head, but not be too tight.
- Stop working rows once the rectangle is wide enough to wrap around the doll's head comfortably.
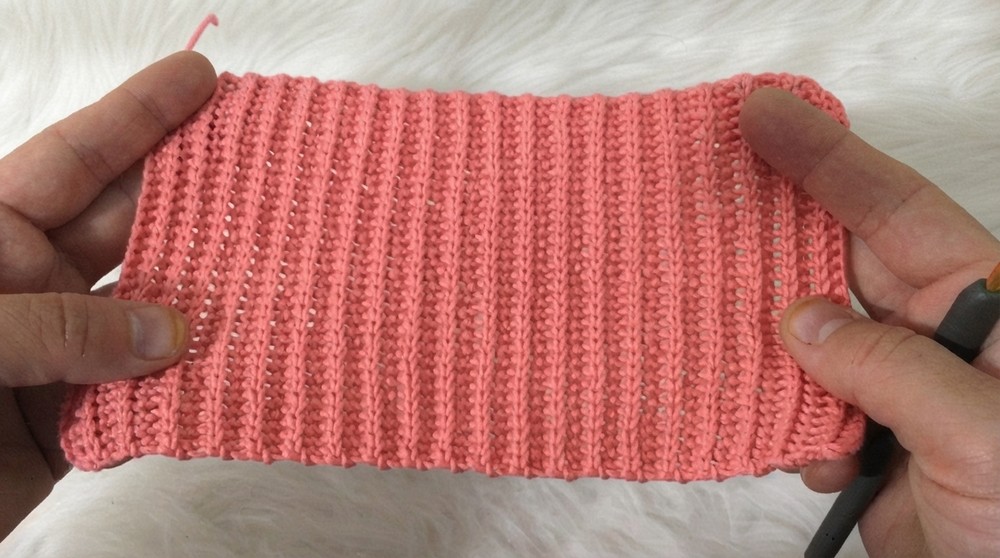
Step 6: Sew the Sides
- Fold the rectangle in half, aligning the edges evenly.
- Using a tapestry needle and yarn, sew the front loops of each stitch across the edge to join the sides together.
-
- This creates a seamless finish.
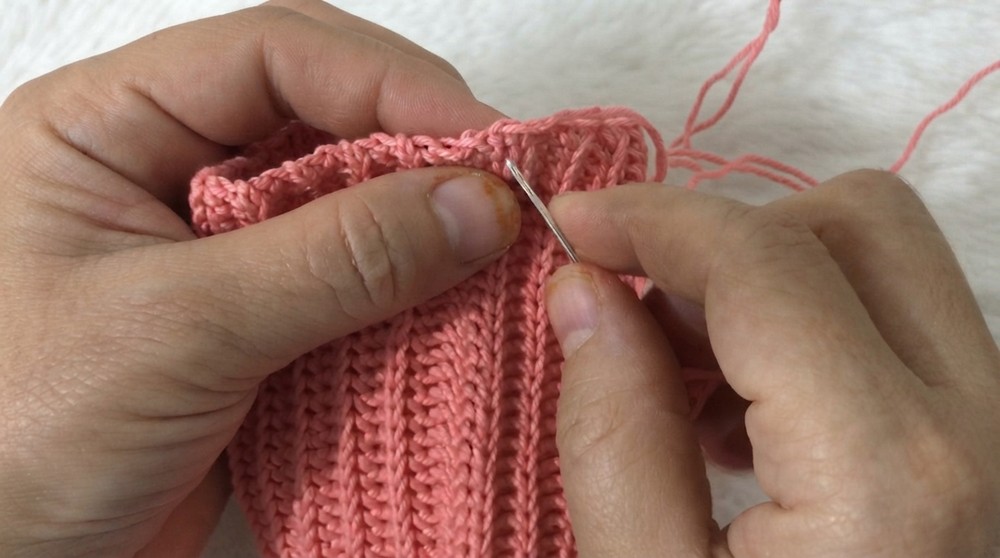
Step 7: Close the Top of the Hat
- Thread a long piece of yarn onto the tapestry needle.
- Weave the needle through the top edge of the hat, catching one stitch every few stitches.
- Once you’ve worked all the way around, pull the yarn tightly to gather the top into a closed circle.
- Secure the yarn with a firm knot and weave in the ends.
Step 8: Create and Attach the Pompom
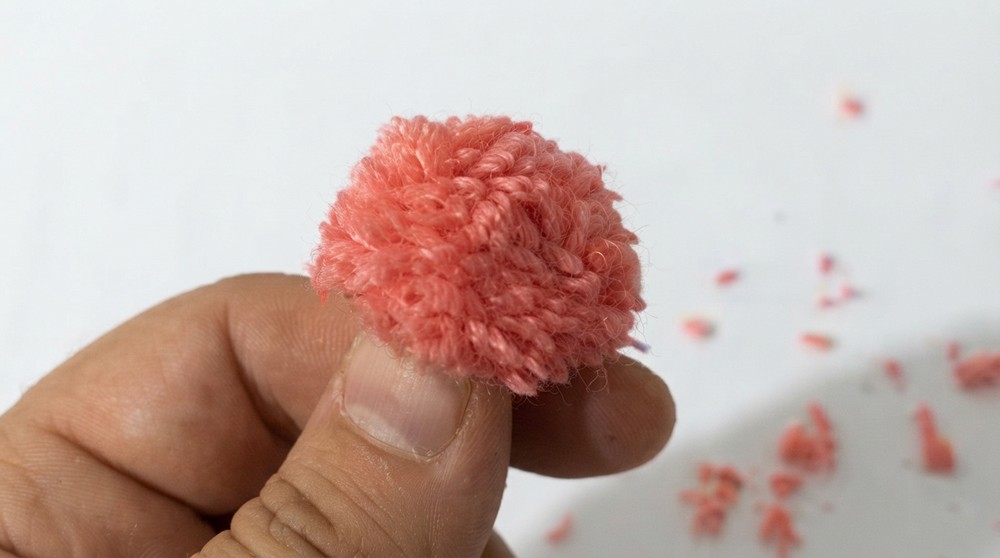
- To make a pompom:
- Wrap yarn around the middle of a fork until there’s a thick bundle.
- Use a separate piece of yarn to tie tightly around the center of the bundle.
- Cut the loops on both ends of the bundle.
- Trim the pompom’s edges to get a neat, round shape.
- Sew the pompom securely onto the top of the hat using a tapestry needle and yarn.
Assembly & Finished Size
The finished hat will feature a classic ribbed texture with a snug fit for the doll’s head.
Add extra length by increasing chains at the start or working additional rows if you'd like to create a foldable brim or slouchy look.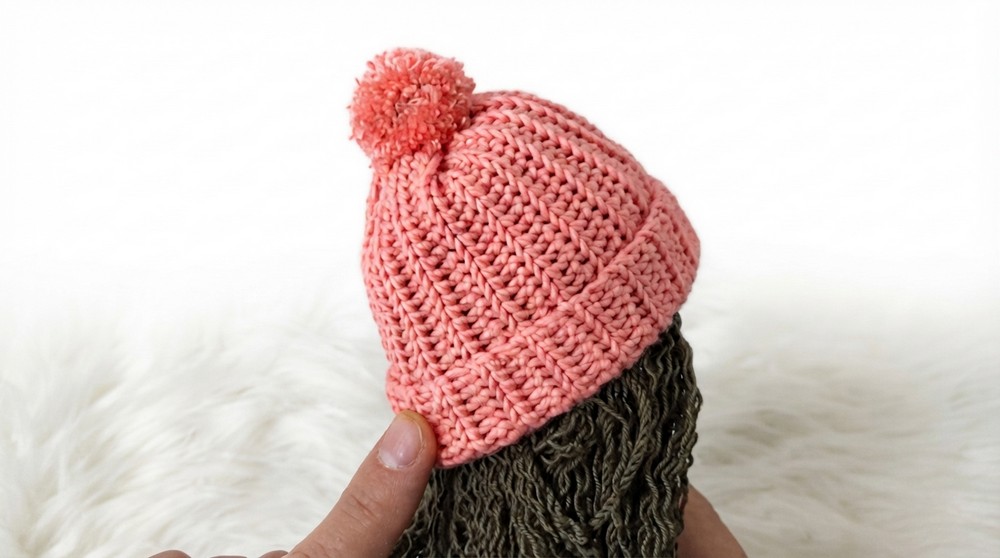
Conclusion and Ending Words
Congratulations, you’ve completed a cozy and stylish crochet hat for your amigurumi doll. With its knitted effect and adorable pompom, this hat is both functional and fun to make. The pattern is versatile, so feel free to experiment with sizes, colors, and decorations like stripes or buttons.