
Easy & Quick Crochet Simple Bracelet Pattern for Everyday Style
Fast way to wear something special is with the Free Crochet Simple Bracelet Pattern, perfect for bright and happy style.
When you want to whip up a quick and charming accessory, this bracelet pattern is just perfect. It’s simple, colorful, and a great way to use leftover yarn, making it both eco-friendly and fun. Using the slip stitch worked through the back loops, this pattern has a neat, textured look that feels comfortable to wear and looks stylish on your wrist. Plus, its easy crochet means you’ll complete it quickly, whether for yourself or as sweet gifts for friends.
Other Fun Projects from This Pattern
Beyond bracelets, this simple stitch technique can be adapted to crochet headbands, bookmarks, or even small decorative bands for jars or bottles. You can play with different yarn weights or add embellishments like beads or charms to make each piece truly unique. This pattern is a fantastic base for exploring color changes and experimenting with texture, opening up a world of cozy and colorful projects that are quick to make and loved by all.
Colourful Crochet Simple Bracelet Pattern for Beginners
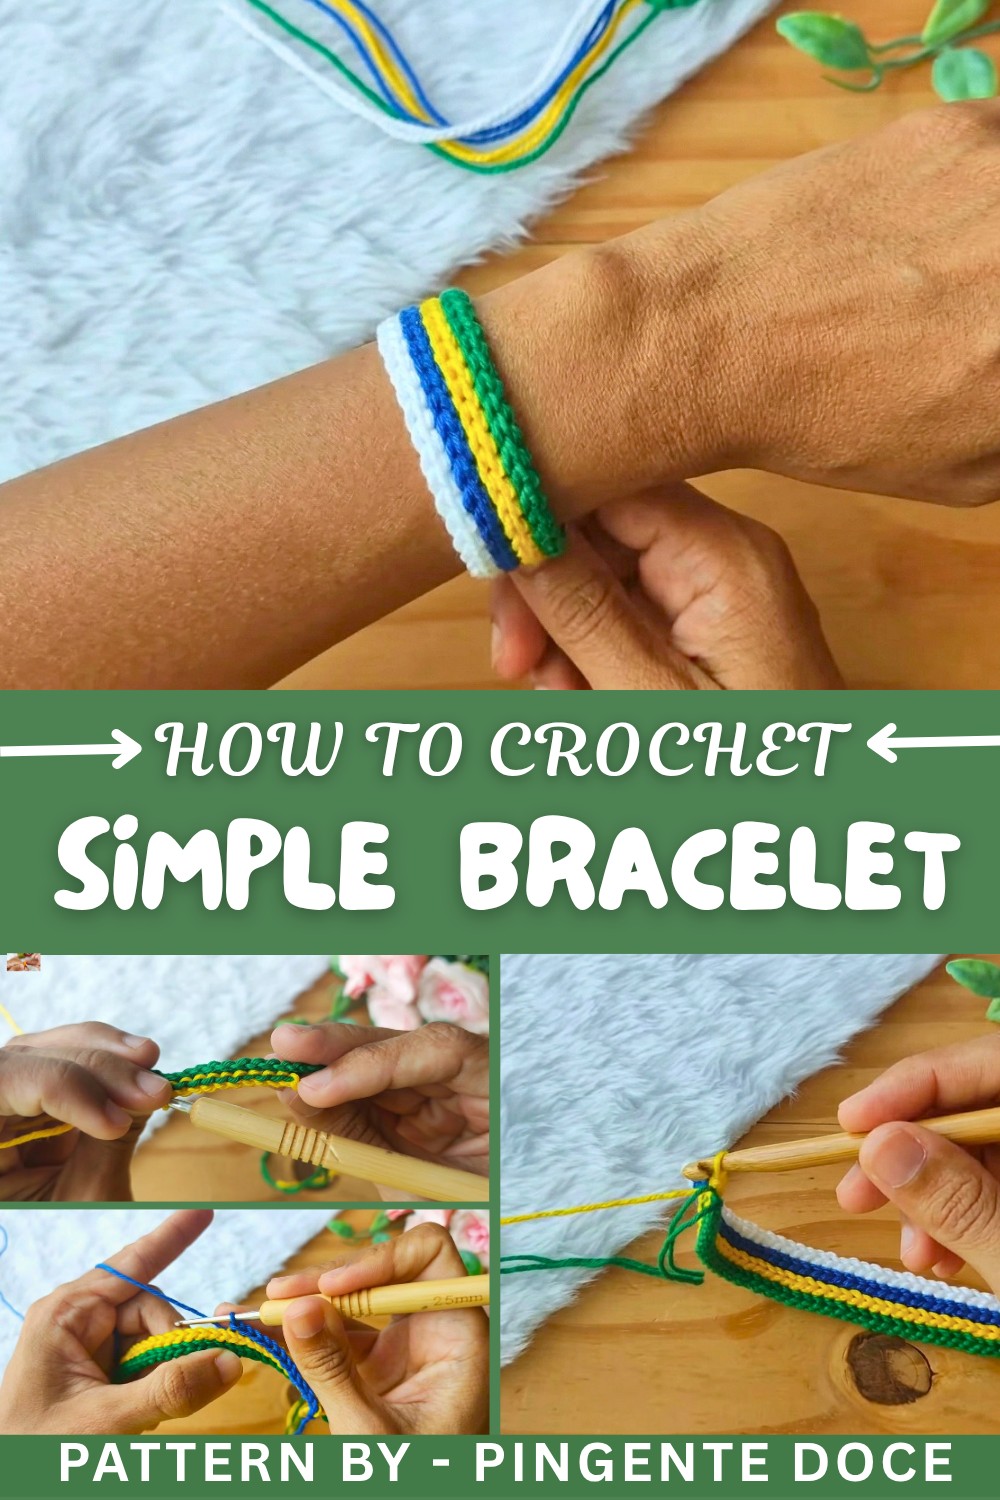
Starting with a chain foundation, you slip stitch your way along, creating rows that can be made in any color combination you love. Working slip stitches through the back loops adds a unique styling detail, giving the bracelet a ripple-like effect that’s eye-catching yet subtle. The process is beginner-friendly — even younger crocheters can enjoy the steady rhythm of chaining and stitching while learning to handle the yarn and hook with ease. Whether you’re making it for the World Cup spirit or just for fun, this pattern is perfect for customizing and showing off your creativity.
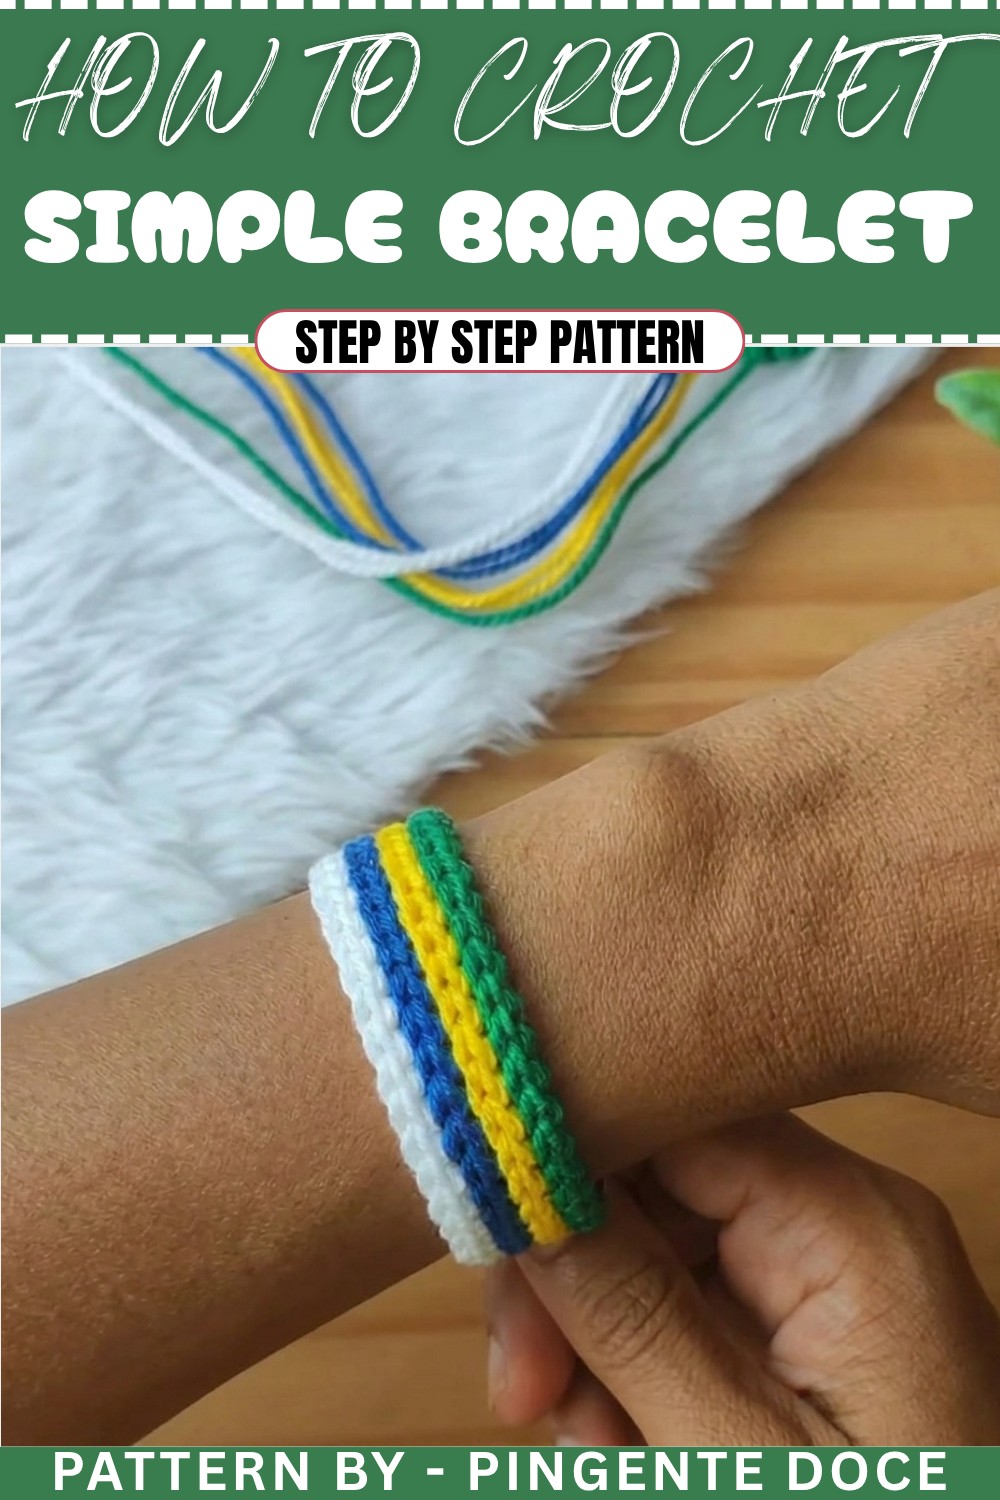
Crochet Pattern: World Cup Bracelet
Celebrate the World Cup and your favorite team with this fun, colorful, and simple crochet bracelet! Not only is it quick to create, but it’s also a fantastic opportunity to earn some extra income by making themed accessories for sale. Perfect for beginners, this pattern uses basic crochet stitches and allows for endless color customization to show off your team spirit.
Uses of This Pattern
- Support Your Team: Display your national pride with a stylish handmade wristband in your country’s colors!
- Earn Extra Income: Crochet and sell themed bracelets during events like the World Cup.
- Gift Idea: Design personalized bracelets for friends and family.
Skill Level & Terminology
- Skill Level: Beginner
- Terminology: US crochet terms are used throughout.
Materials & Tools
- Yarn: Lightweight cotton yarn or any durable yarn. Select three colors that represent your country’s flag (e.g., green, yellow, and blue for Brazil).
- Crochet Hook: 3mm to 5mm crochet hook (depending on your yarn thickness).
- Scissors: For cutting yarn.
- Tape Measure: To measure yarn lengths.
Gauge
Gauge is not essential for this project as the bracelet size is determined by the number of chains. Keep an even tension throughout for a neat and uniform result.
Abbreviations
- ch – Chain
- sl st – Slip Stitch
- st – Stitch
Special Stitch Instructions
Slip Stitch (sl st):
- Insert the hook into the specified stitch or space.
- Yarn over (yo) and pull the yarn through the stitch and the loop on the hook in one motion.
Finished Size
The bracelet measures approximately 7 inches long and 0.5 inches wide, and can be customized to fit any wrist size.
What You’ll Learn From This Pattern
- Slip Knot & Slip Stitch: Improve accuracy and tension with basic stitches.
- Working Back Loops: Learn how to create ribbed textures for stripe effects.
- How to Finish with Tails: Create clean knot ties and ensure durable wearability of your accessory.
- Combining Colors: Practice color-changing techniques to create visual interest.
- Craft Market Ideas: Learn entrepreneurial opportunities with a simple but stylish handmade project.
The Pattern
Step 1: Foundation Chain (Base)
- Leave Tail: Begin by leaving a yarn tail of 20–25 cm for finishing later.
- Make Slip Knot: Create a slip knot on your crochet hook.
- ch 30 for the foundation of the bracelet.The initial chain determines the length of the bracelet; you can increase or reduce it to fit different wrist sizes.
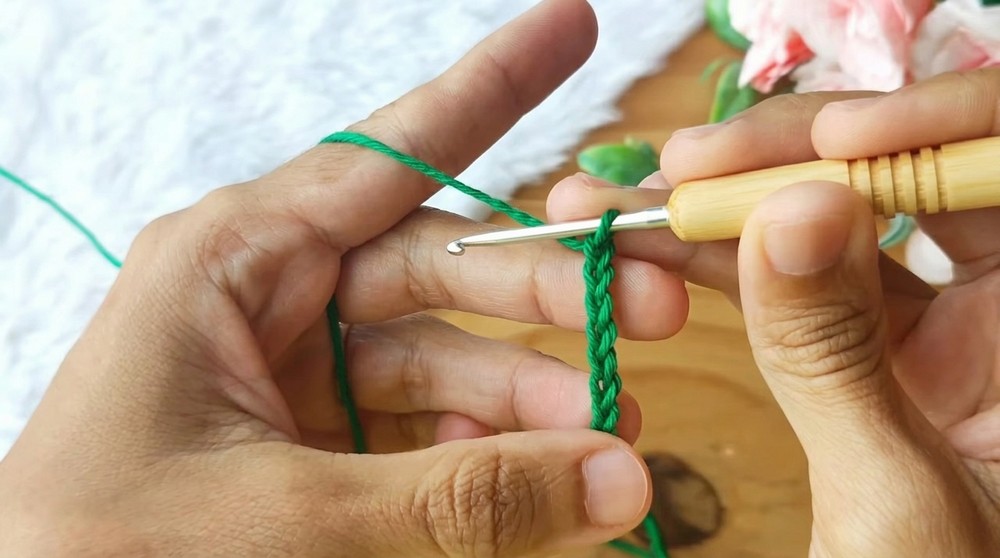
Step 2: First Row of Slip Stitches
- Start Slip Stitches: Skip the first two chains from the hook and insert the hook into the third chain.
- Work a sl st: Pick up the yarn and pull it through both loops on the hook.
- Continue Slip Stitches: Work 1 sl st into each chain across the row. By the end of the row, you will have worked 28 sl st.
- Finishing Row: Cut the yarn, leaving a tail approximately 20–25 cm long, similar to the starting tail.This row creates the first base layer. Remember to work evenly and keep your tension consistent for a smooth result.
Step 3: Adding Rows in a New Color
Now, you’ll add your country’s theme colors.
- Join New Yarn: With a new color, leave a 20–25 cm tail for finishing.
- Working Back Loops: Turn your piece over and start inserting your hook into the back loop of the last row’s stitches.
- Slip Stitches:
- Work 1 sl st into the back loop of every stitch across.
- Continue this method until reaching the last stitch.
Working in the back loops creates a ribbed texture and gives a striped effect when shifting colors. Use contrasting colors for a striking design!
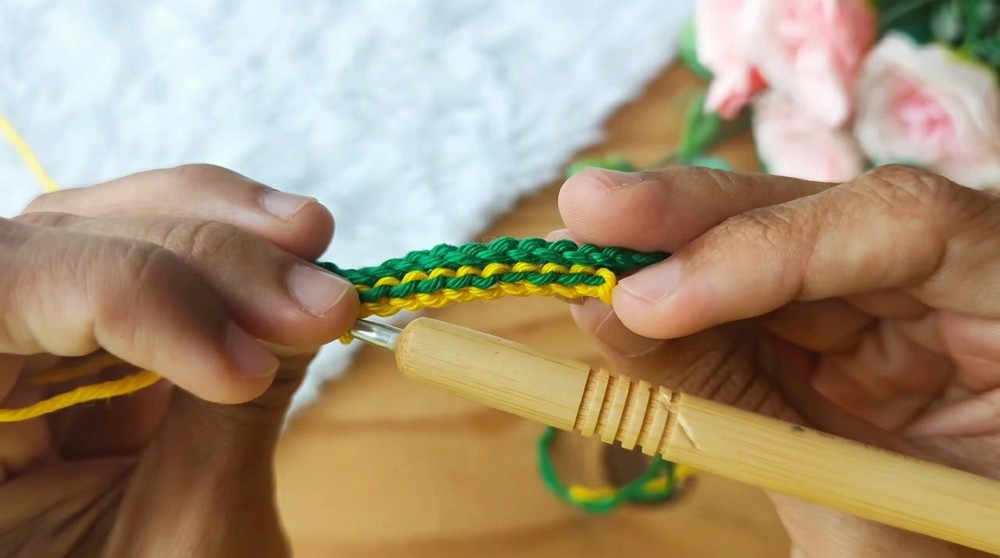
Step 4: Adding Additional Colors
Switch threads to create more colorful stripes.
- Repeat the Previous Step:
- Leave a yarn tail at the start of each new color.
- Work 1 sl st into the back loop per stitch across the row.
- Alternate colors to represent your team or flag design.
- Suggested Stripe Order:
- Green (1 row),
- Yellow (1 row),
- Blue (1 row),
- White (2 rows).
Add or remove rows and colors based on your design preference; you can follow as many rows and hues as your flag or creativity requires.
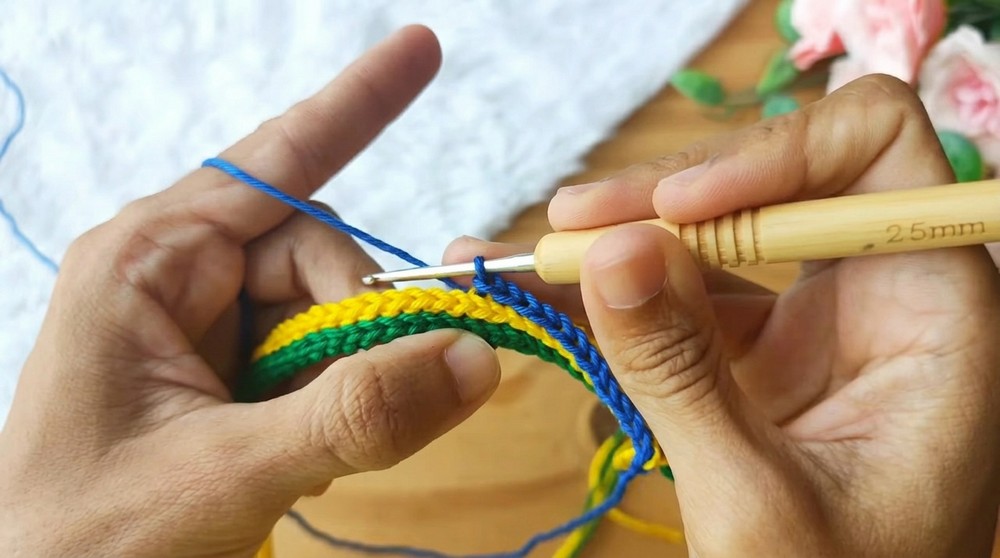
Step 5: Knotting Tail Ends
- Once all rows are complete, make sure you have equal-sized yarn tails hanging on both sides of the bracelet.
- Knot the Tails: Tie each pair of tails together with a simple knot or double knot. Make knots snug to prevent unravelling.
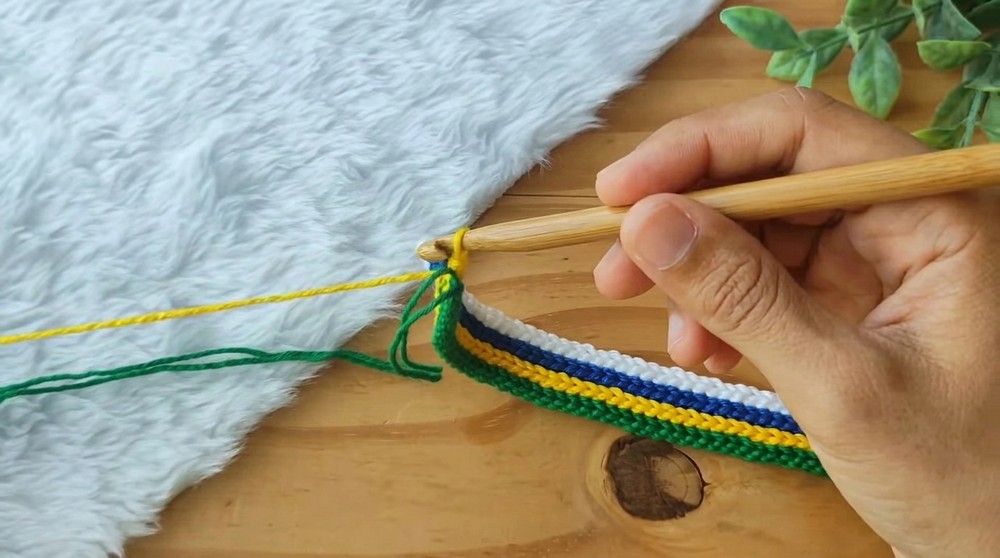
Step 6: Making the Bracelet Ties
For a secure fastening:
- Cut Additional Yarn Pieces:
- Cut pieces of yarn (approximately 40–50 cm long) for each color represented on your bracelet.
- Fold each piece in half.
- Attach Ties:
- Insert the folded yarn piece into the middle openings along the edges of the bracelet.
- Use your crochet hook to pull the loop through and knot the ends of this loop tightly with matching colors to create ties.
- Final Trim:
- Trim and even out the loose yarn ends to ensure all edges are clean and tidy.
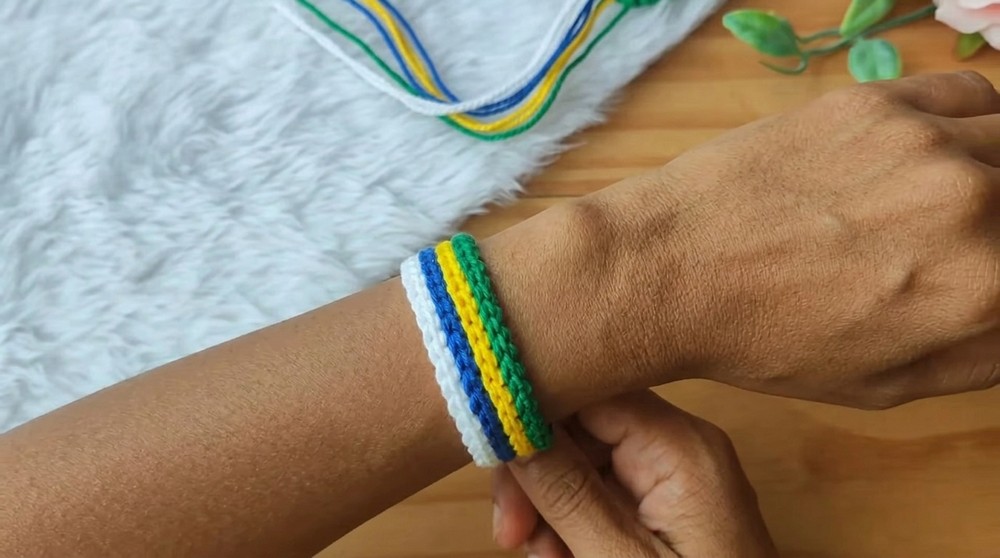
Assembly & Finishing
- Shaping:
- If your bracelet is curling or slightly uneven after crocheting, gently stretch and flatten it before tying the knots.
- Tidy Finishing:
- Knot all loose yarn ends securely and weave them into the piece. Trim shorter or tuck loose strands for a polished finish.
Difficulties & Solutions
Difficulty: Slip Stitch Precision
Slip stitches must remain tight but not so tight that they pull the piece out of shape.
- Solution: Practice making slip stitches with consistent yarn tension. Ensure the hook slides easily through the loops.
Difficulty: Back Loop Insertion
Inserting the hook into only the back loop can be confusing for beginners.
- Solution: Take your time to gently reinforce and isolate the correct back loops while working slip stitches.
Difficulty: Measuring Yarn Ends and Tying Proper Knots
Leaving yarn tails of uneven lengths or tying insufficient knots may result in poor finishing.
- Solution: Use a tape measure to cut yarn tails precisely. Make double knots for durability and weave in extra yarn ends securely.
Why You’ll Love This Pattern
This World Cup-inspired bracelet pattern is simple yet versatile, providing a quick project that is both fun and practical. The bold stripes celebrate your country’s colors while showcasing your creativity and crochet skills. Whether you're making it for personal wear, gifting, or selling, this pattern is designed for success.
Start crocheting now and enjoy bringing a handmade twist to the World Cup celebration!