
Free Crochet Amigurumi Apple Pattern for Play Food Sets
Spark joy with a Free Crochet Amigurumi Apple Pattern when you want a cozy red fruit buddy to bring cheerful fall vibes to your bedroom study desk.
The amigurumi apple is a tiny, charming crochet creation that’s sure to bring a smile to anyone who sees it. Its softness and vibrant colors make it not just visually appealing but also delightful to hold. Shaped like a classic apple, its round, plump design is made even lovelier with a cute little stem and leaf on top. This crochet project is perfect for adding a touch of handmade warmth to your space, whether you use it as home decor, a crochet fair item, or as a thoughtful gift for someone special.
One of the best uses for this crochet apple is as a back to school gift for teachers, where it can symbolize appreciation and care. It also works wonderfully as part of a play kitchen set for kids or a whimsical addition to your amigurumi collection. The small size makes it easy to carry or display on a desk, shelf, or even as a seasonal table centerpiece.
Free Crochet Amigurumi Apple Pattern for Eco Toy Lovers
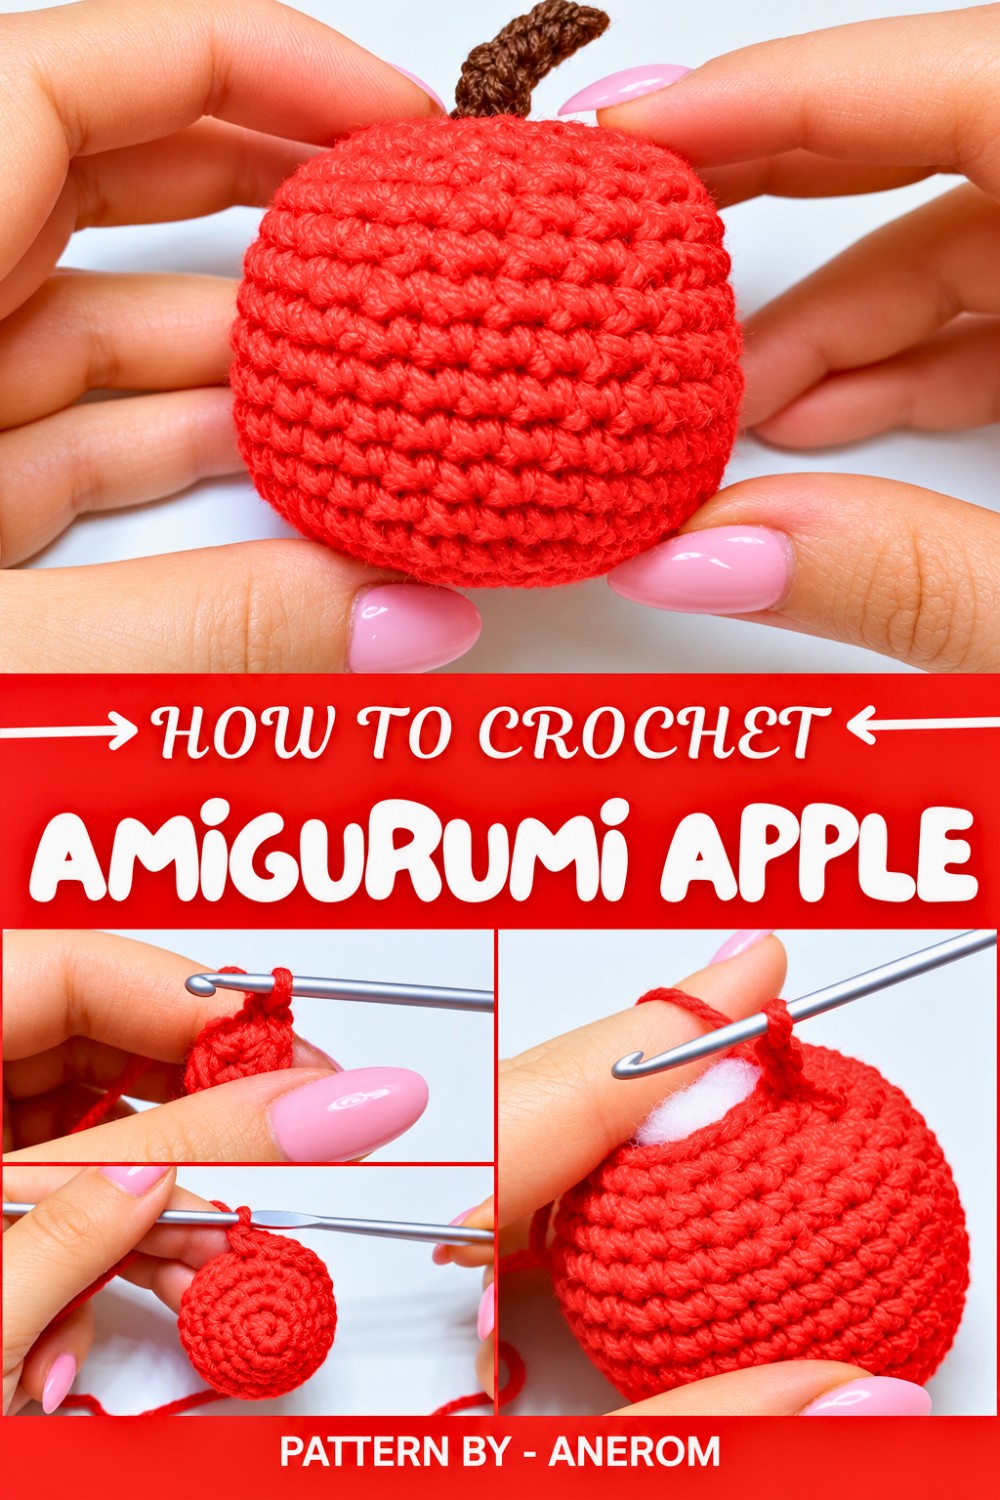
The process of making this apple involves basic crochet techniques like working in the round, stuffing the shape evenly, and adding simple small details that truly bring it to life. With a little patience and practice, even beginners can find this project enjoyable. The choice of bright red or green yarn and soft filling helps create a realistic yet playful look.
If you’re looking for a fun, step by step video tutorial, the Anerom YouTube channel offers an amazing guide for this project. The friendly tone of the video and helpful tips make the process enjoyable from start to finish. So pick your yarn and hook, and let the experience of crafting this adorable apple brighten your day.
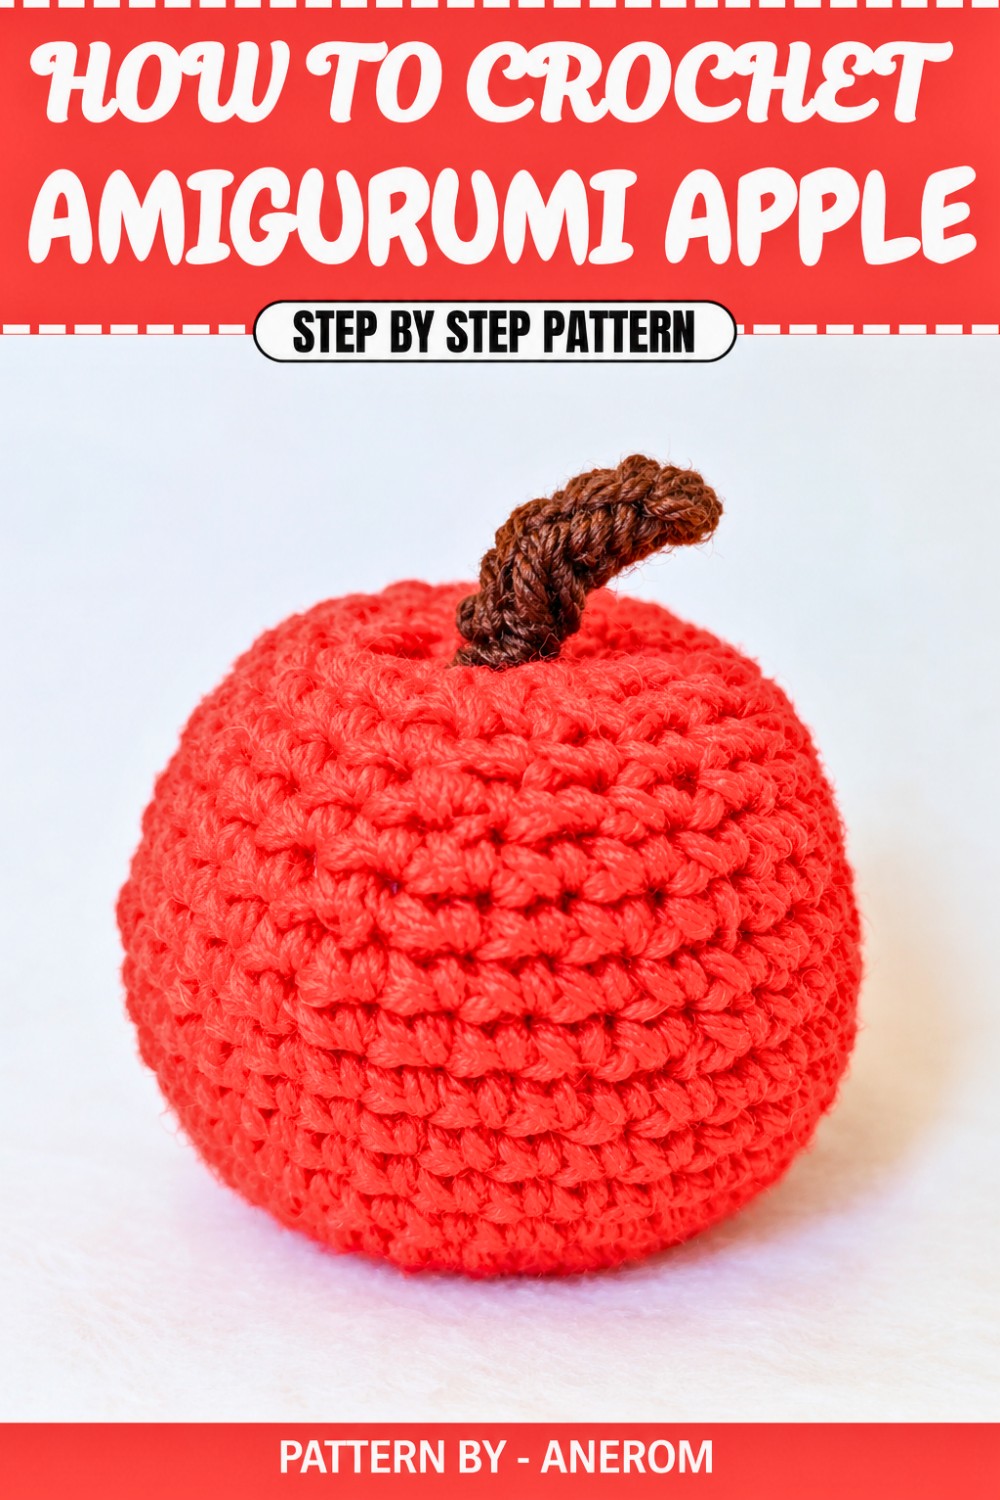
Crochet Pattern: Apple Amigurumi with Stem
Quick Overview of Pattern
- Project Type: Crochet Apple Amigurumi
- Difficulty: Beginner friendly
- Techniques Utilized: Magic Ring, Single Crochet, Increases, Decreases, and Assembly
- Special Features: Apple shape with a charming stem detail
Notes
- Work in a spiral unless mentioned otherwise.
- Always use a stitch marker to keep track of rounds.
- Yarn type can vary based on preference (acrylic or cotton), but choose sturdy yarn for better results.
- Use small pieces of stuffing for an even finish that is easy to manage during assembly.
Skill Level
Beginner – Designed for crocheters with basic knowledge of stitches like single crochet, magic ring, and simple decreases/increases.
Materials
- Yarn: Acrylic yarn (Red for the apple, and brown for the stem; green optional for a leaf). Yarn weight: #3.
- Hook: 3mm crochet hook
- Polyfill: For stuffing the apple
- Tapestry Needle: For sewing and finishing the pieces
- Stitch Marker: To track the beginning of each round
- Scissors
Measurements / Sizing
- The completed apple is approximately palm sized and cute enough for small decorations or gifts.
Gauge
Exact gauge is not critical for this project but maintain a tight stitch to ensure there are no gaps in the finished piece.
Stitch Abbreviations
- MR: Magic Ring
- SC: Single Crochet
- INC: Increase (two single crochets in the same stitch)
- DEC: Decrease (single crochet two stitches together)
- CH: Chain
Special Stitches
Magic Ring (MR)
- Loop the yarn around your fingers to create a circle.
- Insert your hook into the center of the loop, yarn over, and pull through.
- Chain 1 to lock the loop.
- Work the required number of stitches inside the loop.
- Pull the tail to close the ring and eliminate the hole at the center.
Invisible Decrease
- Insert your hook into the front loop of the first stitch.
- Insert it into the front loop of the next stitch.
- Yarn over and pull through both loops on the hook.
- Yarn over again and pull through the remaining loops to complete the decrease.
The Crochet Pattern
Apple Base
Round 1:
- Create a magic ring with red acrylic yarn.
- Work 6 SC into the magic ring.
- Pull the yarn tail to close the ring tightly.
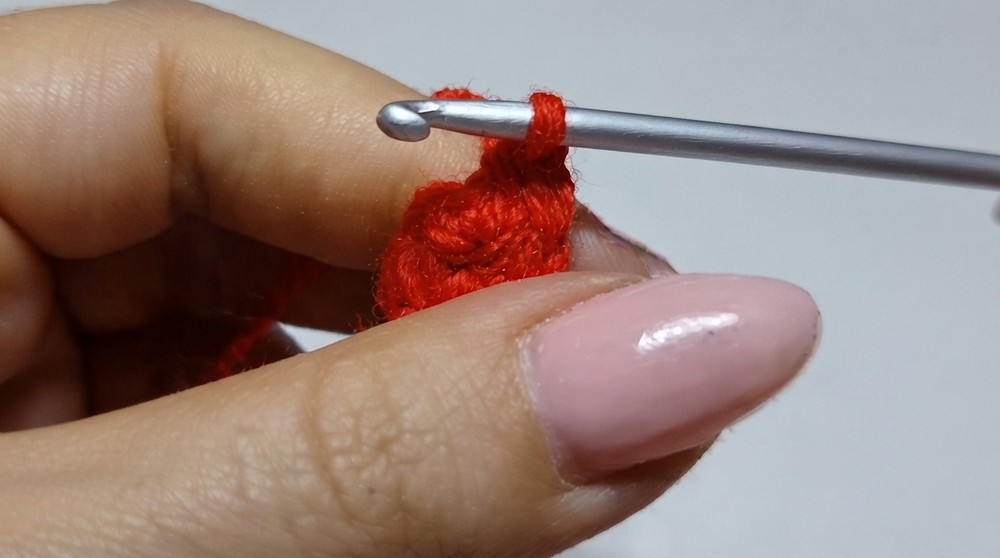
Round 2:
- Work 1 INC in each stitch around (6 INC).
- You should now have 12 SC.
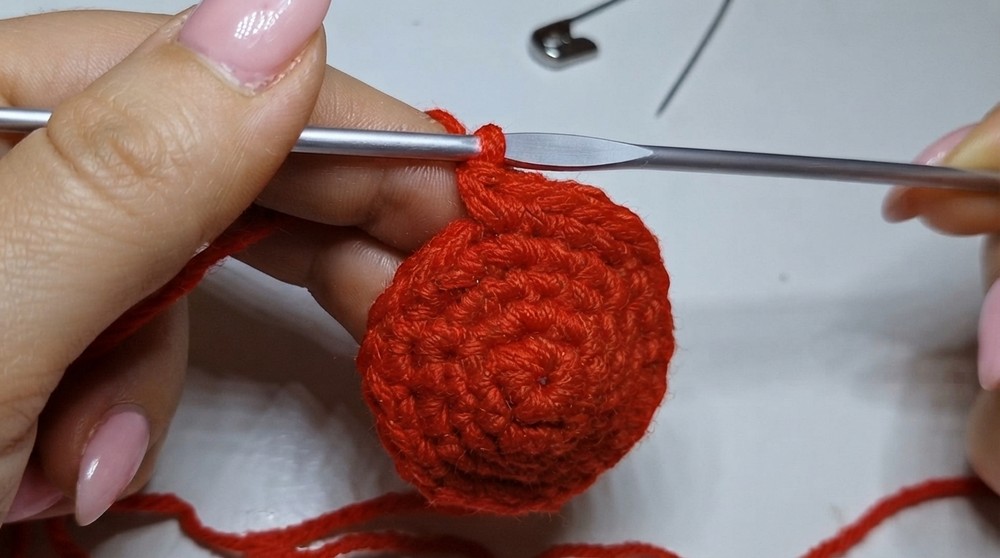
Round 3:
- SC in the first stitch and mark it with a stitch marker.
- Work 1 SC in each stitch around for this round (12 SC total).
Round 4:
- SC in the first stitch and mark it with a stitch marker.
- Work 1 SC, then INC; repeat this sequence around (18 SC total).
Round 5:
- SC in the first stitch and mark it with a stitch marker.
- Work 2 SC, then INC; repeat this sequence around (24 SC total).
Round 6:
- SC in the first stitch and mark it with a stitch marker.
- Work 3 SC, then INC; repeat this sequence around (30 SC total).
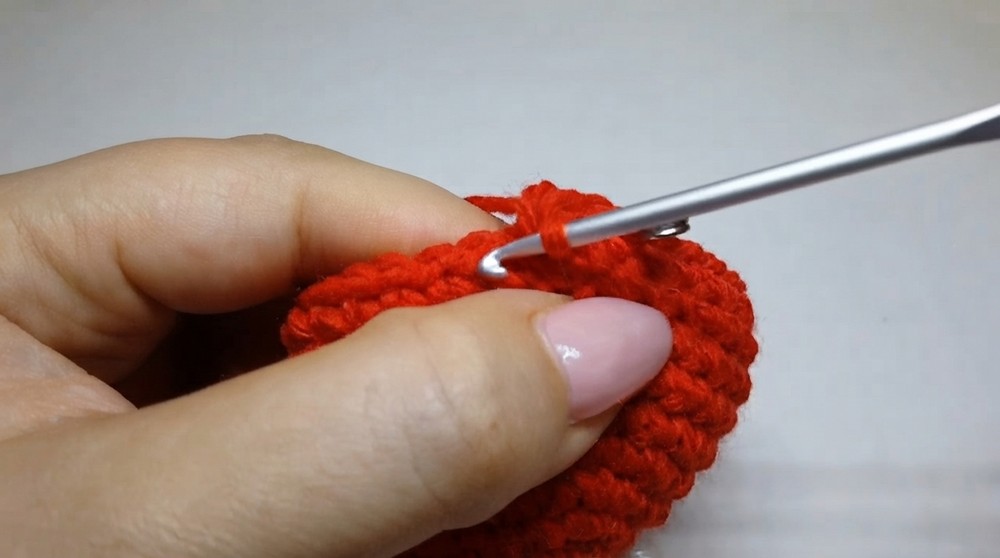
Rounds 7 to 10:
- Work 1 SC in each stitch around for 4 rounds (30 SC).
Round 11:
- SC in the first stitch and mark it with a stitch marker.
- Work 4 SC, then DEC; repeat this sequence around (25 SC total).
Round 12:
- Work 1 SC in each stitch around without any increases or decreases (25 SC).
Round 13:
- Work 3 SC, then DEC; repeat this sequence around (20 SC total).
Round 14:
- Work 1 SC in each stitch around for this round (20 SC total).
Round 15:
- SC in the first stitch, mark it, and continue working 2 SC, then DEC; repeat this sequence around (15 SC total).
Rounds 16 to 17:
- Work 1 SC in each stitch around for 2 rounds (15 SC total).
Round 18:
- SC in the first stitch, mark it, and continue working 1 SC, then DEC; repeat this sequence around (12 SC total).
Rounds 19 to 20:
- Add stuffing to your apple before finishing.
- Pull the yarn slightly and continue working 1 SC in each stitch around for 2 rounds (12 SC total).
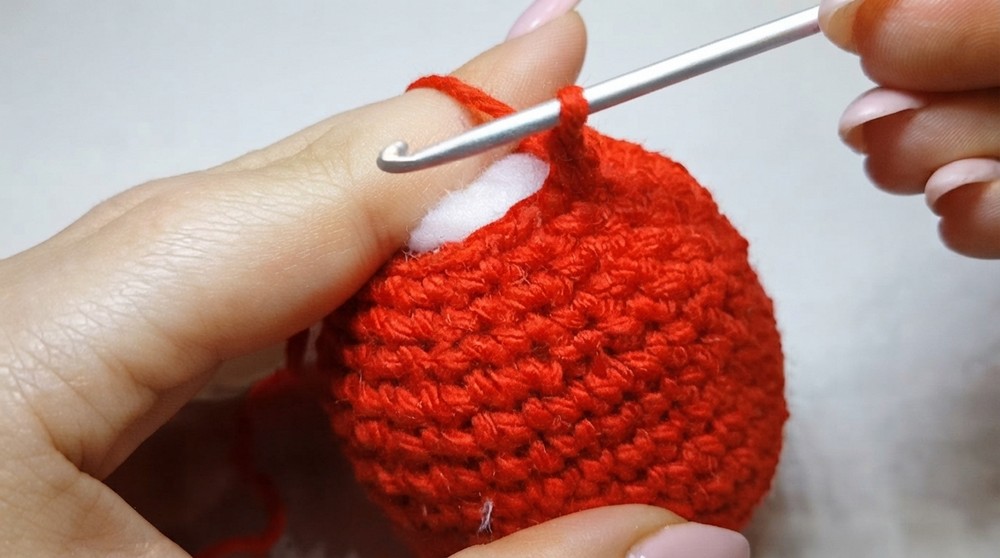
Round 21:
- To close the apple, work 6 DEC continuously, ending with 6 stitches.
Assembly of the Apple Base
- After finishing the last round, pull the yarn tightly and leave a long tail.
- Thread the yarn tail through a tapestry needle to close the opening at the top of the apple using a few secure stitches.
- To create the indentation at the top and bottom, insert the needle starting from the top center and push it through to the bottom center. Pull the yarn tightly to form a dip. Secure with a knot and weave the yarn back and forth through the stitches to hide the tail.
Creating the Apple Stem (Picciolo)
Row 1:
- With brown yarn, CH 8.
Row 2:
- Turn your work and SC into each stitch across until the end of the row.
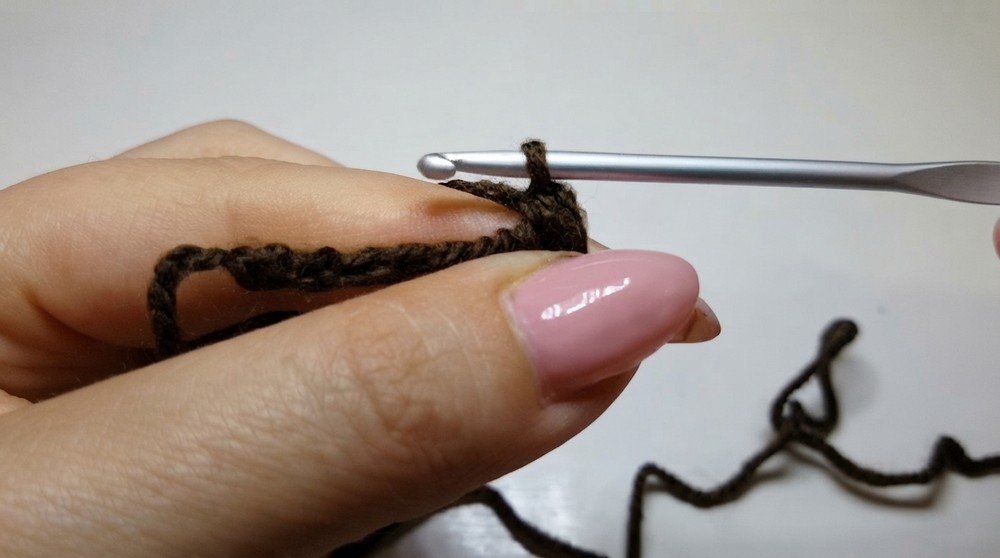
Row 3:
- CH 1, turn, and SC in each stitch across again to complete a second row.
Shaping the Stem:
- Leave a long tail and thread it through a tapestry needle.
- Fold the stem and sew together the edges to form a sturdy hollow tube. Stitch along both sides to close the stem entirely.
- Secure the yarn with a knot and weave the tail into the work.
Attaching the Stem to the Apple
- Insert the yarn tail from the stem into the tapestry needle.
- Place the stem into the indentation at the top of the apple.
- Sew around the stem to secure it to the apple. Pull the stitches tight to ensure it stays snug inside the indentation.
- Weave in the remaining yarn tail and trim the excess.
Assembly & Finished Size
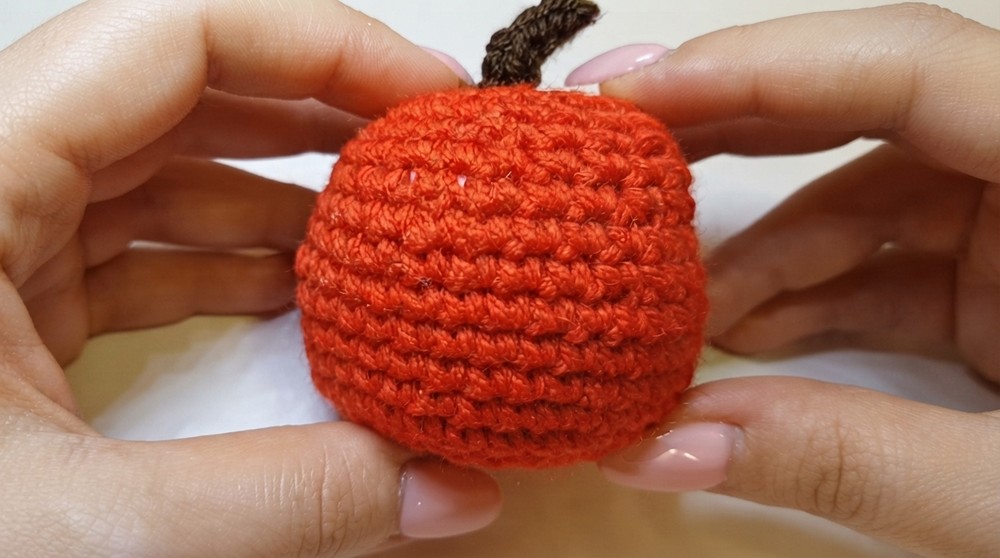
After securely attaching the stem and making necessary adjustments to the stuffing, the finished apple should fit comfortably in your palm. The dip at the top adds an attractive and realistic touch, making it look like the perfect little apple.
Conclusion
Congratulations on completing your Mela Amigurumi. This simple yet charming project is an excellent way to improve your crochet skills while working on a fun craft. Whether you use it as kitchen decor, a gift, or part of a handmade collection, this little apple is sure to bring a smile to anyone’s face.