
Super Fun & Free Crochet 4 Leaf Clover Keychain Pattern
Brighten your day and crochet a fun 4 leaf clover keychain to share some handmade love and bring a little luck to your life.
It’s said that finding a four leaf clover brings you luck, but what if you could crochet one instead? Think about holding your own tiny piece of luck, handcrocheted with love. This cute four leaf clover keychain is more than just a project; it’s a symbol of positivity, charm, and creativity. Perfect for everyday use or as a heartfelt gift, this little clover promises to bring smiles to all who see it. Its delicate design and cheerful vibe make it a lovely addition to keys, purses, or even as a whimsical charm for a backpack. And best of all? You can make it with just a bit of yarn and a little time!
Designed by
This delightful crochet project was brought to life by the talented creator behind the YouTube channel CrochetLilWeaves. Her channel is an absolute treasure trove of crochet inspiration, making it easy to fall in love with the crochet and explore new patterns in an enjoyable way. Don’t miss the chance to check it out for more fun projects.
Beginner Friendly Crochet 4 Leaf Clover Keychain Pattern
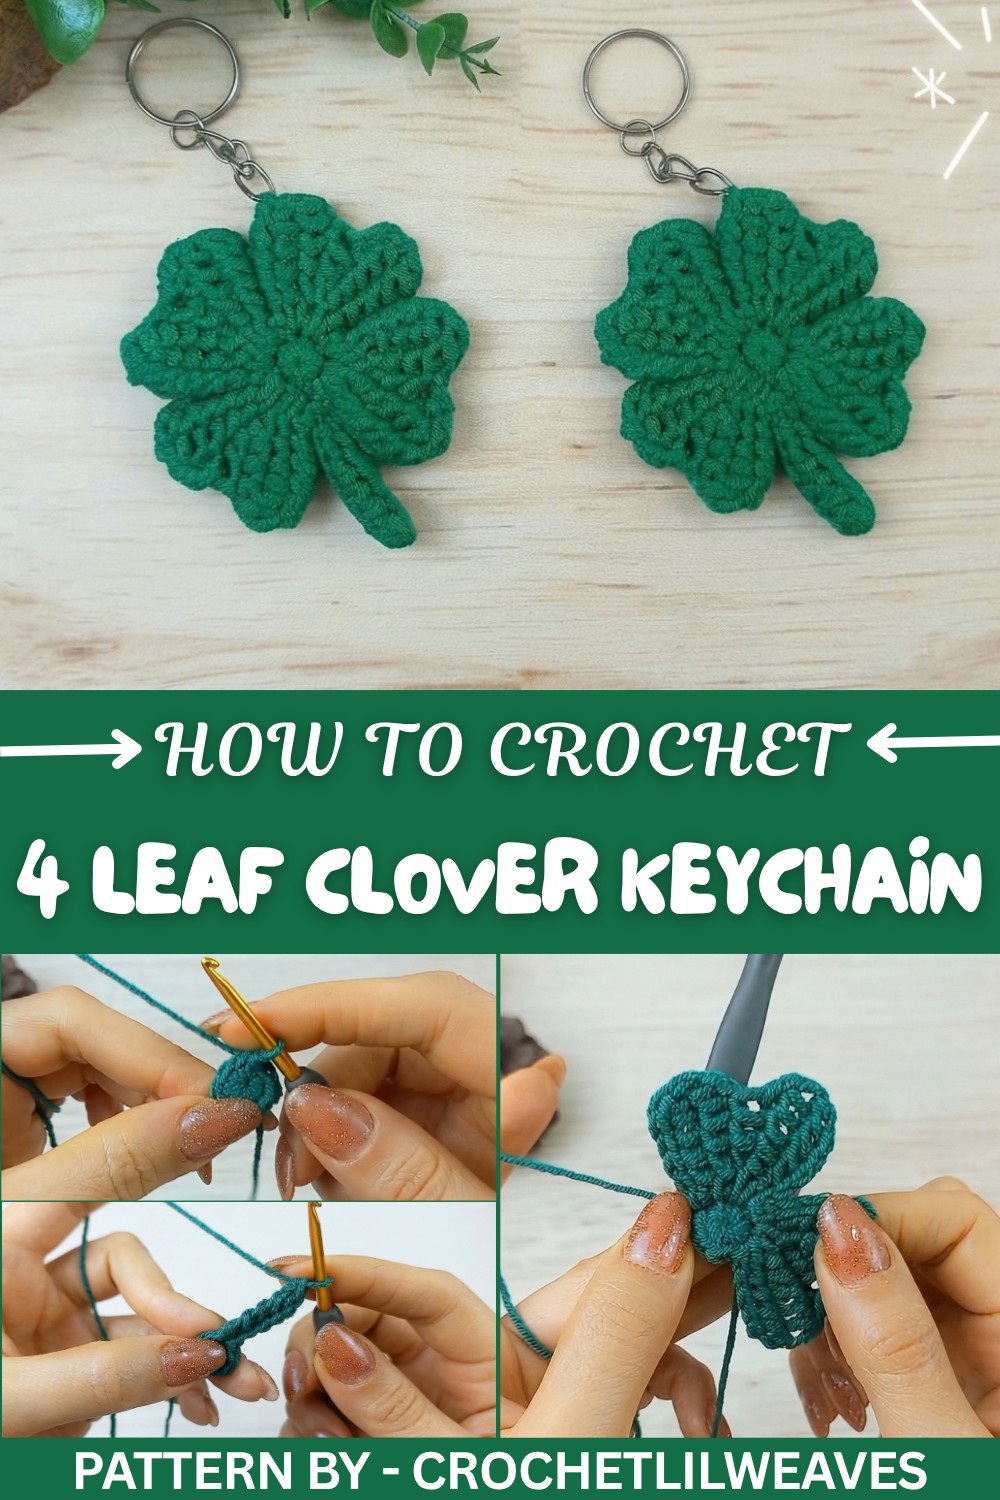
Whether it’s for St. Patrick’s Day, a lucky gift, or a simple charm to brighten your day, this gorgeous keychain is sure to impress. Crocheted with a magic ring at its base, the clover comes together leaf by leaf in an elegant, symmetrical design, topped off with a sweet little stem. You’ll love watching it take shape as you work. Once complete, it’s hard not to admire the soft texture and perfect balance of simplicity and beauty. Who needs to search for luck when you can crochet it?
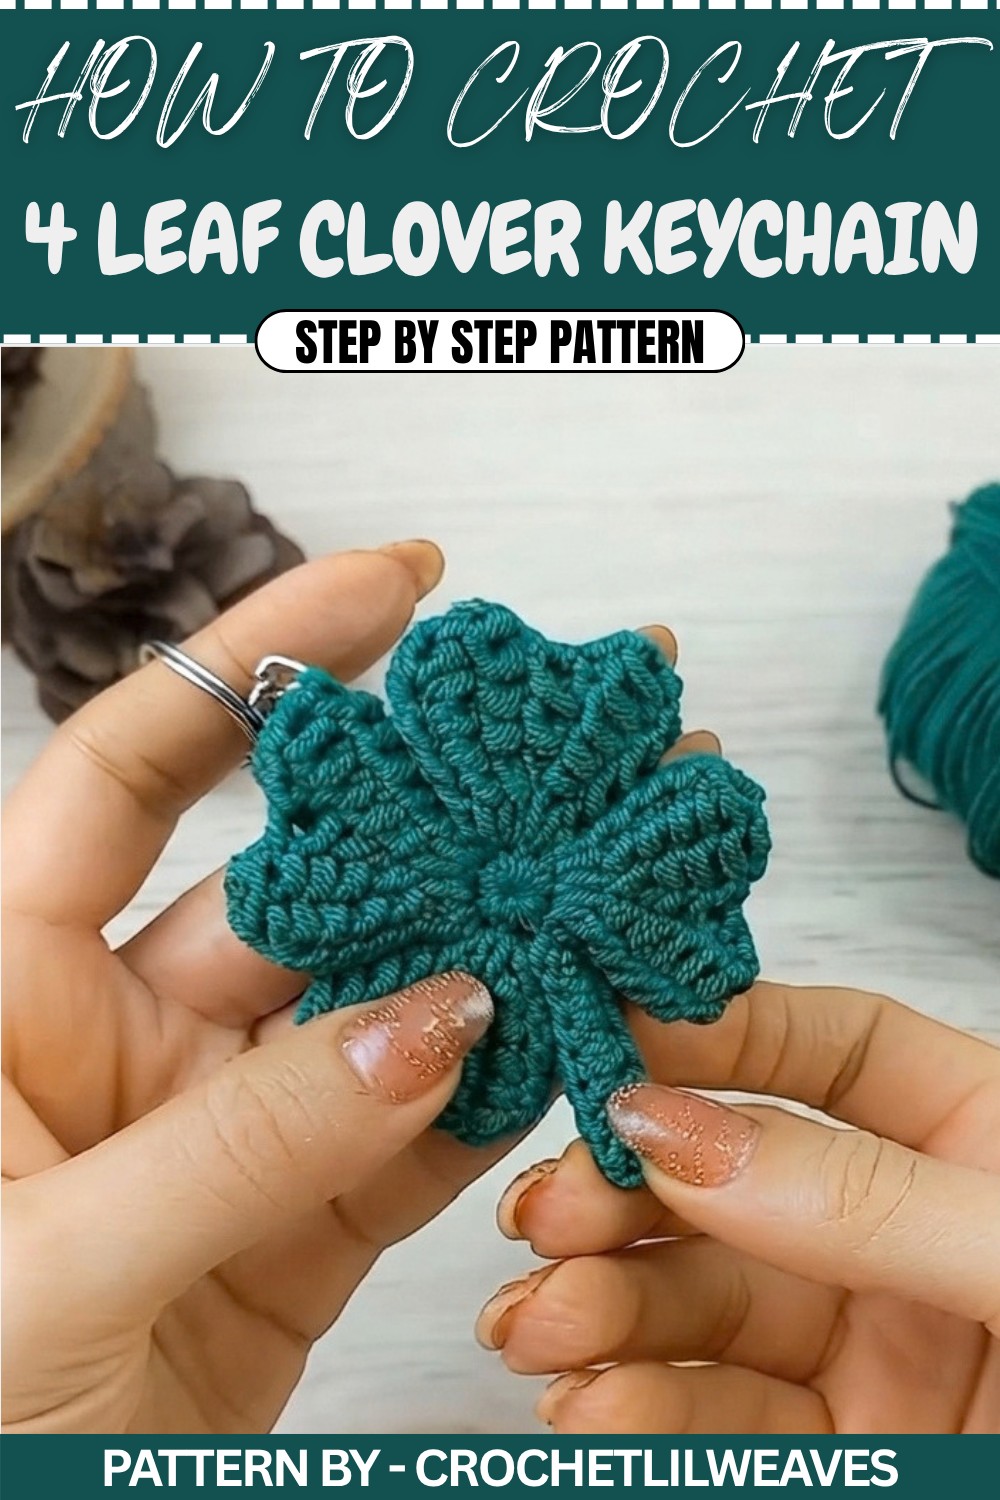
Crochet 4 Leaf Clover Keychain Pattern
Quick Overview Of Pattern
- Project Type: Crochet Clover Keychain.
- Time: Approximately 1–2 hours.
- Craft Level: Beginner friendly (requires knowledge of basic crochet techniques).
- End Result: A two sided crochet clover keychain with a hanging loop and keyring.
Notes
- Work in rounds for the center circle.
- Each leaf is built in rows on top of two base stitches of Round 1.
- You will have 4 leaves total, one for each pair of two stitches in Round 1.
- Do not skip any “pull up loop” step; these are Tunisian style steps that create the leaf texture.
- Keep tension even so the leaves look alike.
- Make two identical clovers, then sew them together.
Skill Level
- Confident Beginner / Lower Intermediate
- Requires: magic ring, sc, hdc, sl st, working in back bumps, basic seaming.
Materials
- Category 2 (Fine) yarn – small amount (green or preferred color)
- 3 mm crochet hook
- Tapestry needle
- Scissors
- Keyring
Measurements / Sizing
- Clover width (4 leaves): approx. 6–7 cm
- Stem length with keyring: approx. 4–5 cm
Gauge
- Gauge is not critical.
- Aim for firm, not loose stitches so the clover holds its shape.
Stitch Abbreviations
- ch = chain
- sc = single crochet
- hdc = half double crochet
- sl st = slip stitch
- yo = yarn over
- MR = magic ring
Special Stitches
Magic Ring (MR)
- Place yarn over two fingers.
- Wrap yarn around fingers to form an X in front.
- From back, insert hook under first loop of X.
- Grab second strand with hook and pull it under the first loop.
- Twist hook and yo, pull through to make 1 chain – ring secured.
- Remove fingers and gently pull tail to adjust ring size.
The Crochet Pattern
Clover Piece (Make 2)
Round 1 – Center Circle
- Make a magic ring (MR).
- ch 1 (does not count as a stitch).
- Into MR: work 8 sc:
- Step:
- Insert hook into MR.
- yo, pull up loop (2 loops on hook).
- yo, pull through both loops = 1 sc.
- Repeat until you have 8 sc in MR.
- Step:
- Pull beginning tail firmly to close ring completely.
- sl st into top of first sc to join.
- Round 1 complete: 8 sc around.
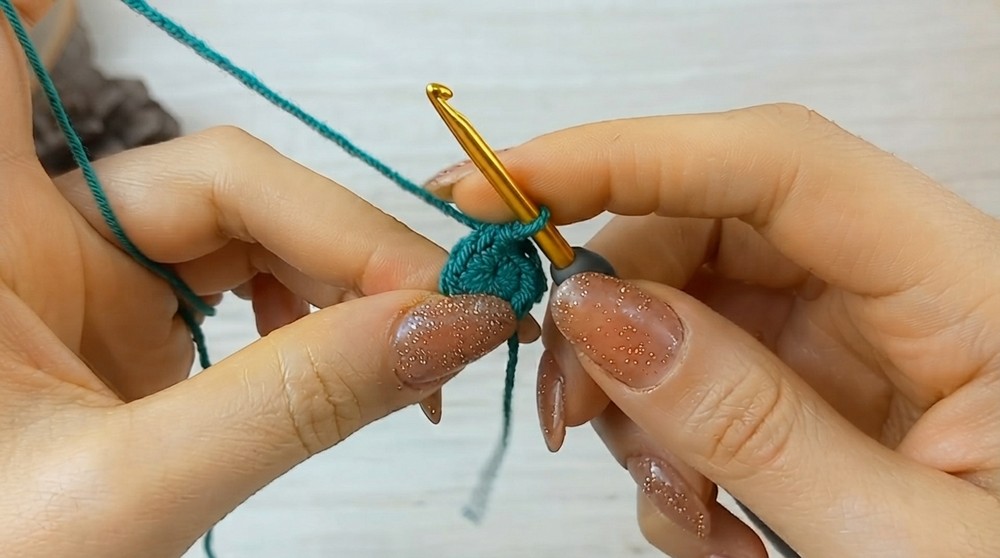
Round 2 – Leaves (4 Leaves Total)
Each leaf is worked over 2 stitches of Round 1:
- Leaf 1: sts 1–2
- Leaf 2: sts 3–4
- Leaf 3: sts 5–6
- Leaf 4: sts 7–8
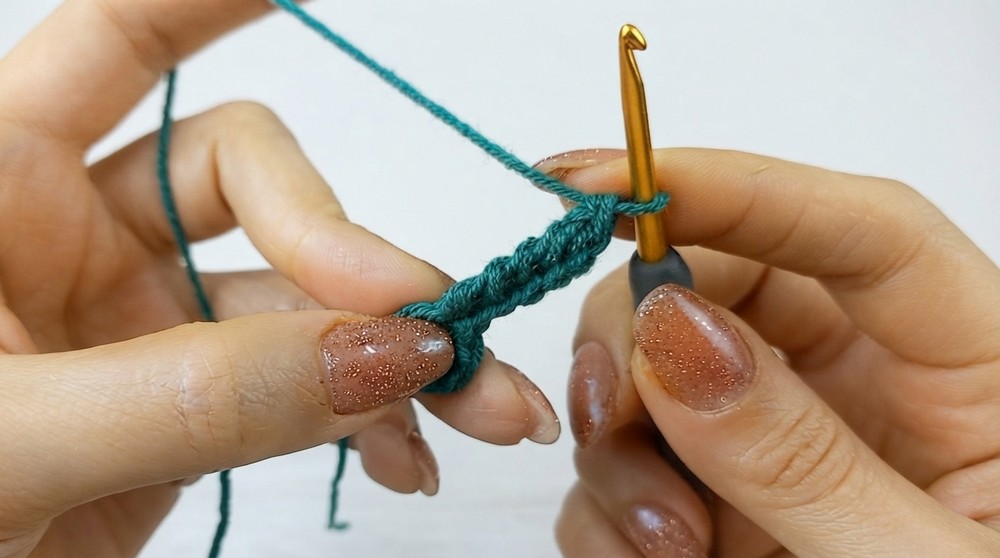
Leaf 1
Attach point:
- Start at stitch 1 of Round 1 (the first sc).
Leaf 1 – Row 1
- From stitch 1 of Round 1:
- ch 5
- ch1
- ch2
- ch3
- ch4
- ch5
- ch 5
- Turn slightly so you see the back bumps of these chains.
- Pull up loops from each back bump of the 5 chains:
- Insert hook into back bump of ch1, pull up loop (leave on hook).
- Insert into back bump of ch2, pull up loop.
- Insert into back bump of ch3, pull up loop.
- Insert into back bump of ch4, pull up loop.
- Insert into back bump of ch5, pull up loop.
- Pull up loop from stitch 1 of Round 1:
- Insert hook into top of stitch 1 (Round 1).
- Pull up loop.
- You now have 7 loops on hook.
- Work them off:
- yo, pull through 2 loops.
- yo, pull through 2 loops.
- yo, pull through 2 loops.
- Repeat until all 7 loops are worked off and only 1 loop remains.
Row 1 complete.
Leaf 1 – Row 2
- Look at the “5 steps” from Row 1 (the vertical bars/back bumps).
- Pull up loops from each of these 5 back bumps:
- Insert into first back bump, pull up loop.
- Insert into second back bump, pull up loop.
- Insert into third back bump, pull up loop.
- Insert into fourth back bump, pull up loop.
- Insert into fifth back bump, pull up loop.
- Pull up loop from same base stitch of Round 1 as Row 1 (stitch 1):
- Insert into stitch 1 (Round 1), pull up loop.
- Now 7 loops on hook.
- Work them off:
- yo, pull through 2 loops,
- repeat until all loops are used.
Row 2 complete.
Leaf 1 – Row 3
- sl st under first back bump of Row 2.
- sl st under second back bump of Row 2.
- Now pull up loops from next 3 back bumps:
- Insert into third back bump, pull up loop.
- Insert into fourth back bump, pull up loop.
- Insert into fifth back bump, pull up loop.
- You now have 4 loops on hook.
- Work off:
- yo, pull through 2 loops.
- yo, pull through 2 loops.
- yo, pull through last 2 loops.
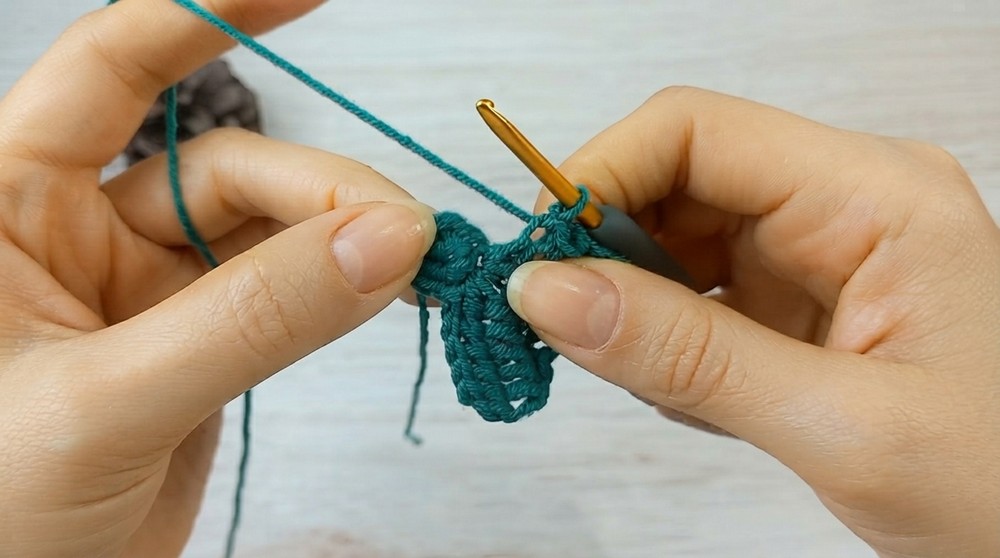
Row 3 complete.
Leaf 1 – Row 4
- ch 2
- ch1
- ch2
- Turn slightly to see back bumps of these two chains.
- Pull up loops:
- Insert into back bump of first chain, pull up loop.
- Insert into back bump of second chain, pull up loop.
- Pull up loops from next 3 back bumps of previous row (Row 3):
- Insert into first back bump of Row 3, pull up loop.
- Insert into second back bump of Row 3, pull up loop.
- Insert into third back bump of Row 3, pull up loop.
- Pull up loop from stitch 2 of Round 1:
- Insert hook into stitch 2 (Round 1), pull up loop.
- You now have 7 loops on hook.
- Work them off:
- yo, pull through 2 loops, repeat until all 7 loops are done.
Row 4 complete.
Leaf 1 – Row 5
- Pull up loops from 5 back bumps of Row 4:
- Insert, pull up loop (5 times).
- Pull up loop from same base stitch (stitch 2 of Round 1):
- Insert into stitch 2, pull up loop.
- You now have 7 loops on hook.
- Work them off:
- yo, pull through 2 loops repeatedly until all loops are done.
Row 5 complete.
Finish Leaf 1
- Skip first back bump of Row 5.
- sl st into second back bump.
- sl st into third back bump.
- sl st into fourth back bump.
- sl st into fifth back bump.
- sl st into stitch 2 of Round 1 (to attach leaf tip to the circle).
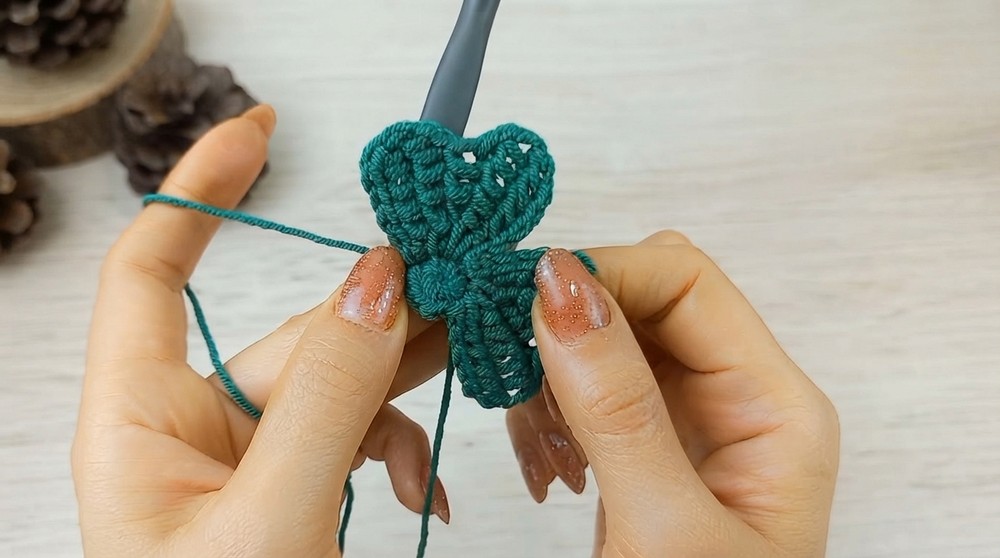
Leaf 1 finished.
Leaf 2
Base stitches: Round 1, stitches 3 and 4.
- Repeat exactly the same construction as Leaf 1:
- sl st into stitch 3 of Round 1 to move there.
- Work:
- Row 1: ch 5, pull up loops from 5 back bumps + stitch 3.
- Row 2: pull up loops from 5 back bumps + same stitch 3.
- Row 3: sl st under first two bumps, pull loops from next 3 bumps, work off.
- Row 4: ch 2, pull loops from 2 chains + 3 bumps, pull loop from stitch 4.
- Row 5: pull loops from 5 bumps + same stitch 4.
- Finish with slip stitches along top bumps and final sl st into stitch 4.
Leaf 2 finished.
Leaf 3
Base stitches: Round 1, stitches 5 and 6.
- sl st into stitch 5.
- Repeat same leaf structure over stitches 5 and 6 as for Leaf 1.
Leaf 3 finished.
Leaf 4
Base stitches: Round 1, stitches 7 and 8.
- sl st into stitch 7.
- Repeat same 5 row leaf pattern over stitches 7 and 8.
- After finishing, sl st into stitch 8.
All 4 leaves are now complete.
Stem
- From base of last leaf (after sl st in last stitch of Round 1):
- ch 8
- ch1
- ch2
- ch3
- ch4
- ch5
- ch6
- ch7
- ch8
- ch 8
- Turn to see back bumps of these 8 chains.
- Skip back bump of first chain (closest to leaf).
- Into back bump of next 4 chains, work hdc:
- For each:
- yo, insert hook into back bump.
- yo, pull up loop (3 loops on hook).
- yo, pull through all 3 loops.
- You will have 4 hdc total (in back bumps of ch2, ch3, ch4, ch5).
- For each:
- Into back bumps of last 3 chains (ch6, ch7, ch8), work sc:
- Insert into back bump, pull up loop.
- yo, pull through 2 loops.
- Repeat for 3 sc total.
- sl st into the same stitch of Round 1 where stem started.
- ch 1.
- Leave a long tail for sewing; cut yarn.
- Pull tail through final loop to fasten off.
Second Clover Piece
- Repeat all steps above to make another identical clover.
- For second clover, you may leave a shorter ending tail and will use the long tail of the first clover for joining.
Assembly & Finished Size
- With tapestry needle:
- Weave in and hide:
- Beginning tail of first clover.
- Beginning and ending tails of second clover.
- Weave in and hide:
- Place both clovers back to back:
- Align all 4 leaves and stems.
- Using the long tail from first clover:
- Insert needle into first stitch of back clover.
- Insert into matching first stitch of front clover.
- Pull snug.
- Move to next stitch and repeat.
- Continue joining all around the 4 leaves.
- At top of stem:
- Pause sewing.
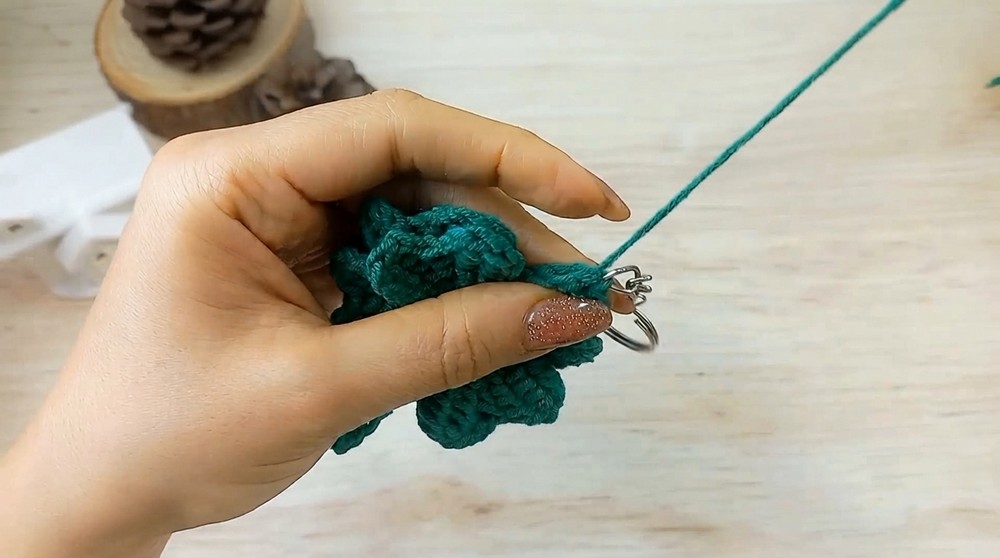
- Insert keyring around the joining stitches at the top of the stem.
- Continue sewing around stem edges, joining both stems together.
- After all edges and stem are joined:
- Weave remaining tail through several stitches.
- Trim excess yarn.
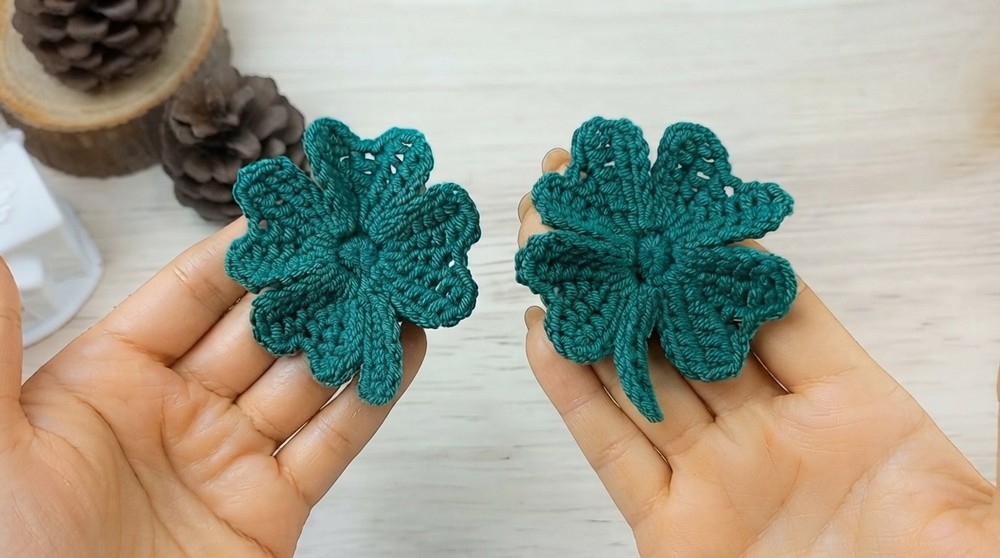
Finished Size:
- Approx. 2.5–3 inches wide (leaf to leaf)
- Approx. 4 inches tall including stem and keyring
Conclusion and Ending Words
Your crochet clover keychain is now complete. You made two clover pieces, formed four leaves and a stem on each, joined them together, and attached a keyring to create a neat and sturdy accessory. This pattern can be repeated with different yarn colors or used as a lucky charm gift.