
Quick & Easy Crochet Clover Earrings Pattern for a Trendy Look
Freshen up your accessories with the Free Crochet Clover Earrings Pattern and wear a touch of luck every day.
Nature often inspires the sweetest handmade creations, and few things capture that fresh, lucky feeling like a clover leaf. These crochet clover earrings bring that charm into a tiny, wearable art piece that feels light and elegant. Using triple crochets, double crochets, and slip stitches, the pattern forms gentle curves and overlapping petals that resemble the four-leaf clover shape perfectly. Their minimalist design and soft green thread give an earthy yet stylish vibe, making them ideal for everyday wear or as thoughtful gifts celebrating good fortune.
Learn the Free Crochet Clover Earrings Pattern That Pop
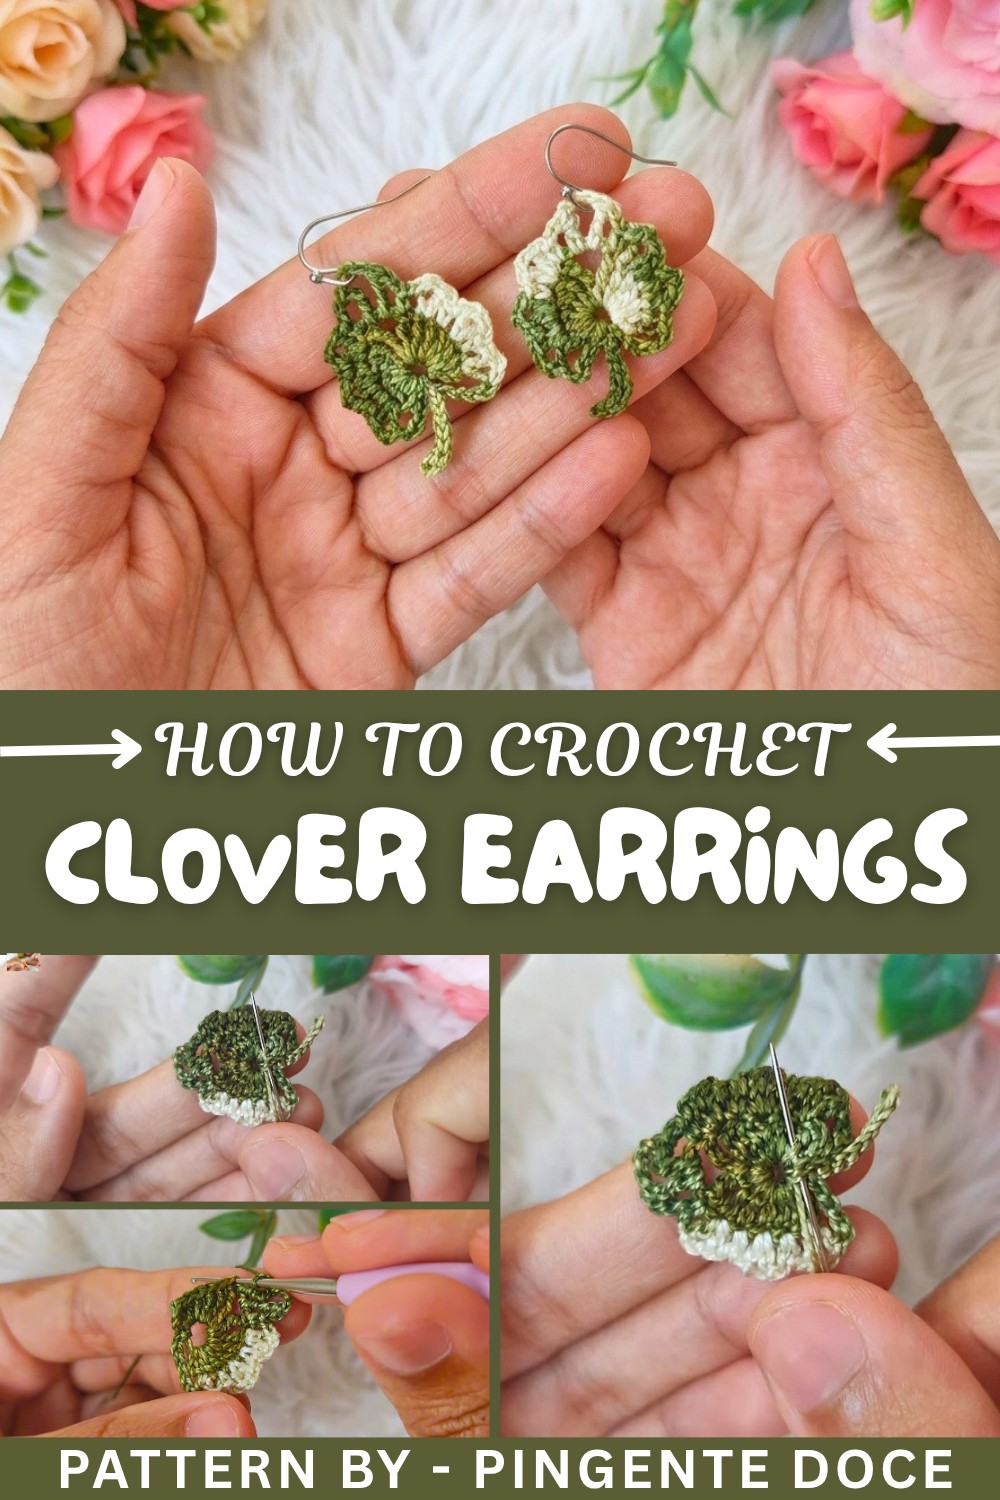
The project starts with a magic ring and involves working groups of double and triple crochets to shape each petal of the clover. Chains create spaces that enhance the airy look, while slip stitches help anchor the rounds and shape the edges neatly. The interplay of stitches builds up layers that give the earrings depth and texture without bulk. Once the last stitch is finished, careful finishing hides the thread ends and a touch of fabric glue helps keep the form steady. Finally, earring hooks are added to complete these charming accessories, ready to brighten any outfit with a touch of nature’s luck.
Other Creations from the Clover Pattern
This crochet clover pattern isn’t limited to earrings alone. It can be adapted into appliques for hats, bags, or scarves to add a little natural flair. Larger versions can decorate cushions, wall hangings, or even table centerpieces for a fresh, handmade touch. Smaller motifs could turn into keychains or charms that carry symbolic meaning. By mixing yarn colors or adding beads, you can personalize each piece to reflect your own style or special occasions. This pattern offers a lovely way to explore creativity with simple stitches and heartfelt design.
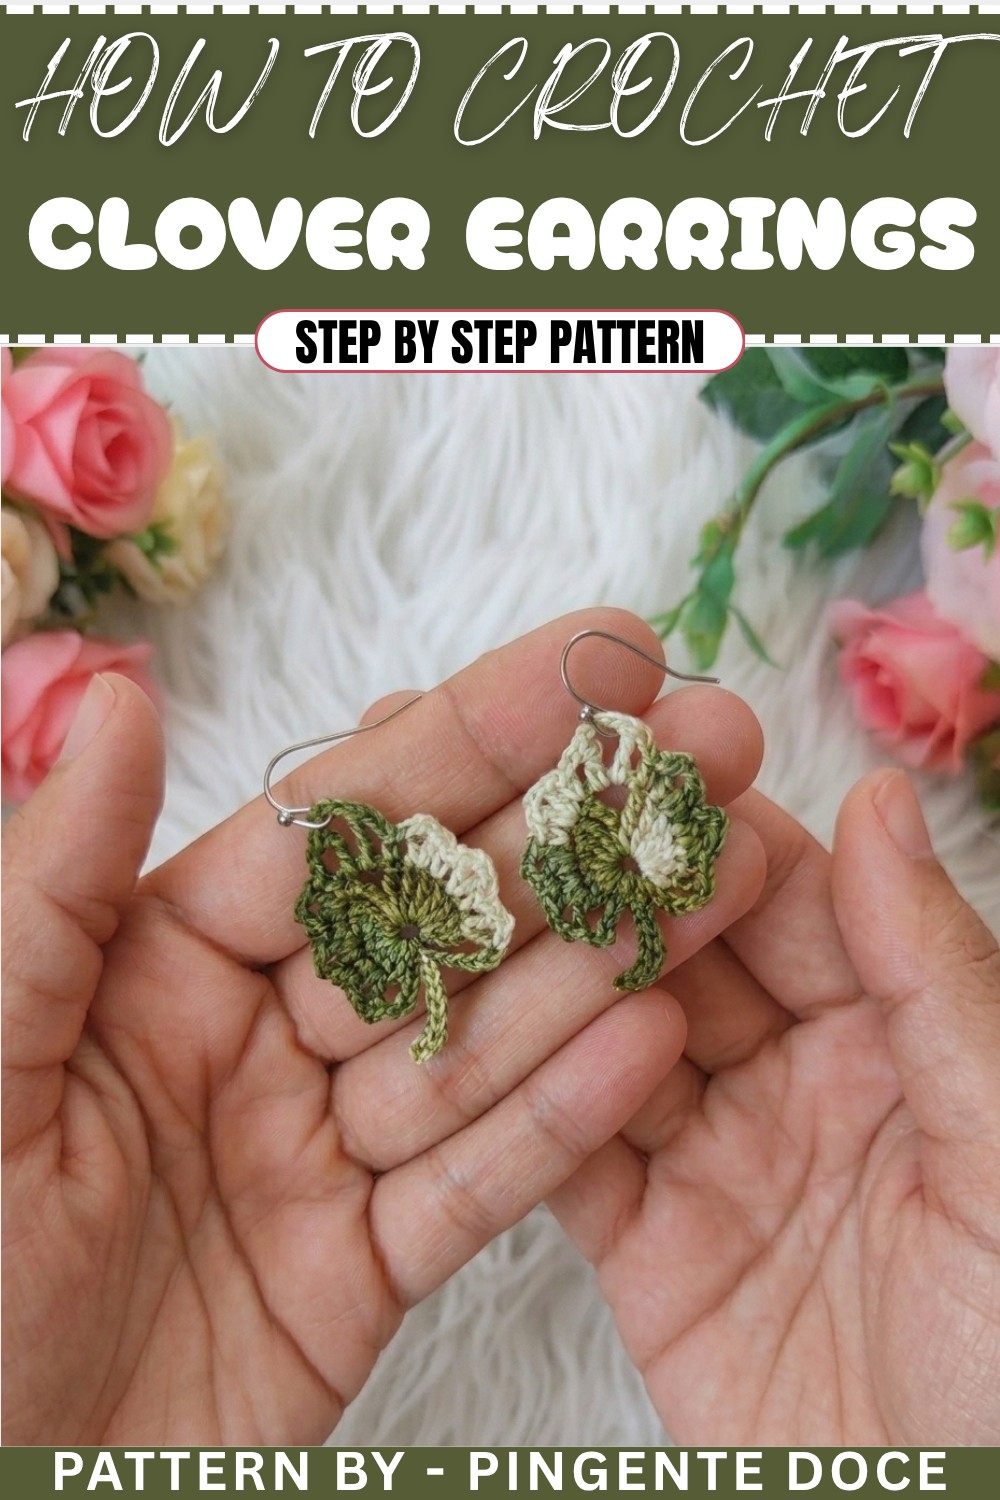
Crochet Minimalist Leaf Earrings Pattern
These minimalist crochet leaf earrings are the ideal lightweight accessory that will bring a natural elegance to any outfit. This pattern uses basic stitches, such as double crochet, triple crochet, and slip stitches, to craft a delicate leaf-inspired design, resulting in a lightweight and stylish piece. Perfect for beginners and intermediate crocheters alike, the earrings are simple to make but visually sophisticated. You can customize the colors to match any style, giving your wardrobe a handmade, artistic touch.
Skill Level & Terminology
- Skill Level: Beginner to Intermediate
Simple techniques like double crochet, triple crochet, and slip stitches make this pattern ideal for beginners. The detailed shaping and finishing give intermediate crocheters an opportunity to refine their skills. - Terminology: This pattern follows US Crochet Terms:
- Magic Ring (MR): Starting crochet in the round for seamless edges.
- Chain (Ch): Creates loops that form part of the foundation stitches.
- Slip Stitch (Sl st): Used for joining and finishing rows neatly.
- Double Crochet (Dc): A stitch used to build height and structure.
- Triple Crochet (Tr): A taller stitch, adding delicate texture to the design.
Materials & Tools
- Thread:
- Anchor thread (or a similar lightweight thread) in green or your choice of color for the minimalist leaf shape.
- Crochet Hook: 1 mm crochet hook.
- Sewing Needle: For weaving ends and finishing the piece.
- Glue: Washable fabric glue diluted with water for stiffening the shape.
- Scissors: For cutting thread.
- Earring Hardware: Hooks for attaching the finished leaf design.
Gauge
Gauge is not critical for this pattern since the finished size mainly depends on thread and hook size. Final earrings will measure approximately 2 - 2.5 inches in length, including the hook.
Abbreviations List
| Abbreviation | Meaning |
|---|---|
| MR | Magic Ring |
| Ch | Chain |
| Sl st | Slip Stitch |
| Dc | Double Crochet |
| Tr | Triple Crochet |
Special Stitch Instructions
Magic Ring (MR):
- Wrap the thread around your fingers to create a loop.
- Insert the hook into the loop, yarn over, pull up a loop, and chain 1 to secure the ring.
Triple Crochet (Tr):
- Yarn over twice.
- Insert the hook into the designated space, yarn over, pull up a loop (four loops on the hook).
- Yarn over, pull through the first two loops.
- Yarn over, pull through the next two loops.
- Yarn over, pull through the remaining two loops.
What You’ll Learn & Why You’ll Love This Pattern
What You'll Learn:
- How to begin with a magic ring for seamless projects.
- How to work basic stitches, such as Dc and Tr, into a leaf structure.
- Techniques for stiffening and attaching hardware to crochet earrings.
Why You’ll Love It:
This versatile pattern lets you create minimalist yet elegant earrings that can be customized to match your personal style. Quick and rewarding, the project is perfect for gifts, craft fairs, or personal accessories.
Finished Size
Finished earrings measure approximately 2 - 2.5 inches, including the earring hook.
The Pattern Itself
Part 1: Leaf Base (Row 1)
Step 1: Magic Ring Foundation
- Begin with a Magic Ring (MR) and work 3 Ch (counts as the first Dc).
- Inside the Magic Ring:
- Work 3 Dc stitches.
- Yarn over twice and work 1 Tr into the ring.
- Yarn over twice again, and work another Tr into the ring.
- Yarn over three times to work 1 quadruple crochet, pulling the thread through sets of two loops four times.
- After completing the stitches above, Ch 3, creating a symmetrical curve for the leaf shape.
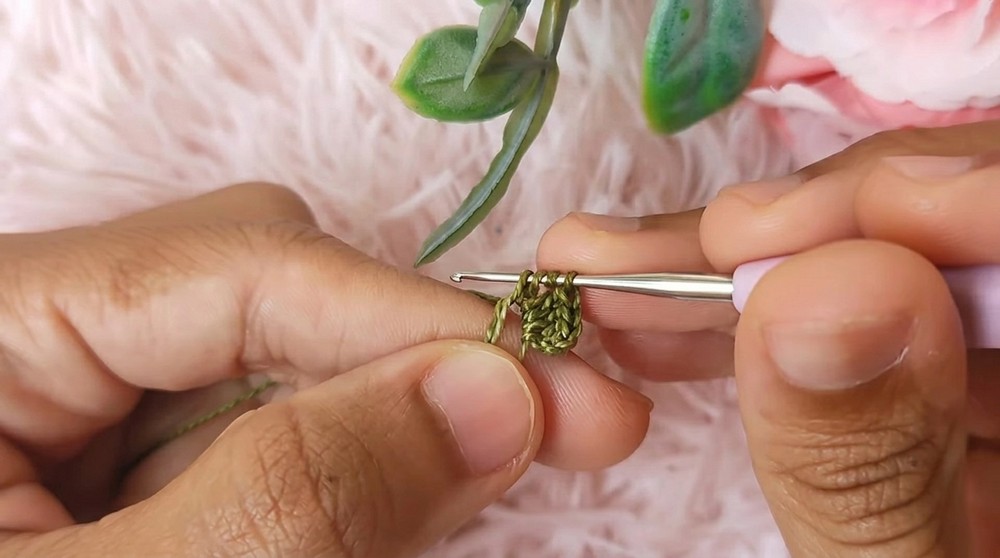
Step 2: Building the Other Side
- Mirror the stitch sequence:
- 1 quadruple crochet.
- 2 Tr worked as before.
- 2 Dc stitches in sequence.
- 3 Dc into the ring.
- Pull the Magic Ring tightly to close the circle.
Part 2: Leaf Edge Details (Row 2)
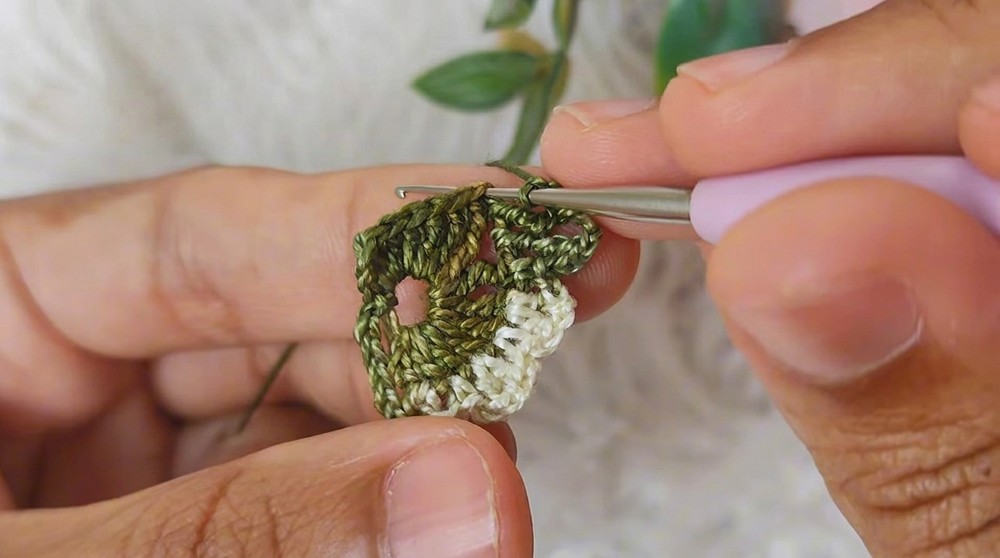
Step 1: Leaf Outline with Chains
- Ch 3, then Sl st into the base of the Magic Ring to define the curve.
- Ch 5, attach the thread using Sl st at the first Dc space.
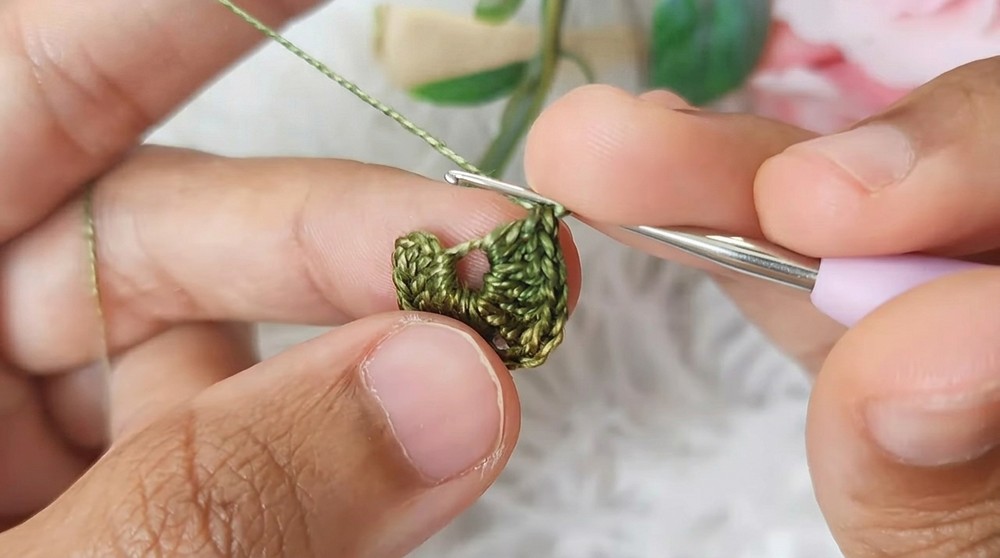
Step 2: Creating Texture
- Inside each Dc stitch:
- Work 1 Dc, Ch 2, and work another Dc in the same space.
- In between:
- Ch 1 and work 1 Sl st into the next stitch.
- Repeat this outline sequence around the leaf structure to build its texture.
Part 3: Finishing the Leaf
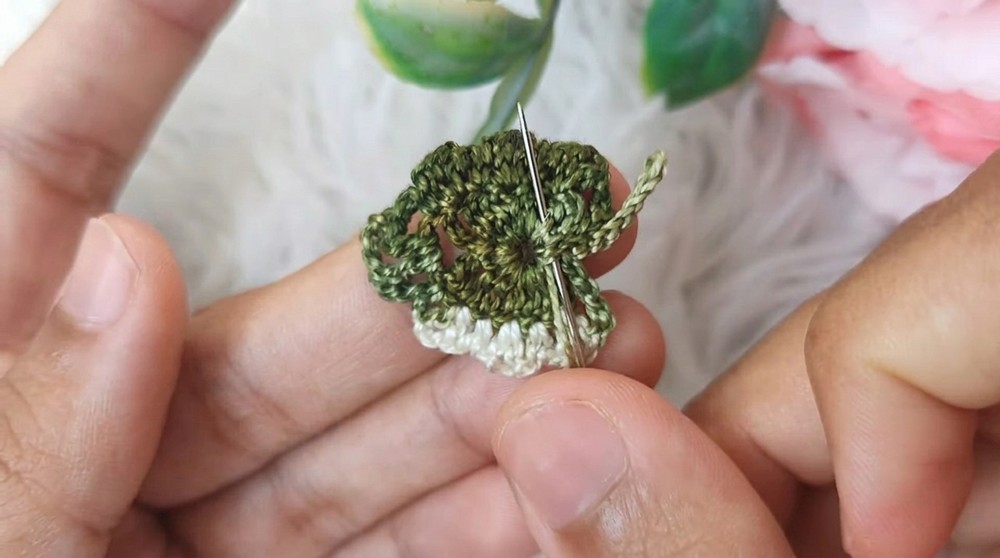
Step 1: Stiffening
- Mix fabric glue with water.
- Apply lightly to the back of the earring using a brush to stiffen and shape.
- Allow the leaf to dry completely while maintaining its curved shape.
Assembly & Finishing
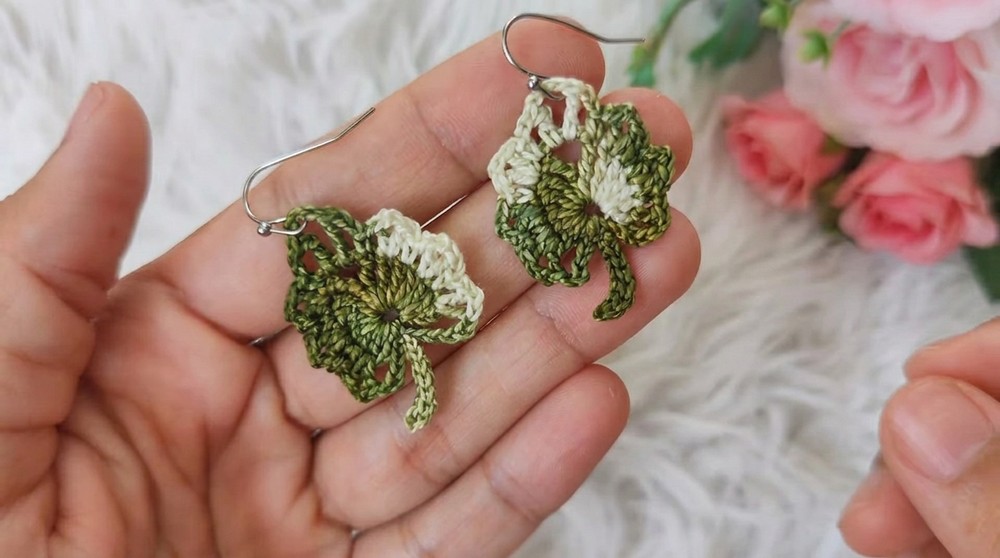
Attaching Earring Hardware:
- Attach an earring hook to the top of the crocheted leaf using pliers or a needle.
- Secure the hook firmly and ensure it aligns with the spine of the leaf.
- Cut any loose threads and create a professional finish.
Difficulties & Solutions
Challenge #1: Uneven Loops and Edges
Solution: Maintain consistent tension while working and count stitches in the rows to ensure symmetrical shapes.
Challenge #2: Flimsy Leaf Design
Solution: The glue and water stiffening process can solidify the leaf’s shape and make it durable for wear.
Final Thoughts
This minimalist leaf earring pattern is the perfect accessory that blends simplicity with elegance. By using basic crochet techniques and adding stiffening and hardware, you can craft lightweight jewelry that feels polished and professional. The pattern allows for customization, whether through color choices or adding beads for extra flair. With a quick finish time, you’ll love making these earrings for gifting or selling at craft fairs. Enjoy creating and wearing this beautiful, delicate crochet piece!