
Free Barbalalla Crochet Pattern for Back to School Fun Charms
Give your weekend a spark of joy with this free Barbalalla crochet pattern, it’s perfect for creating adorable toy magic.
Barbalalla is a playful and charming crochet project that will immediately win your heart. With her bright green color and delightful, curvy shape, she stands out as a fun and whimsical character from the beloved Barbapapa family. Her cheerful personality, combined with her adorable flower accessory, makes her not only an enjoyable crocheting project but also a perfect gift for kids, collectors, or anyone who loves cute handmade creations. Whether displayed on a shelf or used as a plush toy, Barbalalla is sure to brighten up any space.
Free Crochet Barbalalla Pattern for Handmade Collectibles
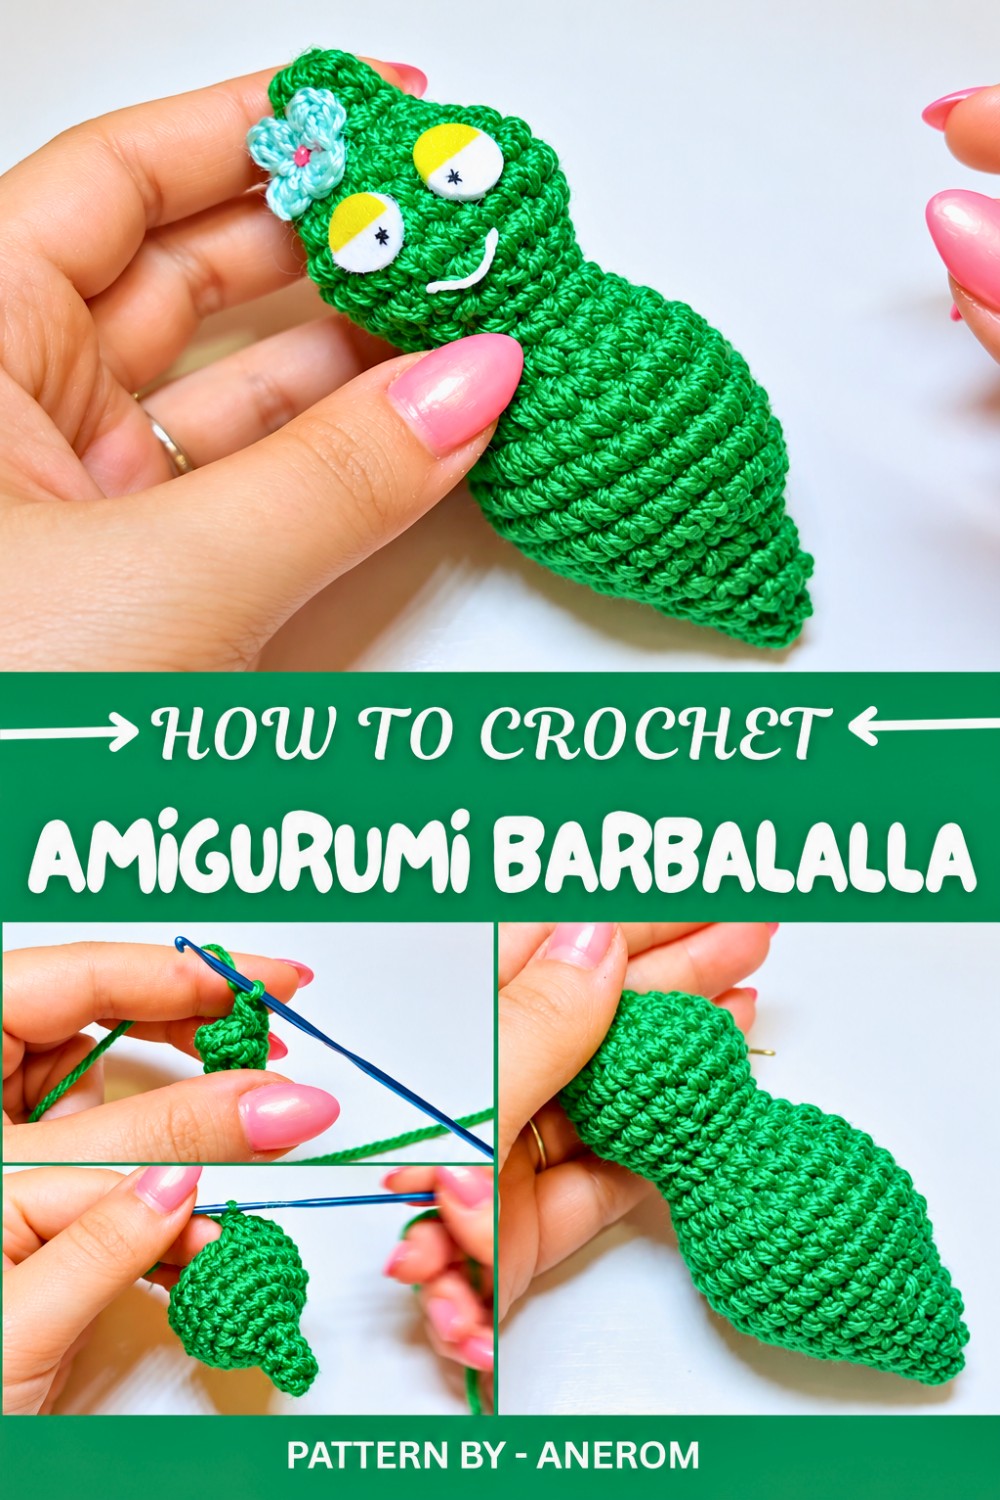
This crochet project is ideal for beginners and intermediates, thanks to its simple yet engaging pattern. The process involves familiar crochet techniques such as working in the round, single crochet, increasing, and decreasing. It also includes using a magic ring to create the base, stitching for definition, and adding charming details like her facial features and signature flower. A green acrylic yarn size 3 is recommended, along with a 2.5mm hook to make the work tighter and neater. If you’re a beginner, feel free to experiment with a slightly larger hook for comfort.
For a step by step guide, the Anerom YouTube channel is the best place to start. In their video tutorial, the instructions for crocheting Barbalalla are explained clearly, with thoughtful tips for managing your yarn and tools. Not only does Anerom make the process effortless to follow, but they also share how to add the finishing touches, like using felt to crochet her adorable eyes and a marker for dots to bring life to her features.
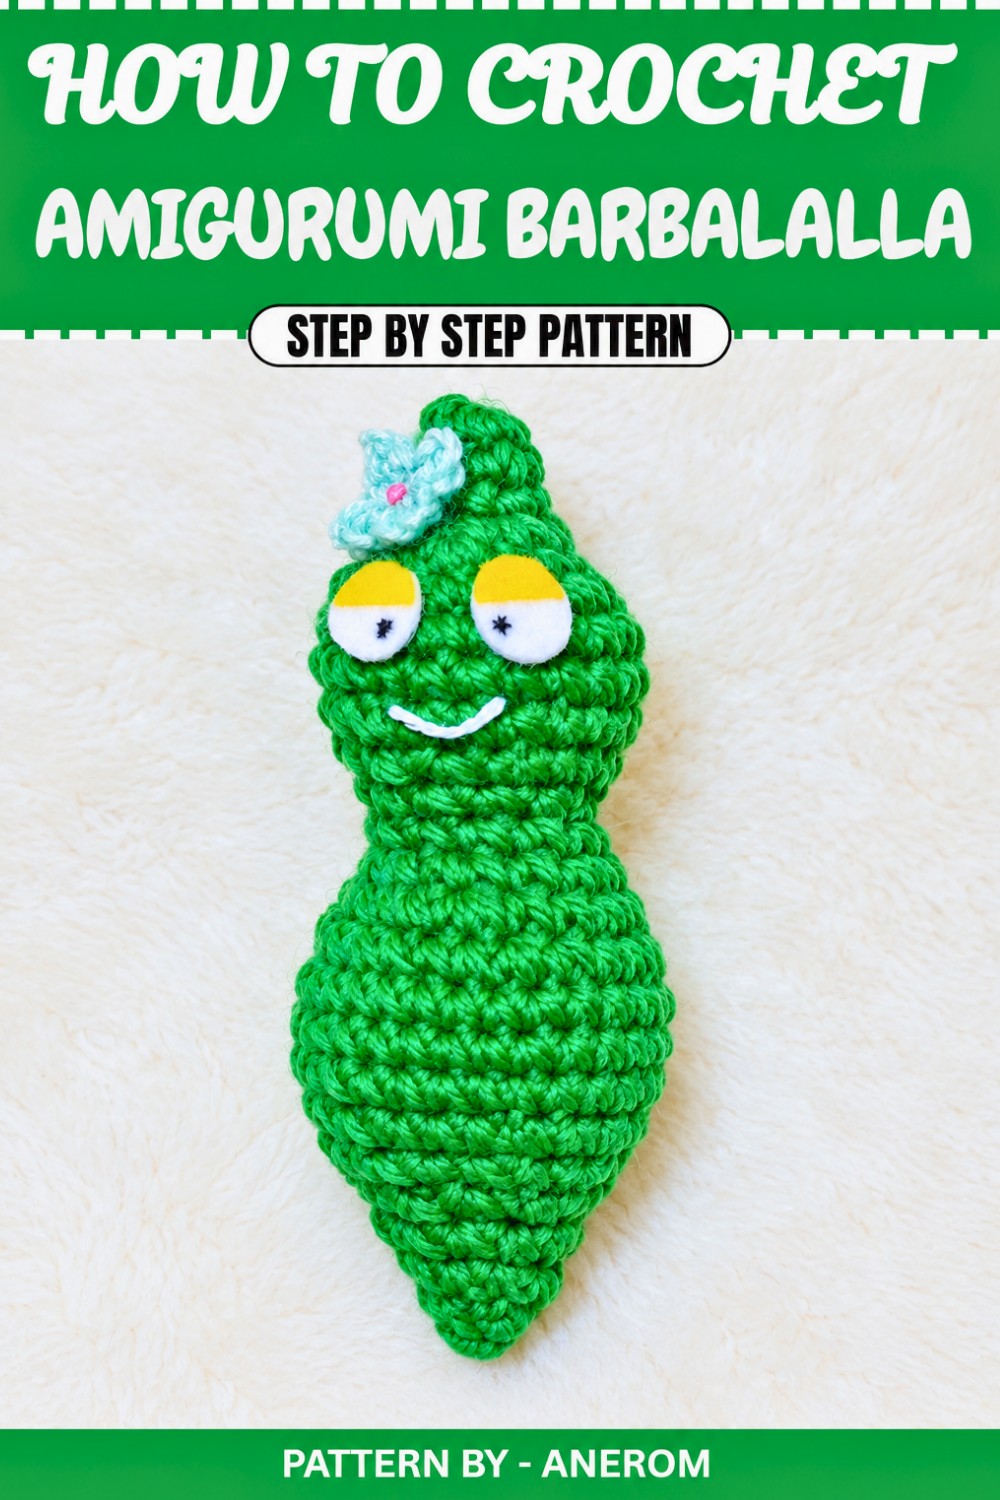
Free Crochet Pattern: Barbalalla from the Barbapapa Family
This lighthearted project uses only a few materials and basic stitches, making it perfect for beginners and intermediate crocheters alike. Prepare your yarn and hooks, and let’s bring this adorable character to life.
Quick Overview of Pattern
- Crochet Barbalalla’s body using green yarn (size 3) and a 2.5mm or 3mm hook for a compact design.
- Begin the circular base with a magic ring and expand with increases.
- Gradually shape her rounded body and head with even stitches, increases, and decreases.
- Add stuffing as you go.
- Create a decorative flower for her head and add details like eyes and a mouth for the finish.
Notes
- To create a more compact body, use a smaller hook size (2.5mm).
- Use a stitch marker or a piece of contrasting yarn to mark the beginning of your rounds.
- Stuff the body and head gradually to ensure the proper shape and tension.
- The tutorial references the Barbamamma flower pattern for Barbalalla’s headpiece.
Skill Level
Beginner to Intermediate
This project uses simple stitches but requires comfort with working in the round, making increases and decreases, and stuffing the amigurumi as you go.
Materials
- Yarn:
- Green acrylic yarn (size 3) – for Barbalalla’s body.
- Yellow yarn – for the flower headpiece.
- Hook:
- 2.5mm or 3mm hook (depending on your preference).
- Stuffing: Fiberfill or other soft filling for shaping.
- Accessories for the face:
- White felt (for eyes).
- Black permanent marker (for pupils).
- White cotton thread or yarn (for the mouth).
- Additional Tools:
- Tapestry needle (for sewing and weaving in ends).
- Scissors (for cutting yarn and felt pieces).
- Fabric glue (to attach felt pieces).
Measurements / Sizing
The final Barbalalla is 12–15 cm tall, depending on your yarn, hook size, and personal tension.
Gauge
Gauge is not critical for this project. The tighter your stitches, the more structured Barbalalla will be. Just keep your tension consistent throughout.
Stitch Abbreviations
- ch – Chain
- sc – Single crochet
- sl st – Slip stitch
- inc – Increase (2 single crochets in the same stitch)
- dec – Decrease (single crochet 2 stitches together)
- MR – Magic ring
Special Stitches
Magic Ring (MR)
The magic ring technique creates a tight, adjustable base for your circular crochet piece, ensuring no gaps in the center.
- Loop the yarn around your fingers to create a circle.
- Insert the hook into the loop, yarn over, and pull through.
- Chain 1 to secure the loop and begin crocheting into the circle.
Single Crochet Decrease (sc2tog/dec)
- Insert the hook into the first stitch and pull up a loop.
- Insert the hook into the next stitch and pull up another loop. (You will have 3 loops on the hook).
- Yarn over and pull through all 3 loops on the hook.
The Crochet Pattern
Body and Head
- Round 1:
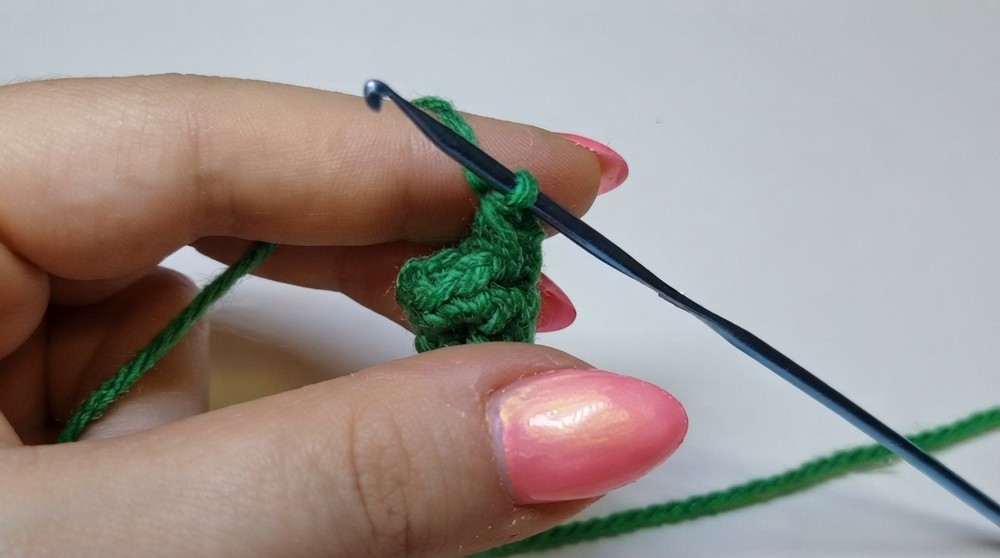
- Create a magic ring. Work 6 sc into the ring. Pull the yarn tail to tighten the ring.
- Rounds 2 to 3:
- Work 12 consecutive SC (do not use stitch markers unless necessary).
- Round 4:
- Alternate 1 SC, 1 inc (2 SC in the same stitch) around the circle. (12 SC total).
- Round 5:
- Alternate 2 SC, 1 inc around the circle. (18 SC total).
- Rounds 6 to 7:
- Work 2 rounds of SC evenly around (1 SC in each stitch). (18 SC per round).

Shaping the Head
- Round 8:
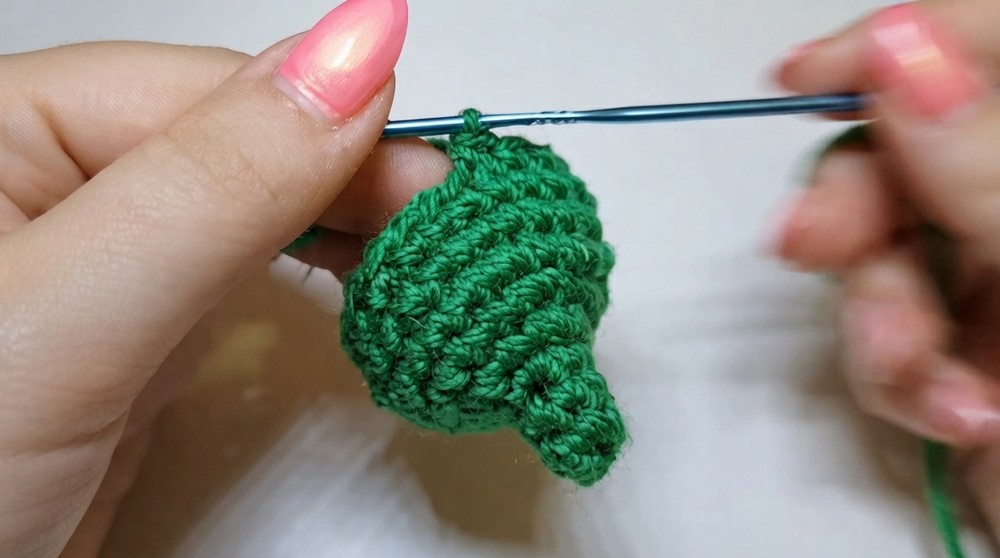
- Alternate 2 SC, 1 dec (sc2tog) around the circle. (12 SC total).
- Round 9:
- Alternate 1 SC, 1 dec around the circle. (6 SC total).
- Before proceeding, stuff the head with fiberfill to shape it, as per the tutorial’s instructions.
Body Rounds
- Round 12:
- Begin increasing again: Alternate 1 SC, 1 inc around the circle. (12 SC total).
- Round 13:
- Alternate 2 SC, 1 inc around the circle. (18 SC total).
- Round 14:
- Alternate 3 SC, 1 inc around the circle. (24 SC total).
- Rounds 15 to 17:
- Work 3 rounds of SC evenly around.
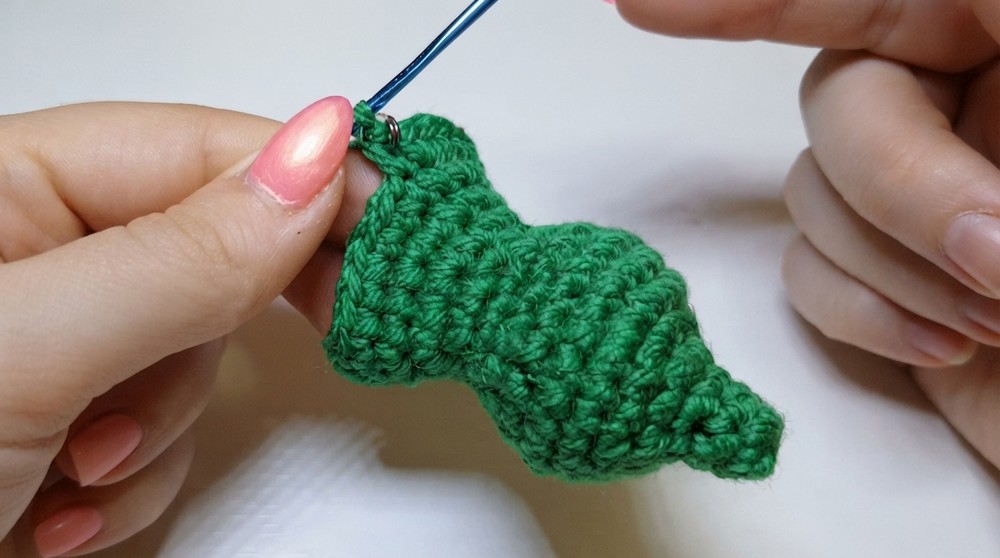
Shaping the Body and Closing
- Round 18:
- Alternate 3 SC, 1 dec around the circle. (18 SC total).
- Round 19:
- Alternate 2 SC, 1 dec around the circle. (12 SC total).
- Round 20:
- Alternate 1 SC, 1 dec around the circle. (6 SC total).
- Before continuing, stuff the body firmly to fill out the shape completely.
- Rounds 21 to 22:
- Work 2 rounds of even SC (work 1 SC in each stitch).
- Round 23:
- Close the piece by working 6 consecutive decreases.
- Cut the yarn, leaving a tail. Use the tapestry needle to weave the yarn through the last stitches to close the hole.

Finishing Steps
- Creating Barbalalla's Flower:
- Follow the flower tutorial in the Barbamamma Tutorial: Use yellow yarn and a magic ring to add a small flower with petals on the top of her head.
- Adding Face Details:
- Cut two small white circles from felt for the eyes.
- Add black pupils to the white felt using a black permanent marker.
- Glue the felt pieces to Barbalalla’s head.
- Use white cotton thread to sew a small, curved smile onto her face.

Assembly & Finished Size
After completing all the steps, your Barbalalla should stand approximately 12–15cm tall. Ensure every piece is securely attached, and trim any excess threads with scissors. Take time to adjust the stuffing as needed to ensure your Barbalalla holds her shape.
Conclusion
Well done, Your Barbalalla is finished and ready to join the rest of the Barbapapa family. This crochet pattern is a perfect addition to your collection of amigurumi projects or a fun gift for any Barbapapa fan. Be sure to customize the flower and facial features to give her a unique personality. If you enjoyed this project, check out my other Barbapapa family patterns, and don’t forget to share your creations.