
Charming Crochet Heart Ornaments Pattern for Special Moments
Celebrate special moments as the Free Crochet Heart Ornaments Pattern brings love and color to parties, rooms, or festive décor.
Adding handmade touches to your home brings a special warmth, with each piece telling its own unique story. These charming heart-shaped ornaments bring a cozy and playful vibe wherever they hang. With soft curves formed using triple crochet and double crochet stitches, the hearts have a lovely texture that makes them stand out, while the careful stitch placement shapes the heart’s curves beautifully and smoothly. This pattern is straightforward, making it a great choice for beginners eager to try their hand at shaping crochet beyond simple squares or circles.
Learn this Crochet Heart Ornaments Pattern for Lovely Decor
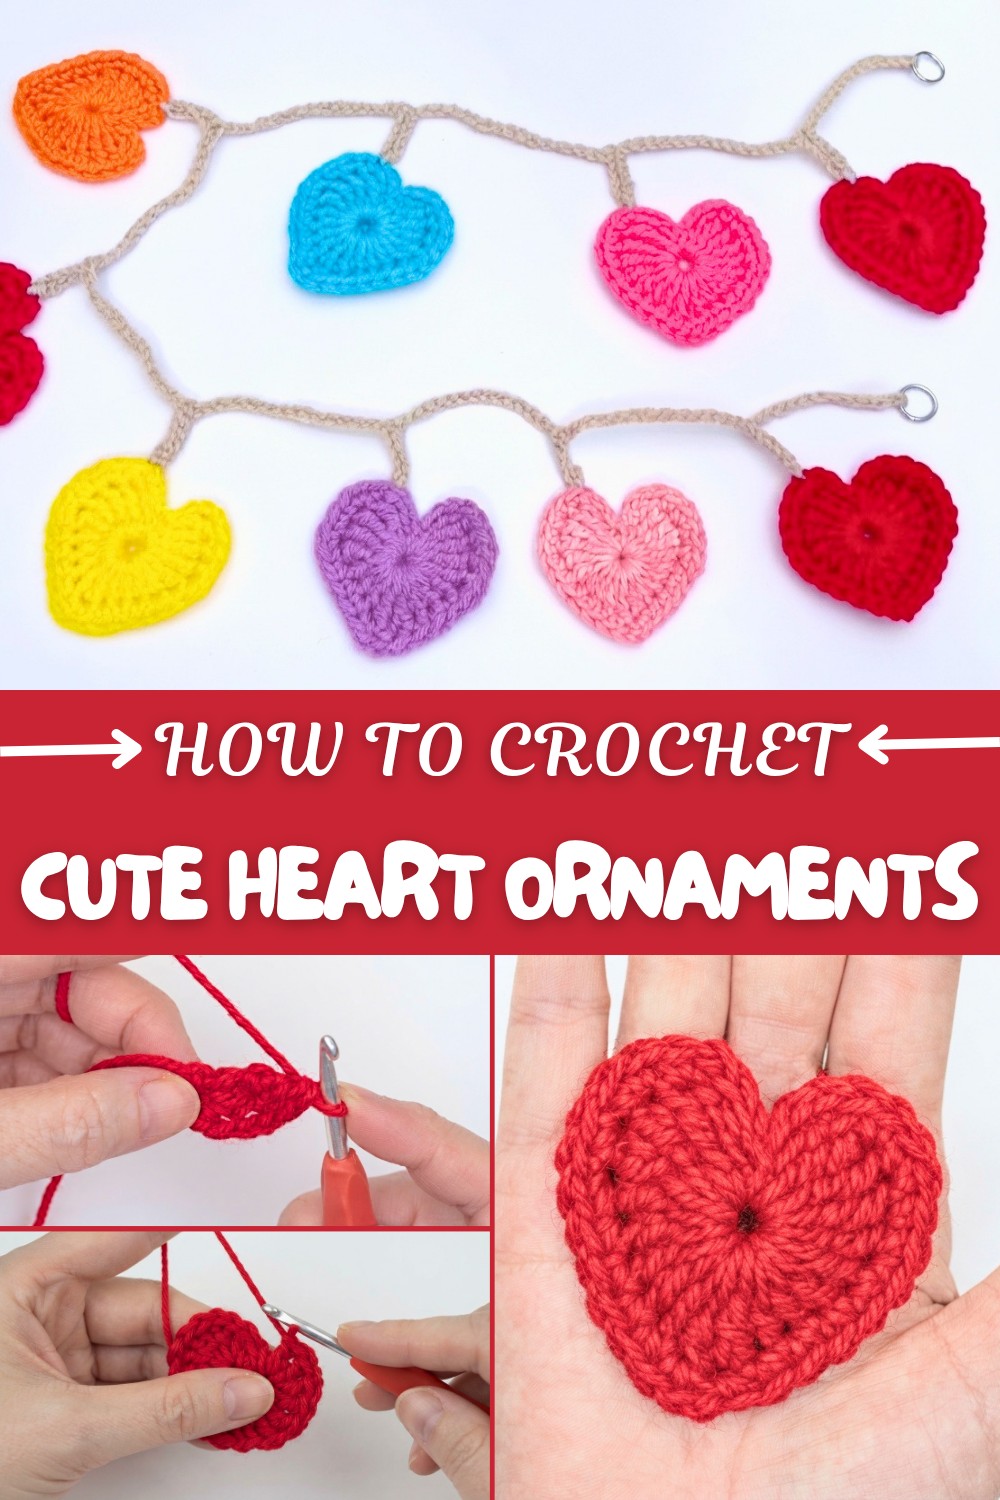
Starting with a ring, you work rows of tall triple crochets combined with double crochets to build the heart’s body. Then, single crochet stitches help create the curves by adding extra stitches where needed. The use of chain stitches and slip stitches also helps to give the hearts a delicate finish and prepare them for stringing together or attaching to other projects. This pattern is perfect for decorating gift wraps, hanging on walls, or making festive garlands that brighten any room.
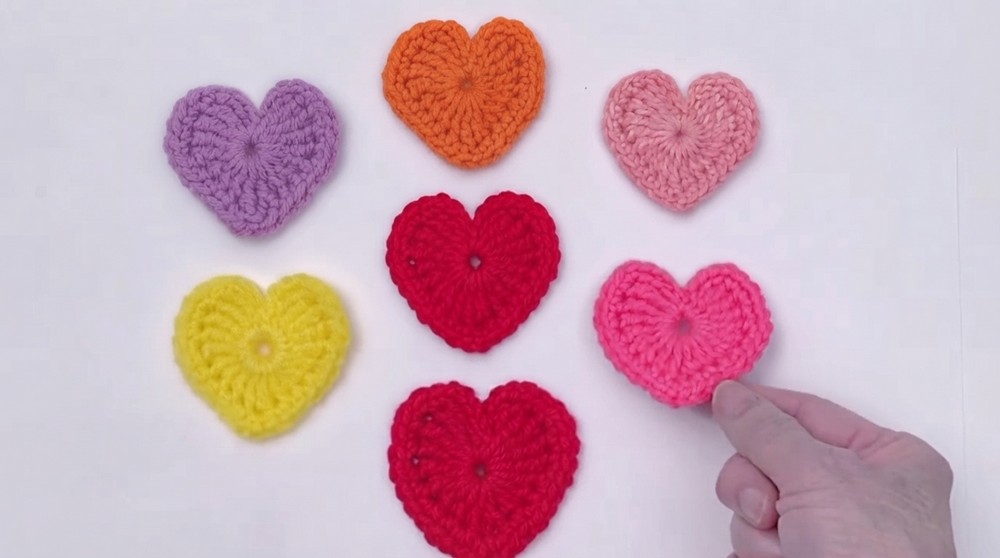
What’s lovely about this pattern is how easily you can personalize it. Change colors to match seasons or occasions, or string several hearts together for a cheerful bunting. Beyond ornaments, this technique lends itself to creating appliques for blankets, hats, or scarves, adding a sweet accent wherever you choose. Learning these stitches and shaping methods also opens the door to making other fun shapes and decorations, all while practicing key crochet skills in a simple, enjoyable way.
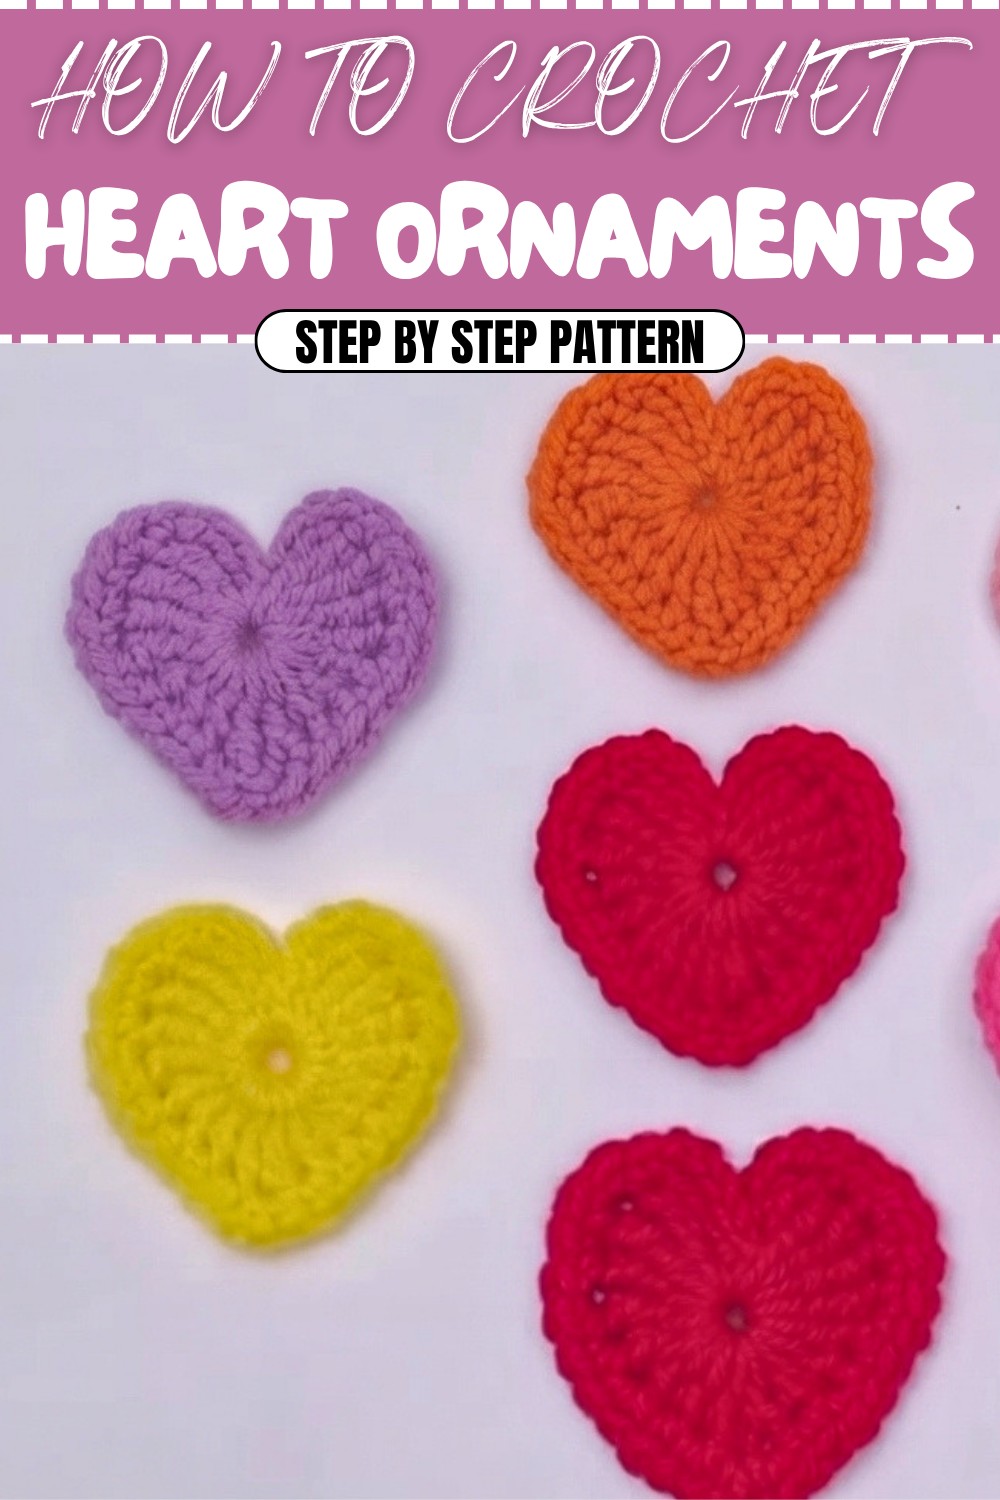
Heart-Shaped Crochet Ornament Pattern
Learn how to crochet these cute heart-shaped ornaments, a perfect project for all your decorative needs! These hearts can be used in cards, garlands, or as standalone decorations. The pattern is simple but charming, making it suitable for crocheters of varying skill levels. Follow this detailed pattern to create beautiful hearts with clean shapes and elegant details.
Skill Level & Terminology
- Skill Level: Beginner to Intermediate
- Terminology: This pattern uses US crochet terms. If you're following UK terms, convert as needed: (US "single crochet" = UK "double crochet").
Materials & Tools
- Yarn: Medium-weight yarn or cotton thread (choose colors based on preference).
- Crochet Hook: 4mm or 4.5mm hook. Adjust for tighter or looser stitches.
- Additional Tools:
- Tapestry needle for weaving in ends.
- Scissors.
- Optional: Small ring or keychain ring for hanging.
Gauge
Gauge is not critical for this project. However, for a tighter, more defined heart, use a smaller hook size.
Abbreviations List
- ch: Chain
- sl st: Slip Stitch
- sc: Single Crochet
- dc: Double Crochet
- tr: Treble (Triple) Crochet
- st: Stitch
Special Stitch Instructions
- Treble (Triple) Crochet (tr):
- Yarn over twice, insert hook into the desired stitch or space.
- Pull up a loop (4 loops on hook).
- Yarn over and pull through 2 loops (3 loops remain).
- Yarn over and pull through 2 loops (2 loops remain).
- Yarn over and pull through final 2 loops.
Finished Size
The completed heart measures approximately 2.5 x 2.5 inches, depending on your yarn and hook size.
The Pattern Itself
Step 1: Heart Base (Ring Foundation)
- Start with a Slip Knot: Create a slip knot on your hook.
- Ch 4: This will form the foundation for the heart.
- Join to Form a Ring: Join the chain with a sl st in the first chain to create a small ring.
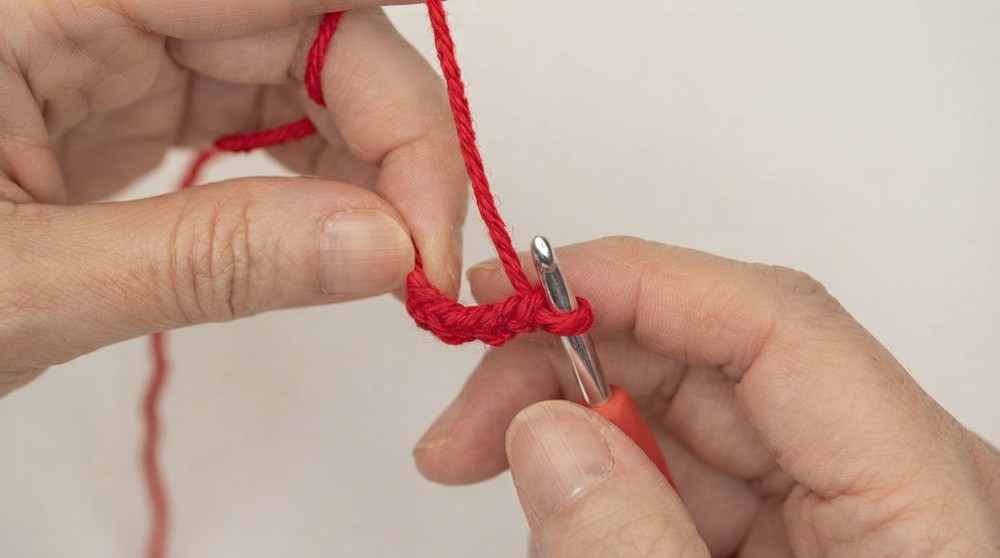
Note: This tiny ring will serve as the base into which all your heart stitches are crocheted.
Step 2: Shaping the Heart (Round 1)
- Ch 4: Counts as the first tr stitch.
- Work 4 tr into the ring:
- Perform 4 separate treble crochets into the center of the ring.
- Work 4 dc into the ring:
- Do 1 double crochet at a time until there are 4.
- Work 2 tr into the ring:
- Perform 2 treble crochets to create the tip of the heart.
- Mirror the Left Side: To create symmetry:
- Work 4 dc, followed by 4 tr, into the ring.
- Ch 4: Counts as the final edge.
- Sl st into the ring to close the round.
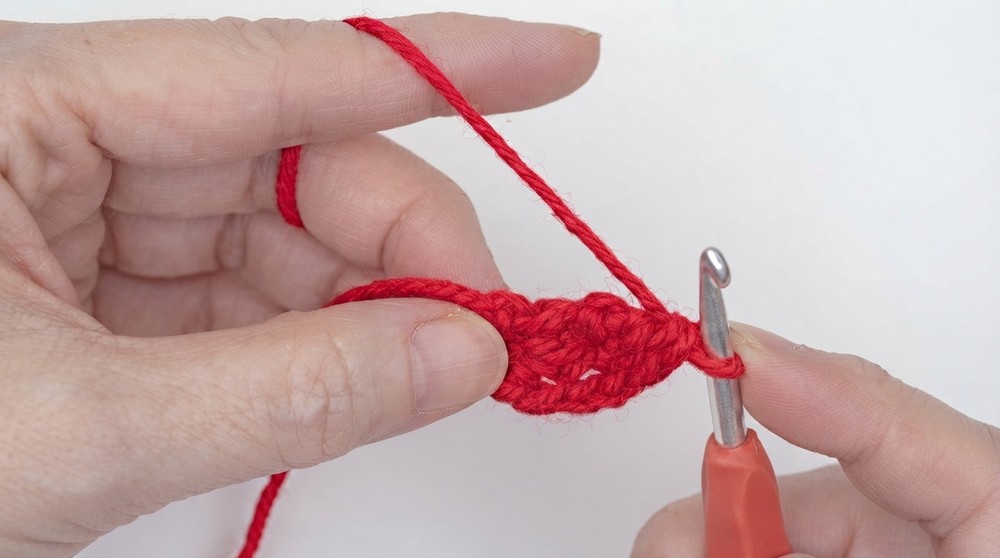
Note: You should now see the rough shape of a heart. If your stitches feel tight, gently slide them to the left to add room.
Step 3: Adding Depth (Round 2)
- Ch 4: Begin the round with 4 chains.
- Single crochet into the next tr: Place 1 sc at the top of the first treble crochet.
- Add Extra Stitches for the Curve:
- Work 2 sc in the next st.
- 1 sc in the next st.
- 2 sc in the next st again, to emphasize the curve.
- Sc in Next 5 Stitches: Continue with 1 sc in each of the next 5 stitches.
- Make the Tip of the Heart:
- When you reach the middle of the two treble crochets, ch 2 and place a sc in the same space.
- Work Back Along the Other Side:
- Sc in Next 5 Stitches again.
- 2 sc in Next St, 1 sc, and 2 sc in Next St to complete the curve.
- Place 1 sc in the Last Stitch to close the round.
- Ch 3 and sl st into the 4th chain from the previous round to finish the heart shape. Fasten off.
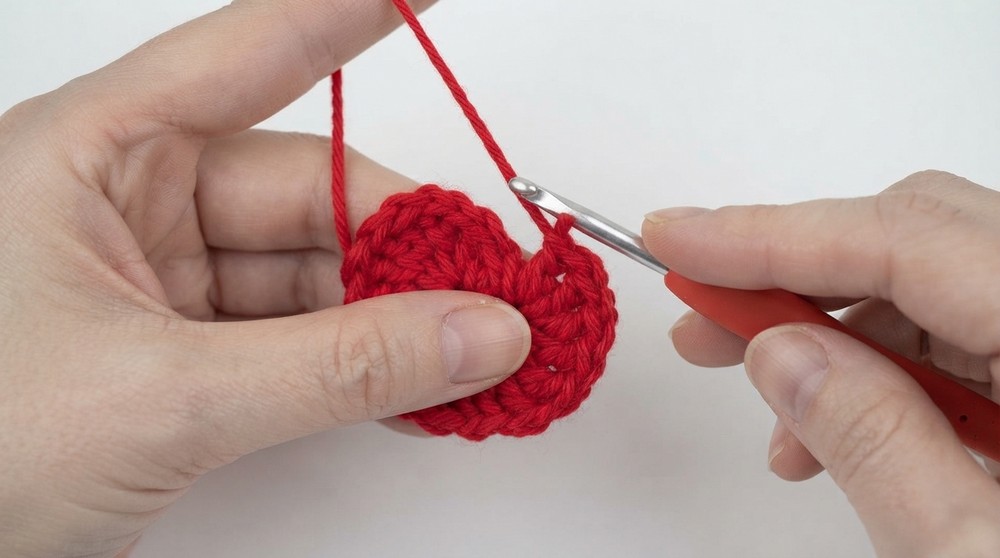
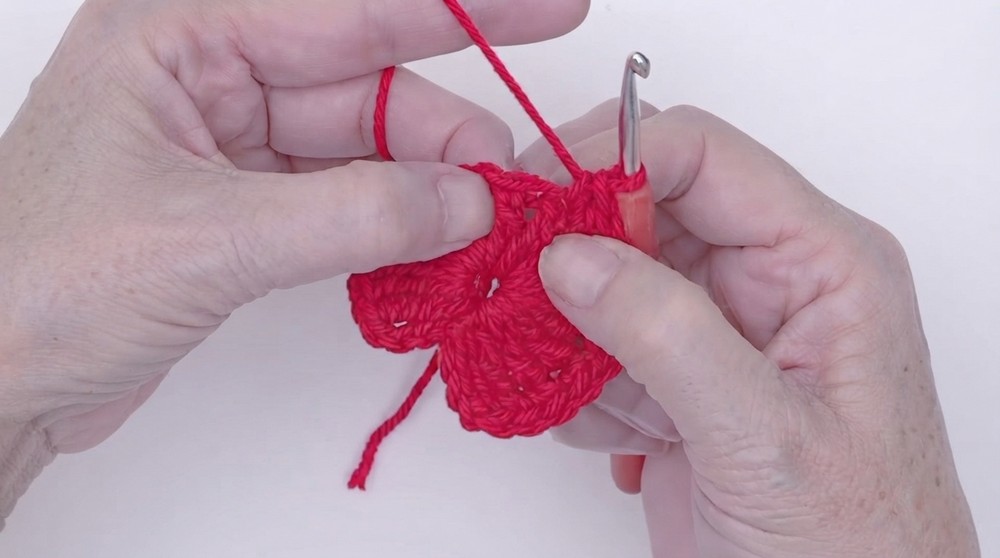
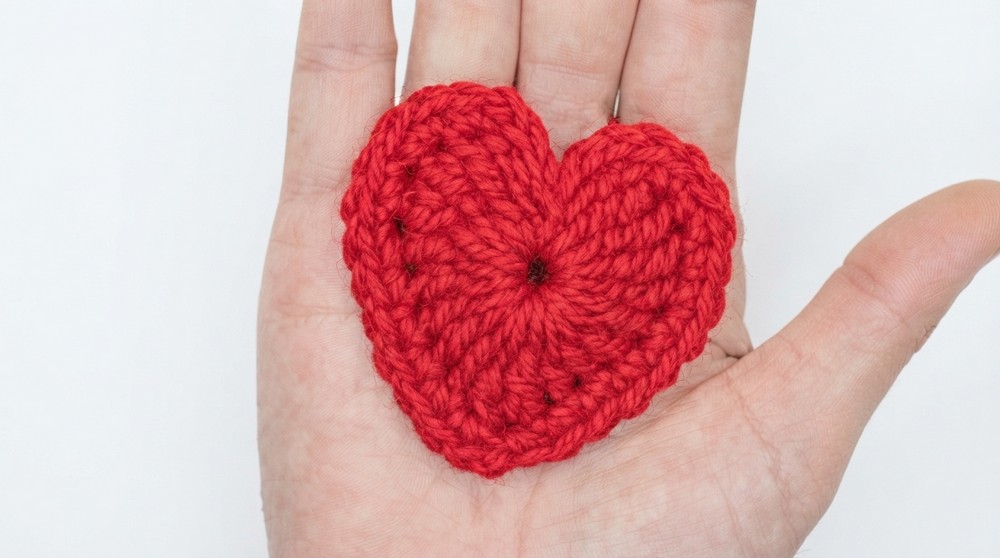
Note: Your heart is now complete, with rounded edges. We’re now ready to string and decorate the ornaments.
Step 4: Adding a String
- Create a Slip Knot on your crochet hook.
- Add a Ring (Optional): If you’re attaching the heart to a keychain or ring, thread the ring through before chaining.
- Chain 20: Create a long chain that will serve as the string for hanging.
- Attach the String to the Heart:
- Use a sl st to attach the string to one of the top "bumps" of the heart. This ensures the heart hangs evenly.
- Add Decoration:
- You can optionally sc into each chain or slip stitch to create added texture.
Note: You can repeat this process to create a garland or string multiple hearts together.
Assembly & Finishing
- Weave in Loose Ends: Use a tapestry needle to hide and secure all yarn tails.
- Block if Necessary: If the edges of the heart curl, lightly block the hearts to flatten and shape them.
- Attach or Display: Use the string or keychain to hang or place the hearts as decorations.
What You'll Learn From This Pattern
By following this pattern, you’ll master:
- Treble (Triple) Crochet Stitches: A taller stitch often used for decorative impact.
- Symmetric Shaping Techniques: Learn how to mirror stitches to create balance.
- Garland and Ornament Assembly: Gain confidence in creating functional, multipurpose crochet items.
Why You’ll Love This Pattern
This pattern is beginner-friendly, quick, and highly customizable. The heart's classic design is perfect for Valentine’s Day, weddings, or gift embellishments. The versatility in colors and yarn type allows for endless creativity. Plus, you’ll love how rewarding it feels to see your hearts come together so quickly!
Difficulties and Solutions
Difficulties:
- Keeping Stitches Symmetrical: Ensuring both sides of the heart look even can be tricky for beginners.
- Tight Stitches on the Ring: Stitches can overcrowd the ring's small space.
- Attaching the String: Finding the correct placement for securing the string to the heart.
Solutions:
- Checking Symmetry: Count your stitches on each side regularly to ensure they match. Use stitch markers if needed.
- Loosening Tight Stitches: If the ring gets tight, pause and gently adjust the stitches, sliding them to one side for more room.
- String Placement: Attach the string at the top of the heart to ensure proper balance while hanging.
Keep practicing, and these challenges will become opportunities to refine your crochet skills!