
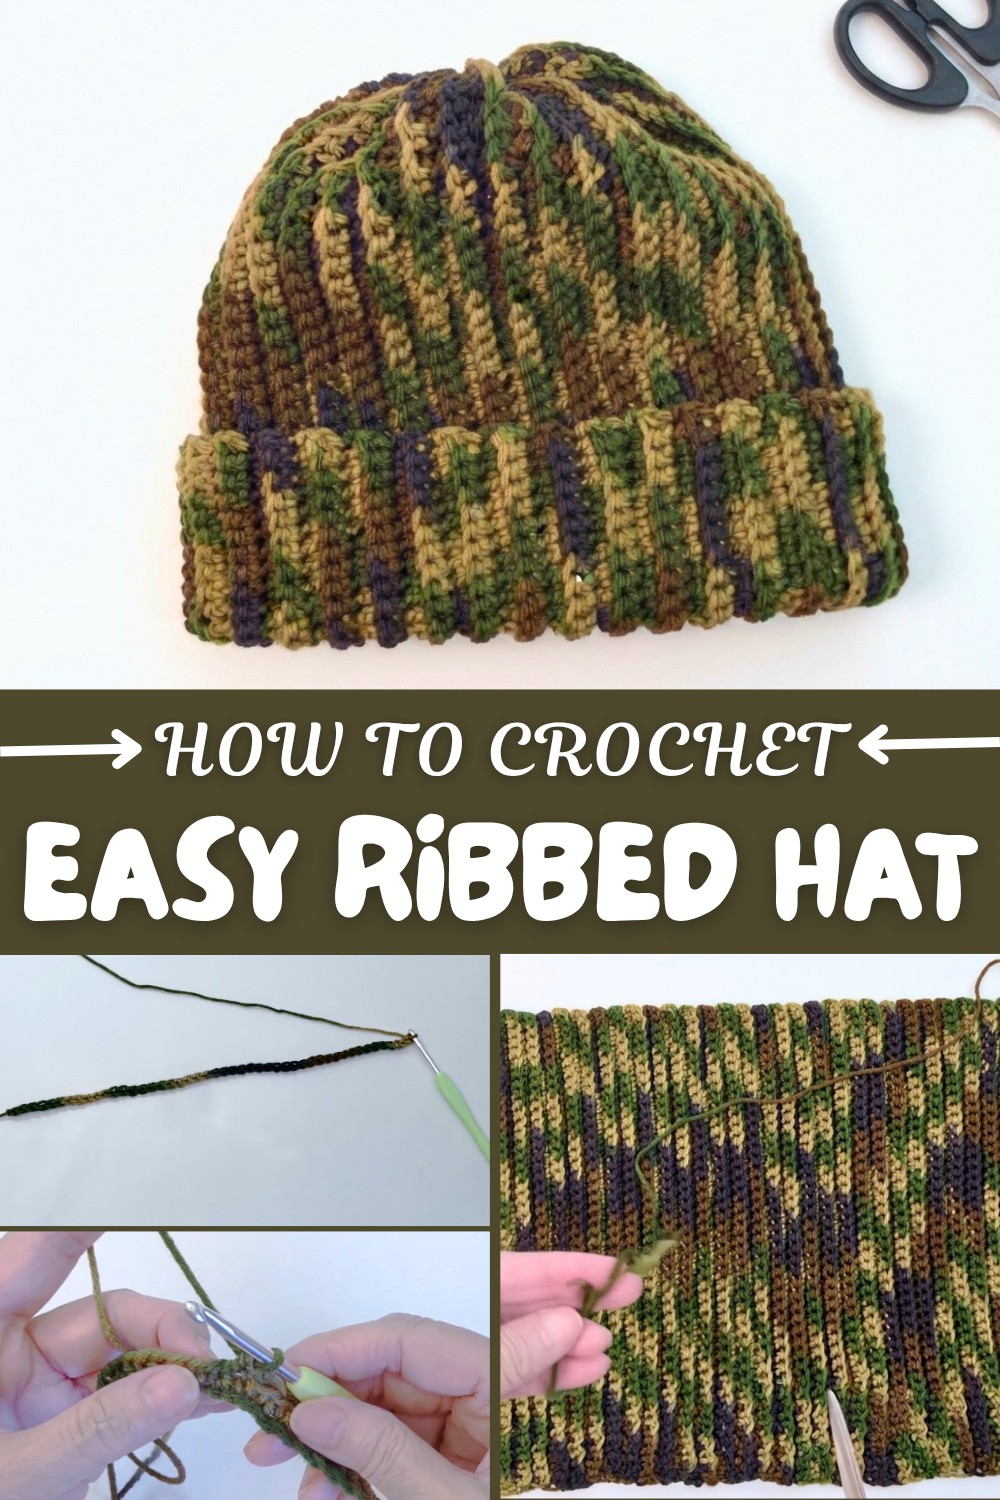
Eco-Friendly Easy Crochet Ribbed Hat Pattern for Cozy Style
Learn Fast and beginner-friendly Free Crochet Ribbed Hat Pattern shows you how to stitch up a trendy beanie with perfect stretch.
Wearing a hand-crocheted hat that combines warmth with a stylish ribbed texture brings a special kind of comfort. This pattern features single crochet and chain stitches worked primarily into the back loops, creating a stretchy and textured design that hugs your head just right. The ribbed effect not only looks beautiful but also adds elasticity, making the hat fit most adult sizes with ease.
Free and Chic Crochet Ribbed Hat Pattern for Every Season
Beginning with a simple chain foundation, you’ll alternate rows that include single crochets and chain spaces, focusing on back loop stitches to build that charming 3-D ribbing. This approach is beginner-friendly and helps you master essential skills like stitch counting, working with consistent tension, and joining edges seamlessly. You can easily customize the hat’s size by adjusting the starting chain length to suit your preference, whether you like a snug fit or a relaxed slouch. The finishing touches involve a neat whip stitch seam and closing the top by threading yarn through the outer stitches for a smooth finish. Adding a pompom is a fun way to personalize your hat and give it an extra pop of character.
Using yarn that feels soft to you, this project offers a wonderful blend of practicality and cozy style. The ribbed stitch method in this pattern isn’t just limited to hats. You can create matching scarves, comfortable headbands, or even textured wristbands, all using the same back loop technique. This versatile stitch pattern is a fantastic way to explore new projects while building on the skills you develop making this cozy ribbed hat.
Crochet Pattern: Ribbed Adult Hat
This Ribbed Adult Hat is a simple yet stylish crochet project that uses single crochet and chain stitches to create a stretchy, textured ribbed design. Perfect for beginners and versatile for experienced crocheters, this hat is both functional and fashionable. The pattern includes adjustable sizing and an easy-to-follow stitch sequence, making it ideal for a handmade gift or an addition to your winter wardrobe.
This pattern works with a combination of single crochet and chain stitches. The ribbed pattern is achieved by working only into the back loops, creating a 3D texture that stretches to fit head circumferences of 20–21 inches. Whether you opt for a sleek, folded brim or add a playful pompom, this hat is sure to be a hit! You’ll love how customizable it is, with options for altering the depth and width to suit your preferences.
What You’ll Learn from This Pattern
- Techniques for creating ribbed textures with back-loop stitches.
- How to crochet stretchy fabrics for versatile wearables.
- Easy methods for closing and finishing hats.
Skill Level & Terminology
- Skill Level: Beginner
- Terminology: This pattern uses US crochet terms.
This straightforward, repetitive design ensures that even new crocheters can make a functional and eye-catching hat with ease.
Materials & Tools
To crochet your ribbed hat, you’ll need:
- Yarn: Medium-weight (size 4) yarn (approx. 4 oz).
- Hook: 5 mm crochet hook.
- Notions:
- Yarn needle
- Scissors
- Stitch marker
- Measuring tape
Gauge
Gauge may vary depending on your yarn choice, hook size, and tension. To ensure the proper fit:
- Measure your starting chain to confirm the length meets the size requirement (i.e., 13 inches for medium adult size).
- Adjust accordingly by adding or reducing chains in multiples of 2.
Abbreviations
Here’s a handy reference for the abbreviations used in the pattern:
- ch: Chain
- sc: Single crochet
- sc-BLO: Single crochet in the back loop only
- sl st: Slip stitch
Special Stitch Instructions
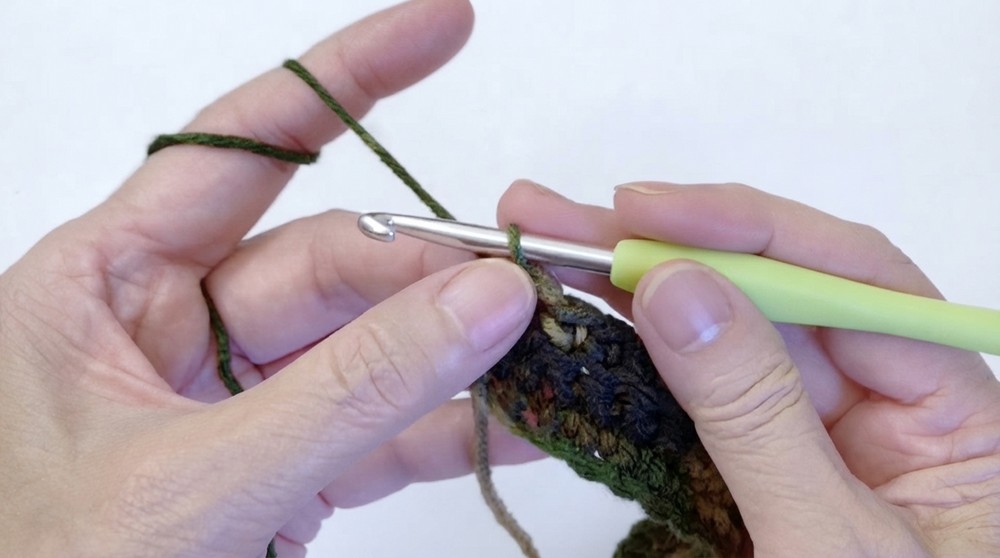
Single Crochet Back Loop Only (sc-BLO):
To achieve the ribbed texture, work into the back loop of the desired stitch instead of both loops:
- Insert the hook into the back loop of the stitch.
- Yarn over, pull up a loop.
- Yarn over, pull through both loops on your hook.
Finished Size
This pattern is designed to make a medium adult hat:
- Height: Approx. 13 inches (including a fold for the brim).
- Width: 15.5 inches before stretch (fits 20–21-inch head circumference).
What You’ll Learn from This Pattern
You’ll learn:
- How to work single crochet and chain stitches.
- Techniques for creating 3D ribbing using back-loop stitches.
- Methods for seaming and closing the hat for a clean, professional finish.
The Pattern Itself
Step 1: Starting the Foundation Chain
- Ch 51 or until the chain measures 13 inches, allowing for the hat’s depth and a folded rim.
- If you prefer no fold, make your chain 10 stitches shorter.
- Ensure the chain length suits your desired size. Adjust by adding or removing stitches in multiples of 2.
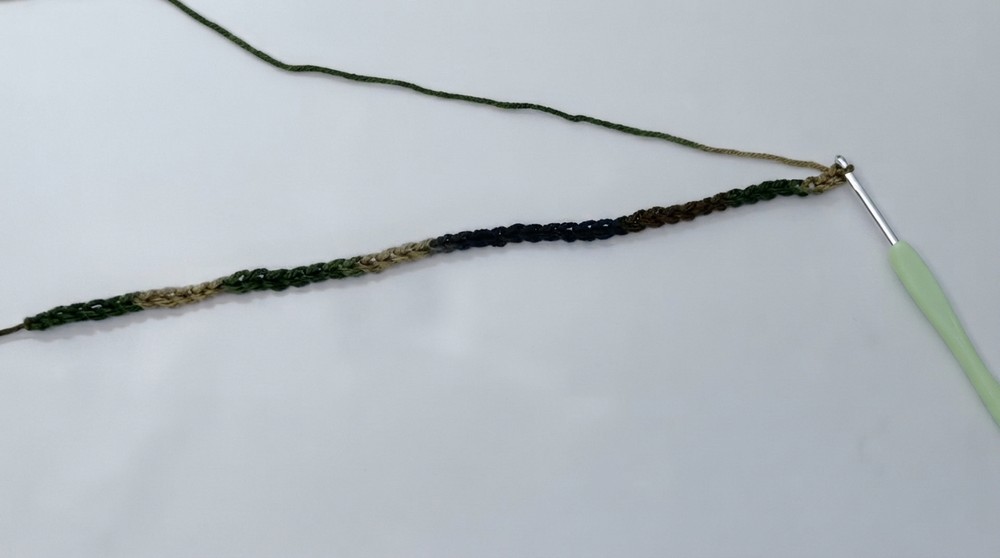
Beginners: Use a measuring tape to confirm the length of your chain—it’s the foundation of your hat’s height.
Step 2: Row 1 – Single Crochet Base
- Ch 1 for the row height.
- Skip the first chain stitch and work 1 sc into the next chain (this is your first sc).
- Continue with 1 sc in each of the next 40 stitches. Mark the end of these stitches with a stitch marker if needed.
- Work the final 10 stitches in an alternating pattern:
- Ch 1, skip a chain, and sc in the next chain. Repeat.
- At the end of the row, ch 1 and turn your work.
Tip: Reducing the thickness in the top 10 stitches creates a less bulky crown for the hat.
Step 3: Row 2 – Ribbing Begins
- Ch 1 for the row height.
- Skip the first sc below and work sc-BLO (single crochet in the back loop only) into the next stitch.
- Ch 1, skip the stitch below, and work sc-BLO into the next stitch.
- Repeat this alternating pattern for the first 10 stitches.
- After reaching the marked stitch, work sc-BLO across the remaining row, skipping the ch stitches from Row 1.
The back-loop stitches start forming the ribbed texture visible on both sides of the work.
Step 4: Rows 3 and 4 – Establish the Repeating Pattern
- Row 3: Repeat Row 1 but work sc-BLO instead of regular sc.
- Row 4: Repeat Row 2.
Continue alternating Rows 1 and 2 until the desired width is reached.
Step 5: Repeat Rows Until the Piece Reaches Desired Width
- Work Rows 2 and 3 alternately until the hat measures 15.5 inches wide.
- For larger sizes, continue adding rows.
- End on an even-numbered row to ensure proper alignment for joining the sides.
The stretchy ribbed texture ensures that the hat will comfortably fit head circumferences of 20–21 inches.
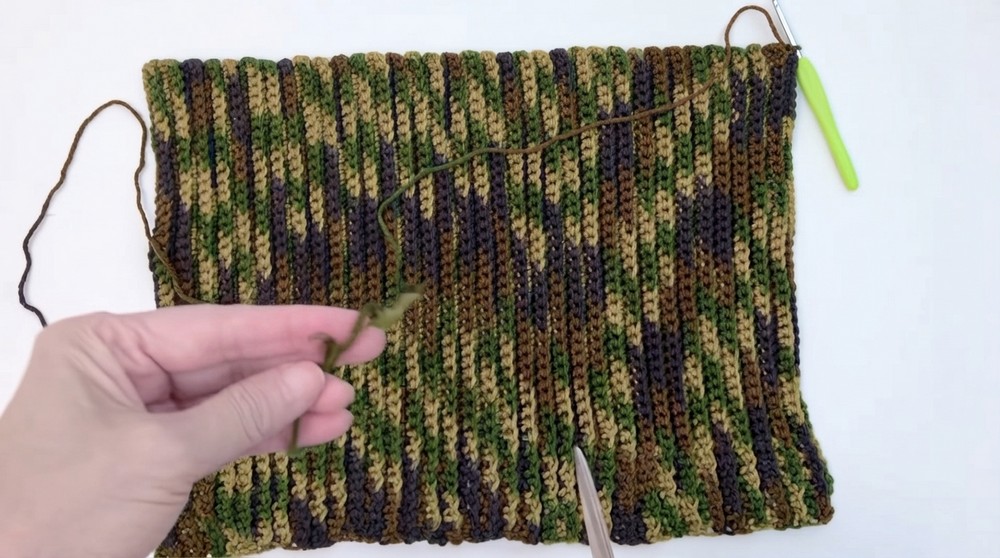
Step 6: Finish Off and Prepare for Seam
- Leave a yarn tail that is three times the length of the hat and fasten off with a slip knot.
- Use your yarn needle to prepare for seaming.
Step 7: Joining the Edges – Whip Stitch Method
- Hold the two edges together with the stitches facing each other.
- Insert your needle through the back loops of the final row on both edges and pull tightly.
- Repeat for every stitch along the seam, doubling the first stitch for added durability.
- When you reach the end, finish with an overhand knot and weave in the loose ends.
The seam is clean, sturdy, and barely noticeable on both sides.
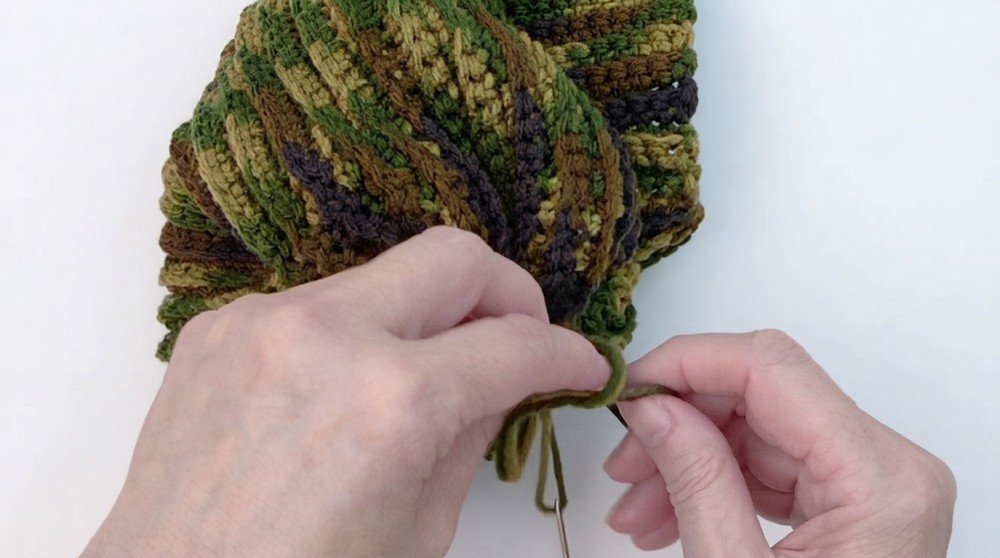
Step 8: Closing the Top of the Hat
- Using the yarn tail, weave your needle through the outermost stitches of every row around the crown (less bulky end).
- Gently pull the yarn to cinch the circle closed.
- Secure the closure with overhand knots and weave the ends back through the crown to hide them.
Step 9: Finishing Touches
- Weave in all remaining loose ends for a polished look.
- Optionally, attach a pompom to the top of the hat for a fun embellishment.
Your ribbed hat is now complete!
Assembly & Finishing
- Seam: Ensure the side seam is strong by doubling the first stitch and weaving extra securely.
- Crown Closing: Pull gently while cinching the crown to avoid breaking the yarn.
Why You’ll Love This Pattern
This Ribbed Hat is a satisfying project that combines simplicity with versatility. The repetitive stitch pattern is meditative, while the ribbed texture adds a polished touch to your finished piece. Whether you opt for a sleek, folded brim or add a pompom for a playful flair, this hat is sure to be a stylish and functional accessory.