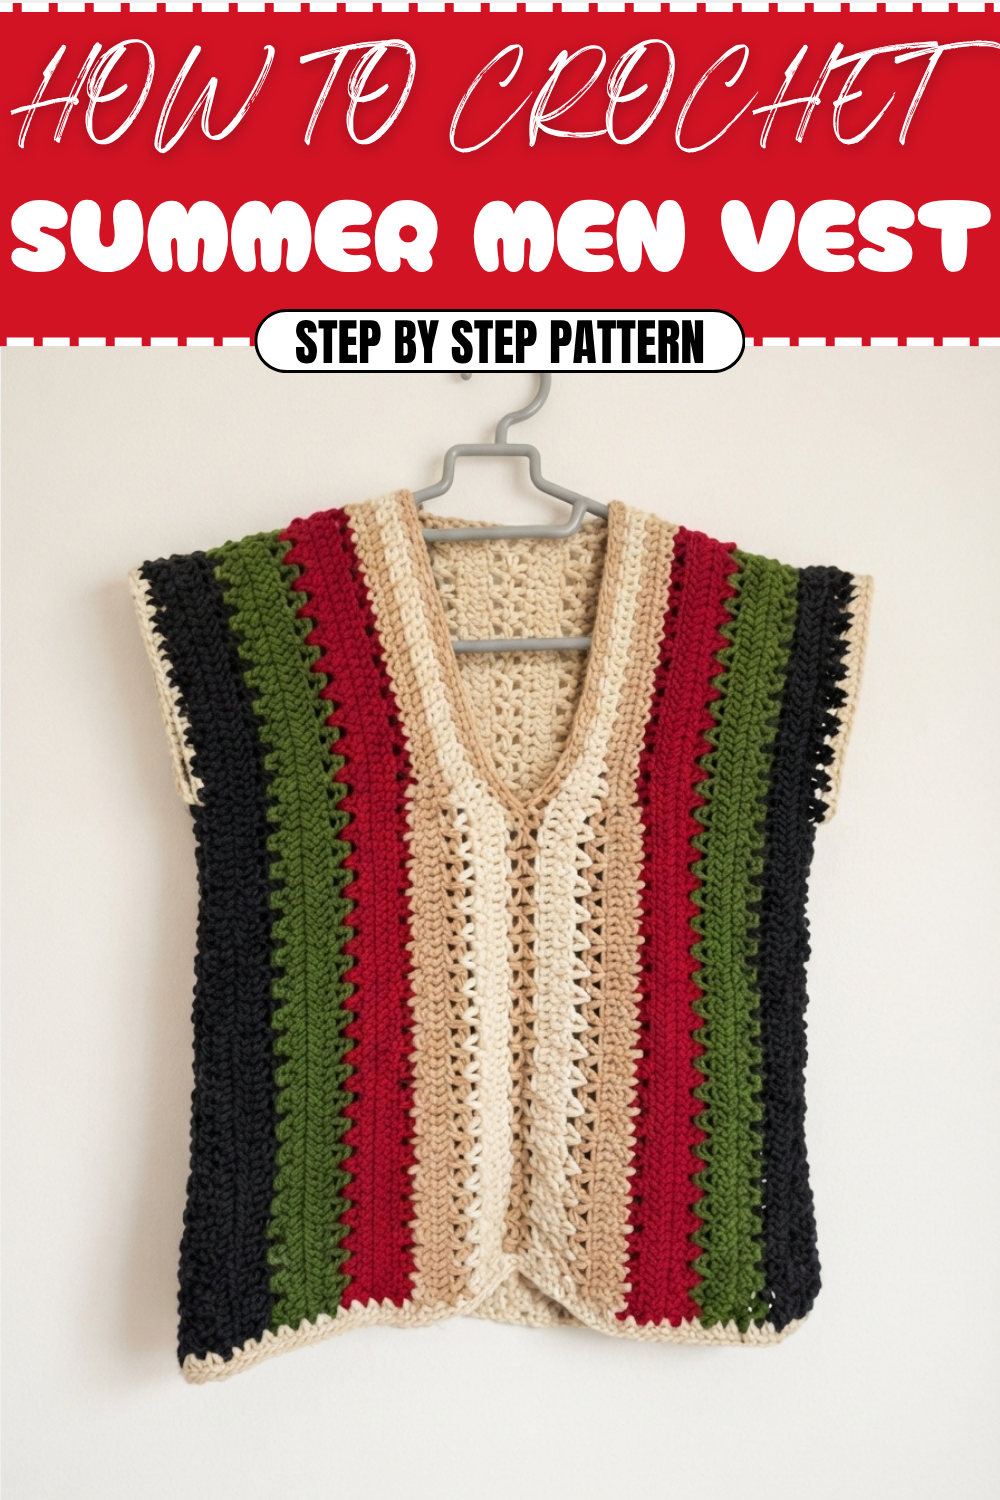
How to Fee Crochet Summer Men Vest Pattern that Elevates Style
Vibrant Crochet Summer Men Vest Pattern for a Smart Look
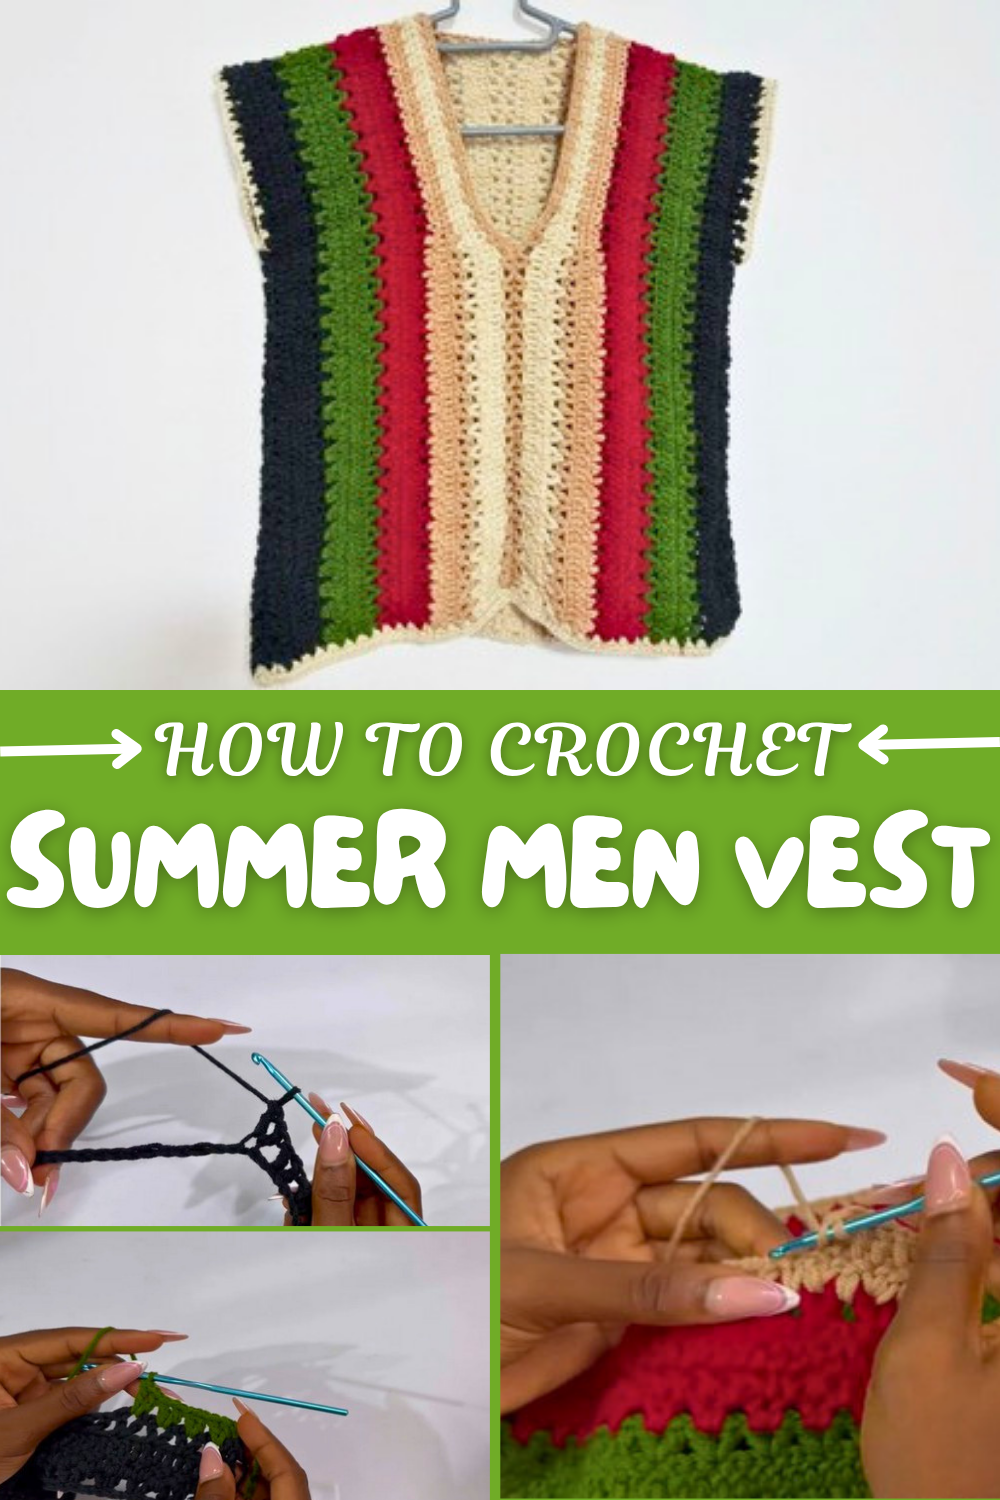
Starting with a long foundation chain to measure your desired length, the vest is worked in rows of V stitches mixed with alternating single and double crochets. This sequence adds texture and dimension, allowing the vest to flow naturally while keeping its shape. The easy-to-follow pattern means beginners can confidently create a piece that looks complex but feels manageable. Plus, changing colors every few rows lets you personalize your vest, making it uniquely yours and perfect for summer fun. Whether worn over a plain shirt or as a stand-alone piece, this vest offers versatility and handmade charm.
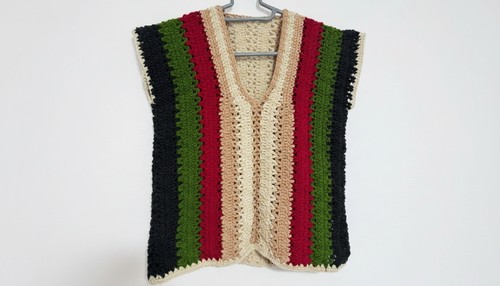
Detailed Crochet Pattern: The Colorful Crochet Vest
Introduction:
This crochet vest pattern is a versatile and stylish project designed for any wardrobe. Whether paired with a casual outfit or a more formal ensemble, the pattern adds a touch of uniqueness to your style. It employs various stitches, including V-stitches, single crochets, and double crochets, to create an attractive and textured pattern. You can get creative with your choice of colors to make this vest truly your own.
Skill Level & Terminology:
- Skill Level: Advanced Beginner to Intermediate
- Terminology: US Crochet Terms
Materials & Tools:
- Yarn: 5 colors of your choice (Lightweight #3 preferred for better definition).
- Crochet Hook: 4.0 mm.
- Optional Tools:
- Stitch Markers
- Measuring Tape
- Scissors
- Yarn Needle (for sewing in the ends)
Gauge:
- Gauge:
- 15 stitches x 8 rows = 4” (10 cm) in V-stitch pattern using a 4.0 mm hook.
Make a 4” x 4” (10 cm x 10 cm) swatch using the V-stitch pattern to ensure accuracy before starting.
Abbreviations List:
- Ch: Chain
- St: Stitch
- Dc: Double Crochet
- Sc: Single Crochet
- Hdc: Half Double Crochet
- V-stitch (V-st): (Dc, Ch 1, Dc) into the same stitch
- Sl st: Slip Stitch
Special Stitch Instructions:
- V-stitch (V-st): Work dc, ch 1, dc into the same stitch.
- Single Crochet V-stitch: Work sc, ch 1, sc into the same stitch.
Finished Size:
- Small: 22 inches length with 10 sets of 4-row color patterns.
- Medium: Suggested 12 sets of 4-row color patterns.
- Large/XL: Suggested 14 sets of 4-row color patterns.
- Measure yourself or use a well-fitted vest for accurate sizing.
What You'll Learn:
- Mastering the V-stitch.
- Switching between colors seamlessly in crochet projects.
- Joining panels using slip stitches or single crochet.
- Crocheting and shaping armholes and necklines.
- Creating a polished border for finishing touches.
The Pattern Itself:
Back Panel
1. Foundation Chain:
- Chain 110 (for size Small). Adjust chain length based on your size.
- Measure your foundation chain to match your desired width (approximately 22 inches for size Small).
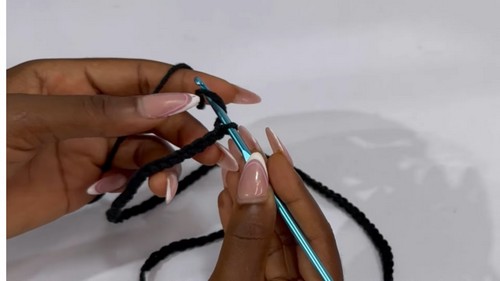
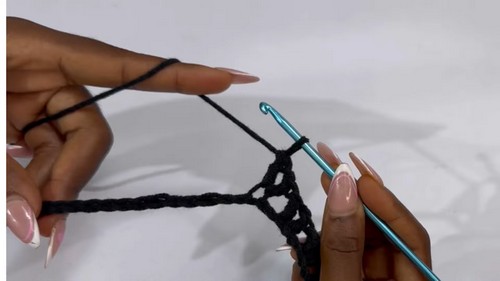
2. Row 1 - V-Stitch Row:
- Skip 4 chains, dc in the 5th chain, ch 1, dc in the same chain (first V-stitch).
- Skip 2 chains, dc, ch 1, dc in the next chain (V-stitch).
- Repeat until your foundation chain matches the desired width (22 inches for Small).
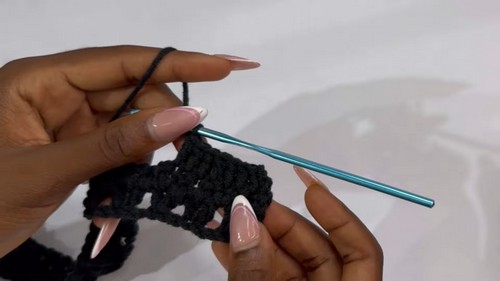
3. Row 2 - Alternating Row:
- Chain 2, turn your work.
- In the first V-stitch, work sc and dc.
- In each remaining V-stitch: Alternate between sc, dc, and sc within the V-stitch.
4. Row 3 - Double Crochet Row:
- Chain 2, turn your work.
- Work dc in each stitch across the row.
5. Row 4 - V-Stitch Row:
- Chain 2, turn your work.
- Skip 2 stitches, work a V-stitch (dc, ch 1, dc) in the next stitch.
- Continue this V-stitch pattern across the row.
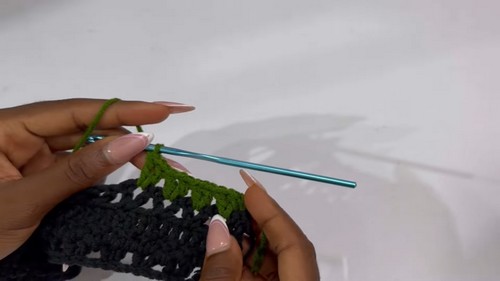
Repeat Rows 1–4, switching to a new color every 4 rows. Continue until the back panel measures the desired length. For size Small, use 10 sets of 4-row color strips (40 rows).
Front Panels (Make 2)
Steps 1–3:
- Follow the same instructions as the back panel for Rows 1–4. Complete 3 full sets of these rows (12 rows).
4. Shaping the Neckline:
- From the starting point of Row 13, count 13 V-stitches or measure 7 inches and place a stitch marker.
- For each front panel, work with the same foundation as the back panel but stop at the stitch marker.
- Start the neckline shaping by working rows as specified:
- Row 1: V-stitch pattern from edge to the stitch marker.
- Row 2: Alternate between sc and dc within the V-stitch.
- Row 3: Dc in each stitch.
- Row 4: V-stitch in each V-stitch space.
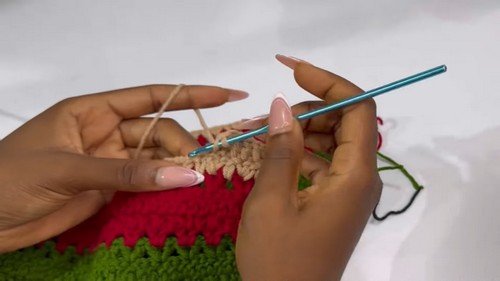
Repeat across the 2 front panels, ensuring they mirror one another.
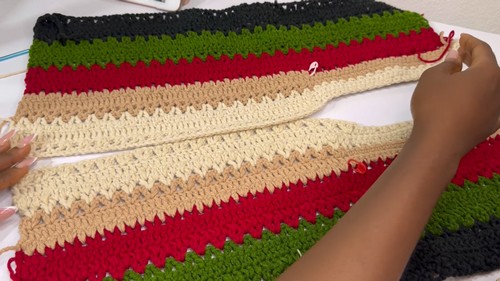
Assembly & Finishing
1. Assemble the Back Panel and Front Panels:
- Align the panels properly, ensuring the right side of the fabric faces outward.
- Use slip stitches or single crochets to join the panels along the shoulders, leaving enough opening for the neckline.
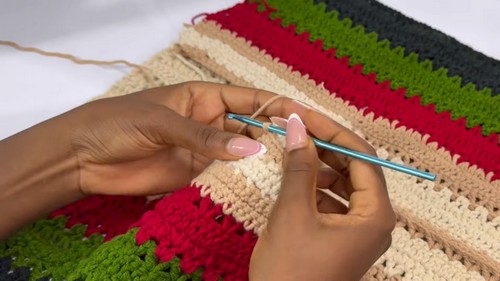
2. Form the Side Seams:
- Measure and leave 7 inches for the armholes, using stitch markers. Use slip stitches or single crochets to attach the sides of the panels, starting from the bottom and stopping at the marked points.
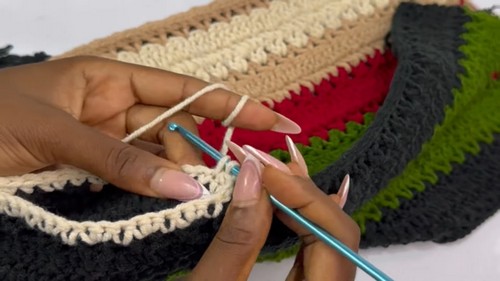
3. Add Borders:
- For the bottom border: Attach yarn at the bottom edge and work 2 sc into each row edge. Add an extra row for a more prominent border.
- For armholes: Attach yarn and crochet 2 sc in each row around the armhole opening. Add a second round if preferred.
- For the neckline: Similar to the armholes, attach yarn and work sc all around the neckline, making sure the stitches are even.
Tutor’s Suggestions
- Always check your gauge before starting, especially with cotton or bamboo yarn, as these materials stretch differently than acrylics.
- Test individual stitches to familiarize yourself with the pattern (especially any intermediate stitches, like front post double crochet).
- Maintain even tension throughout the project so your vest piece doesn’t warp or lose its shape during seaming.
- Adjust for size as necessary during the initial rows rather than later in the project—it’s easier to ensure a proper fit upfront.
What You’ll Have at the End:
- A vibrant and textured vest with clean edges.
- A flexible pattern in terms of color choices.
- Personal satisfaction from a project that’s stylish and wearable!
Tips:
- Use stitch markers liberally to keep track of panel seams and rows.
- Switch colors neatly to avoid tangling during transitions.
- Block your finished vest for professional results.