
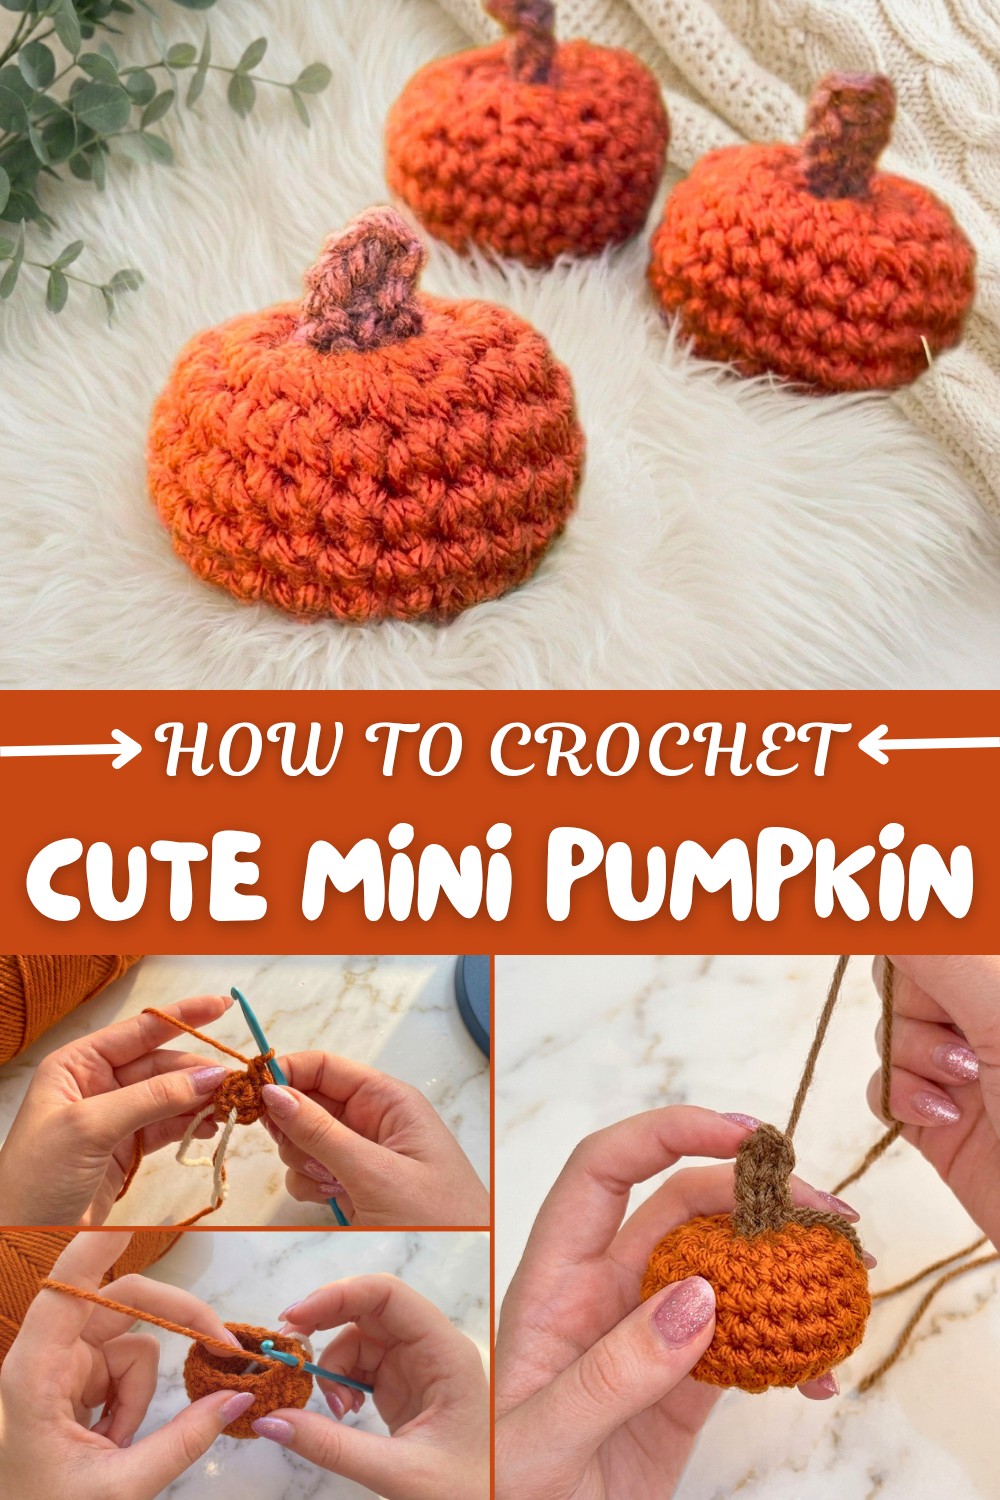
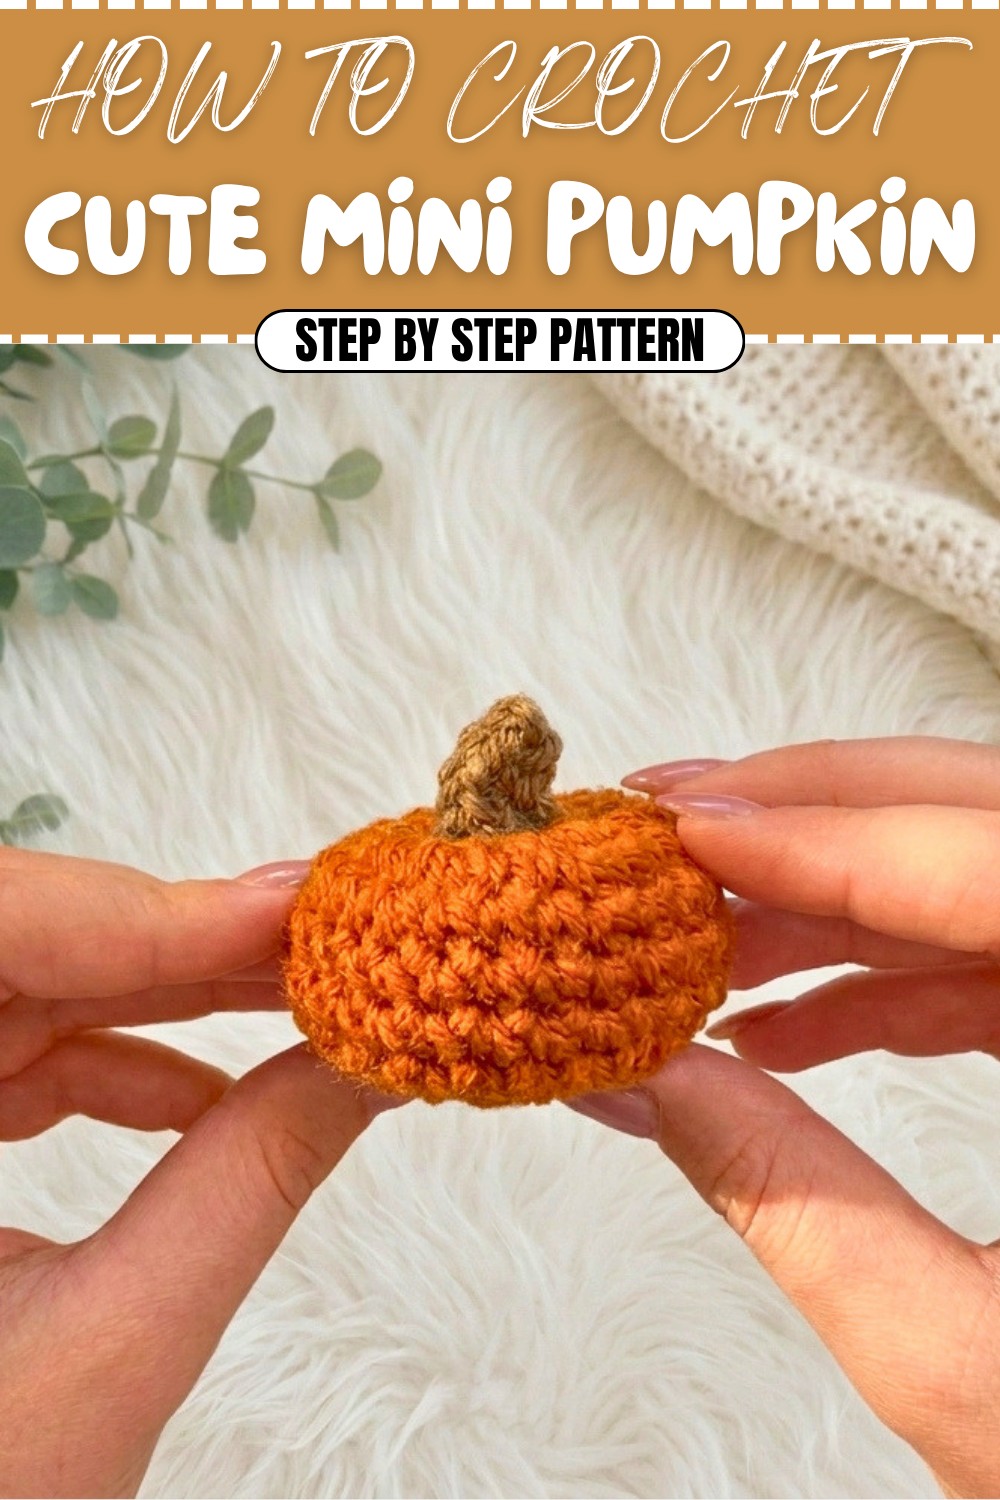
Cute Crochet Mini Pumpkin Pattern for Seasonal Decor
Make your fall decor cozy and fun with a free crochet mini pumpkin pattern that is simple, creative, and perfect for autumn crocheting vibes.
Curl up with your favorite skein and enjoy the Free Crochet Mini Pumpkin Pattern—a simple, cheerful way to bring a touch of autumn charm into your home. This charming pumpkin is quick to make and brings a cozy feel to any space. It fits beautifully into your seasonal décor, doubles as a keychain, brightens up a table setting, or adds a playful touch as a bag charm. It’s also a sweet addition to a gift bag, perfect for sharing festive spirit.
Cute & Quick Mini Pumpkin Crochet Pattern for Gifts
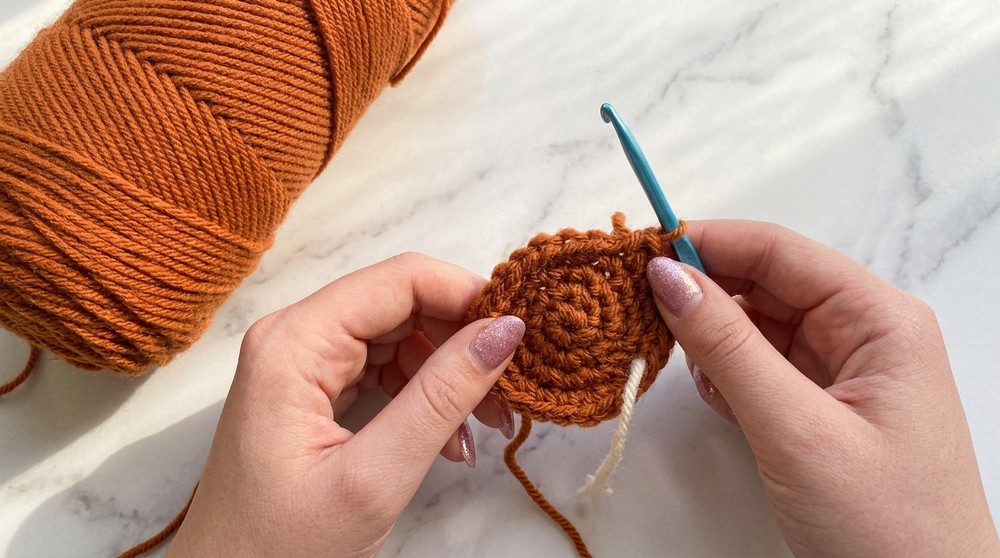
The beauty of this pattern shows in its neat, rounded shape, crafted by starting with a magic ring and working in classic single crochet stitches. You don’t need fancy materials; keep track of your rounds with a scrap of yarn and watch as your pumpkin takes shape. Once the body is complete, a touch of stuffing gives it that signature plump look. Simple finishing steps bring everything together before attaching a sturdy stem for the final detail.
Choose shades that suit your style—go for traditional orange and green for a classic pumpkin, crisp white for a modern accent, or experiment with pastels for something playful. The project uses soft worsted weight yarn and a comfortable 3.5mm hook, making it accessible for crocheters at any skill level. Add a bit of flair with an optional flower embellishment, which measures around 1 inch across and sits perfectly on top.
This pattern is a delightful way to celebrate the season and express your creativity. Whether you keep your mini pumpkin for yourself or gift it to someone special, it offers a warm and satisfying craft experience.
Tiny Crochet Pumpkin Pattern & Comprehensive Guide
Welcome to this detailed pattern for a charming tiny crochet pumpkin, ideal for fall, Halloween, or harvest decor. This project is suited for beginners and intermediate crocheters eager to practice classic amigurumi techniques such as the magic ring, working in continuous rounds, increasing and decreasing, and basic sewing for assembly. The pattern is formatted with clear stitch counts and explanations after each round, enabling those unfamiliar with reading patterns to follow along with ease.
Who Can Use This Pattern
This pattern is beginner-friendly yet offers enough challenge for intermediate crafters.
Perfect for:
- Crochet newcomers exploring amigurumi basics.
- Experienced makers seeking speedy projects for gifts, markets, or seasonal displays.
- Anyone wishing to learn or polish skills including shaping, invisible decreases, and closed-round finishing.
What you will learn:
- Mastery of the magic ring technique.
- Proficiency in increasing/decreasing for 3D forms.
- Continuous spiral rounds for a seamless look.
- Tips for stuffing and shaping amigurumi.
- Secure sewn assembly and finishing touches.
Materials & Tools
Yarn:
- Worsted (medium, size 4) or DK (light, size 3) weight.
- Orange for pumpkin body, brown/green for the stem.
Hook:
- 3.5 mm to 4 mm (US E/4 or G/6), or as recommended by your yarn.
Stuffing:
- Fiberfill, yarn scraps, or repurposed pillow stuffing.
Other:
- Yarn or tapestry needle (for sewing and shaping).
- Stitch marker or contrasting yarn strand.
- Scissors.
Finished Size
Your completed pumpkin will be approximately 2–2.5 inches (5–6.5 cm) wide, using standard yarn and hook. Slight variations may occur depending on your tension and yarn thickness.
Special Techniques & Stitches
- Magic Ring: Adjustable loop for a flawless starting base.
- Single Crochet (sc): The core stitch for most amigurumi.
- Increase (inc): Two single crochets in one stitch.
- Decrease (dec): Single crochet two together (sc2tog) for neat shaping.
- Continuous rounds: No joining; spiral for a seamless finish.
- Invisible decrease: For tidy, almost unnoticeable reduction.
- Sewing and shaping: Using yarn needle for closing and creating ridges.
Customization Tips
- Change yarn color for unique pumpkin styles: white for ‘ghost pumpkins’, variegated for rustic appeal.
- Make a green vine: chain a length and twist for curly decoration.
- Embroider a face for a playful Jack-o’-lantern.
- Alter stem length with more or fewer chains.
- Use different yarn weights for various pumpkin sizes.
- Add beads, felt leaves, or surface embellishments for festive flair.
Step-by-Step Pattern
Each round’s key stitches are shown in bold with numbers for clarity, followed by a plain-language explanation for accessibility.
Pumpkin Body
Part 1: Foundation and Increase Rounds
Round 1:
- Make a magic ring.
- Work 6 single crochets (6 sc) into the ring.
- [6 stitches total]
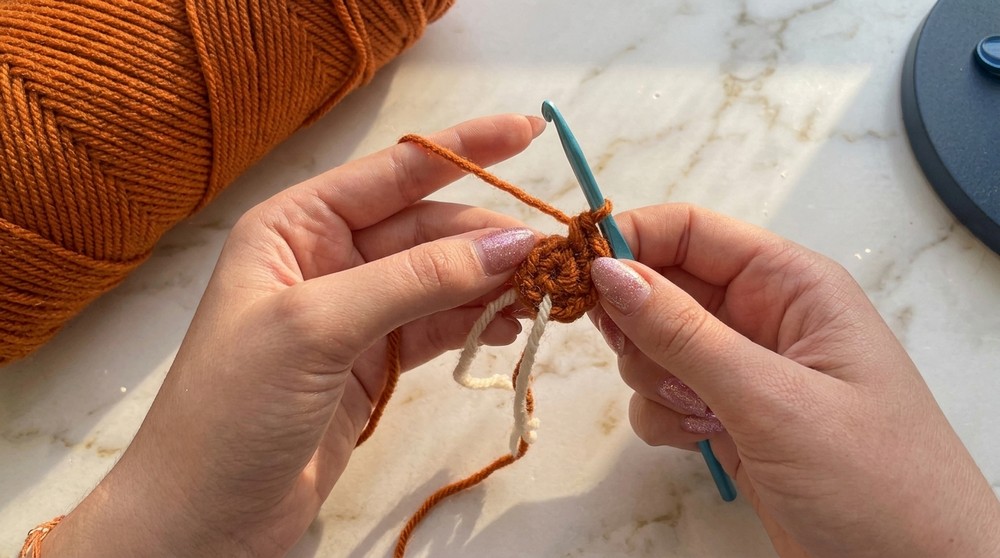
Start by crocheting 6 stitches inside the adjustable loop. Pull the yarn tail firmly so the ring closes tightly, creating the pumpkin’s bottom.
Round 2:
- Work 2 sc in each stitch around.
- [12 stitches total]
This round doubles your stitches. Place two stitches in every previous stitch—your pumpkin base becomes wider.
Round 3:
- Repeat the sequence: 2 sc in next stitch, 1 sc in next stitch throughout.
- [18 stitches total]
Alternate increases and singles. This gentle growth will begin to shape your pumpkin upwards into a shallow cup.
Round 4:
- Repeat: 2 sc in next stitch, 1 sc in next stitch, 1 sc in next stitch all around.
- [24 stitches total]
A round with an increase and two singles per set. You’ll see the shape smooth out, making a rounder bowl for your pumpkin.
Part 2: Creating Height – Straight Rounds
Round 5:
- Work 1 sc in each stitch around.
- [24 stitches total]
Round 6:
- Work 1 sc in each stitch around.
- [24 stitches total]
Round 7:
- Work 1 sc in each stitch around.
- [24 stitches total]
These rounds are easy! Crochet one stitch in each. You’re essentially adding height, transforming the bowl into a pumpkin body. After Round 7, your work will look like an open, rounded container.
Part 3: Shaping the Top – Decrease Rounds
Round 8:
- Pattern: 1 sc in next stitch, 1 sc in next stitch, 1 decrease (sc2tog) over next 2 stitches; repeat.
- [18 stitches total]
This round narrows the opening. After two plain stitches, join two stitches together, creating a decreased shape so the top curves inward.
Round 9:
- Pattern: 1 sc, 1 decrease; repeat around.
- [12 stitches total]

Your pumpkin begins to close. Alternate a single crochet and a decrease, making the opening much smaller. This is the ideal time to pause and stuff your pumpkin before finishing.
Stuffing
- Use fiberfill or other stuffing material. Fill the pumpkin evenly, ensuring it's plump but not so firm that stitches stretch.
- Adjust for desired softness and roundness.
Pause to add stuffing now. The pumpkin’s fullness depends on your preference—fill firmly for a sturdy pumpkin, or lightly for a soft one.
Round 10:
- Work 6 decreases (sc2tog) around in pairs.
- [6 stitches total]
Close the top by joining every set of two stitches together. The opening will nearly disappear. If needed, add a touch more stuffing, then fasten off.
Pumpkin Closure and Sculpting
- Using the yarn needle, thread the remaining yarn through the front loops of the final 6 stitches and pull tight for a secure closure.
- (Optional) For ridged effect, run the needle from the pumpkin’s top center to the bottom center several times, pulling snugly after each pass.
This creates those characteristic pumpkin indentations! Simply make a loop through your pumpkin by sewing from top to bottom, tug lightly to form classic ridges.
Pumpkin Stem
With brown or green yarn:
- Make a slip knot and place it on your hook.
- Chain 5 (ch 5).
- Work 1 sc in each chain, starting in the second chain from the hook (skip the first chain). (4 sc)
- Chain 1, cut yarn, leaving a tail for sewing.


This forms a stick-shaped stem. Adjust the chain number for longer or shorter stems. To attach, sew your stem securely at the pumpkin’s top center, passing the yarn through several strands for strength. If you’d like a scrunched look, thread through the stem, then pull tight.
Learning Outcomes & Skill Development
Working this pattern, you will:
- Gain confidence in creating seamless amigurumi with the magic ring.
- Learn proper increasing and decreasing for shaping.
- Practice invisible decreases for tidy closure.
- Master finishing and stuffing for professional results.
- Customization encourages creative exploration and experimentation.
Completion & Customization Ideas
Upon completion, you’ll have a cute, sturdy pumpkin ready for seasonal decor or gifting. Use different yarns—white for snow pumpkins, multicolor for whimsical fun, or sparkling yarn for holiday sparkle. Embellish with vines, faces, or leaves. Make a set in varying sizes for beautiful autumn displays.
Important Remarks & Tips
- Use a stitch marker to maintain round beginnings.
- Stuff as you go for best structure and roundness.
- Keep tension even for a smooth finish.
- Sew all ends inside, keeping your pumpkin neat and secure.
- Adjust stem or add vines for personalized touches.
Summary of Project Flow
Start: Lay your foundation with a magic ring and increasing rounds for the pumpkin’s base.
Middle: Crochet evenly to make height, then decrease for the top closure.
Completion: Stuff, sculpt ridges, and sew a simple stem.
Enjoy making festive pumpkins—perfect for fall, Halloween, or gifting. Every stitch brings a touch of autumn warmth to your home.