
Free Crochet Ribbed Sweater Pattern for Comfy Sunday Style
Pull on cozy comfort with the Free Crochet Ribbed Sweater Pattern for a textured layer to pair with jeans during coffee dates or chilly walks around town.
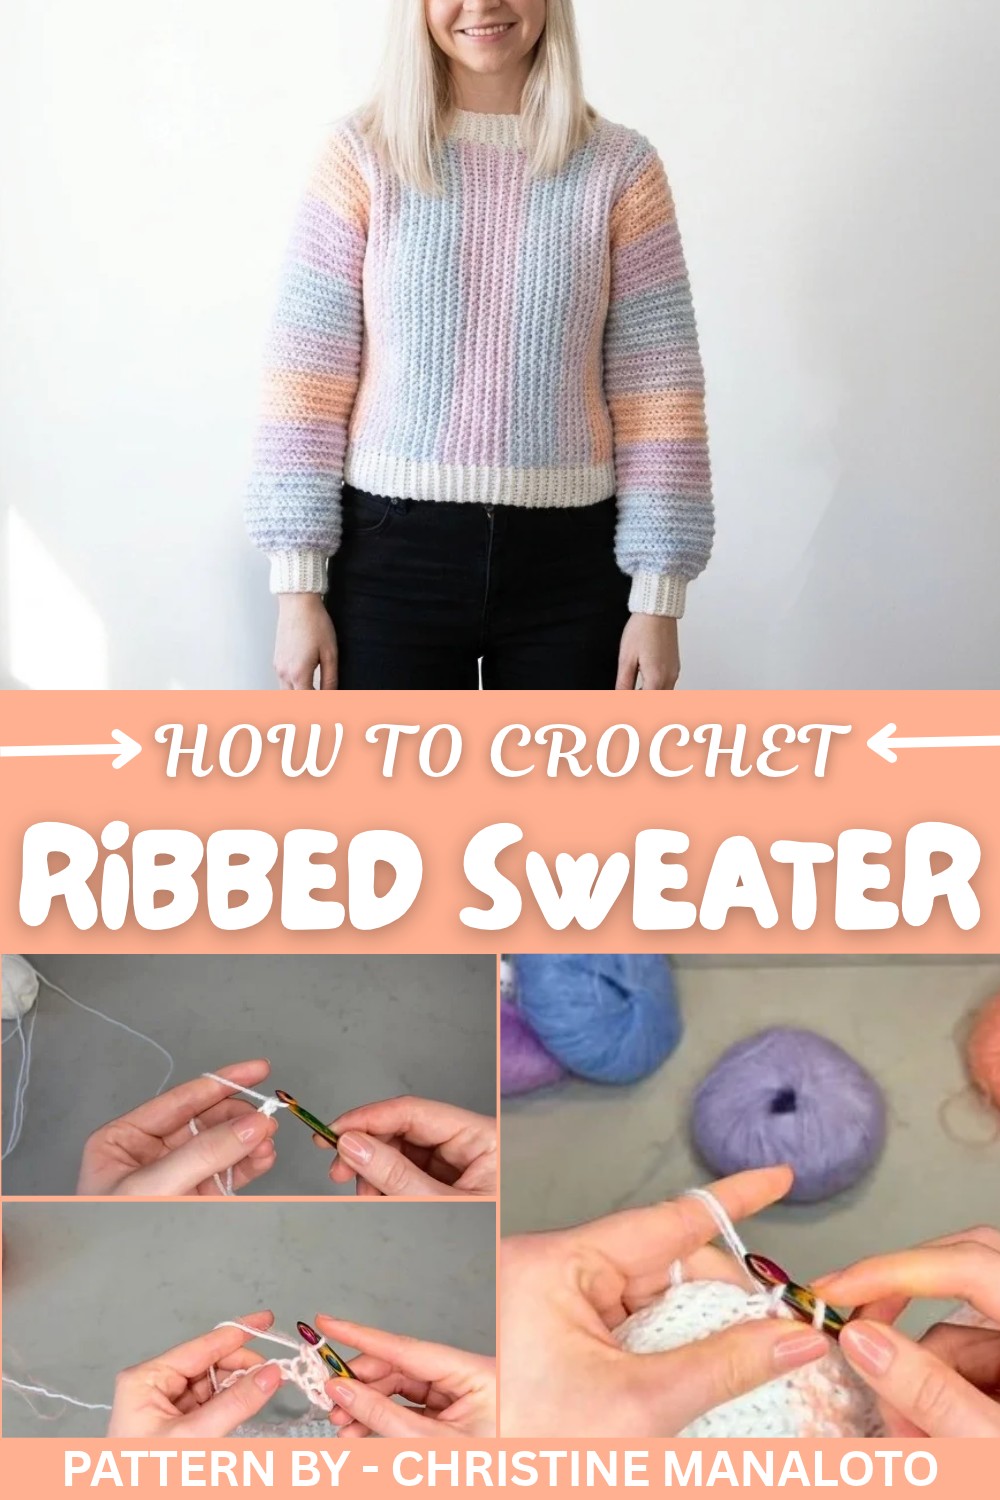
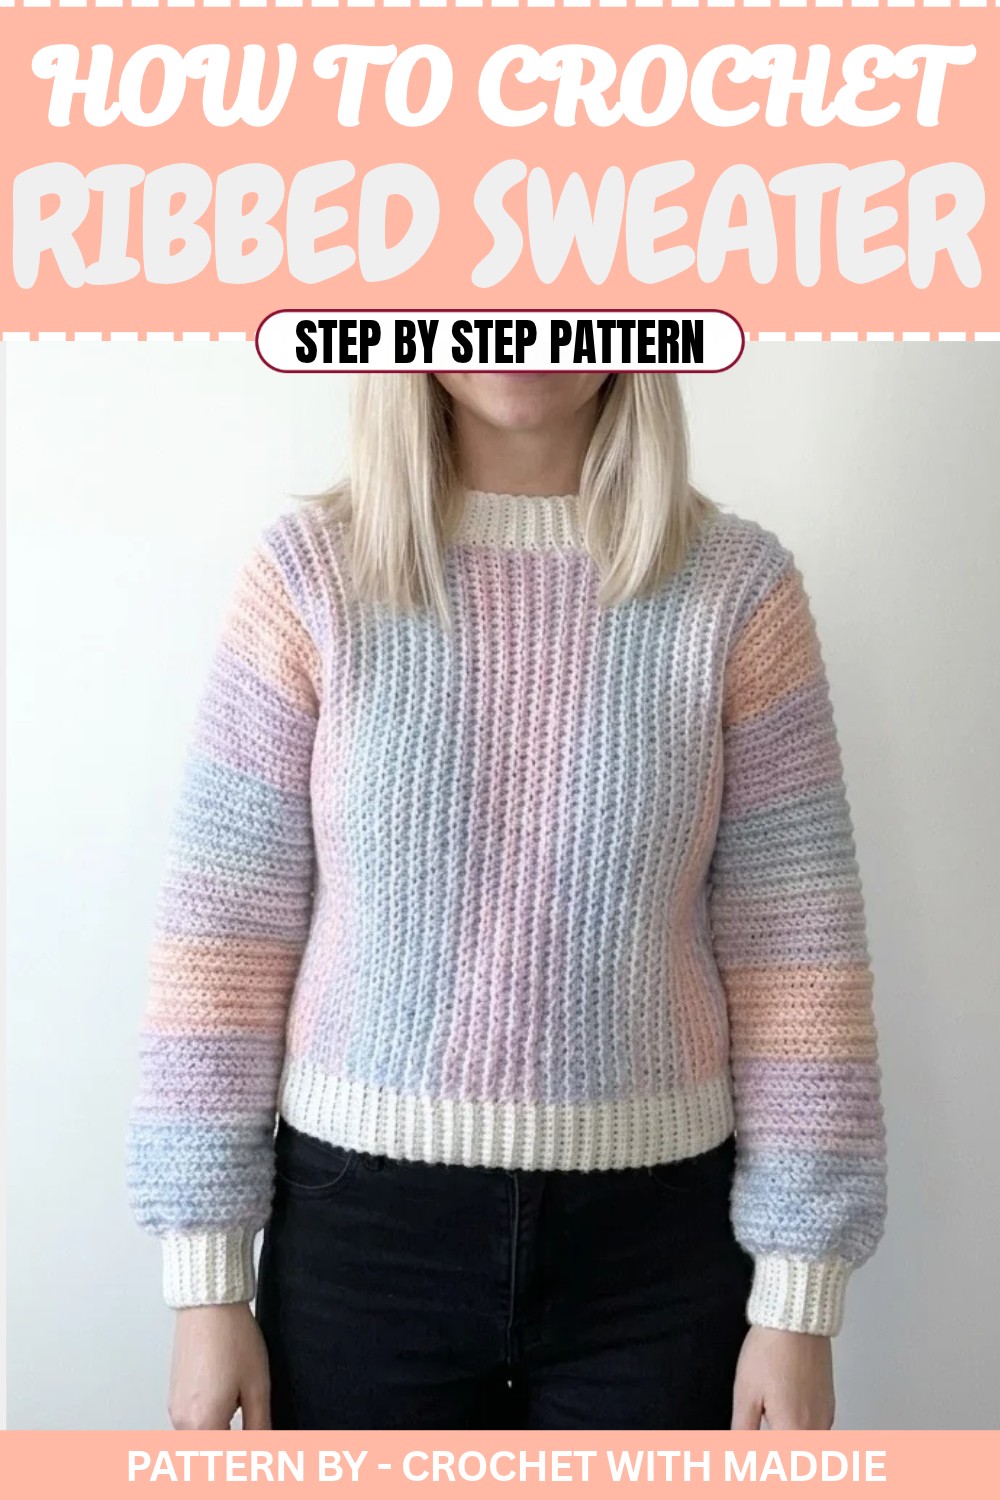
Crocheting your very own ribbed sweater can be a fun and rewarding project that combines style, comfort, and creativity. This stylish sweater offers a cozy texture from its ribbed design, making it ideal for chilly days while being lightweight enough for layering during cool evenings. Its timeless stripes in pastel shades add a playful touch, yet the design remains elegant enough to suit various occasions. This sweater truly showcases how handmade pieces can blend practicality with beauty.
Free Crochet Ribbed Sweater Pattern for Cool Evening Outings
The sweater’s most attractive feature is its alternating striped design, paired with ribbed sections at the bottom, cuffs, and neckline. The single crochet stitch is used throughout, worked only in the back loop for the distinct ribbed texture. A clever combination of mohair blend yarns with white acrylic yarn softens the pastel stripes, offering subtle sophistication. Additionally, the customizable neckline design allows crocheters to create wider or narrower openings to suit personal preferences.
Pattern by
Crochet with Maddie is a fantastic YouTube channel that offers beginner friendly tutorials with easy steps and clear explanations. Maddie’s calm teaching style makes even complex garments approachable. In her video tutorial, she takes viewers through every step of crocheting this ribbed sweater, from the foundation ribbing to delicate pastel stripes and how to shape sleeves and neckline seamlessly.
Not only is this sweater beautiful, but it’s practical too, it can be styled casually with jeans or dressed up over a dress for a cozy yet chic look. Crochet enthusiasts will enjoy crocheting something both functional and fashionable with Maddie’s thoughtful guidance, making this ribbed sweater a must try project.
Free Crochet Pattern: Ribbed Striped Sweater
This ribbed striped sweater uses a simple technique of single crochet through the back loop only (BLO), making it straightforward and accessible, even for beginners. The design combines bulky white yarn with thin pastel mohair yarn held together, giving it a soft and cozy texture.
Quick Overview of Pattern
- Primary Stitch: Single crochet through the back loop only (BLO).
- Hook Sizes: Use a 5mm hook for ribbing and a 7mm hook for the body and arms.
- Yarns: Bulky white yarn held together with thin pastel mohair yarn.
- Construction: Worked in four main parts—front, back, arms, and neckline—then assembled.
- Style: Features a ribbed texture, stripes, and a classic crew neckline.
Materials
- Crochet Hooks: 5mm and 7mm hooks.
- Yarn:
- White Acrylic Yarn (Weight 3): Approximately 7 balls for small medium sizes.
- Pastel Mohair Yarn: 1 ball of each color for the stripes.
- Scissors
- Needles: For sewing and weaving in ends.
- Stitch Markers: To section off arms and neckline.
Measurements
- Width of bottom ribbing: Approx. 46 cm.
- Sweater Height: Approx. 47 cm.
- Neckline Width: Slightly narrow in this pattern, adjustable for preference.
- Stripe Layout: 10 rows per stripe for seven stripes (adjustable).
Gauge
- No strict gauge required, but ensure consistent tension throughout. Use a sweater from your wardrobe for approximate measurements.
The Crochet Pattern
This sweater is composed of four sections: front piece, back piece, sleeves, and neckline. It’s worked in pieces and then assembled.
1. Ribbing and First Section: Front and Back Pieces
Ribbing for Front and Back Pieces
- With 5mm hook, create the ribbing for the front/back body:
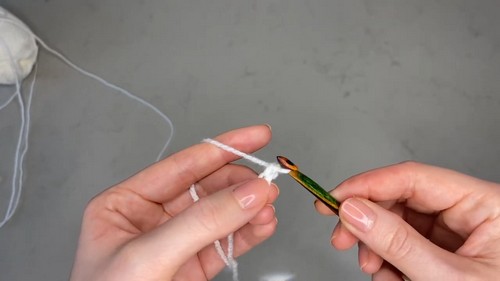
- Make a slip knot, and CH 10. The chain determines the height of the ribbing (approx. 4 cm).
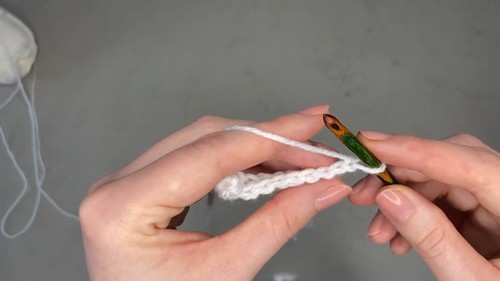
- Work single crochet through the back loop only (BLO) across the chain.
- Start in the second CH from the hook and work 9 SC BLO across the row.
- CH 1, turn your work, and repeat SC BLO across every row. This creates the ribbed texture at the bottom of the sweater.
- Continue until you have 70 rows of ribbing. This will form the width of your front or back body piece.
Sweater Base (Main Body)
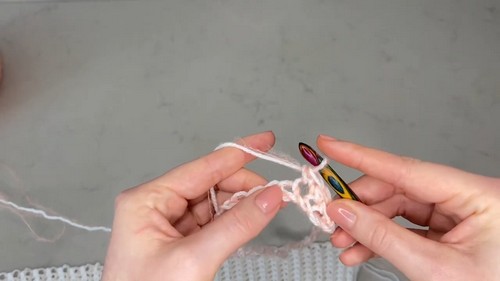
- Switch to the 7mm hook and chain the height of your sweater:
- Attach yarn to one edge of the completed ribbing.
- CH 55 stitches, which provides a moderate sweater length.
- Adjust the chain length if you prefer a longer or shorter sweater.
- Work single crochet (SC) down the chain:
- In the second CH from the hook, work SC into each chain.
- At the bottom, attach the row to the ribbing with a slip stitch (SL ST).
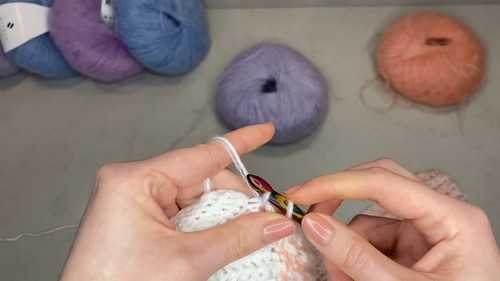
- Turn the work and work single crochet into the back loops (BLO) only:
- Continue this back and forth motion, building rows of SC BLO until the piece reaches the desired width.
- Divide rows into color sections for stripes. For this pattern: 7 stripes, 10 rows each.
Front Piece Neckline
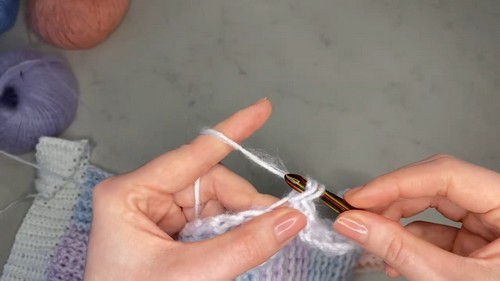
- When nearing the neckline (row 51):
- Stop 5 stitches short of the top edge, turn, and CH 1.
- Work back in SC BLO for 30 rows to create the shoulder above the neckline.
- Repeat this for the other side after leaving a 30 row wide gap in the center for the neckline.
- To bridge the neckline, CH 5 stitches between the shoulders to connect the gap.
Back Piece
- Repeat the same ribbing and main body steps as the front piece.
- Skip the neckline shaping. Work a straight edge across the width without leaving any gaps.
2. Assembly & Arms
Assembling Front and Back Pieces at Shoulders
- Lay the front and back pieces together, aligning the edges evenly.
- With a 5mm hook, work single crochet stitches along the top edges to join the shoulders. Use SC to create a smooth seam.
Arms
- Mark the arm section using stitch markers:
- Count and mark 25 stitches from either side of the shoulder seam.
- You will have 50 stitches total for the arm opening.
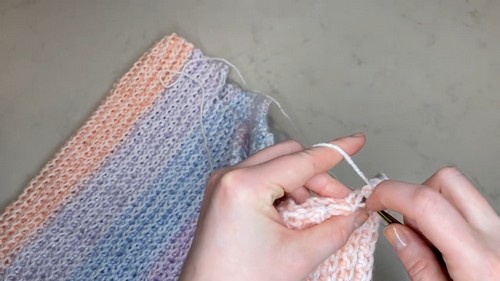
- Using the 7mm hook, attach yarn and work SC into the back loop only (BLO) to form stripes along the arm. Stripes: 10 rows each color, total 60 rows.
- Adjust the length for a tighter or longer sleeve, as you prefer.
Wrist Ribbing
- To taper the wrist ribbing:
- Work two stitches together (SC decrease) across the final row of the arm, reducing from 50 to 25 stitches.
- Switch to the 5mm hook, CH 10, and work SC BLO for the ribbing.
- Attach each row to the sleeve with a slip stitch, turn, and continue.
- Continue until the ribbing evenly circles the wrist.
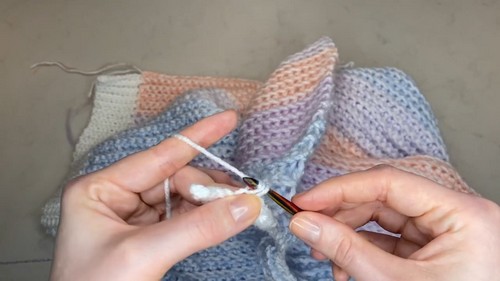
3. Neckline Ribbing
- Use the 5mm hook to single crochet around the entire neckline. This creates an even base.
- Once complete, begin the ribbing by CH 10. Start from any neckline stitch.
- After working down the chain, attach with SL ST into the neckline base and turn.
- Continue working SC BLO for each row of the ribbing until you have circled the neckline. When done, secure the ribbing ends.
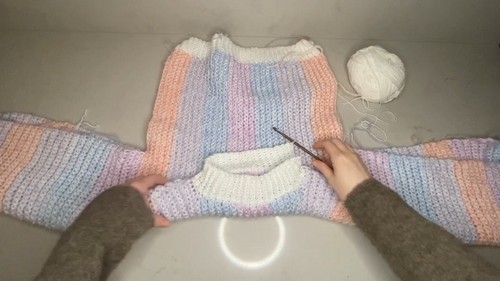
4. Final Finishing
- Side and Arm Seams:
- Fold the sweater inside out. Use the 5mm hook to SC the side seams together, starting from the bottom ribbing and working up to the armholes.
- Then, crochet along the arm seams to close the sleeves.
- Finishing Touches:
- Weave in all loose ends securely using a needle.
- Turn the sweater right side out, and your project is complete.
Conclusion
Congratulations on completing your ribbed striped sweater. This simple process guides you through a simple yet satisfying project that yields wonderful results. You now have a cozy, stylish sweater that’s perfect for layering or gifting. Remember, you can customize the colors, stripe sizes, and fit to make a unique piece just for you.