
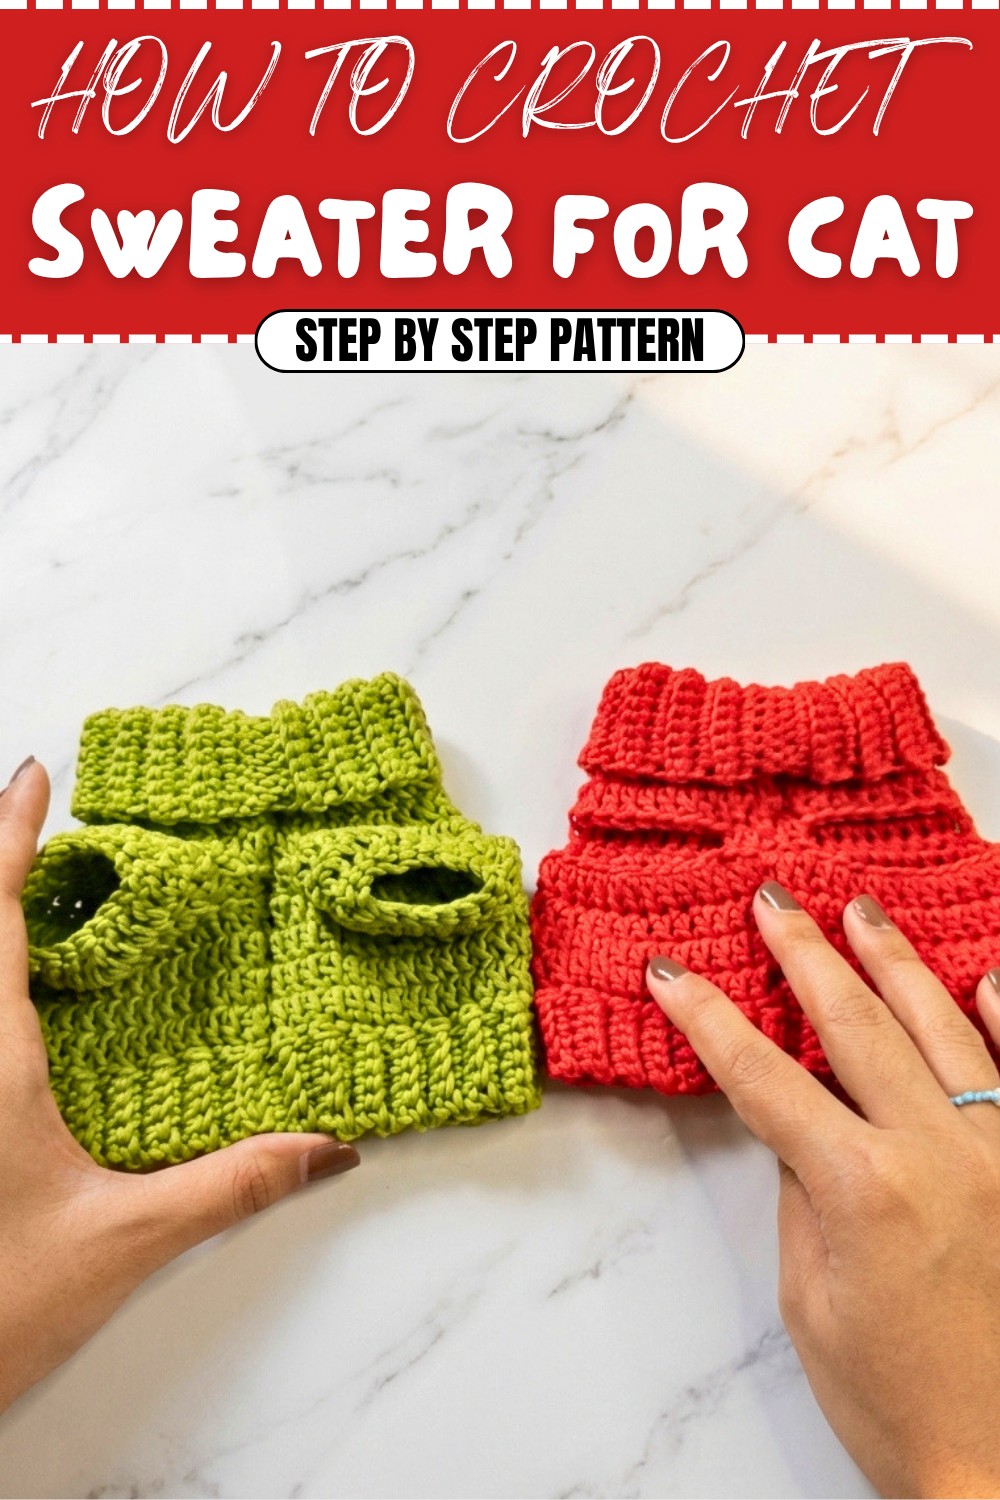
Crochet Cat Sweater Free Pattern for Custom Cat Accessories
Creating a crochet cat sweater can be a heartwarming way to show how much you care for your feline companion. A handmade sweater not only gives your cat extra warmth during chilly days but also adds an adorable charm to their look. The design uses soft cotton yarn, making the sweater both gentle and breathable. Ribbed edges around the neck and bottom lend a neat finish, giving your cat that stylish touch while staying comfortable for daily wear.
Crochet Cat Sweater Pattern with Fun Color Options
Whether your cat is active or enjoys simply lounging, the stretchy construction allows for easy movement and a perfect fit. Varying the number of stitches and rows makes it easy to size the sweater for kittens or adult cats, letting everyone enjoy this cozy accessory. A crochet cat sweater becomes more than just a cute outfit, it’s a little hug from you that your pet can wear each day.

What You’ll Gain from This Free Pattern
- Friendly for Beginners:
- The pattern uses basic stitches like single crochet and double crochet
- Instructions are clear, step-by-step, making each stage easy to follow
- Minimal shaping means your first project can be a rewarding success
- Skills You’ll Learn:
- Working in the back loop for stretchy ribbing
- Adding increases to shape the sweater for your cat
- Marking and creating neat armholes
- Seamlessly joining edges for a smooth finish
- Many Ways to Use This Pattern:
- Adjust the pattern for small dogs or other pets
- Create matching accessories for plushies or dolls
- Whip up gifts for fellow pet lovers and their companions
- Creative Freedom:
- Choose your favorite yarn colors
- Add fun touches like buttons, stripes, or appliqués
- Modify the length or sleeves for a vest or pullover style
This cat sweater pattern offers a joyful introduction to crochet and plenty of room to grow your skills, all while making something practical and sweet for your beloved pet. From mastering simple stitches to adding your own
Crocheted Cat Sweater (Pullover or Vest) – Step-by-Step Pattern
Turn your favorite feline into a cozy fashion icon with this crocheted cat sweater, designed for both kittens and adult cats. The pattern allows you to create either a sleeveless vest or a pullover sweater with sleeves, using back-loop ribbing for neck and waist comfort, and shaping for armholes. This project is perfect for intermediate crocheters who want to create custom pet wear using simple stitches, strategic increases, and seamless rounds.
Skill Level & Terminology
- Skill Level: Intermediate
- Terminology: US Crochet Terms
Materials & Tools
- Yarn: Balinese cotton thread (or any bulky/super bulky weight cotton or acrylic yarn), approx. 50–80g for kitten size; increase as needed for adult cats.
- Hook: Size 5.0 mm crochet hook
- Notions: Stitch markers, scissors, yarn needle, measuring tape
Gauge
Make a swatch in single crochet, back loop only:
12 sts x 14 rows = 4 x 4 in (10 x 10 cm)
Adjust hook size or tension to match. Exact gauge is flexible, as sizing is adjustable.
Abbreviations List
- ch: chain
- sc: single crochet
- dc: double crochet
- inc: increase (2 sts in same st)
- sl st: slip stitch
- rep: repeat
- st(s): stitch(es)
- bl: back loop only
Special Stitch Instructions
- Back Loop Single Crochet (blsc): Insert hook into back loop only, work as a regular sc.
- Increase (inc): Work 2 stitches into the same stitch.
- Slip Stitch from Back (Invisible join): Insert hook from WS to RS, pull yarn through to create a neater edge.
Finished Size
- Neck ribbing: Fits approx. 18cm circumference (kitten/small cat); adjust for larger cats.
- Body length: Customizable based on cat’s size.
- Sleeve circumference: Adjustable; vest version omits sleeves.
How to Start & Stitches Used
Start: Begin with ribbing for the neck, then connect to work the body in rounds. Use back-loop sc for ribbing (neck/waist), and double crochet for the main body and sleeves.
Stitches used: sc, blsc, dc, ch, sl st, inc.
The Pattern Itself
1. Neck Ribbing
- Ch 13.
- Row 1: Sc in 2nd ch from hook and across (12 sc).
- Row 2: Ch 1, turn, blsc across.
- Repeat Row 2 until rib measures 18 cm or to fit your cat’s neck.
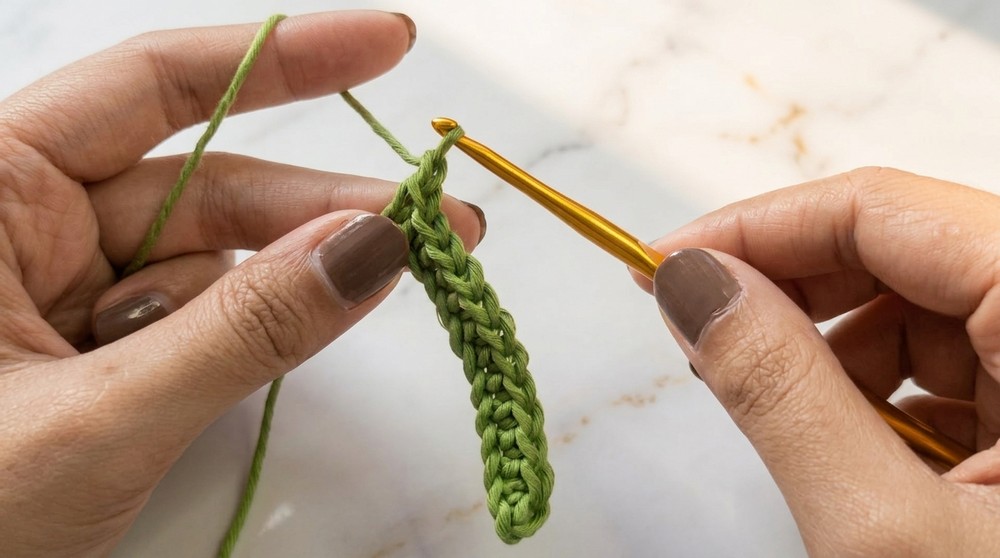
You’re crocheting a stretchy band for the neck. Back-loop sc gives the rib effect and stretch.
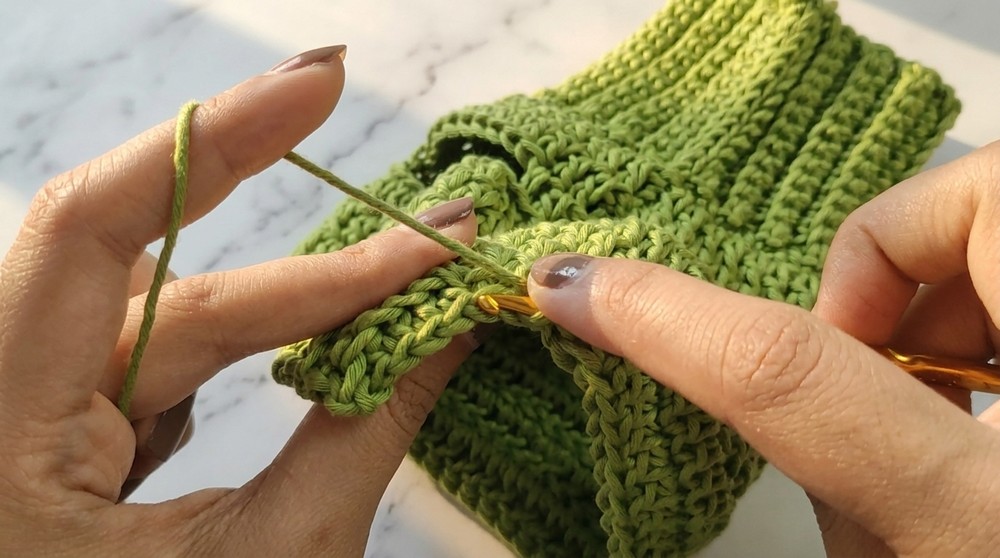
2. Forming the Neck Ring
- Fold ribbing so short edges meet.
- Join with sl st (12 times) through both layers to form a ring.
- Fasten off.
You now have a stretchy ring that fits your cat’s neck.
3. Body Setup
- Attach yarn at seam.
- Rnd 1: Ch 1, sc evenly around edge of rib (place 1 sc in each row-end or peak and valley, about 20–30 sts for kitten size).
- Sl st to join.
Pick up stitches from the rib edge to begin the body. Distribute stitches evenly for smooth shaping.
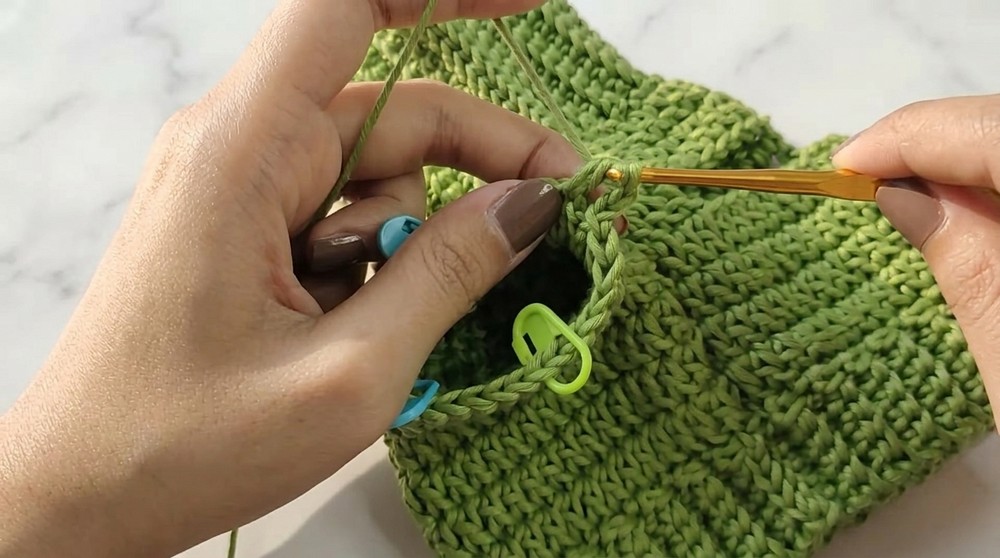
4. Marking for Ragdoll Body
- Place stitch markers at 4 points: left side, right side, and two on the belly and back (dividing sweater into quadrants).
Markers help with placement for increases and armholes.
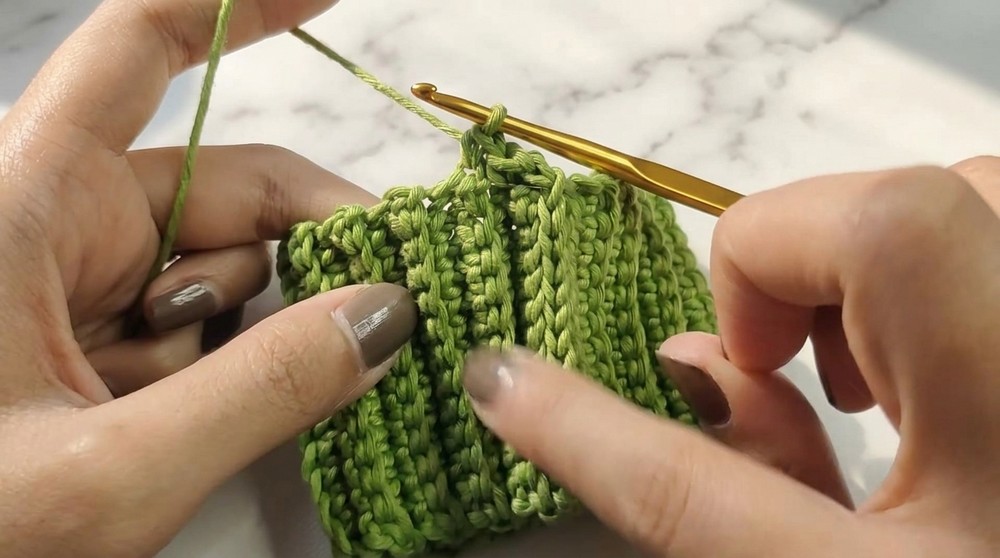
5. Body Increases
- Rnd 2: Ch 3 (counts as first dc), dc in same st.
- Dc in each st to marker, at every marker: inc (2 dc in one st).
- Repeat around, sl st to join.
- Repeat (dc in each st, inc at markers) for 2–3 rounds, moving markers up as you increase.
This expands the body tube. The increases at the markers shape for overall fit.
6. Body Tube
- Next rounds: Continue in dc, working dc in each st, inc at markers as needed for fit, until body tube reaches desired length (from neck to just before forelegs).
Work evenly to desired length; check against your cat for fit.
7. Armhole Opening (Pullover Style)
- When you reach the chest, dc to first side marker,
- Ch 13 (for kitten; larger cats may need more),
- Sk next 8 sts, dc in 9th st (corresponds to second side marker).
- Dc across back to next marker, rep for second armhole.
Chains create space for armholes, keeping the body seamless.
8. Body Extension
- Next round: Dc in each st and chain across armhole.
- Continue dc rounds until sweater reaches desired waist length.
Work evenly through body and chains; sweater now has space for legs.
9. Waist Ribbing
- Fasten off body yarn.
- With new yarn, ch 6.
- Row 1: Sc in 2nd ch and across (5 sc).
- Row 2: Ch 1, turn, blsc across.
- Continue (repeat Row 2), attaching ribbing to the waist edge with 2 sl sts after each rib row, until rib spans whole waist edge.
- Join by slip stitching final row to starting edge. Fasten off.
The waist rib is worked as a strip attached as you go, creating a stretchy finish.
10. Sleeveless Vest Option
- For a vest, fasten off here. Weave in ends.
- If you want sleeves, proceed to the next section.
The vest version is ready! Check fit on your cat; you can stop here if you prefer sleeveless.
11. Pullover Sleeve
- Attach yarn at armhole edge.
- Rnd 1: Ch 3, dc evenly around armhole.
- Sl st to join.
- Rnd 2: Place markers at sides and center under arm, ch 2.
- Dc around, making inc (2 dc in one st) at marker points.
- Repeat 2 rounds, making inc only as needed for comfort and fit.
- Fasten off.
- Repeat for second sleeve.
Sleeves add warmth and coverage. Adjust number of rounds for sleeve length.
12. Assembly & Finishing
- Fold neck ribbing down for turtleneck effect.
- Weave in all loose ends with yarn needle.
- Block sweater slightly for shape if desired.
The sweater is complete! Fold ribbing, tuck in ends, and try on your cat for a fashionable fit.
Conclusion, Corrections, and Tips
Conclusion:
Your sweater is ready for a stylish fur-friend—and can be worn as a warm pullover or chic vest. Enjoy customizing this comfy pattern for cats big or small.
Pattern Corrections:
If body width or armhole placement feels off, adjust markers or stitch count before completing waist ribbing. Try the sweater on your cat as you go!
Tips:
- Move markers up every round for increases.
- Use back-loop sc for ribbing—this makes it stretchy and comfortable.
- Most stitches are dc and sc—easy to memorize!
- Keep measurements handy and check fit often.