
How To Crochet Sunflower Pot Free Pattern With Step By Step Guidness
Brighten your space with this lovely Crochet Sunflower Pot free pattern that’s easy to follow and perfect for adding a cheerful floral touch to any room.
DIY Yarn Crafts opened the door to this crochet project with the original tutorial, which serves as the foundation for this written patternt. The Crochet Sunflower Pot features bright yellow sunflower motifs with detailed petals and a brown center, all attached to a crocheted pot in green or brown shades. This cheerful and colorful decoration can brighten up windowsills, shelves, desks, or any spot that could use a warm, inviting touch. It also makes a thoughtful handmade gift for friends or family.
Quick Crochet Sunflower Pot Free Pattern For Living Room
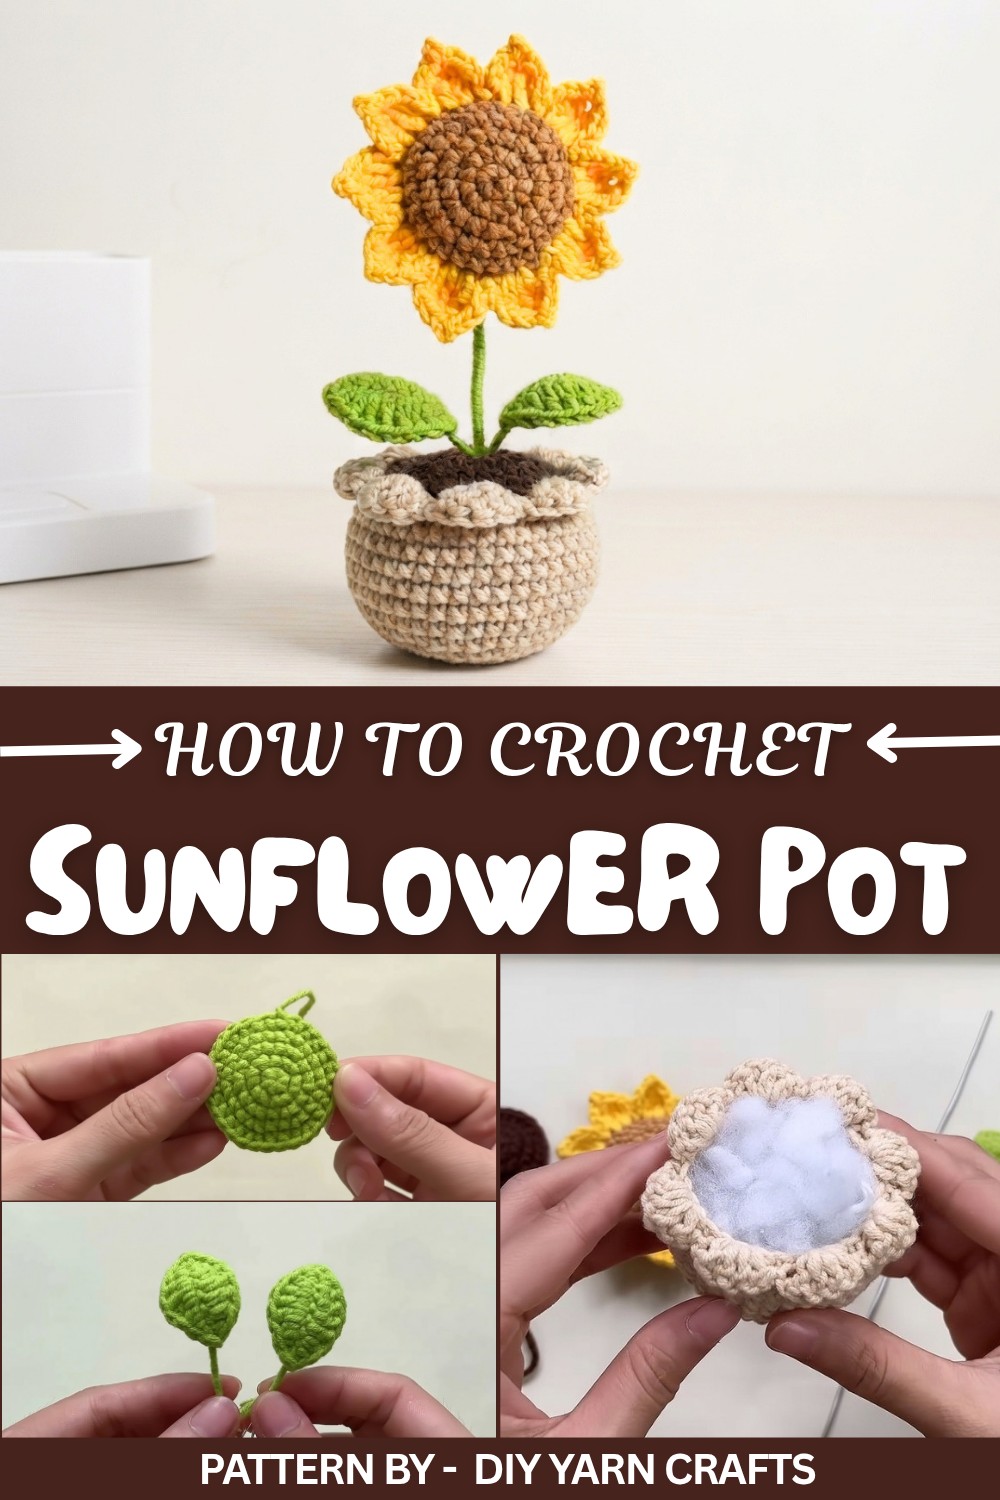
One special feature of this project is the option to customize the pot and flower colors to suit your personal style. Adding green leaves or stems can give the sunflower pot a more natural and unique appearance.
The making process starts with crocheting the sunflower motifs, working in rounds to form each petal and flower center using simple stitches. After completing the sunflowers, the pot base is created with rounds and rows of basic crochet stitches to form its shape. Finally, the sunflowers are carefully sewn or stitched onto the pot, finishing the piece with a lively and textured look.
This project uses beginner-friendly crochet techniques and offers a wonderful way to add a touch of brightness and charm to your home decor without requiring advanced skills. The finished Crochet Sunflower Pot brings color and coziness in a simple yet eye-catching way.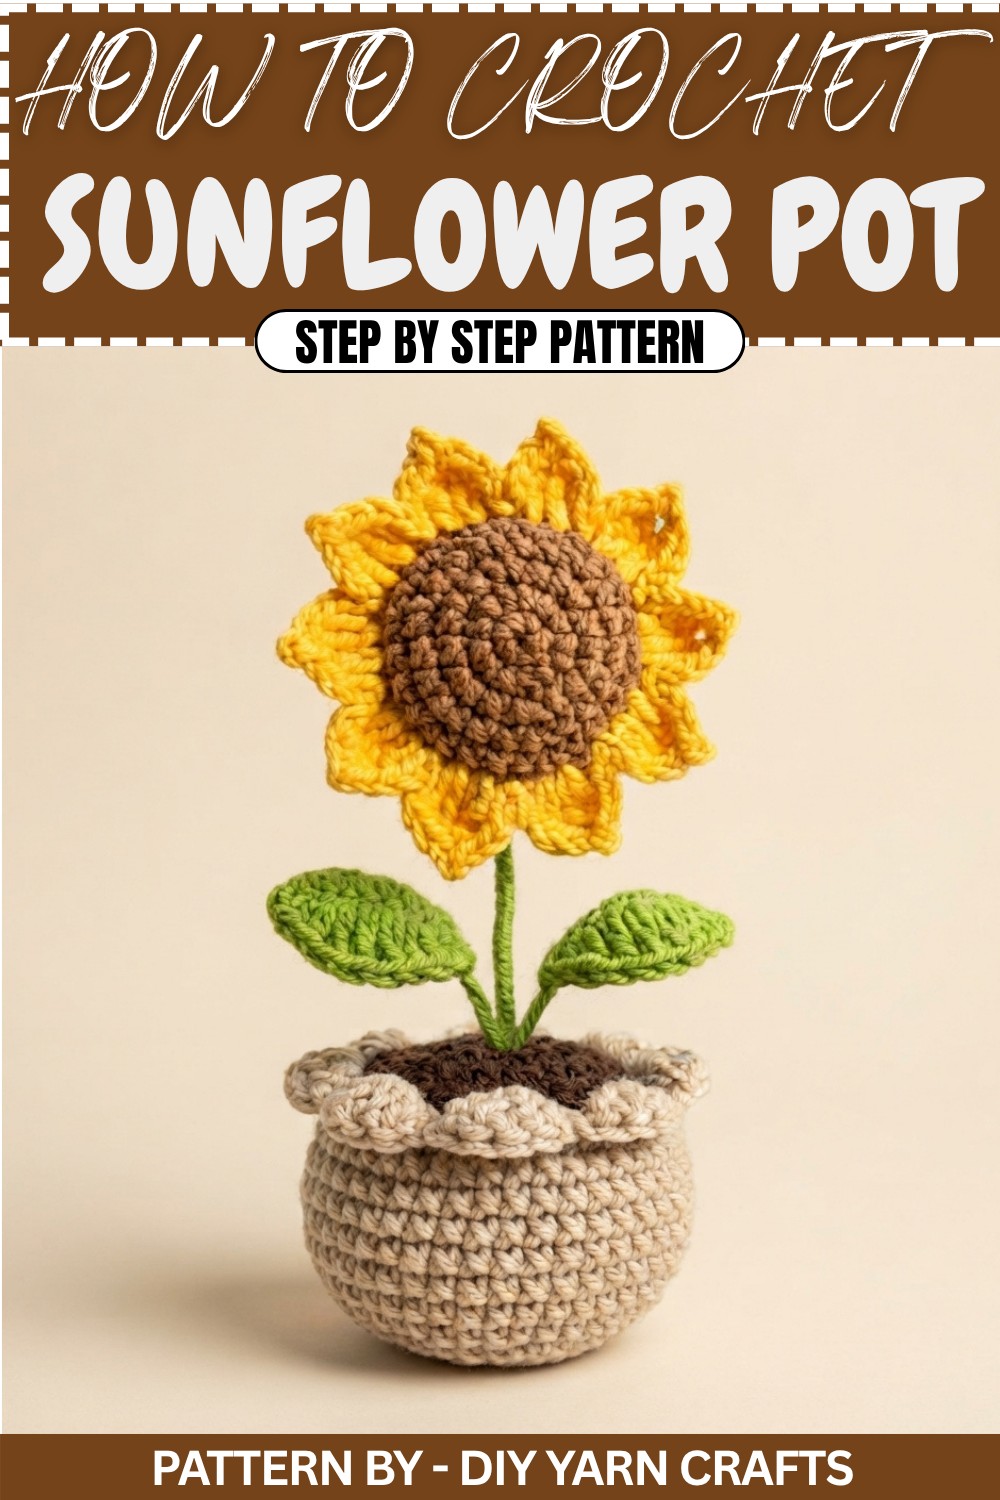
Crochet Sunflower in a Pot: Complete Pattern
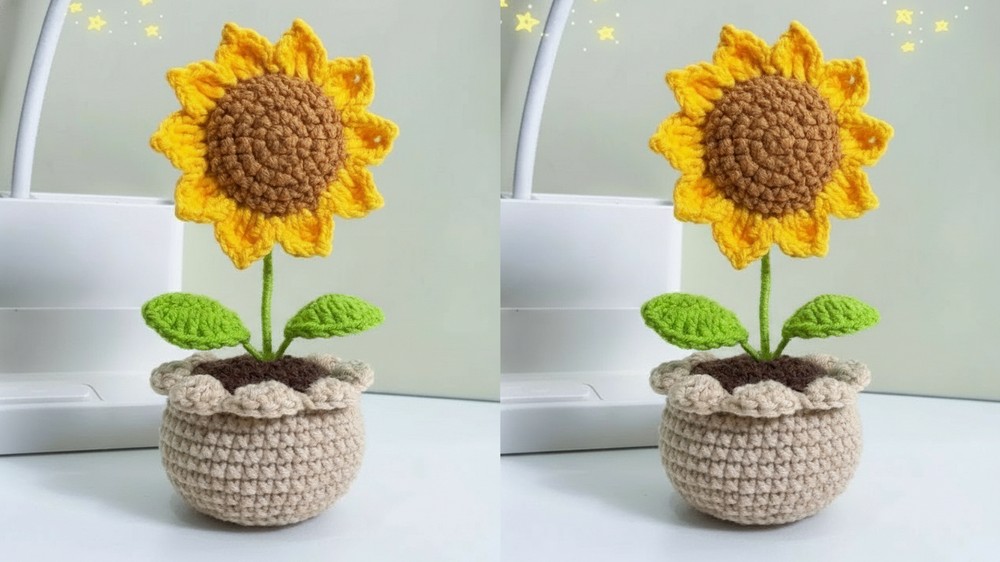
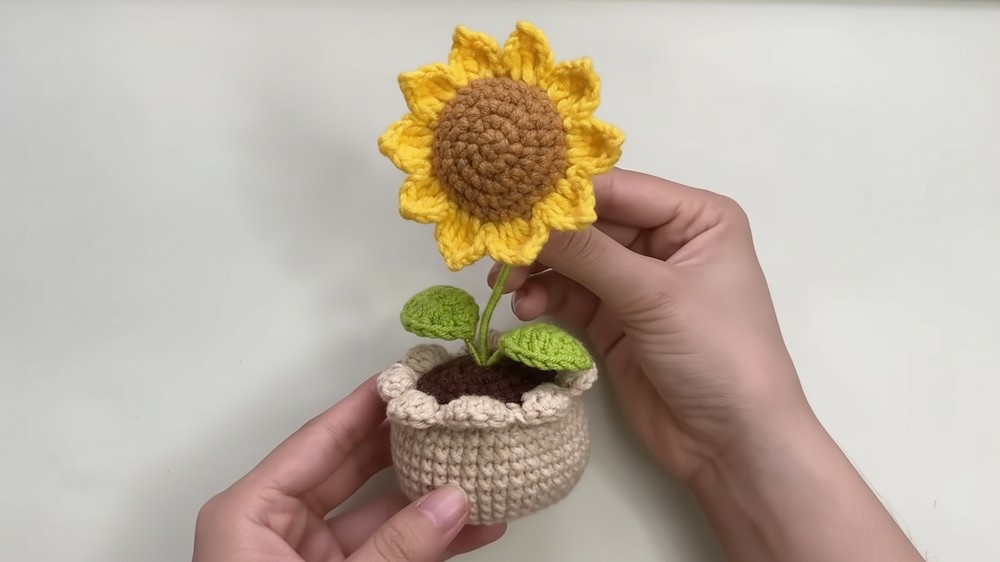
This project captures the cheerful, classic charm of a sunflower arranged in its own crocheted pot. The construction features realistic, layered sunflower details: distinctive dark stamen, golden petals, textured sepals, shaped leaves with wire-inserted stems, sturdy “soil,” and a decorative flowerpot. Each element is crafted for visual accuracy and lasting form, making this a delightful accent or heartfelt handmade gift.
Pattern Basic Points
- Comprehensive construction: Includes patterns for sepal, stamen, petals, leaves, flowerpot, and a realistic soil topping.
- Dimensional shaping: Leaves and petals utilize shaping and wire for structure; the pot keeps your sunflower upright.
- Seamless construction: Magic rings used for clean, closed starts on 3D components.
- Stitch texture: Back and front loop techniques, combined with various stitch heights, create depth and visual interest.
- Customizable: Easily adjust colors, add more leaves or petals, or modify pot size as desired.
Special Notes
- Written in standard US crochet terms.
- Sturdy wire (enclosed in leaf and stem) enables easy shaping and durable arrangement.
- When adjusting size or yarn type, ensure the soil disc matches the pot opening for proper fit.
- Magic ring starting method creates a seamless, tight center for rounds.
- Finish each round with invisible joins or a well-placed slip stitch as preferred.
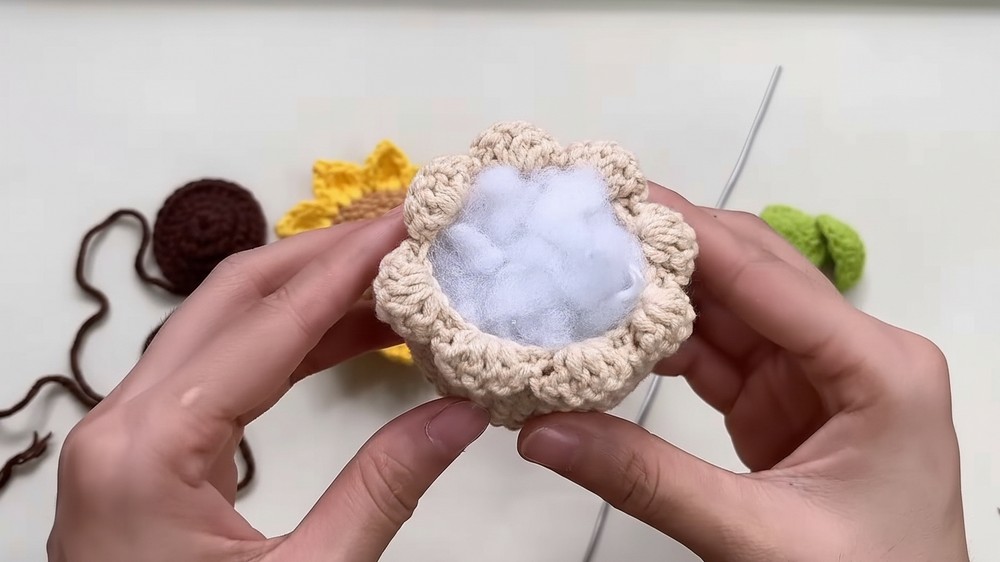
- It is important to stuff the pot firmly to keep the flower standing tall.
Skill Level
Intermediate
Some shaping, wire insertion, and assembly required. Basic knowledge of working in rounds, increasing, and combining different stitches is essential. Recommended for crocheters who are comfortable with amigurumi techniques.
Materials
- Yarn: Sport or DK weight preferred (cotton/acrylic blend for shape retention)
- Yellow (petals)
- Brown (stamen)
- Green (leaves, stem, and sepal)
- Terracotta or Brown (pot)
- Hook Size: 2.5 mm – 3.5 mm (match yarn weight for best results)
- Floral Wire: 15–18 cm (22–26 gauge), for stem and leaves
- Tapestry Needle
- Scissors and Wire Cutters
- Stuffing/Fiberfill
- Craft Glue/Hot Glue (optional: for securing stem)
- Stitch Markers (optional, for rounds)
- Tape (optional, for securing wire before wrapping)
- Measuring Tape
Measurements & Gauge
- Sunflower diameter (petal span): Approx. 3.5" (9 cm)
- Leaf length (with stem): Approx. 3" (8 cm)
- Pot height: 2.5" (6 cm)
- Finished total height: 6"–7" (15–18 cm) including stem
Gauge: Approximately 22 sc x 20 rows = 4" (10 cm) with suggested yarn and hook. Precise gauge is not critical, but ensure the soil fits the pot opening.
Stitch Abbreviations
- ch – chain
- slst – slip stitch
- sc – single crochet
- hdc – half double crochet
- dc – double crochet
- tr – treble crochet
- inc – increase (2 sc in same st)
- dec – decrease (sc2tog)
- st(s) – stitch(es)
- rep – repeat
- sk – skip
- BLO – back loops only
- FLO – front loops only
Special Stitches
Magic Ring: Begin with a loop, work specified stitches into the loop, then pull closed.
Invisible Decrease: Insert hook into front loop only of next two sts, yarn over and pull through, yarn over and pull through both loops.
Petal Cluster: Sequence of increasing and decreasing stitch heights in one st, creating a curved petal shape.
Pattern Instructions
1. Sepal & Stamen (Make one each: green for sepal, brown for stamen)
Round 1:
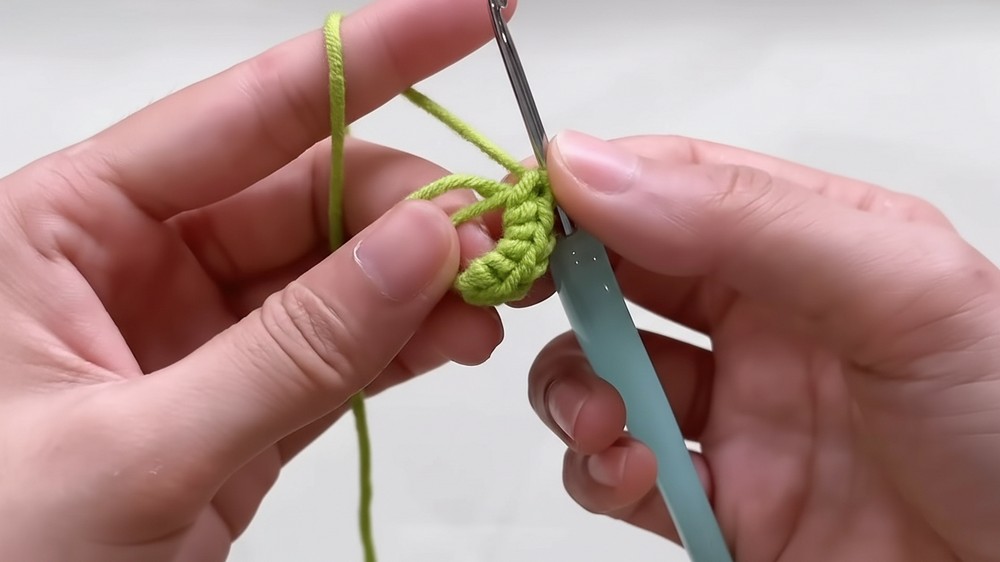
- Make a magic ring, 6 sc into ring, slst to first sc to join. (6 sts)
Round 2:
- Inc in each st around. (12 sts)
Round 3:
- Sc in next st, inc in next st; rep 6 times. (18 sts)
Round 4:
- Sc in each of next 2 sts, inc in next st; rep 6 times. (24 sts)
Round 5:
- Sc in each of next 3 sts, inc in next st; rep 6 times. (30 sts)
- Fasten off brown stamen.
- Do not fasten off green sepal if using it for the petal join.
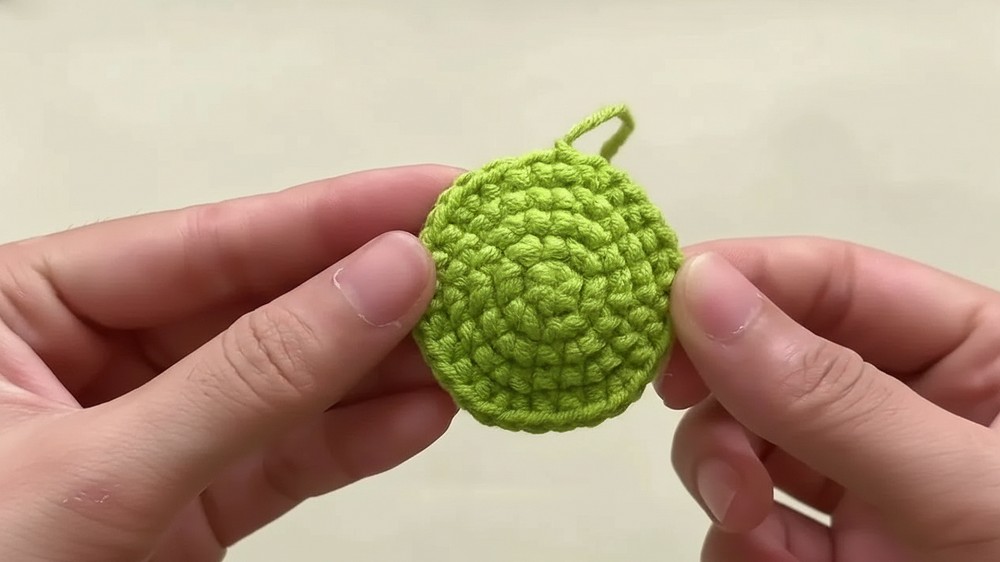
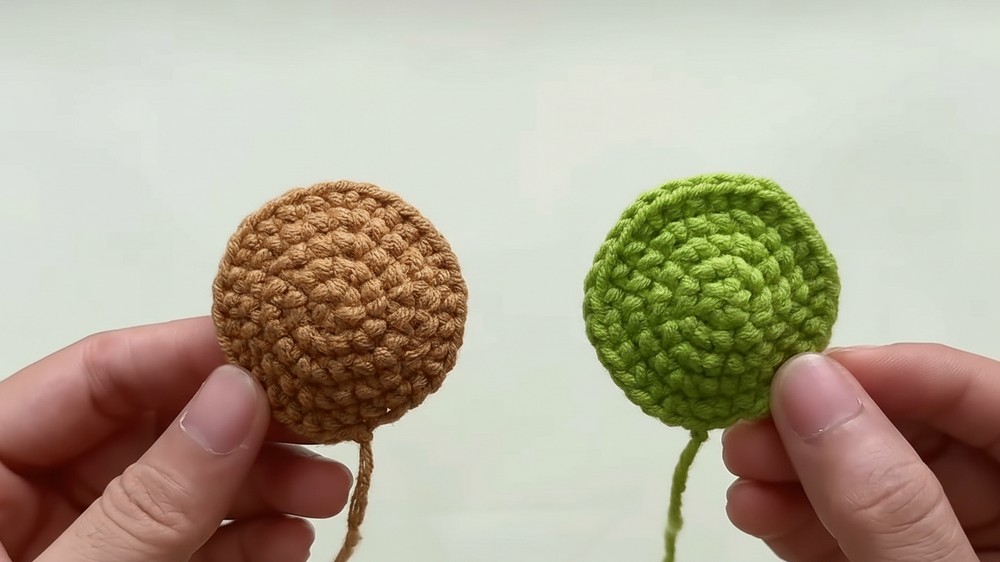
Tip: The finished circles will be layered, with the stamen (brown) on top of the sepal (green) for assembly.
2. Petals
Preparation:
Hold the green sepal and brown stamen together with wrong sides touching. Join yellow yarn through both layers at any stitch.
Petal (worked over every third st, 10 petals total):
- *Ch 2.
- In next st: dc, tr.
- Ch 2, slst in second ch from hook (creates tip).
- In same st: tr, dc.
- Slst to next st (anchor), slst to next st, begin next petal in third st.*
- Repeat for a total of 10 petals around (one every 3 sts).
- Slip stitch to base of first petal to finish.
- Fasten off yellow. Weave in ends.
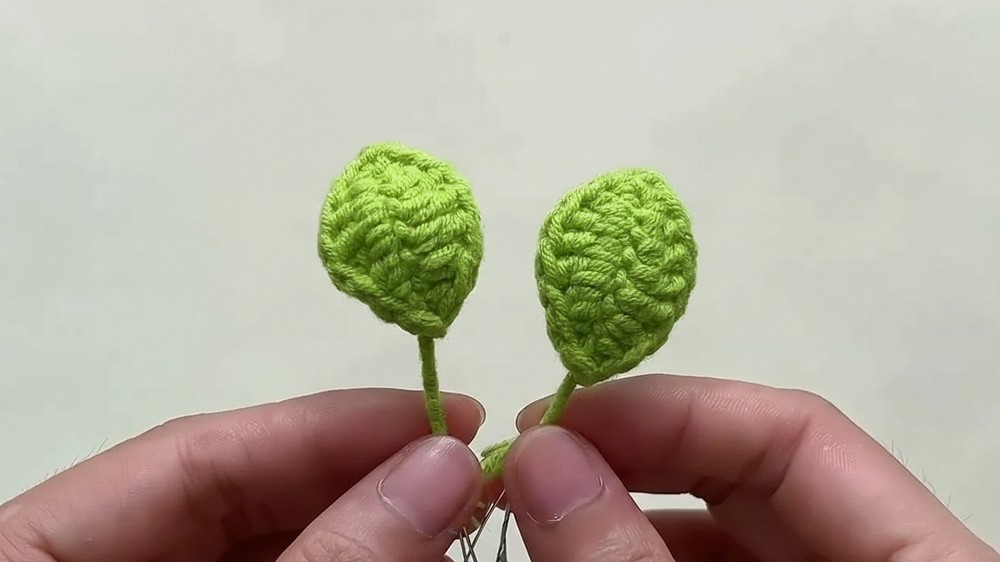
3. Leaves (Make 2)
Base:
- Cut ~15 cm floral wire, hold alongside chain as you crochet.
Row 1:
- Ch 8.
- Working around wire, in second ch from hook: 1 sc.
- Next ch: 1 hdc.
- Next ch: 1 dc.
- Next 2 ch: 1 dc each (2 dc total).
- Next ch: 1 hdc.
- Last ch: 1 sc.
- Ch 2, turn.
Return Side:
- Work back on underside of starting ch, covering wire:
- 1 sc, 1 hdc, 3 dc, 1 hdc, 1 sc.
- Slst to initial starting point for a neat leaf tip.
- Fasten off, leaving yarn tail to wrap stem wire.
Shape leaf curve as desired with the wire.
4. Flower Pot
Round 1:
- Magic ring, 8 sc into ring. (8 sts)
Round 2:
- Inc in each st around. (16 sts)
Round 3:
- Sc in next st, inc in next st; rep 8 times. (24 sts)
Round 4:
- Sc in each of next 2 sts, inc in next st; rep 8 times. (32 sts)
Round 5:
- BLO: Sc in 3 sts, inc in next st; rep 8 times. (40 sts)
Rounds 6-12:
- Sc in each st around. (40 sts per round)
Round 13:
- Sc in next 3 sts, dec over next 2 sts; rep 8 times. (32 sts)
Round 14 (Pot Rim):
- FLO: Sk 1 st, 4 dc in next st, ch 1, sk 1 st, slst in next st; rep 8 times for rim scallops.
- Fasten off, weave in ends.
5. Soil
Round 1:
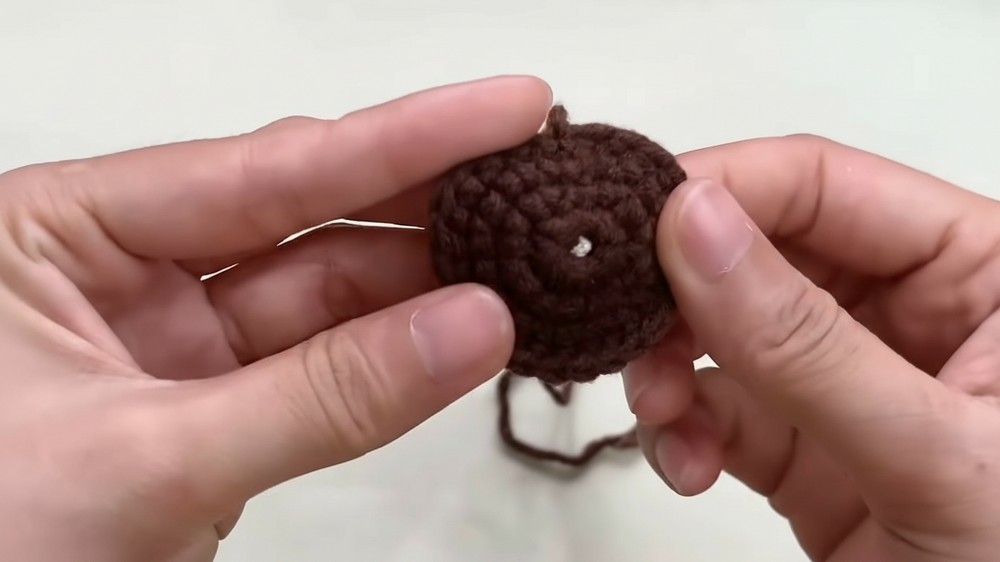
- Magic ring, 8 sc into ring. Do not close completely—leave a small center hole for the stem.
Round 2:
- Inc in each st around. (16 sts)
Round 3:
- Sc in next st, inc in next st; rep around (24 sts).
Continue increasing as in pot base:
- Sc in next 2 sts, inc in next st – (32 sts).
- If needed, add a round: Sc in next 3 sts, inc in next st – (40 sts).
- When soil disc matches inner diameter of pot opening, fasten off.
- Leave center hole for flower stem to insert.
Assembly
-
Stack & Join Flower:
- Layer brown stamen atop green sepal, wrong sides together.
- Using tail or matching thread, sew together at center if petals were not already joined through both.
-
Attach Petals:
- Petals are crocheted through both layers for strength.
-
Build Flower Stem:
- Insert wire (12–15 cm) through center of soil disc.
- Wrap stem wire tightly in green yarn, using long yarn end or fresh yarn. Use a little glue or secure with tapestry needle.
-
Attach Leaves:
- Twist, sew, or glue leaves to stem at desired angles. Wrap stem for tidiness.
-
Assemble Pot:
- Stuff pot firmly with fiberfill.
- Insert stem with soil disc on top. Push a small part of the stem through the hole in the soil for secure position.
- Sew or glue soil piece to pot rim for neat finish.
- Stuff pot firmly with fiberfill.
-
Secure Sunflower:
- Use extra yarn or glue to attach flower head securely to wrapped stem, letting it sit above the soil.
-
Finishing Touches:
- Shape petals and leaves outward for a natural look.
- Weave in all yarn ends; trim any excess wire.
Finished Size
- Sunflower diameter: ~3.5" (9 cm)
- Pot height: 2.5" (6 cm)
- Total height: 6–7" (15–18 cm)
- Leaf length: ~3" (8 cm)
Conclusion
Creating a sunflower in a pot allows for exploration of 3D crochet, colorwork, and structural techniques. With clearly defined components for the flower head, foliage, pot, and soil, this design results in a bright and long-lasting floral decoration. The inclusion of wire for shaping and sturdy amigurumi-style construction offers intermediate crocheters a project blending realism with creativity, suitable for both display and gifting.
Feel free to customize colorways or pot details to match any space or occasion. This project embodies the joyful, sunny spirit of a real sunflower, elegantly presented for enduring enjoyment.