
Crochet Snowflakes Earrings Pattern for Sparkly Handmade Gifts
Solve winter styling dilemmas and brighten your outfits using a Free Crochet Snowflakes Earrings Pattern for unique, trendy flair.
When snowflakes start to dance outside the window, it inspires me to create delicate and beautiful crochet pieces that capture their magic. This earring pattern features a sparkling snowflake design made with airy chains, double crochets, and charming picot stitches that form tiny points like real frost. The pattern uses a magic ring to start, which allows you to create a perfect circular shape. The picot stitches add a delicate, lacy finish that makes these earrings light and elegant, perfect for holiday celebrations or winter-themed gifts.
More Projects with This Snowflake Pattern
This snowflake motif is not just for earrings. You can make larger versions to use as festive ornaments for your Christmas tree or holiday decor. Small snowflakes can be sewn onto scarves, hats, and mittens for a charming winter touch. You might even create a garland to brighten a room with a cozy, seasonal look. The lacy and crisp pattern allows for many creative uses, so you can spread a bit of winter sparkle wherever you like.
Try this Free Crochet Snowflakes Earrings Pattern for Snowy Days
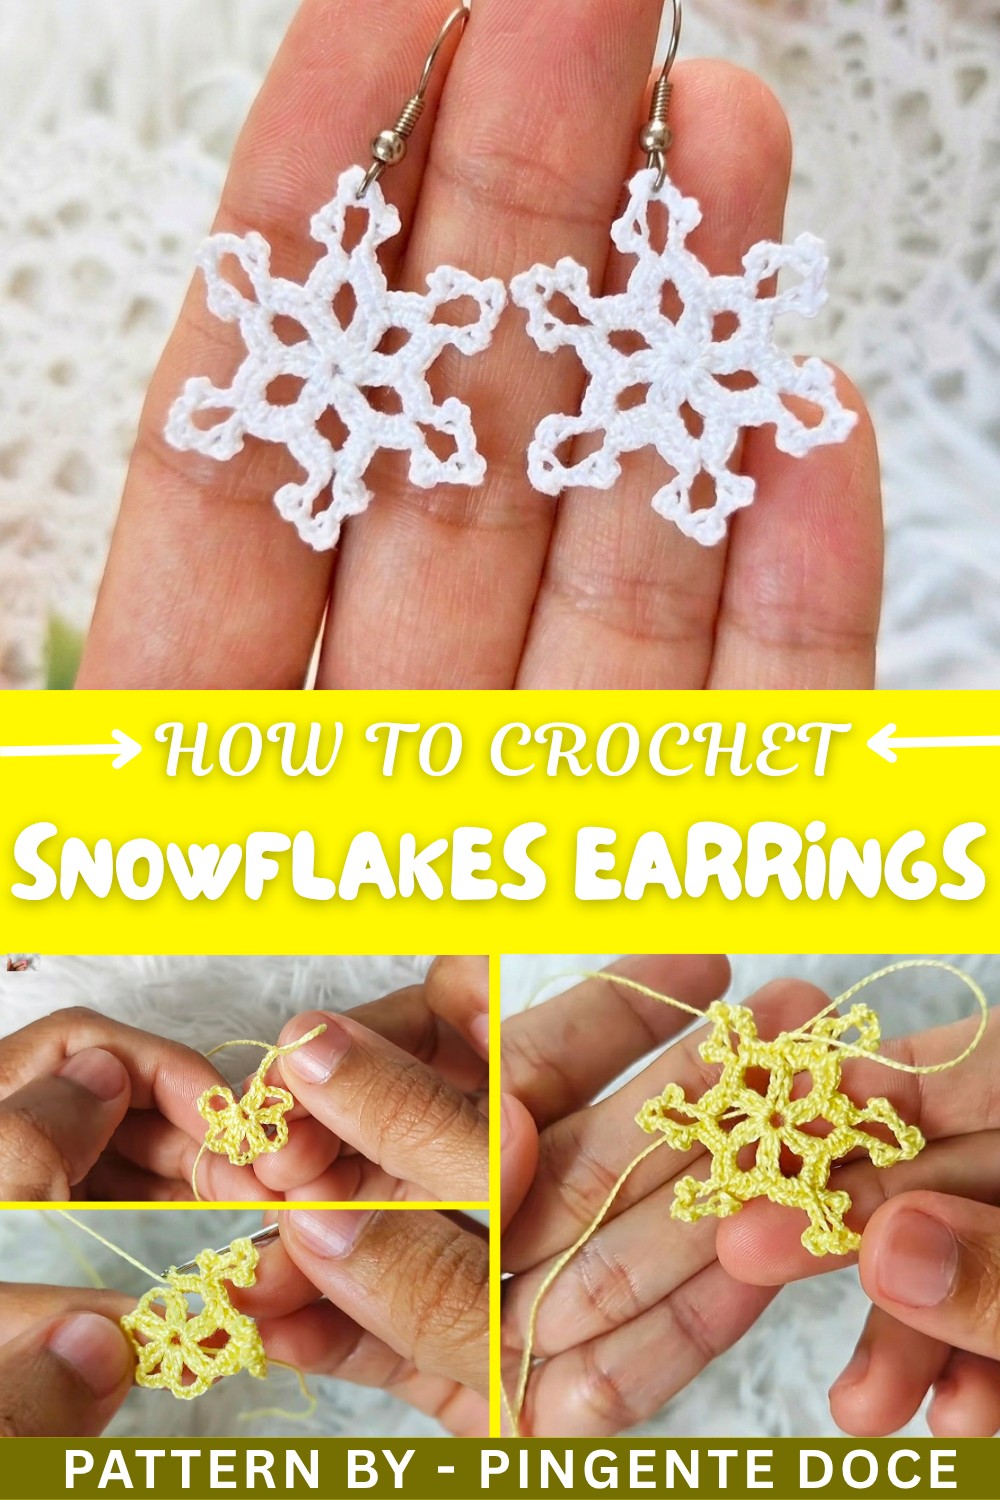
One of the best parts about making these earrings is how approachable the design is for beginners. The instructions gently guide you through repeating simple groups of double crochet clusters and picots, creating intricate details without overwhelming complexity. The result is a dainty snowflake that looks much more complicated than it really is. After finishing your crocheting, the step to apply fabric glue mixed with water or resin helps to stiffen the earrings, preserving their lovely shape so you can enjoy them wearing or gifting all season long.
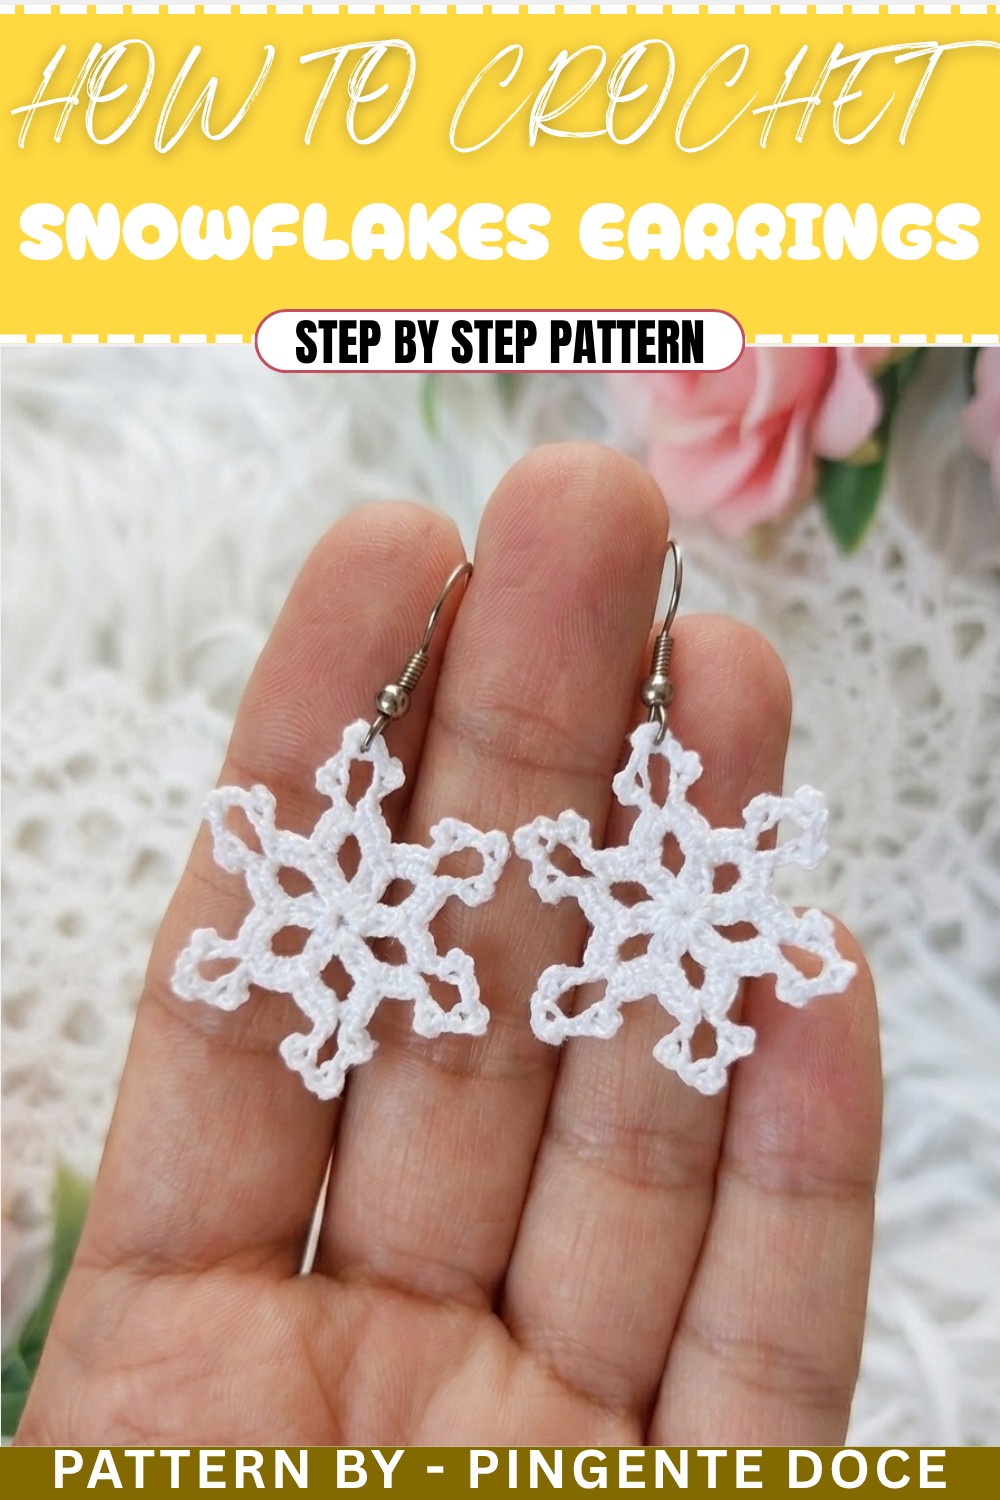
Snowflake Crochet Earring Pattern
This crochet snowflake earring is ideal as an accessory for winter celebrations or as a thoughtful handmade Christmas gift. The pattern is designed for beginners to intermediate crocheters and uses simple yet effective techniques, resulting in a stunning piece that can be completed in one sitting. The snowflake pattern is classic and versatile, making it a must-try pattern for holiday crocheting.
Uses of This Pattern
- Accessories: Festive jewelry for Christmas or winter events.
- Gifting: A handmade present perfect for friends, family, or coworkers.
- Decorative Uses: Turn the snowflake into other holiday decorations, like ornaments or garlands.
- Crochet for Sale: A quick, easy-to-make item ideal for crochet fairs or online shops.
Skill Level & Terminology
- Skill Level: Beginner to Intermediate. Requires knowledge of basic stitches and picot technique.
- Terminology: U.S. Crochet Terms
Materials & Tools
- Thread: Anchor thread (#8) or any fine cotton crochet thread of your choice.
- Crochet Hook: 1 mm crochet hook or a hook suitable for fine thread.
- Additional Tools:
- Scissors
- Tapestry needle for finishing
- Jewelry ring and hook for earrings
- Fabric glue (mixed with water) for hardening
Gauge
Gauge is not critical for this project due to its small size. However, maintain firm tension to ensure the snowflake keeps its structure.
Abbreviations List
- MR: Magic Ring
- ch: Chain
- sl st: Slip Stitch
- dc: Double Crochet
- sc: Single Crochet
- picot: Picot Stitch
Special Stitch Instructions
- Magic Ring (MR): Create a loop with the thread and place the working yarn behind the loop. Insert the hook into the loop, pull up a loop, and secure with a chain to create an adjustable ring.
- Picot Stitch: Chain 2, insert the hook into the second chain from the hook, yarn over, and pull through to create a small looped point.
- Double Crochet (dc): Yarn over, insert the hook into the stitch, yarn over again, pull up a loop, yarn over, pull through two loops, yarn over and pull through the final two loops.
Finished Size
The earring measures approximately 1.5 to 2 inches in diameter, making it perfect for lightweight jewelry.
Pattern Overview
This elegant snowflake starts with a foundational magic ring, which is worked into decorative round clusters. Picot stitches are added for detail, and the overall design features repetitive sections that are easy to memorize, making this a relaxing and enjoyable project.
Pattern Steps
Round 1: Foundation and Clusters
- Start with a Magic Ring (MR):
- Create a MR, and chain 7 ch (counts as the first picot stitch plus chain space).
- First Double Crochets:
- Work 2 dc into the magic ring.
- Chain Repetition for Snowflake Arms:
- Chain 4 ch, then work 2 dc into the magic ring again.
- Repeat (4 ch, 2 dc) until there are 5 groups of double crochets separated by chains.
- Close the Round:
- Pull the magic ring tight, and work 1 dc into the ring.
- Secure the round with a sl st into the 3rd chain of the starting chain.
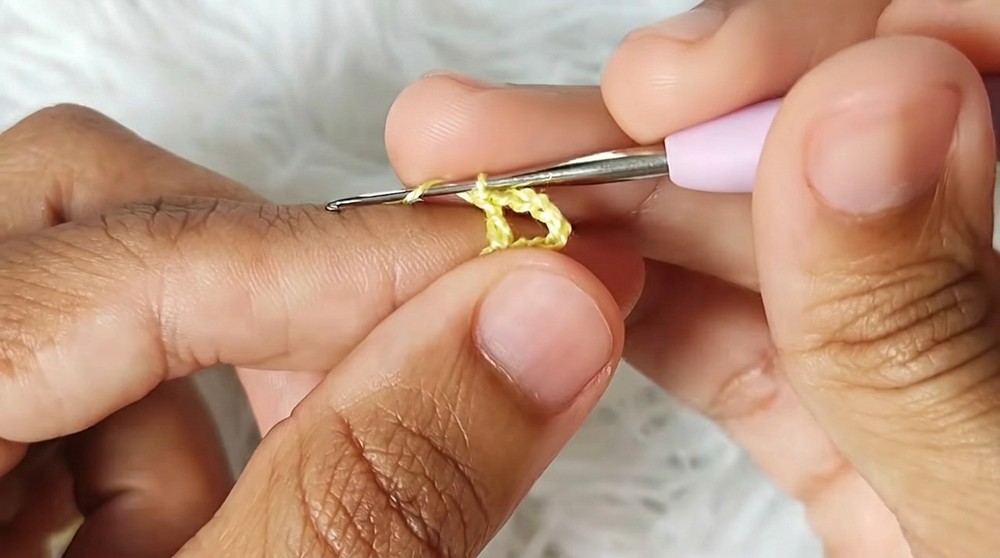
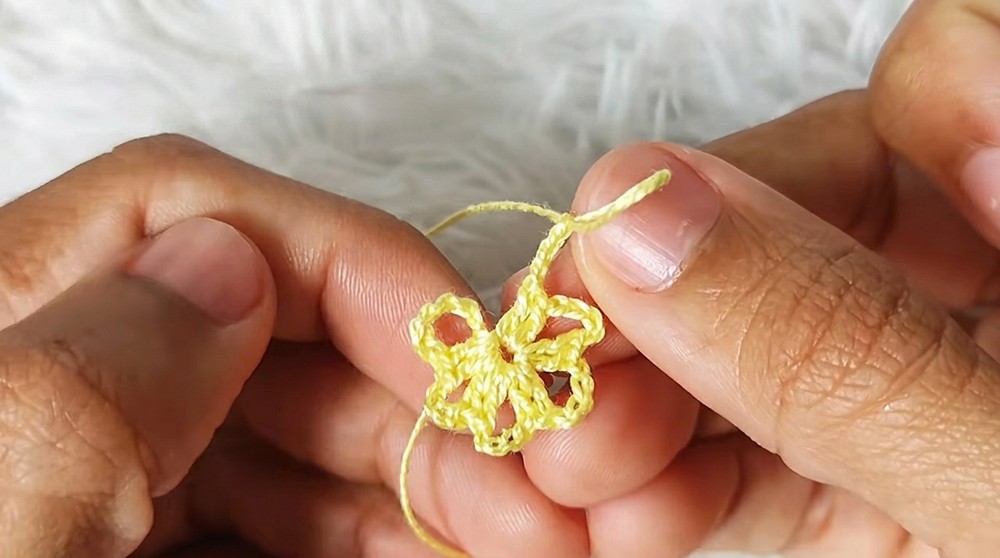
For visual learners: This step forms the foundational shape of the snowflake with chain arms and a circular center.
Round 2: Adding Picot Stitches
- Start Single Crochets:
- Begin working into the first chain space of the previous round.
- Work 4 sc into the chain space.
- Add Picot Stitches:
- Chain 4 ch, skip two chains, and work a picot stitch by making a sl st into the next chain.
- Repeat this twice more to make 3 picots separated by chains.
- Finish the Section with Double Crochets:
- After the last picot, work 4 dc into the same chain space.
- Repeat Around Each Chain Space:
- Continue the above steps—4 dc, 3 picots separated by chains—into each chain space of the snowflake.
- Close the Round:
- End with a sl st into the base of the first single crochet of the round.
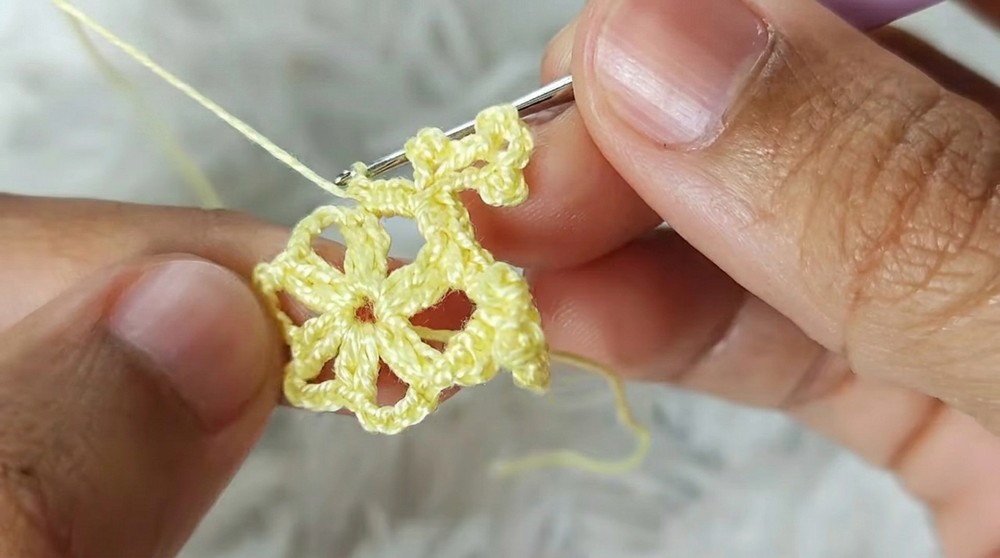
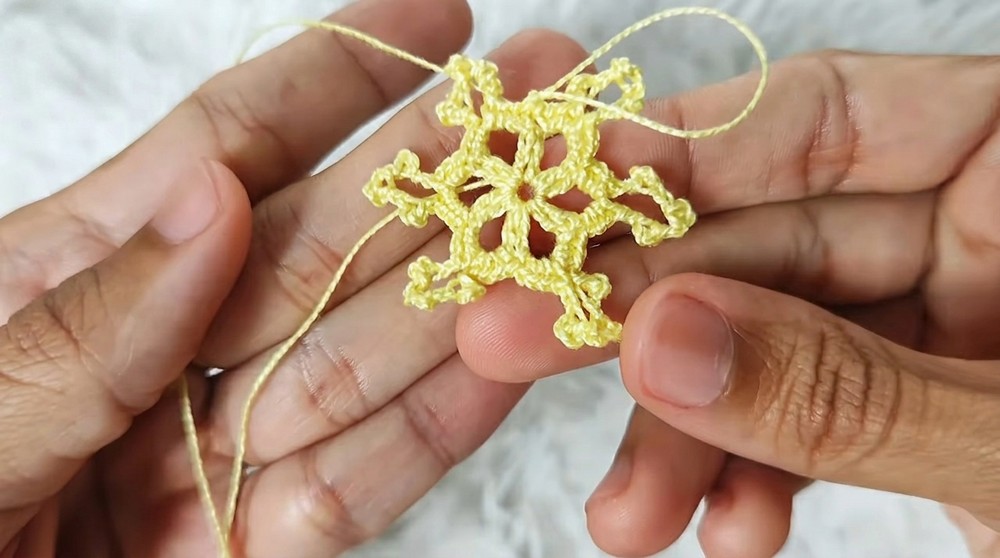
For beginners: The picot stitches form the delicate points of the snowflake, adding intricate detail to the design. Work slowly to ensure even spacing and tension.
Assembly & Finishing
- Cut and Secure the Thread:
- After closing the round, cut the thread and use a tapestry needle to weave in the ends.
- Harden the Snowflake:
- Mix fabric glue with a small amount of water.
- Apply the glue mixture to the back side of the snowflake to provide stiffness and durability once dried.
- Attach Jewelry Components:
- Use pliers to attach the snowflake to a ring and earring hook. Make sure all parts are tightly secured.
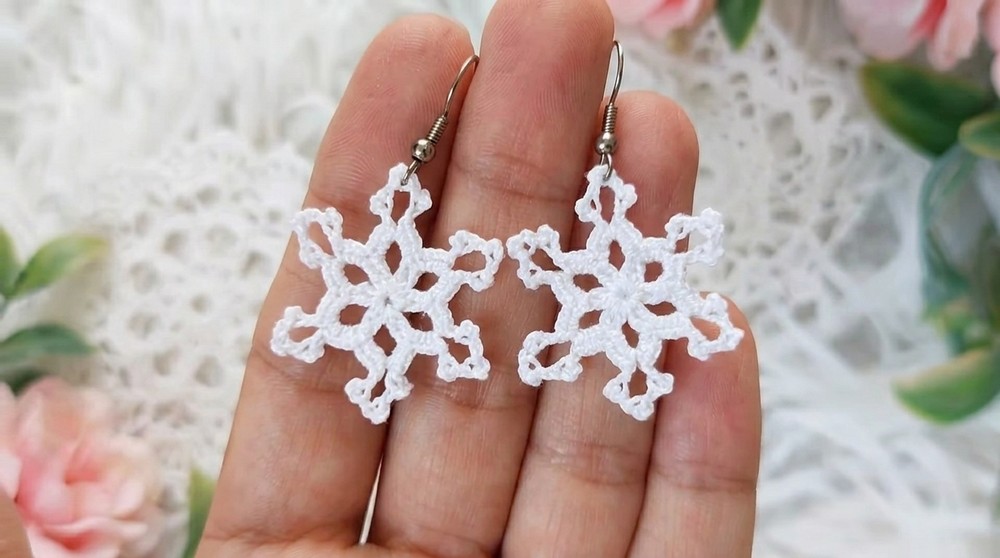
Helpful Hints: The hardening step ensures that the snowflake retains its shape, making it ideal for wear as jewelry or use as decoration.
What You’ll Learn
- Magic Ring Mastery: How to create clean, circular crochet foundations.
- Adding Detail with Picot Stitches: Practice creating decorative points for intricate designs.
- Completing Symmetry: Build repetitive patterns for beautiful, balanced projects.
- Jewelry Assembly: Learn to combine crochet elements with hardware for practical accessories.
Pattern Difficulties and Solutions
Common Challenges
- Loose Magic Ring:
- The magic ring may slide open over time.
- Solution: Ensure you pull the tail tightly when finishing Round 1, and secure it with additional threading or glue.
- Uneven Picots:
- Unequal tension can cause picots to appear misshapen.
- Solution: Always chain with consistent tightness and use smaller hooks if needed for precise points.
- Attaching Jewelry Components:
- Thread can snag when adding hardware.
- Solution: Work gently with pliers and test the connection before wearing.
Why You’ll Love This Pattern
This snowflake earring pattern is not just a project, but a festive experience. Its intricate pattern and scalability make it perfect for creating gifts, decorations, or accessories that reflect your holiday spirit. The repetitive steps allow for mindfulness and relaxation, while the final product is an elegant and wearable piece of art you’ll be proud to create and share.