
Budget-Friendly Crochet Leaves Pattern For Beginners
Refresh seasonal décor by using a free crochet leaves pattern for effortless, stylish botanical accents all year round.
Have you ever wanted to bring a touch of nature’s elegance into your crochet projects? Making delicate leaves with yarn is a wonderful way to add charm and texture to your crochets. This simple leaf pattern captures the gentle curves and veins that make real leaves so beautiful. Using basic stitches like single crochet and double crochet, combined with special picot stitches, the pattern creates a textured and lively leaf shape that feels intricate yet is easy to follow. Whether you want to add leafy accents to blankets, scarves, or home decor, these crochet leaves can brighten any creation.
Learn The Easiest Way To Crochet Gorgeous Leaves For Free
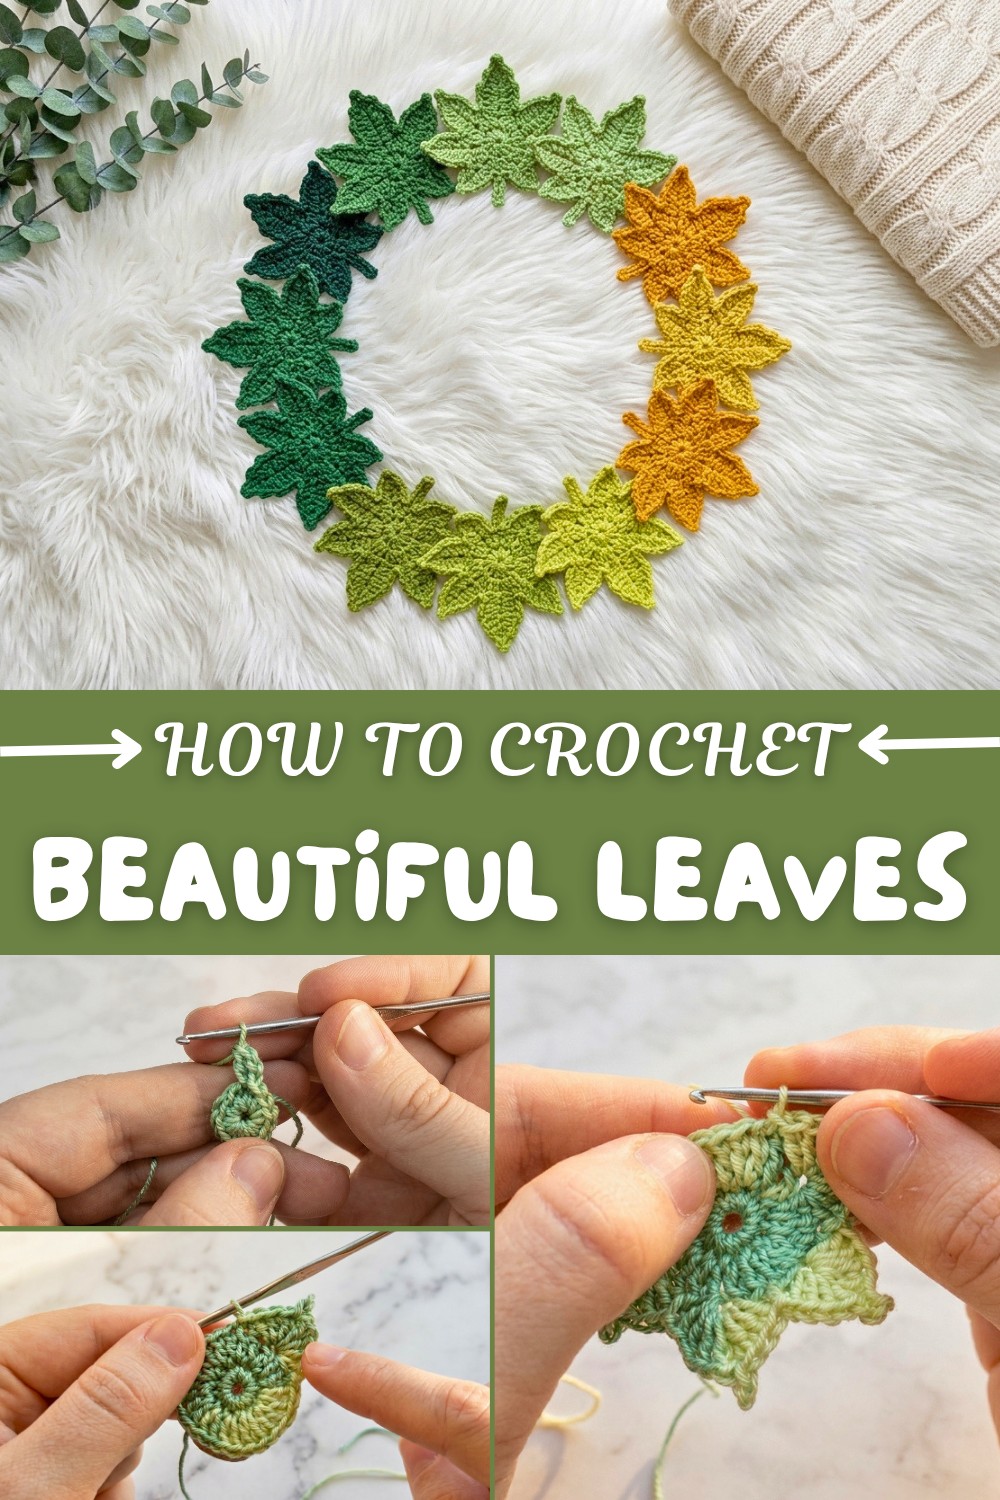
The leaf starts with a small ring of stitches that form the base, then you work rows of double crochets and picot loops that shape each tiny “tooth” of the leaf. The picot stitch adds little points that mimic the serrated edges of real leaves, giving your piece a natural look. The pattern grows symmetrically so it’s fun to see the leaf gradually taking form. Working with a thinner cotton yarn and a small hook makes the leaf delicate and lightweight, perfect for layering or attaching to other projects as embellishments. The step-by-step instructions make it easy for beginners to follow along and create their own little pieces of nature.
More Creative Projects With This Pattern
Once you’ve mastered this leaf pattern, you can use it to enhance many other crochet projects. Try making garlands of leaves to decorate your space, or use the leaves to embellish hats, bags, or scarves for a fresh botanical touch. You can also experiment by stitching leaves together to form flowers or wreaths. This pattern opens a door to endless creative possibilities that bring a bit of the outdoors into your crochet work.
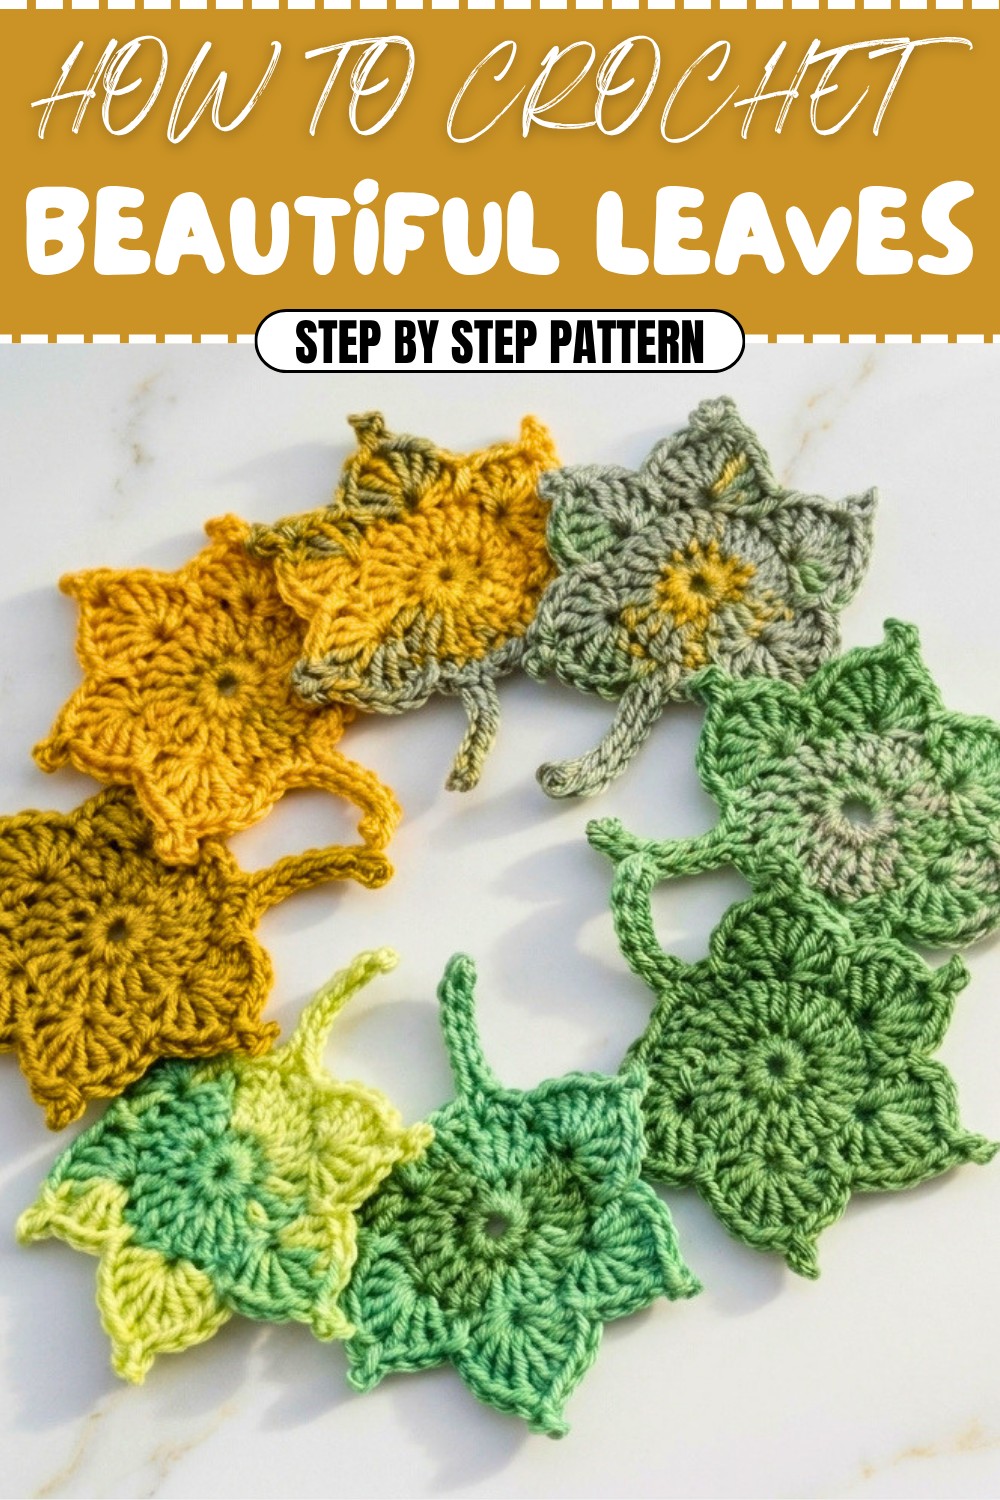
Crochet Little Leaf Pattern
In this tutorial, we will crochet a delicate little leaf using 100% cotton yarn and a classic crochet technique. This five-clove leaf pattern is perfect for embellishing projects such as scarves, hats, blankets, or table décor. It's beginner-friendly but detailed enough to elevate your crochet skills. The small, textured picots at the top of every clove add an elegant touch that sets this leaf apart.
Uses of This Pattern
- Decorative Accents: Add to garments, bags, or home décor.
- Natural-Themed Projects: Pair with flowers for a botanical motif.
- Learning Tool: An excellent pattern for practicing picots, single crochets, and slip stitches.
Skill Level & Terminology
- Skill Level: Beginner to Intermediate
- Terminology: US Crochet Terms
Materials & Tools
- Yarn:
- 100% cotton yarn in green (or any leaf-inspired color).
- Hook Size: 2.5 mm crochet hook.
- Extras:
- Tapestry needle for weaving in ends.
- Scissors.
Gauge
Gauge is not critical for this pattern. You can use any yarn with the appropriate hook size, adjusting the size of the leaf as needed.
Finished Size
Approximately 2 inches by 2.5 inches, depending on yarn thickness and hook size.
Abbreviations List
| Abbreviation | Description |
|---|---|
| ch | Chain |
| sc | Single Crochet |
| sl st | Slip Stitch |
| dc | Double Crochet |
| picot | Picot (3 chains, sl st into 3rd ch from hook) |
Special Stitch Instructions
Picot:
- Chain 3.
- Insert hook into the 3rd chain from the hook.
- Yarn over and pull through all loops (sl st to form the picot).
This creates a small decorative knot at the top of each clove, adding definition and charm.
What You’ll Learn from This Pattern
- Mastering foundational crochet techniques like magic ring, picots, and slip stitches.
- Crochet shaping techniques for symmetrical and natural-looking leaves.
- Adding decorative details with chains and picots that enhance texture.
The Pattern
Part 1: Forming the Base of the Leaf
Step 1: Create a Magic Ring
- Wrap yarn around two fingers to form a loop, ensuring the tail is long enough for sewing later.
- Insert hook into the loop, yarn over, and pull through to create a stitch.
Step 2: Round 1 (Foundation Single Crochets):
- Work 12 single crochets (sc) into the magic ring.
- Pull the tail tightly to close the ring into a circle.
- Join the round with a sl st into the first sc. (12 sc total)
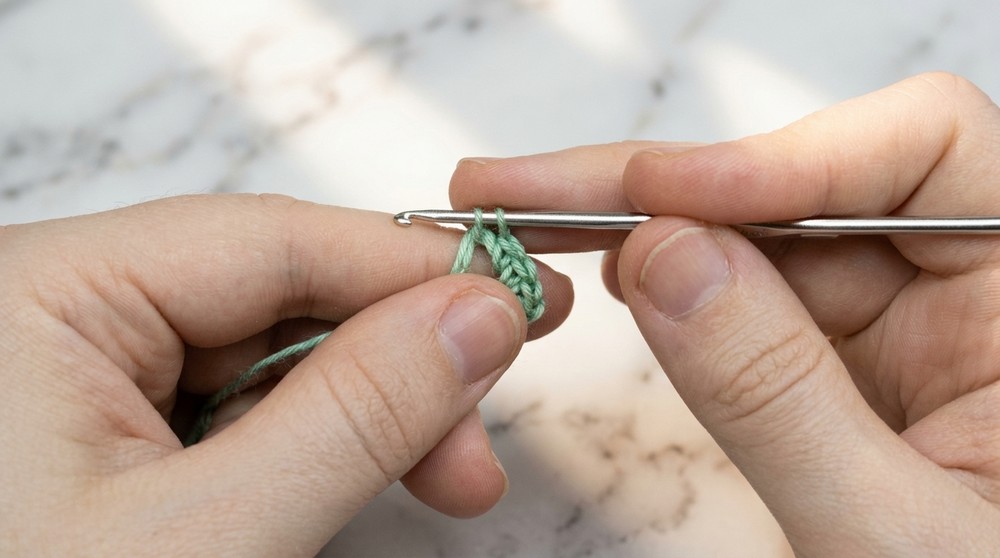
This step forms the base of the leaf structure, creating a stable center for the clove stitches.
Part 2: Building the Leaf’s Textured Cloves
Step 3: Setting Up the Cloves (Round 2):
- Ch 2 (counts as first dc).
- In the same stitch as the sl st, work 1 dc. (Now there are two dc in the same stitch).
- Continue to work 2 dc into each stitch around. (24 dc total)
- Join the round with a sl st into the 2nd chain of the starting ch-2.
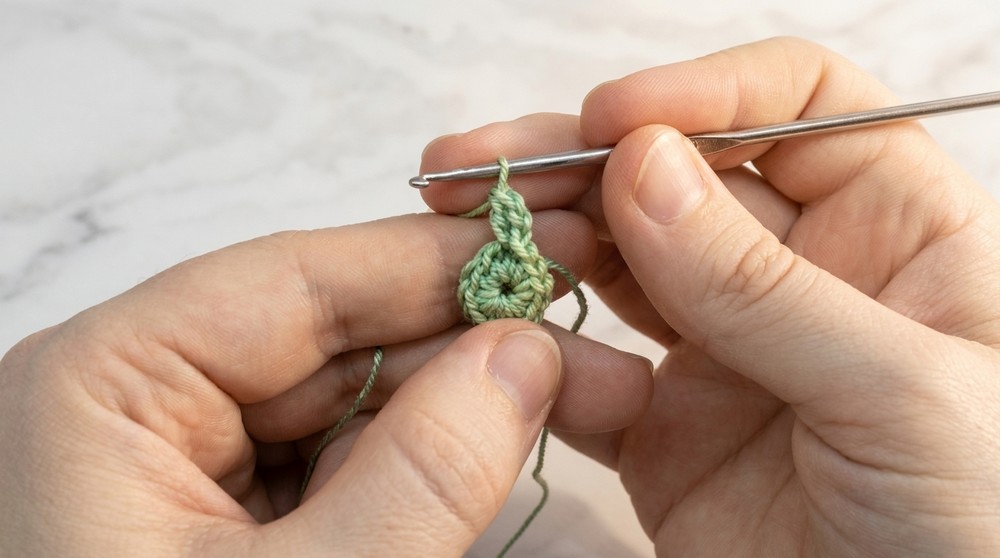
This step doubles the stitches to expand the circle, preparing the foundation for the cloves.
Step 4: First Clove:
- Do not chain after joining; instead:
- Skip 1 dc and work 4 dc into the next dc.
- Ch 3, and form a picot by sl st into the 3rd chain from the hook.
- Work 3 dc into the same stitch (as the 4 dc).
- Skip 1 dc and work a sl st into the next dc.
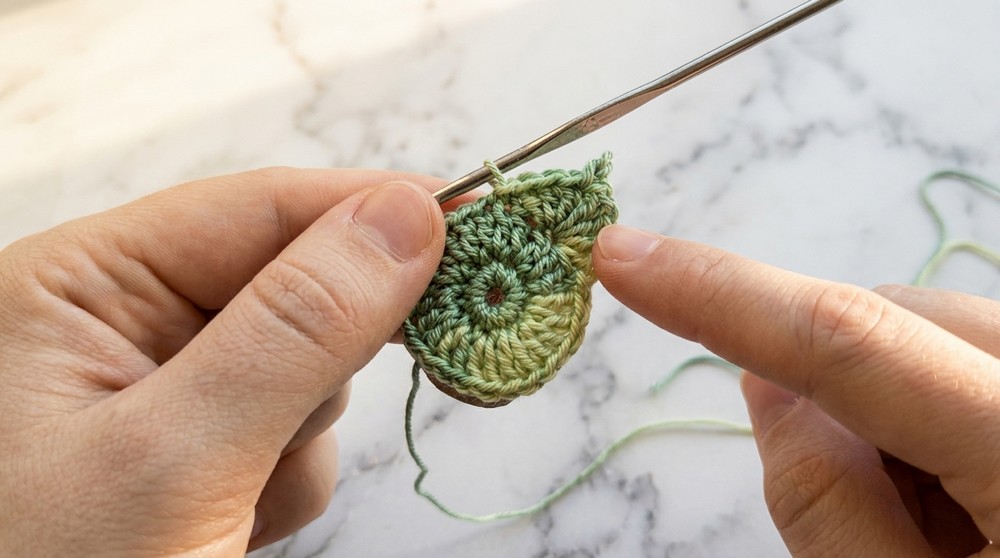
The first clove is now complete, showcasing both the raised texture and the decorative picot.
Step 5: Repeat for Additional Cloves:
- Skip 1 stitch, then into the next stitch:
- Work 4 dc.
- Ch 3, create a picot, and sl st back into the 3rd ch.
- Work 3 dc into the same stitch (of the 4 dc).
- Skip 1 stitch and work a sl st into the next stitch to anchor the clove.
- Repeat this process until you have 5 cloves total.
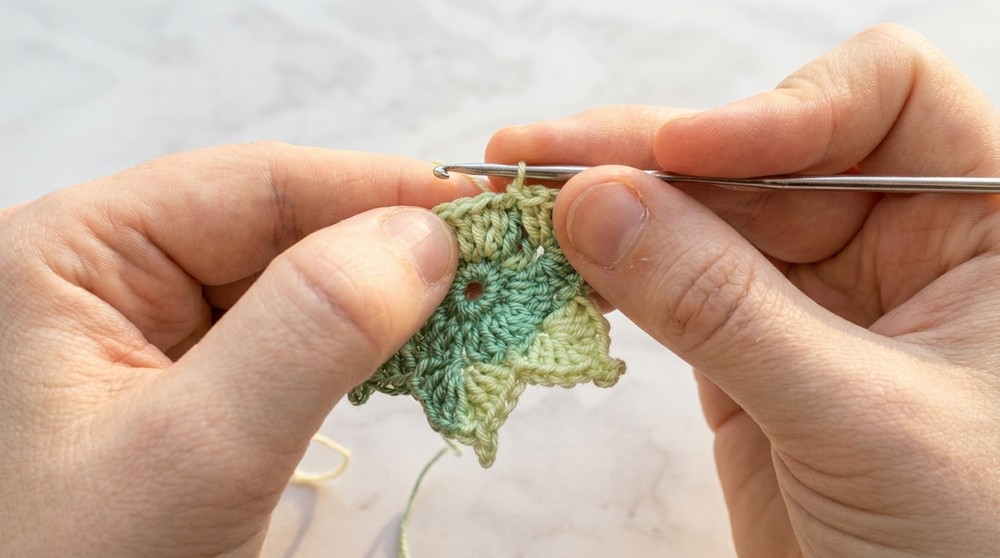
The cloves are the defining feature of the leaf, with the central clove pointing slightly higher for a natural look.
Part 3: Mirror Shaping (Reverse Side Cloves)
- After the central clove, reverse the shaping process:
- Skip two stitches.
- Into the next stitch, work 3 dc, followed by a picot (ch 3, sl st back).
- Then, work 4 dc in the same stitch.
- Skip 1 stitch, do a sl st into the next.
- Repeat until you form two more cloves, completing a symmetrical, five-clove design.
The reverse shaping creates balance, with all cloves meeting naturally at the base.
Part 4: Stem and Finishing Touches
Step 6: Adding the Stem
- From the base of the central clove, ch 7 to form the stem.
- Work into the back side loops of the chain:
- Sl st into each chain stitch back toward the base. (6 sl st total)
- Anchor the stem by working a sl st into the base of the leaf.
Step 7: Final Touches:
- Work 2 sc into the base circle for stability.
- Finish with a sl st into the starting point to close the round.
Finishing:
- Cut yarn, leaving a long tail.
- Secure by weaving the tail through the back. Hide excess yarn using a tapestry needle.
- Tighten the magic ring again to ensure the center remains closed.
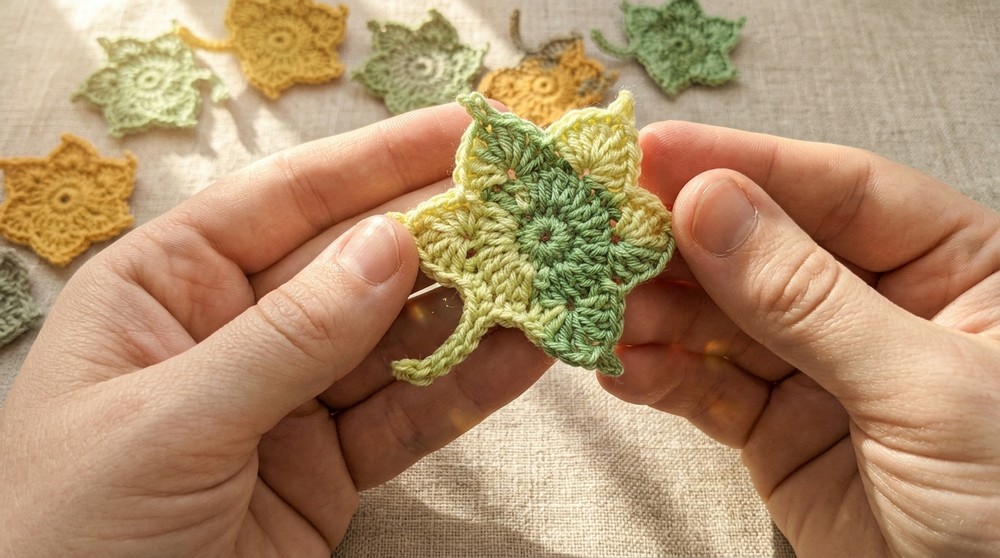
The stem adds realism to the leaf and acts as a handle for attaching the leaf to other projects.
Assembly & Final Presentation
- After finishing the leaf, block it (if needed) to straighten the edges and accentuate the cloves.
- Use the yarn tail to sew it to your desired project or leave it as a standalone decoration.
Why You’ll Love This Pattern
This Crochet Little Leaf pattern is a versatile and enjoyable project for crocheters of all levels. The design is rich in texture, with cleverly placed picots and symmetrical shaping that mimics the natural look of a leaf. You’ll learn how to control shaping with increases, experience the beauty of picots, and appreciate working with basic stitches in creative ways.