
Mini Crochet Molly Flowers Free Pattern For Lovely Floral Gifts
Use this free crochet Molly flowers pattern to create beautiful and unique flowers that add a special handmade touch to your home decor or thoughtful gifts.
Pattern Source
- This written pattern is based on the crochet tutorial shared by Príncipe del Crochet . Please support the original creator through their tutorial.”
The Crochet Molly flowers are charming floral designs made entirely with yarn and a crochet hook, known for their delicate petals and lovely shape that closely resemble real flowers. These flowers add a touch of natural beauty to any space and are perfect for decorating home interiors, embellishing accessories, or creating gift decorations.
Free Crochet Molly Flowers Pattern For Summer Decor
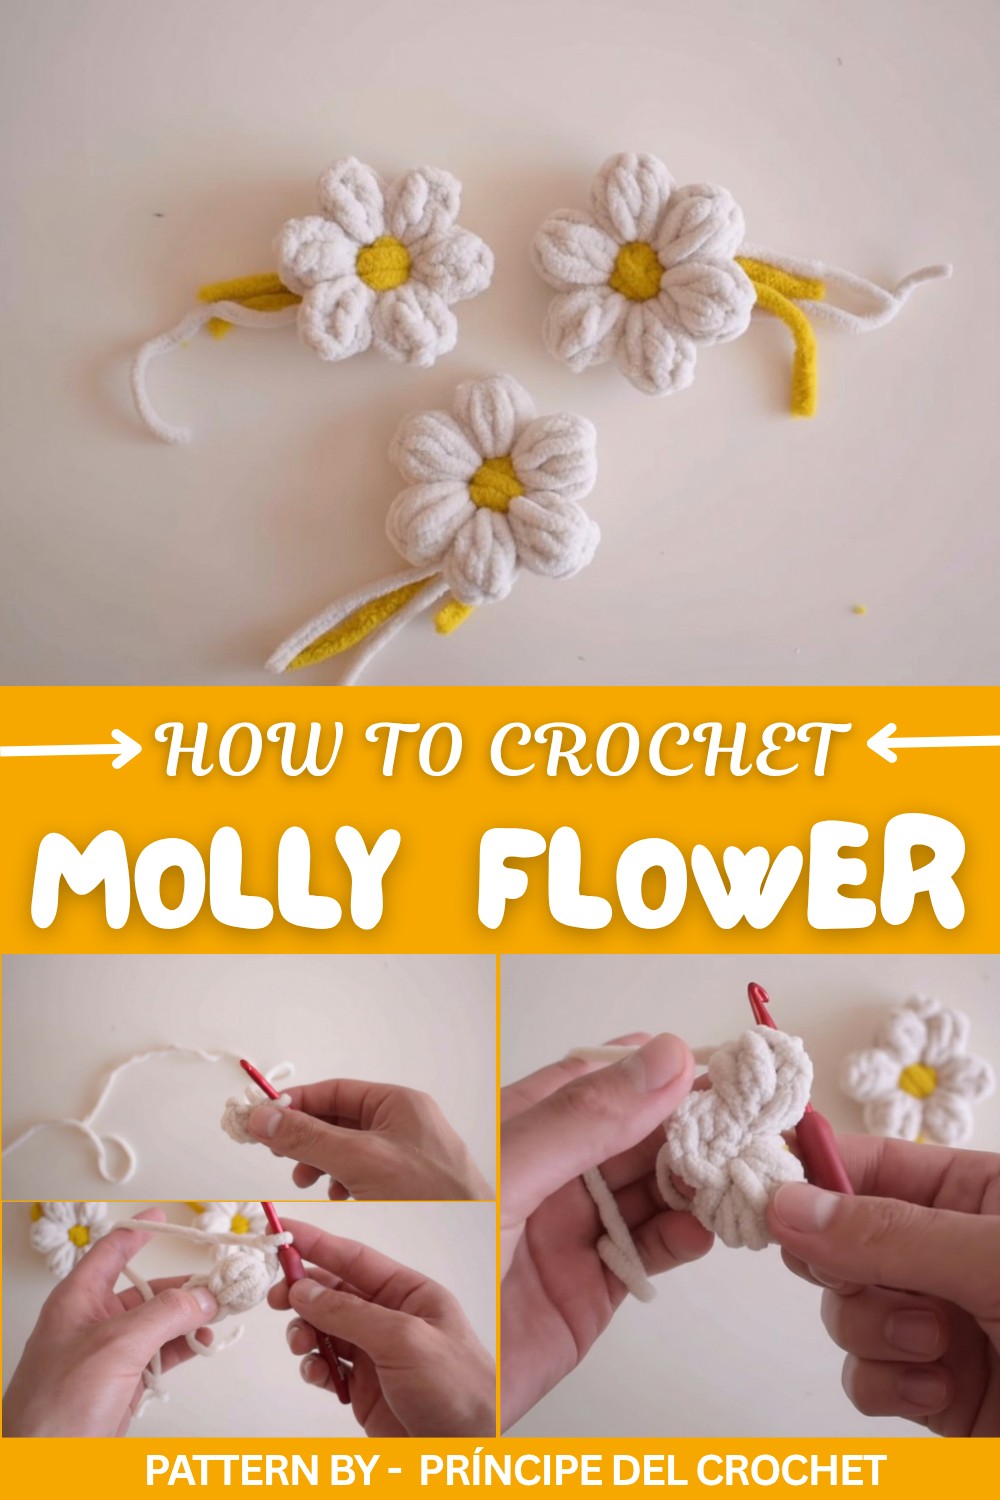
One of the main features of the Molly flower is its layered petals that give it a full and textured look, making it stand out from simpler flower designs. The project is customizable by choosing different yarn colors or sizes, allowing you to make the flowers to suit your style and preference. You can also add stems or leaves for a more complete floral arrangement.
The crochet process is enjoyable and straightforward, making it suitable for beginners and intermediate crafters alike. It typically involves creating individual petals using basic stitches such as chain, single crochet, and double crochet, then carefully joining them together in layers to shape the flower. This teaches valuable skills like shaping, joining, and working in rounds.
Overall, the crochet Molly flower is a lovely project that brings a handmade, charming touch to your crafts and spaces, inspired by the creativity of Príncipe del Crochet.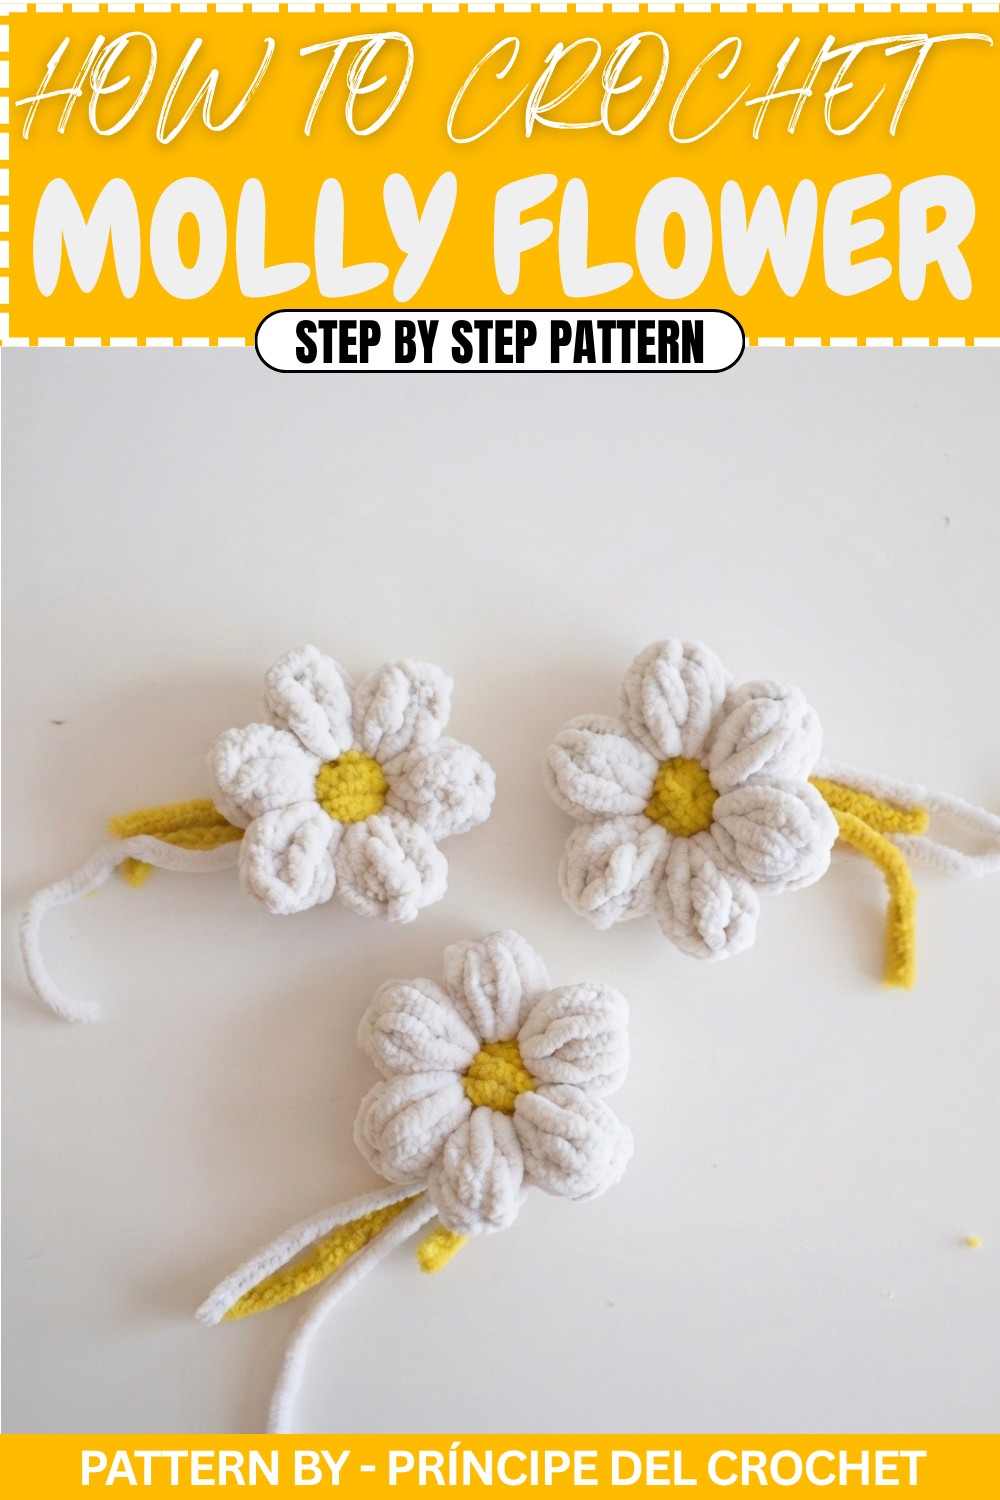
About the Molly Flower Petal Pattern
The Molly flower features a compact motif with bold texture, distinguished by uniquely constructed petals. Two distinct techniques are outlined for the petals: the Twisted Petal and the Four-Stitch Cluster Petal. Both begin with a magic ring foundation, making the pattern highly versatile for projects such as embellishments, brooches, children’s accessories, or decorative coasters. An optional embroidered center further enhances the design, offering a seamless way to add vibrant contrast and a finished look.
Pattern Basic Points
- Two petal variations: Each with a distinct visual effect and method.
- Both start from a magic ring with 5 single crochets, forming a dense flower base.
- Cluster and textured construction lies at the heart of both approaches.
- Slip stitches and chains are used to create clean joins and structural integrity.
- Customizable embroidery detail for the flower center for a personalized touch.
Special Notes
- Consistent stitch tension yields best results, especially in cluster and twisted petal forms.
- Work petals snugly for clear definition and to avoid a floppy structure.
- When embroidering the center, weave in ends carefully to maintain a neat reverse side.
- For a larger flower, use thicker yarn and a larger hook; for delicate accents, select finer materials.
Skill Level
Advanced Beginner
These methods employ single and double crochet, working in the round, slip stitching, and clusters. The twisted petal and cluster closing techniques are straightforward but benefit from some experience handling basic flower construction.
Materials
- Yarn: Small amount of any smooth cotton or acrylic (category 2 or 3/DK recommended); contrast color for center embroidery
- Hook: 2.5mm–3.5mm, depending on yarn weight and desired firmness
- Scissors
- Yarn or tapestry needle: for embroidery and weaving in ends
Measurements & Gauge
- Single Molly flower: Measures about 3–5 cm in diameter (varies by yarn and hook)
- Gauge: Not critical; ensure petals are compact, not loose
- Stitch pattern: Worked in the round with single and double crochet, using cluster methods
Stitch Abbreviations
| Abbreviation | Description |
|---|---|
| ch | Chain |
| sc | Single crochet |
| dc | Double crochet |
| sl st | Slip stitch |
| MR | Magic ring |
| yo | Yarn over |
Special Stitches
Twisted Petal Technique:
A series of unfinished double crochets (each time, pull through only 2 loops) until 5 loops are gathered on the hook; they are then drawn together in a single pull-through for a pronounced, twisted cluster.
Four-Stitch Cluster:
Work four dc into the same stitch, then remove the hook from the working loop, insert it into the top of the first dc, pick up the working loop, and draw it through to complete the petal cluster seamlessly.
Pattern Instructions
Flower Center Base (for Both Variations)
- Round 1:
- Start with a magic ring (MR).
- Work 5 sc into the ring.
- Join with a sl st to the first sc.
- Total: 5 sts in ring.
-
Petal Setup:
- Ch 2 (counts as a turning chain for petal height).
- Now proceed with either Variation 1 or Variation 2 petal instructions for each of the 5 stitches around the ring.
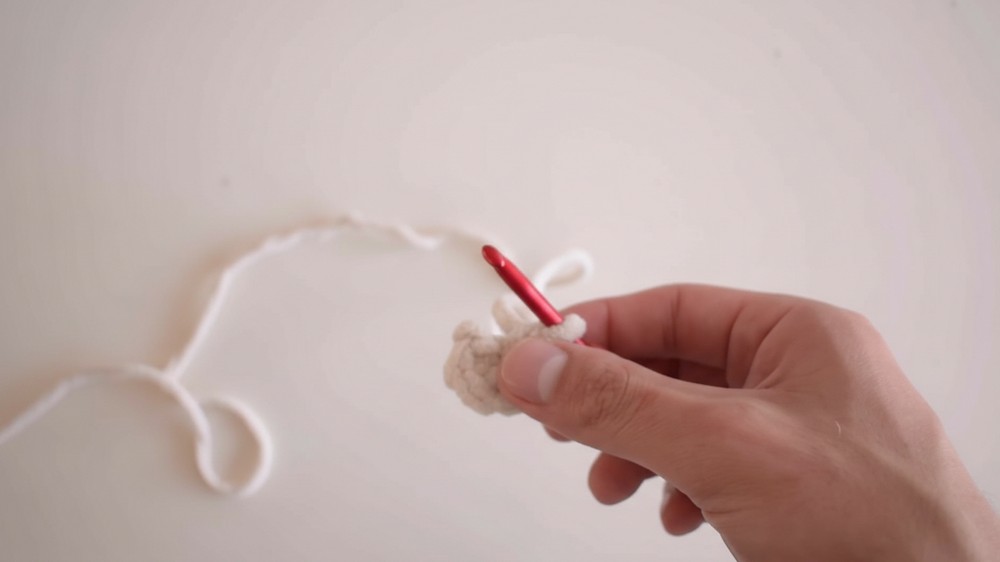
Variation 1: Twisted Petal
- Work each petal into a single base stitch:After the ch 2:
- Yo, insert hook into base stitch, pull up a loop, yo, draw through 2 loops (half-worked dc remains on hook).
- Repeat process—yo, insert, pull up, yo, draw through 2 loops—until there are 5 loops on hook (including the working loop at the start).
- Once 5 loops are on the hook, yo and pull through all 5 loops at once.
- Ch 3 (secures the petal tip and adds elegance).
- Insert the hook from back to front into the same base stitch and join with a sl st (petal is now anchored).
- Repeat the Twisted Petal process in each of the next 4 base stitches (for a total of 5 petals). After the final petal, fasten off and weave in all ends.
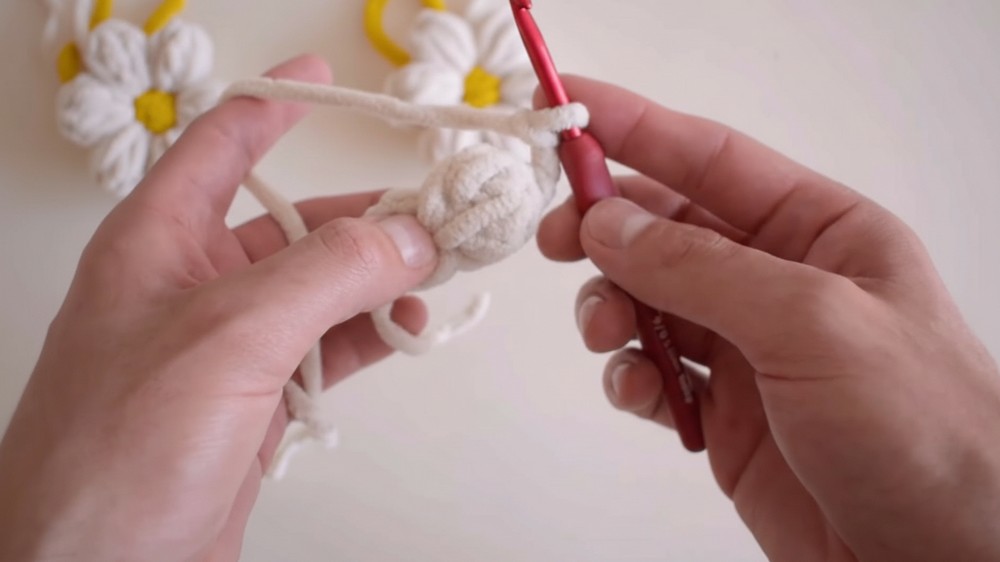
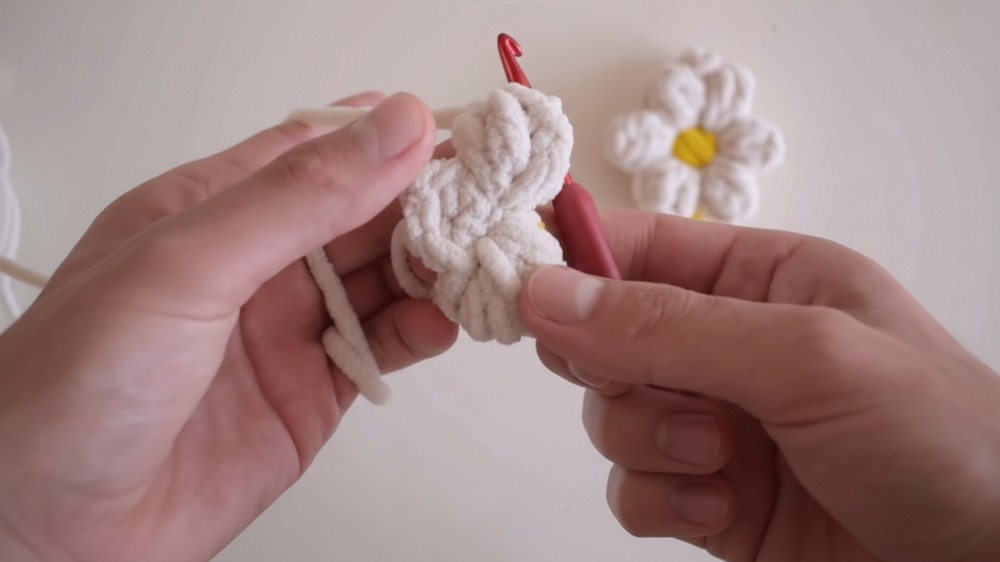
Variation 2: Four-Stitch Cluster Petal
- Work each petal into a single base stitch:
- After the ch 2:
- Yo, insert hook into base stitch, pull up a loop, yo, draw through 2 loops, yo, draw through 2 loops (first traditional dc made).
- Repeat to make a total of 4 dc in the same base stitch (each fully completed).
- Carefully remove the hook from the working loop (keep this loop safe).
- Insert the hook into the top of the first dc of the cluster, pick up the working loop, and pull it through the top of the first dc (this joins the cluster together at the tip).
- Ch 3 for the petal tip.
- Insert the hook from back to front into the same base stitch and join with a sl st.
- After the ch 2:
- Repeat the Four-Stitch Cluster process in each of the next 4 base stitches (making 5 total petals). After the fifth, fasten off and tidy all ends.
Adding the Embroidered Center (Optional)
- Thread a contrasting embroidery yarn or thread onto a tapestry needle.
- Working from the back, insert the needle up into one central hole of the flower; pull through gently, then pass needle from front to back through the next hole.
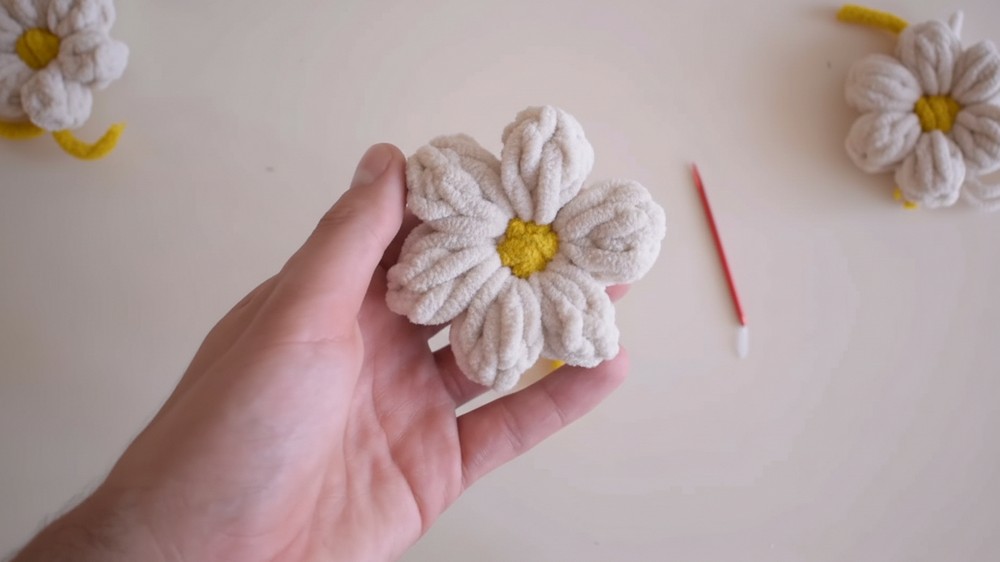
- Continue weaving through all 5 or 6 holes of the magic ring center, creating crosses or parallel wraps as desired for a starburst or radiating effect.
- End by bringing needle to the back, tie off securely, and weave in embroidery tails.
Assembly & Finished Size
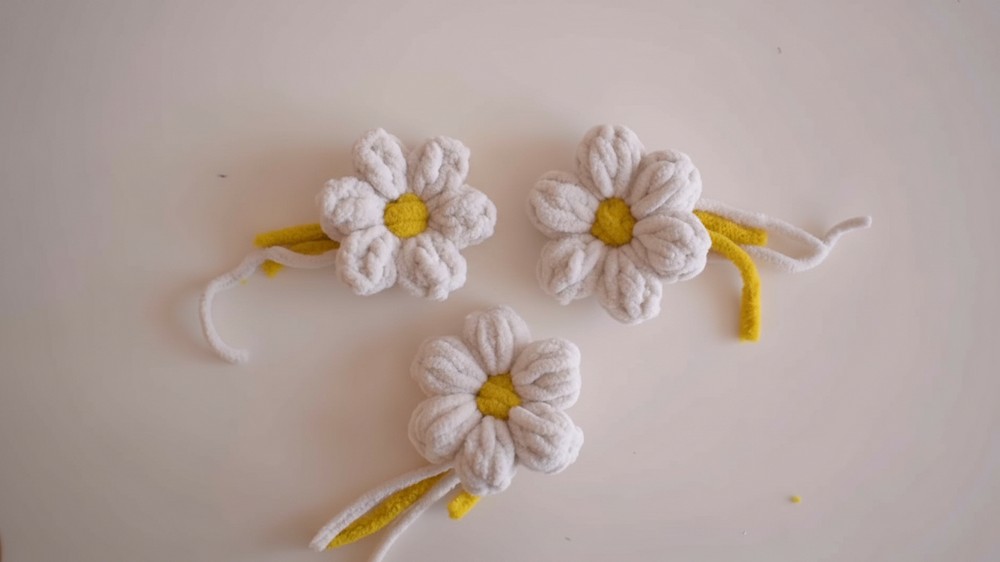
One Molly flower with either petal style sits flat, suitable for appliqué, brooch backs, or attachment to headbands or garment edges. Diameter is roughly 3–5 cm, adjustable with yarn/hook choice. If using finer threads, petals are petite and lacy; with thicker yarns, results are plush and bold.
Conclusion
The Molly flower showcases technical diversity through two innovative petal formations: the Twisted Petal’s sculptural twist and the Four-Stitch Cluster’s bold dimensional stacking. At its heart, the magic ring provides a solid base and a perfect canvas for simple, customizable center embroidery. This motif offers ample room for creative adaptations as well as skill refinement in cluster techniques, yielding decorative blooms for any project where a touch of handmade joy is desired.