
Handmade Sports Bralette: Crochet Free Pattern with Easy Steps
Sporty vibes meet handmade comfort in this free crochet sports bralette pattern ideal for active days or casual cool outfits.
Finding the perfect bralette that’s both stylish and supportive can be a real challenge, but this design solves that problem beautifully. With its comfortable fit, button-up front, and adjustable straps, this sports bralette stands out as both practical and fashionable. Its design is simple yet elegant, featuring soft, stretchy yarn that feels light on the skin while offering the right amount of support. Whether worn for lounging, yoga sessions, or as a casual top under an open shirt, it’s a versatile piece that works for all occasions.
Trendy Crochet Sports Bralette Pattern: Free Tutorial for Beginners
This pattern is brought to life by Julsmara Crochet, a channel treasured for its straightforward, easy-to-follow tutorials. Julie from Julsmara focuses on making every step clear, ensuring viewers of all experience levels can create beautiful pieces with confidence and joy.
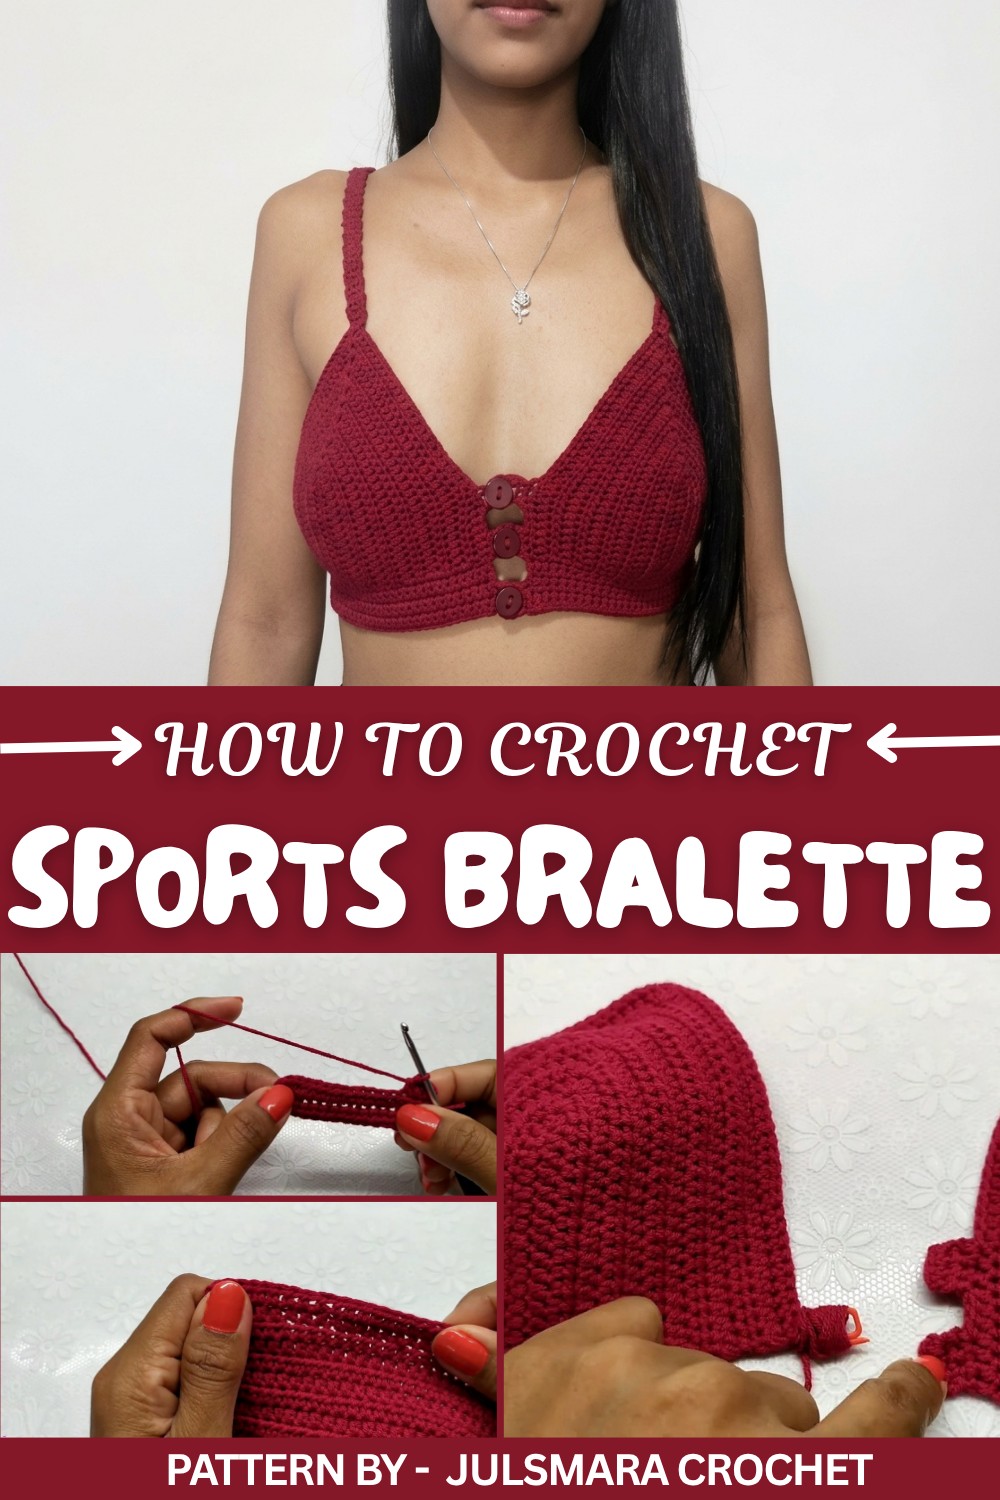
The process starts with crocheting two triangular cup pieces using half-double crochet stitches, designed to create the perfect fit. The back panel uses stretchy stitches to adapt to your body, while the front panel keeps things functional with button closures. The straps, created with single crochet rows, are easy to adjust for added comfort. The pattern is versatile, letting you tailor it to your size or personal preference.
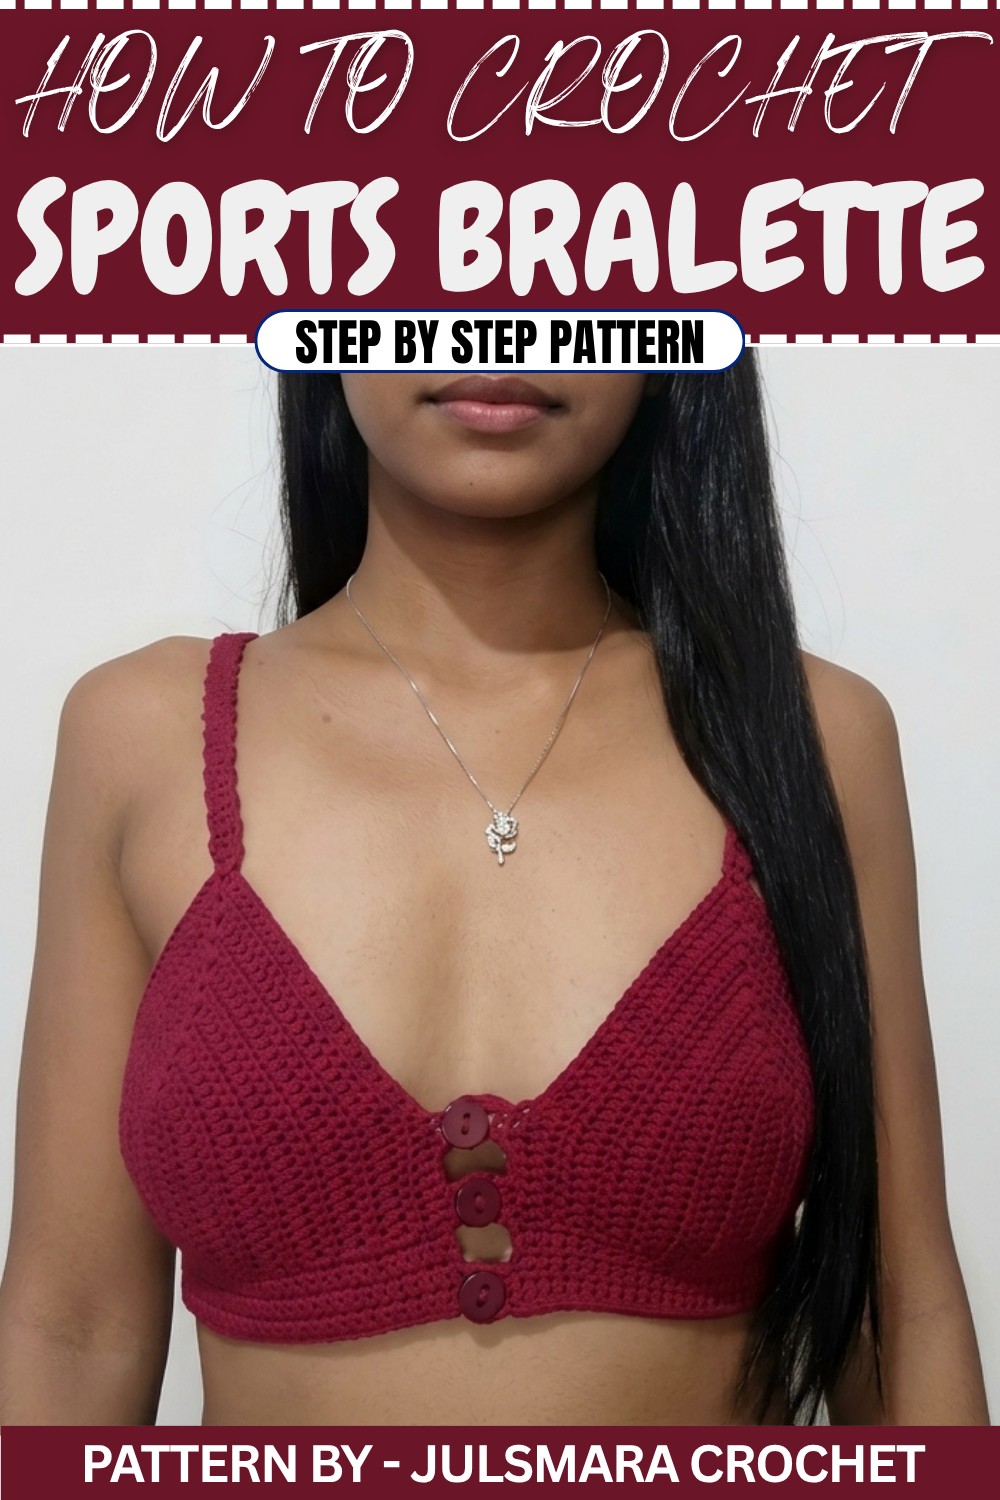
This bralette isn’t just a piece to wear, it’s a solution to the age-old quest for something functional, beautiful, and custom-made to suit your unique style. Its minimalist yet chic design, combined with its practicality, makes it a must-try for crochet enthusiasts.
Crochet Sports Bralette Pattern
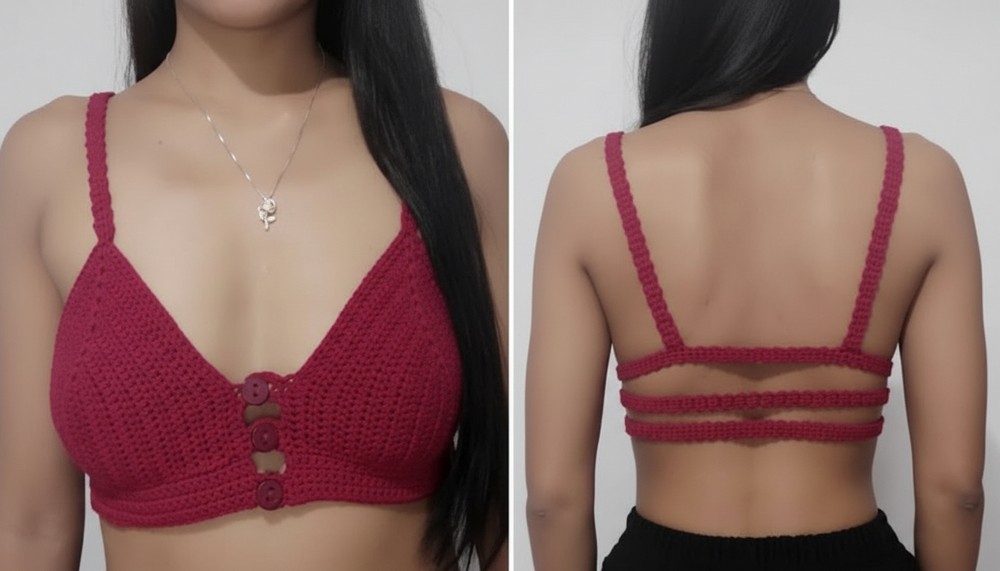
This crochet sports bralette is perfect for casual wear. Featuring front buttons, bra cups, and adjustable straps, the design provides both comfort and functionality. The process includes bra cup construction, strap creation, and customized adjustments to ensure the perfect fit.
Skill Level
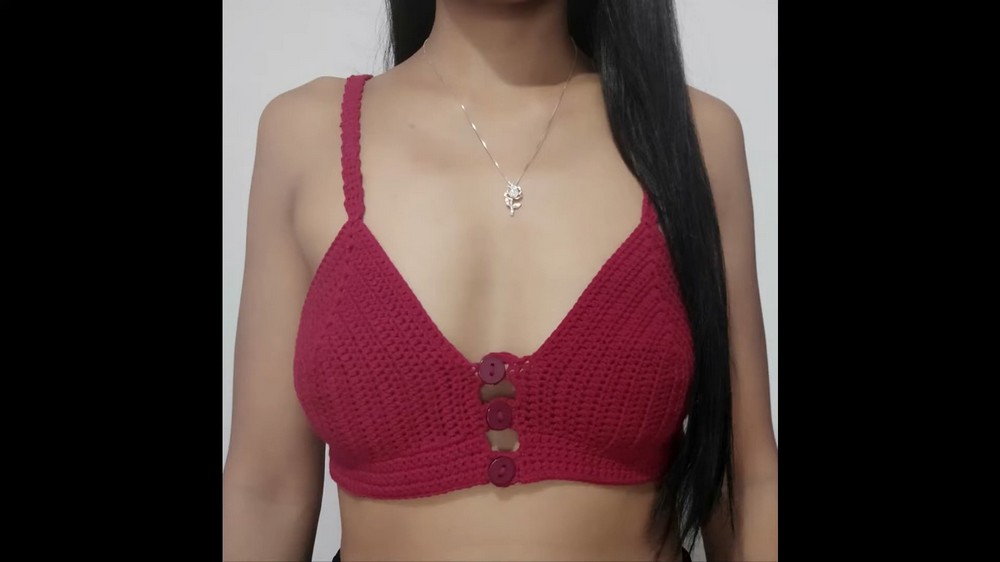
This pattern is suitable for Intermediate crocheters due to its shaping requirements, detailed strap assembly, and buttonhole creation.
Materials
- Yarn: Alize Cotton Gold yarn, color 390 (or your choice).
- Crochet Hook: 3mm hook.
- Buttons: 3 buttons (size suited to your design).
- Tools: Tape measure, cutter/scissors, yarn needle, and stitch markers.
Special Stitches
Half Double Crochet (HDC)
- Yarn over, insert hook into the next stitch, yarn over again and pull through.
- Yarn over and pull through all three loops on the hook.
Single Crochet (SC)
- Insert hook into the next stitch, yarn over and pull through.
- Yarn over and pull through both loops on the hook.
Slip Stitch (SL ST)
- Insert hook into the next stitch, yarn over and pull through both the stitch and the loop on the hook.
Stitch Abbreviations
- CH = Chain
- SC = Single Crochet
- HDC = Half Double Crochet
- SL ST = Slip Stitch
Useful Tips
- Measurement: Use a tape measure frequently to check both body circumference and cup dimensions for proper fitting.
- Blocking: Once completed, blocking the bralette lightly can help smooth out the stitches and improve overall shape.
- Buttons: Ensure the button placement aligns well with the buttonholes to avoid gaps.
- Stretch Factor: Account for the yarn’s stretchiness when calculating sizing to prevent overly loose fitting.
The Crochet Pattern
1. Bra Cup Construction
Foundation
- Row 1:
- Begin with a foundation chain based on your measurement (e.g., chain 16 for a 30 cm front circumference).
- Skip the first 3 chains. Work 1 HDC in the 4th chain stitch and in each remaining chain.
- In the last chain, work 2 HDC, CH 1, 2 HDC (this creates the curved edge).
- Continue working 1 HDC in each of the following stitches, except for the chain space.
- At the very last stitch, work 1 HDC, CH 1, turn your work.
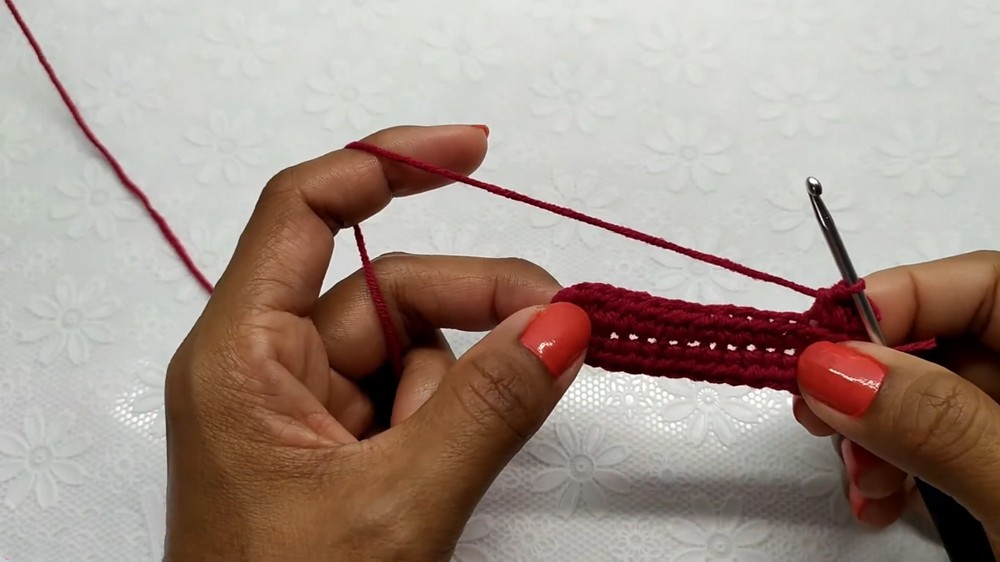
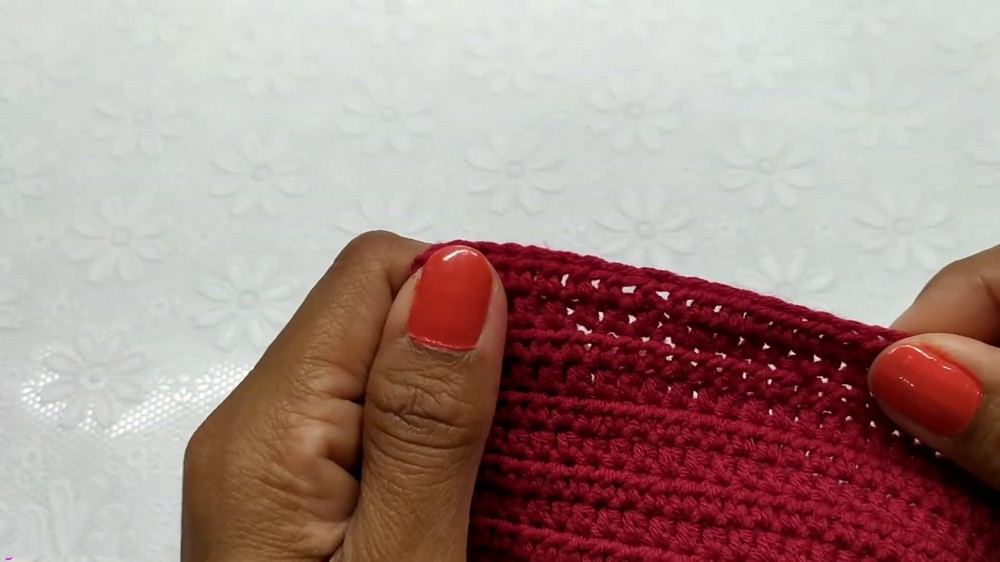
Row 2 and Beyond
- Row 2:
- CH 1 and turn your work. Work HDC in every stitch across until reaching the CH 1 space.
- Within the CH 1 space, work 2 HDC, CH 1, 2 HDC. Then continue with 1 HDC in each stitch until the end of the row.
- Repeat: Continue this pattern for 12 rows, or until the desired bra cup size is reached. Test the bra cup against your body for fit as you crochet.
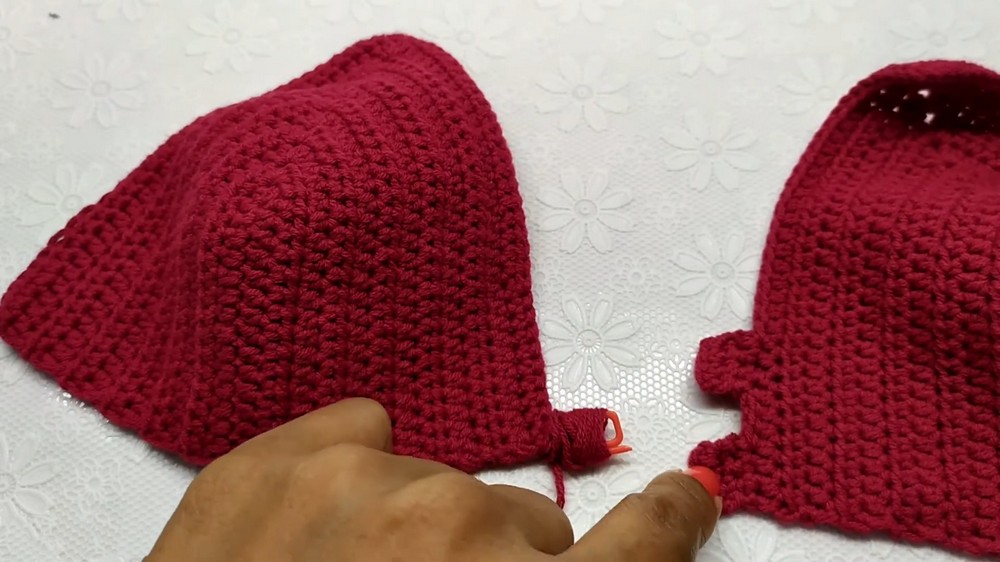
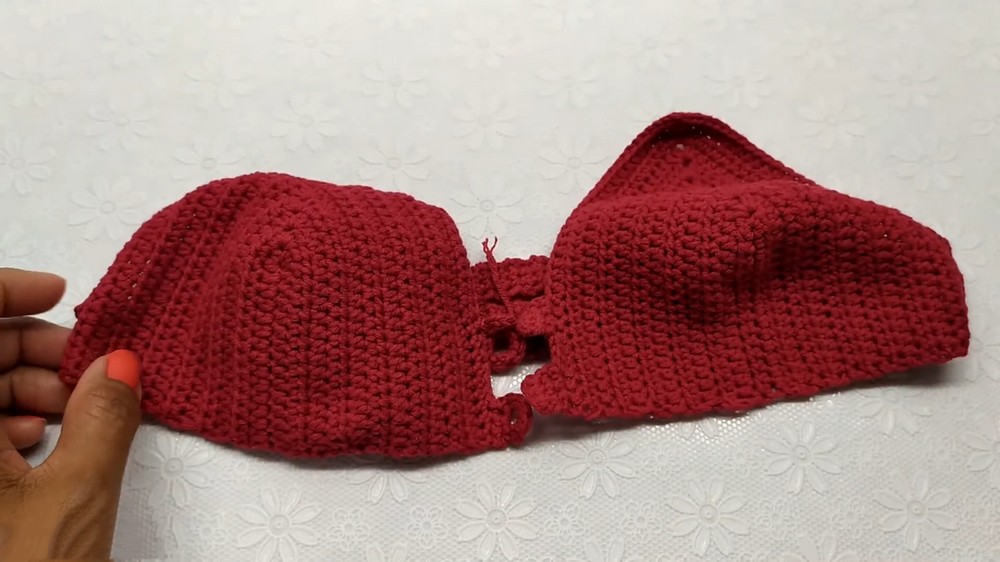
2. Strap Bases
- Foundation:
Attach yarn at the edge of the bra cup. - Row 1:
Work SC into the first 3 stitches evenly across. - Row 2:
CH 1, turn your work. Work SC in each stitch across the row. - Repeat: Finish with the number of rows required for strap thickness (e.g., create 7 rows of SC stitches for the strap bases).
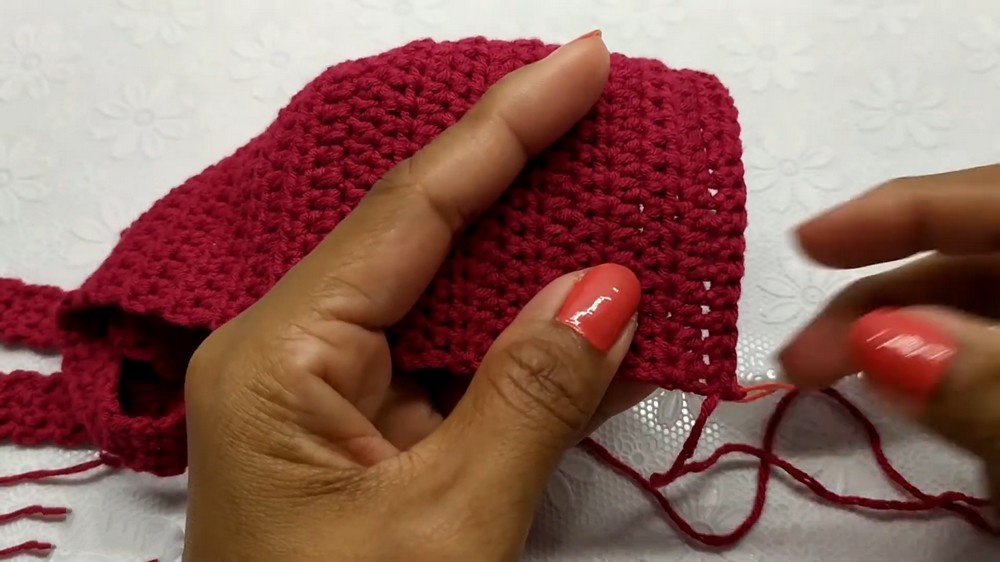
3. Back Panel
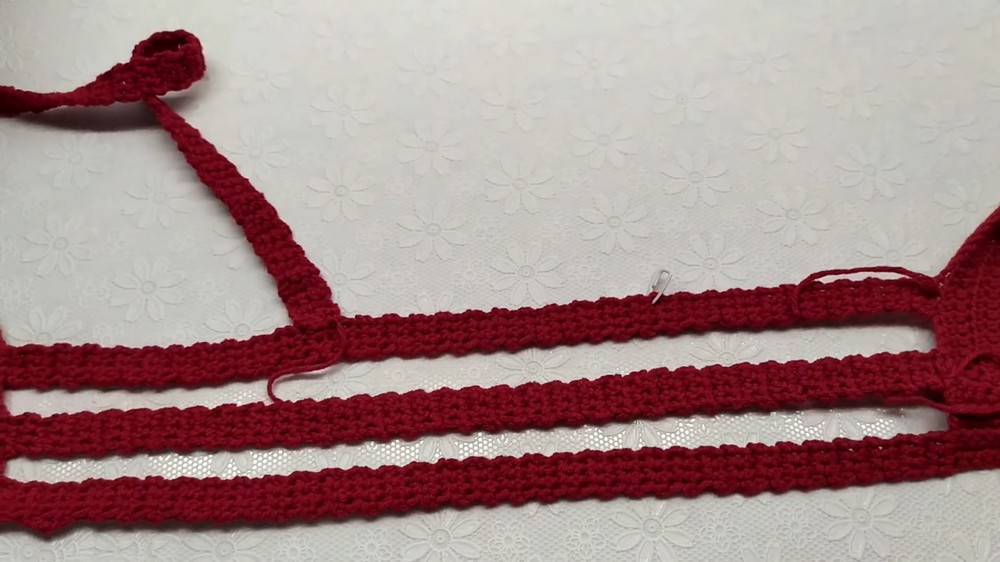
Foundation
- Use the previous “Front Panel” for reference to calculate measurements for the back panel. Adjust the length slightly to account for stretch (e.g., instead of 40 cm, reduce by about 2-3 cm).
- Row 1:
Connect yarn and make a foundation chain (based on back panel measurement) with three additional chains. Begin working HDC from the 4th chain and work across the row.
Main Body
- Repeat HDC rows until the desired length is reached (e.g., in the video transcription, it stretched to about 40 cm after crocheting 37 cm).
4. Button Band
Button Placement
- Work 7 rows of SC stitches along the side edge of the bra cup or back panel where the buttons will be attached.
- Sew 3 buttons evenly spaced along the button band.
Button Loops
- Attach yarn along the opposite edge of the button band.
- Row 1:
- Work SC into the first 3 stitches.
- CH 5, skip one stitch, and work SC into the next stitch (this creates a button loop).
- Row 2:
- Work SC into the CH 5 space to secure the buttonhole.
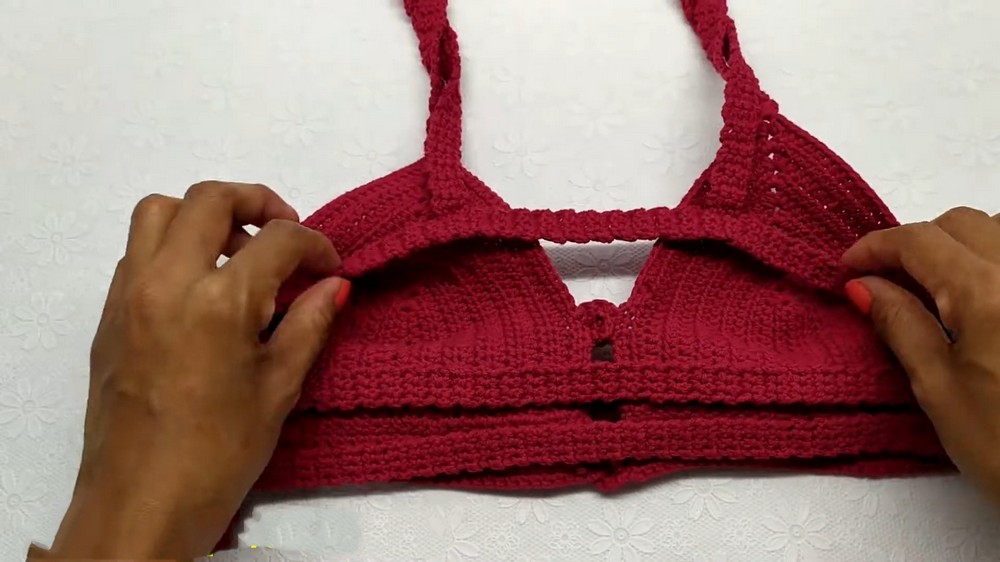
Repeat this process for all three buttonholes, checking alignment with the button placement.
5. Final Strap Construction
Back Straps
- Use stitch markers to evenly position where you want the straps to attach.
- Row 1:
- Attach yarn in the designated area. Work 3 SC into the chain space for the strap base.
- Rows 2+:
- CH 1, turn your work, and work 3 SC across each row to build the strap.
- Continue working rows of SC until the desired strap length is achieved.
- Attachment:
- Fold the strap to join it with the opposite panel using SL ST in 3 stitches. Secure the strap by stitching into both pieces evenly.
Assembly and Sizing
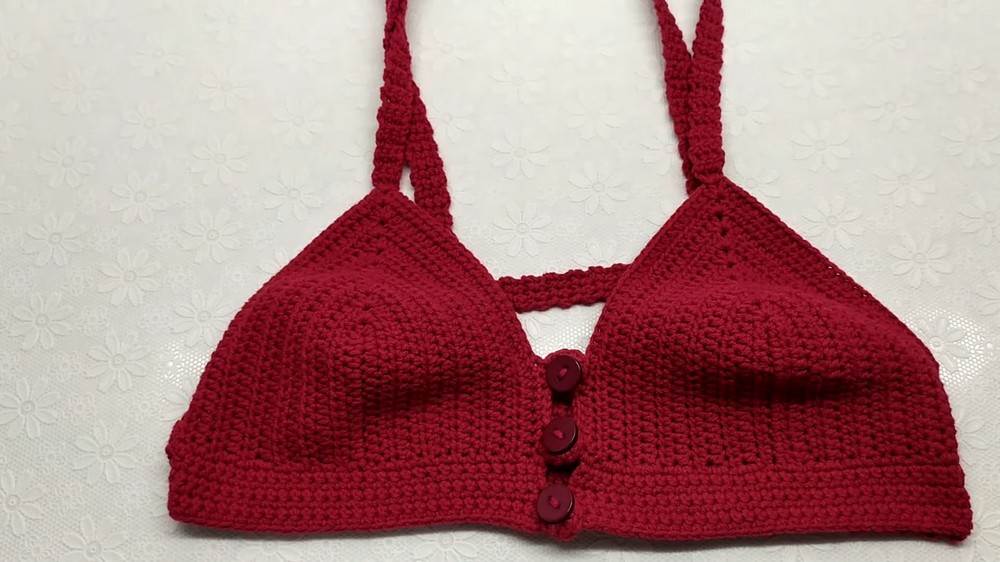
- Ensure all straps align properly and lie flat.
- Attach buttons to the front panel, ensuring even spacing along the button band.
- Connect the bra cups, back panel, and additional straps using slip stitching for strength without bulk.
Conclusion
Enjoy the functionality and comfort of this crochet sports bralette, with its customizable construction and beautiful details. The project focuses on building a flattering and tailored garment by incorporating buttons, cups, and adjustable straps. The elegant yet sturdy design provides flexibility, suitable for casual and athletic wear. Adjust measurements as needed to ensure it fits perfectly!