
Trendy Crochet Baby Sheep Bag Pattern to Gift Loved Ones
Delight little ones with a cuddly crochet baby sheep bag that’s playful, full of charm, and brings cheerful fun to every adventure.
This little bag looks super cute and soft, shaped like a friendly lamb that anyone would love to carry. The crochet baby sheep bag features a fluffy face, tiny ears, and bright eyes, giving it a playful and charming personality. Its rounded body becomes the storage space, perfect for holding small items like toys, snacks, or even a phone, and the strap lets it hang comfortably over the shoulder or across the chest.
Cute Crochet Baby Sheep Bag Pattern for Baby Showers
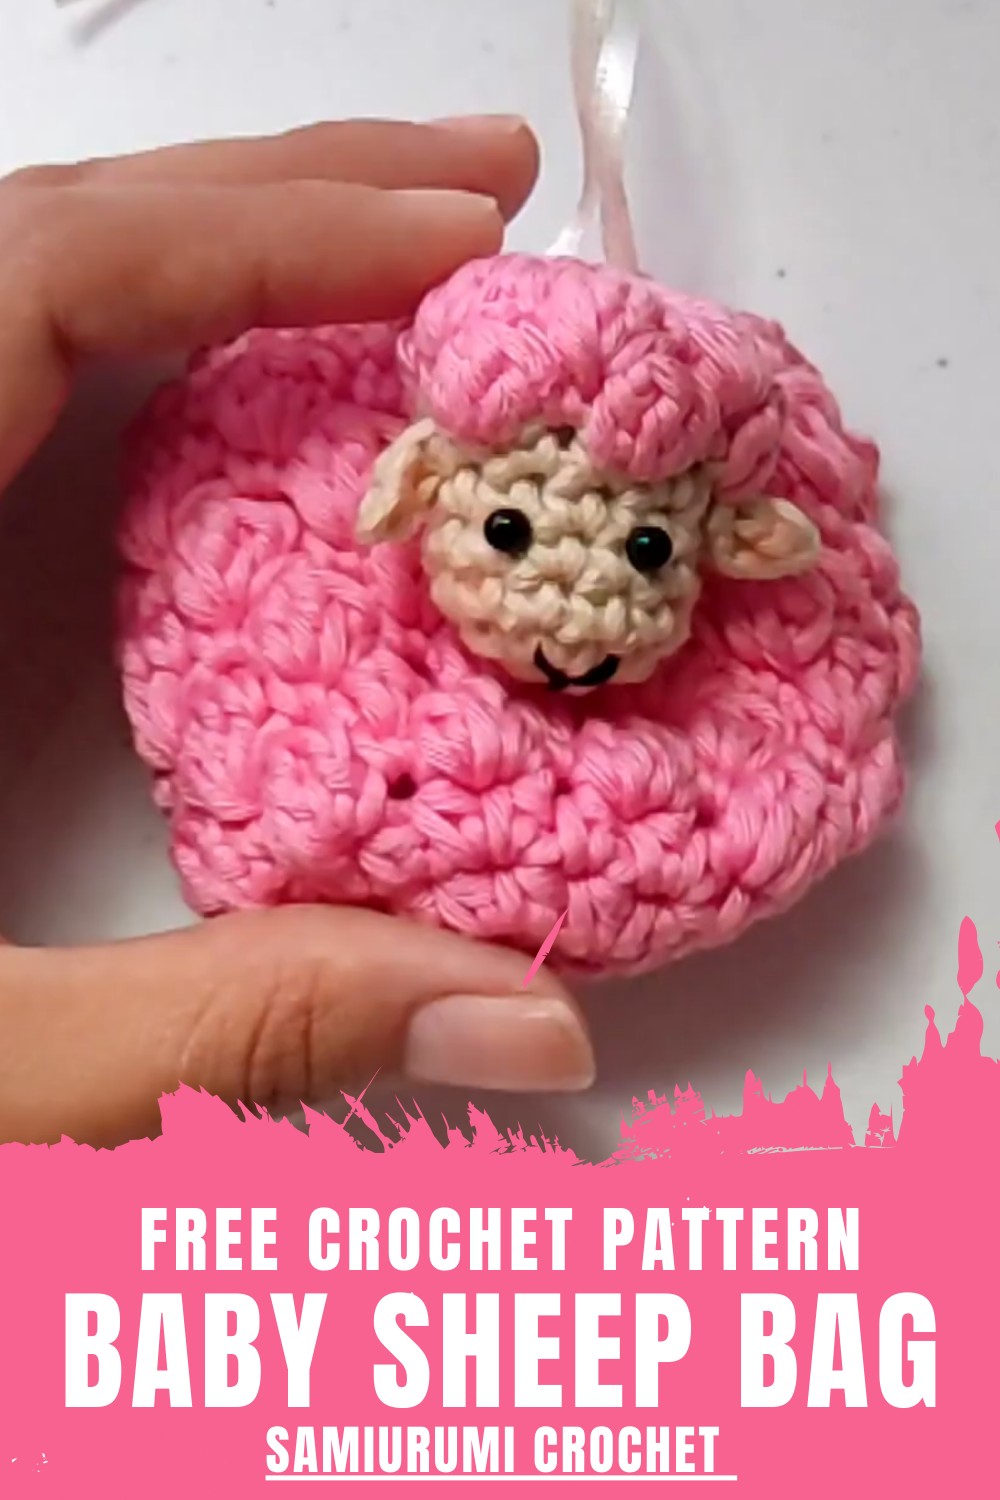
Al pieces are joined together and a strap is attached so the bag is ready to carry. This handmade bag is not only functional but also full of charm, making it a perfect accessory for outings, school, or as a thoughtful gift.
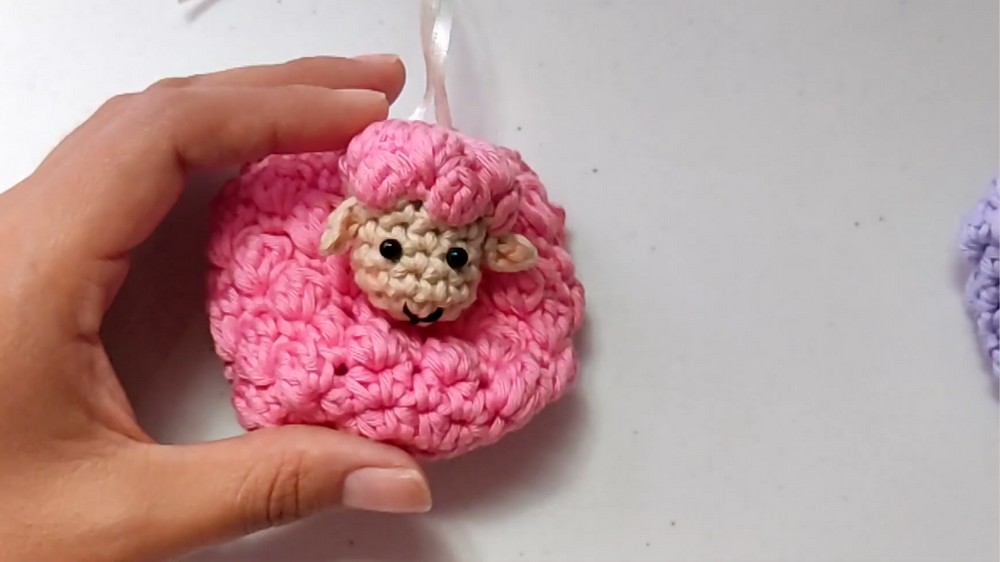
The fluffy texture of the sheep’s body is created using special loop or bobble stitches, giving the surface a soft, woolly feel that makes the bag look even more realistic and fun.
How to Crochet a Mini Lamb Bag
Materials Needed
To create the mini lamb bag, you’ll need the following materials:
- Yarn:
- The Autumn brand cotton yarn was used for the tutorial. This yarn is slightly thicker than Symphony cotton yarn but works well for this project.
- You’ll also need beige-colored yarn for the lamb’s head.
- Hooks:
- 3.5mm hook: Used for the bag (to create looser stitches).
- 3mm hook: Used for the lamb’s head (to ensure tighter stitches).
- Other Supplies:
- 4mm plastic safety eyes.
- Keyring and 30cm ribbon (called "mouse tail" in the video).
- Wool needle: Used for sewing and adding details.
- Scissors: For cutting yarn.
- Blush or pink powder: To enhance the lamb’s cheeks.
- A small amount of black yarn: For stitching the lamb’s nose.
- Stuffing (fiberfill): A small amount for filling the lamb’s head.
- Stitch marker: To keep track of rounds.
Special Features
- Cute and Functional Design:
- The mini lamb bag has a playful and fluffy lamb face design with puff stitches, mimicking a woolly appearance.
- It’s just the right size for holding small treasures like coins or candies.
- Puff Stitch Details:
- The puff stitch is used to create the lamb’s textured, fluffy look.
- It alternates with single crochets to form rounded, soft edges.
- Practical Uses:
- These mini bags can be used for storing money, candies, or small gifts.
- Perfect for party favors (e.g., baptisms, baby showers) or as a small personal accessory.
- Customizable:
- Available in various colors of your choice.
- You can add a button or magnetic closure for extra utility.
Level of Difficulty
- Beginner-Intermediate: Basic knowledge of crochet techniques such as single crochet, puff stitches, and magic rings is needed. Angel’s step-by-step guidance makes the project beginner-friendly, but some precision in stitching is required for the finer details of the lamb’s face.
Tutor's Suggestions
- Use different yarn tension:
- A looser tension is needed for the bag (hence the use of a 3.5mm hook), while a tighter tension for the lamb’s head (3mm hook) ensures a better fit and structured look.
- Alternating Patterns:
- Pay attention to puff stitches and single crochets alternating within rows to achieve the distinct fluffy look.
- Mark Your Stitches:
- Place stitch markers, especially when working in rounds, to avoid losing track of where each row begins and ends.
- Custom Closures:
- You can add a button, magnets, or simply use the ribbon to create a drawstring closure.
- Light Embellishments:
- A touch of blush on the lamb’s cheeks and carefully placed ribbon handles elevate the visual appeal of the finished bag.
Step-by-Step Instructions
Step 1: Creating the Bag
- Start with a Magic Ring:
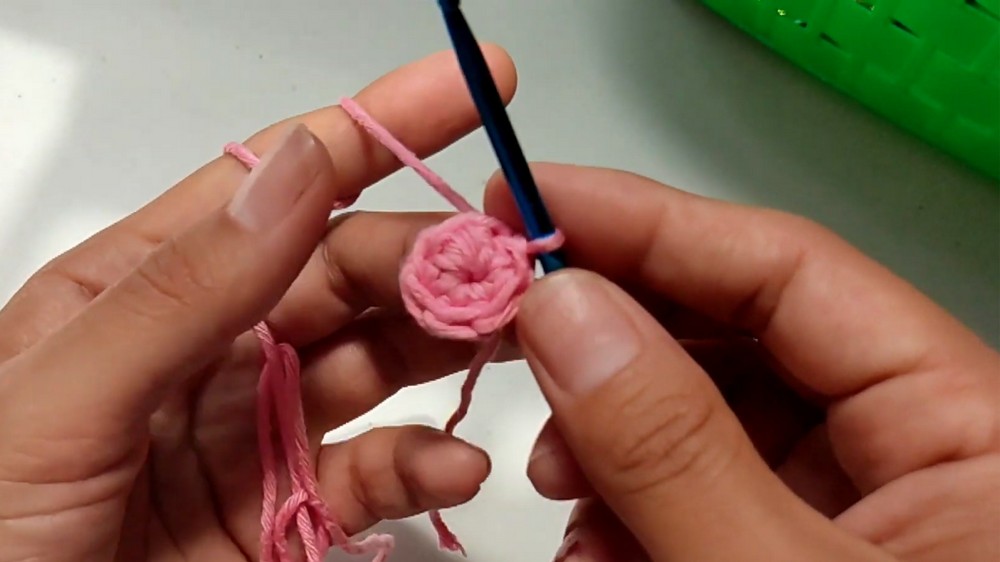
- Use a 3.5mm hook and start the bag base with a magic ring. Chain 1 to secure the ring and make 6 half-double crochets (HDC) into the magic ring.
- Pull the loose yarn to tighten and close the magic ring.
- Slip stitch to the first HDC to complete the round.
- Increase Rounds for the Bag’s Bottom:
- Begin the second round with an increase in each stitch (2 HDC in each stitch from the previous row), resulting in 12 HDC total.
- In the third round, alternate 1 HDC and 1 increase for 18 HDC total.
- Continue alternating rows of flat expansion and work in continuous rounds to form the bag’s body.
- Work in Puff Stitch Pattern:
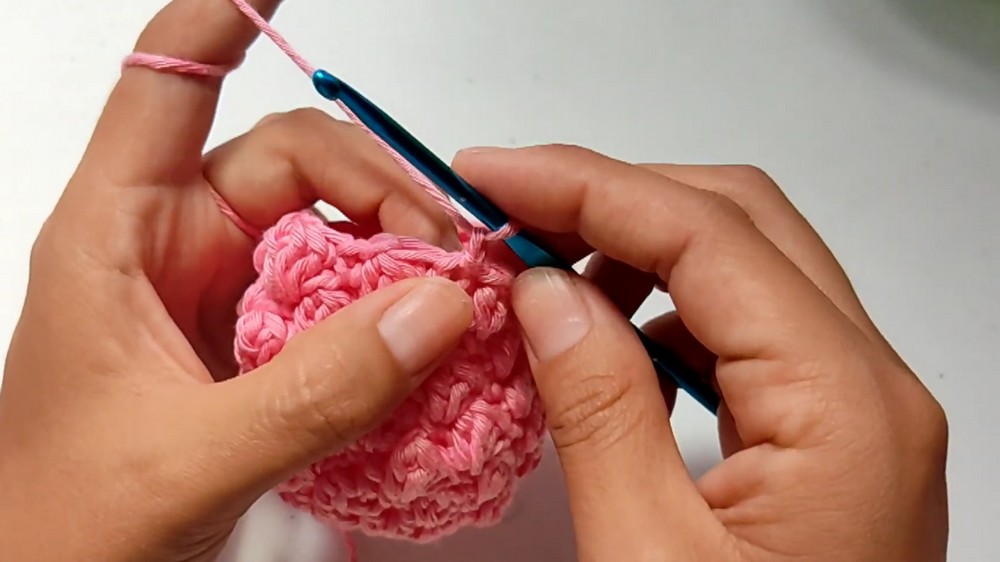
- For 6 total rounds, alternate between puff stitches (3 yarn overs worked into the same stitch, leaving them unfinished until you have 4 loops, then pulling them through) and single crochets.
- Each round will alternate starting with a puff stitch or single crochet to create a staggered texture.
- Finishing the Bag:
- For the final row, switch to double crochet and work evenly around the bag.
- Secure the final stitch with a slip stitch and cut the yarn, leaving a tail for threading your ribbon.
- Add the Ribbon:
- Use a wool needle to weave the ribbon (mouse tail) in and out of the bag’s upper row to create a drawstring closure. Tie a small bow to secure.
Step 2: Making the Lamb’s Head
- Start with Beige Yarn:
- Use a 3mm hook and begin with a magic ring of 6 single crochets.
- Increase evenly over the next few rows (e.g., Row 2: 12 SC, Row 3: 18 SC) following standard increase patterns.
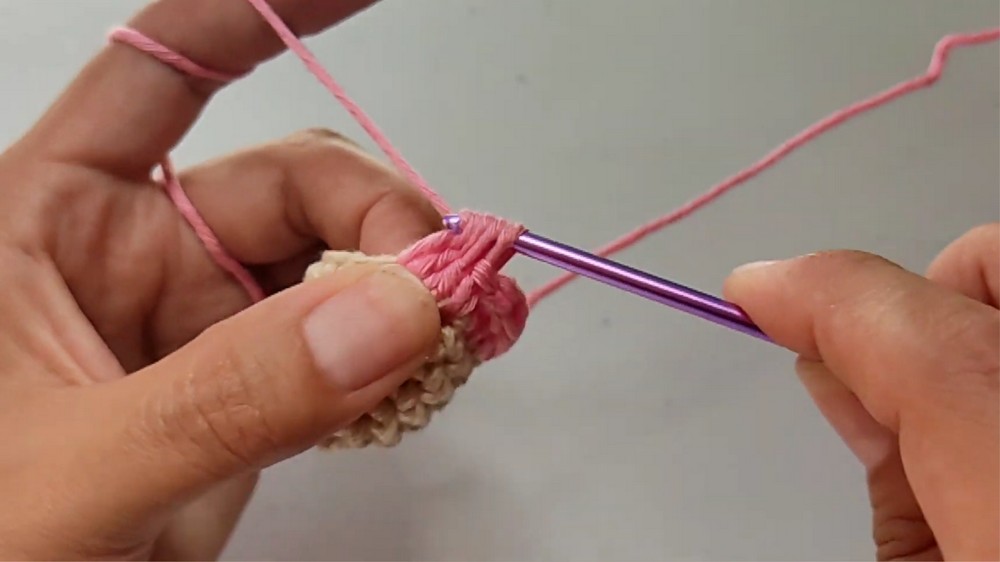
- Puff Stitch Texture:
- After the increase rounds, switch to the puff stitch as done on the bag.
- Alternate between puff stitches and single crochets for 2 rows to create the characteristic lamb texture.
- Close the Head:
- Stuff the head lightly with fiberfill before closing off the final round. Use a wool needle to thread around the last row and pull tightly to close.
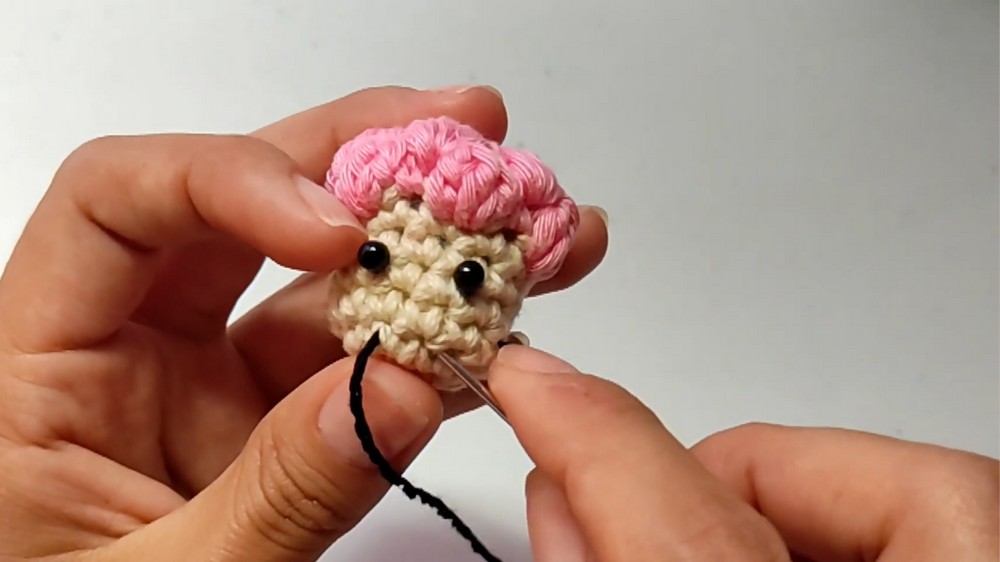
- Add Eyes and Nose:
- Add plastic safety eyes between the 2nd and 3rd row of the lamb’s head, ensuring they are evenly spaced.
- Embroider the nose with black yarn as a small “V” shape below the eyes. Tie the loose ends securely inside the head.
- Attach Ears and Blush:
- Crochet small ears using chains and single crochets, attaching them to the top of the head.
- Add blush to the cheeks for a lively and colorful touch.
Step 3: Assembly
- Attach the lamb’s head to the front of the bag using beige yarn and a wool needle.
- Sew carefully to ensure the head is secure, while keeping the bag’s drawstring functional.
Uses
- Practical Applications:
- These mini lamb bags can be used as coin purses, gift bags for candies, or party favors for events like baptisms or baby showers.
- Add a keyring to transform it into a keychain accessory.
- Gifting Ideas:
- Personalize the bag in pastel colors or tailor it based on the event’s theme.
Tip
To ensure a neat and professional finish, weave in all loose ends and use a small button or magnet closure to secure the bag’s contents. Additionally, experiment with different yarn colors for a more unique look.
Conclusion
This lamb bag project is a fun and creative way to explore the art of crochet. Its adorable design, versatility, and customizable features make it perfect for gifting or personal use. With the clear step-by-step instructions provided in the tutorial, you’ll have an enjoyable time bringing these mini lamb bags to life. Don't forget to add a touch of personalization and share your results—it’s a wonderful craft worth showing off.