
Stylish Crochet Cat Paw Fingerless Gloves Pattern for All Ages
Try a free crochet cat paw fingerless gloves pattern to keep your hands warm and make your outfit extra cute and fun.
When chilly days arrive, having cozy yet stylish accessories can make all the difference. These adorable cat paw fingerless gloves pattern bring warmth and a touch of playful charm to your wardrobe. Made with soft yarn and crocheted using single crochet, half double crochet, and double crochet stitches, this pattern is simple enough for beginners but fun enough to keep seasoned crocheters engaged. Starting with a foundation chain and working in rows, you gradually shape the gloves to fit snugly around your hands while leaving your fingers free for easy movement.
Learn More Creations With These Stitches
Mastering this fingerless glove pattern unlocks the potential to create a variety of other cozy and creative items. The combination of single, half double, double, and triple crochet stitches lends itself well to scarves, hats, headbands, and even home décor like textured blankets or cushion covers. The technique for making the thumb opening can be adapted for mittens or other glove styles. Plus, the playful use of color and stitch texture can inspire unique amigurumi designs or fun appliqués to personalize your projects. This pattern is a fantastic way to build foundational crochet skills while making something both cute and useful.
Learn to Crochet Cat Paw Fingerless Gloves for Free and Impress Your Friends
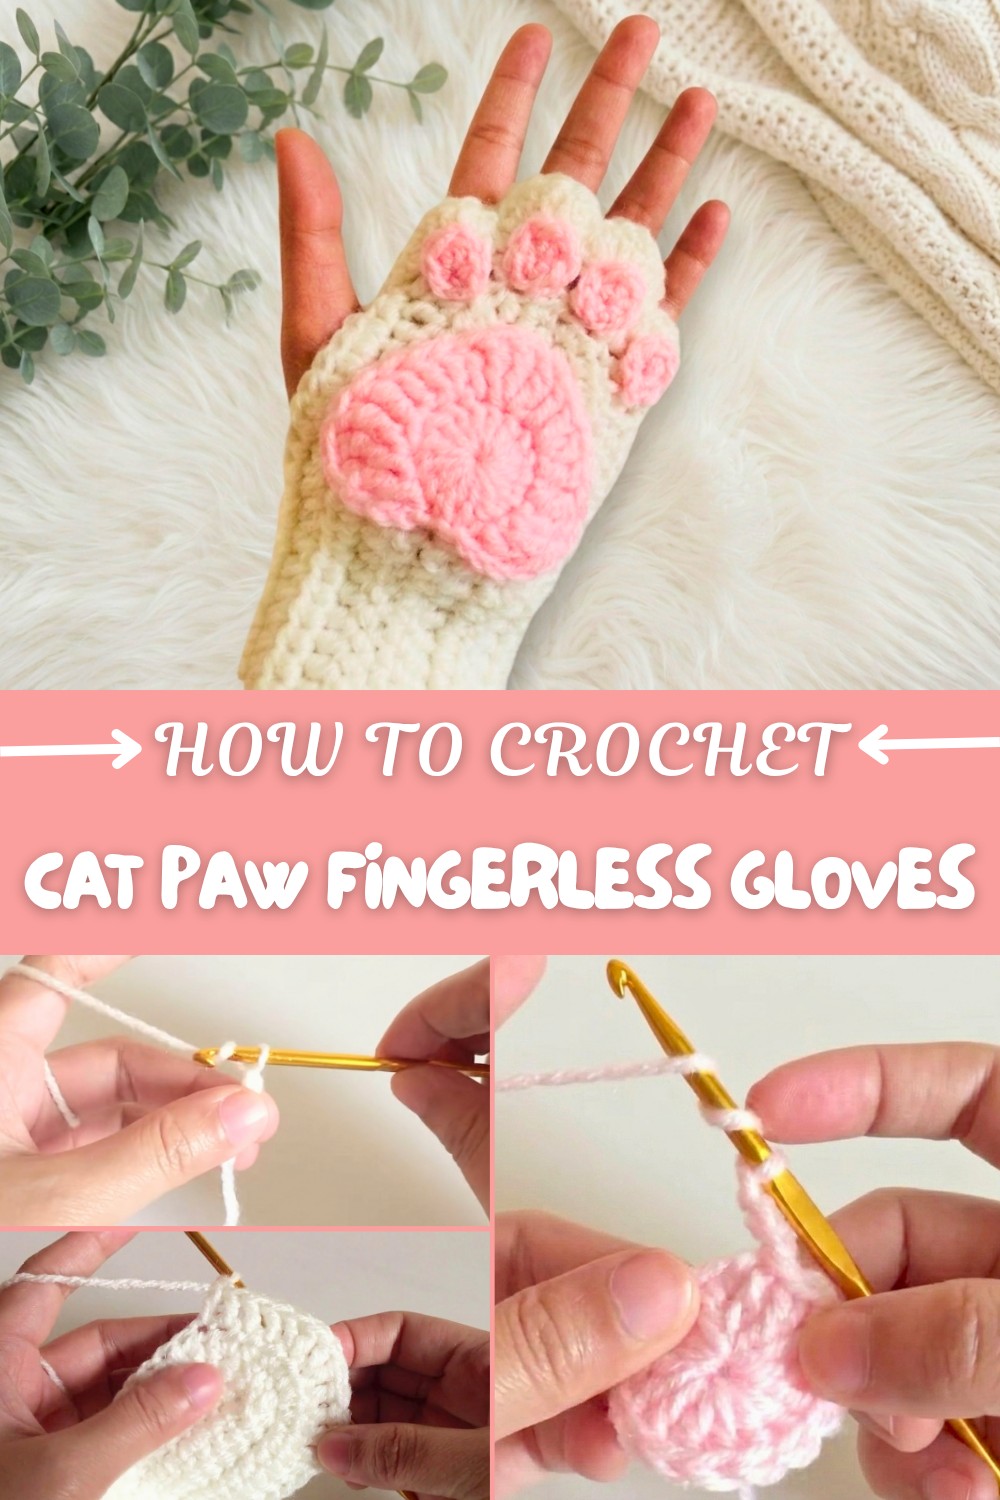
The real highlight is the cute cat paw design on the top, made with clusters of triple crochet stitches that form the paw pads, adding texture and whimsy. Using contrasting colors makes the paw details pop, giving the gloves a lovable character. The pattern also includes instructions for forming the thumb hole, making these gloves practical and comfortable for daily wear. Beyond keeping your hands warm, they’re perfect for adding a fun accessory to casual outfits or gifting to fellow cat lovers.
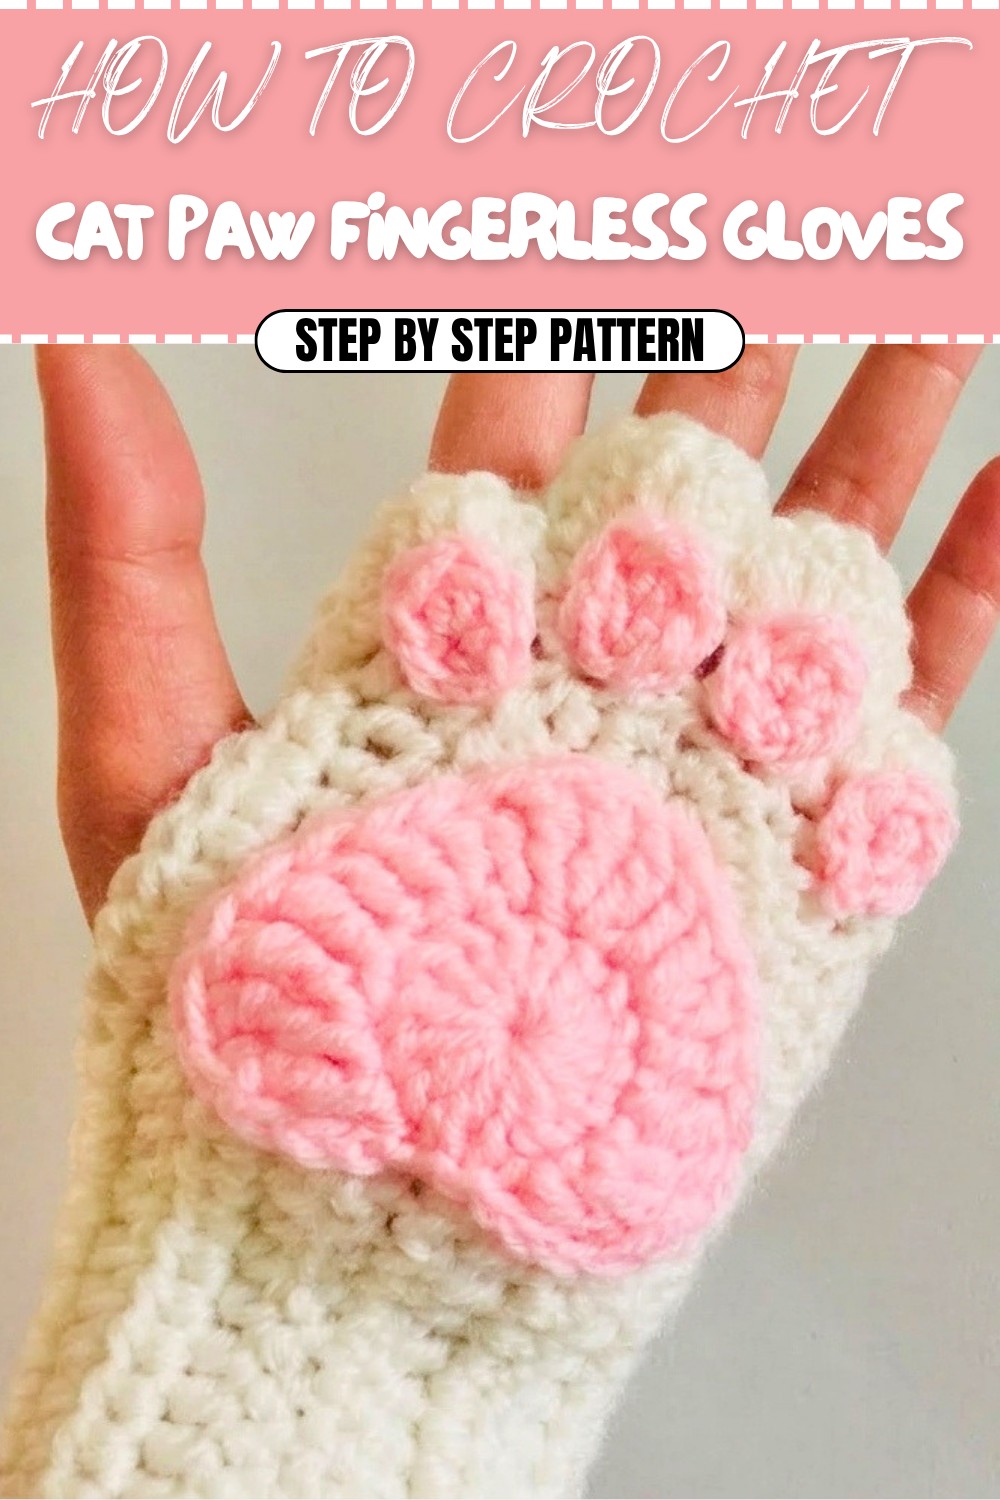
Crochet Pattern: Decorative Gloves with Flower Attachments
Welcome to this cozy and creative crochet pattern for making beautiful decorative gloves with floral attachments! This pattern is beginner-friendly, incorporates simple stitches like single crochet, half double crochet, and double crochet, and includes detailed instructions for layering decorative flower motifs onto your gloves. Whether you're looking to keep your hands warm or hoping to crochet a stylish accessory, this pattern will guide you step-by-step through creating a functional, vibrant design.
Skill Level & Terminology
- Skill Level: Beginner
- Terminology: US Crochet Terms
This pattern features foundational techniques such as:
- Chains (ch)
- Single Crochet (sc)
- Half Double Crochet (hdc)
- Double Crochet (dc)
- Triple Crochet (tr)
- Slip Stitch (sl st)
- Working in the round and using a magic ring.
Materials & Tools
- Yarn:
- Main Color: Any medium-weight yarn (Red Heart Super Saver in the tutorial).
- Decorative Color: A contrasting yarn for flower motifs.
- Hook:
- 5 mm crochet hook.
- Other Tools:
- Scissors.
- Yarn needle for sewing and weaving in ends.
- Stitch marker (optional, to mark rounds).
Gauge
Gauge is not critical for this project since the gloves can be adjusted for size. For reference:
With a 5 mm hook and medium-weight yarn: 6 hdc x 5 rows = 2 inches square.
Abbreviations List
| Abbreviation | Meaning |
|---|---|
| ch | Chain |
| sc | Single Crochet |
| hdc | Half Double Crochet |
| dc | Double Crochet |
| tr | Triple Crochet |
| sl st | Slip Stitch |
| mr | Magic Ring |
| inc | Increase (two stitches in one) |
Special Stitch Instructions
Magic Ring (MR):
- Wrap yarn around two fingers to form a loop.
- Insert hook under the loop, yarn over, and pull through.
- Chain 1 to secure the loop.
- Work the required stitches into the loop, then pull the yarn tail tightly to close.
Finished Size
- Standard Adult Size: ~7 inches in height by 3.5 inches wide. Adjust size by increasing or decreasing the initial number of chains.
What You'll Learn from This Pattern
- Constructing fingerless gloves using single and half double crochet stitches.
- Shaping rounds with increases for a comfortable fit.
- Creating decorative flowers and assembling them onto the gloves.
- Customizing crochet pieces for size and color combinations.
The Pattern Itself
Step 1: Creating the Glove Base
Yarn Color: Use the main yarn color of your choice.
- Foundation Chains:
- Make 20 ch (adjust the chain length for your hand size).
- Round 1:
- Insert the hook into the second chain from the hook and work 18 sc down the row.
- In the last chain, make 3 sc all in the same stitch (this forms a curve for the bottom of the glove).
- Work 18 sc back down the other side of the foundation chain. (39 sts)
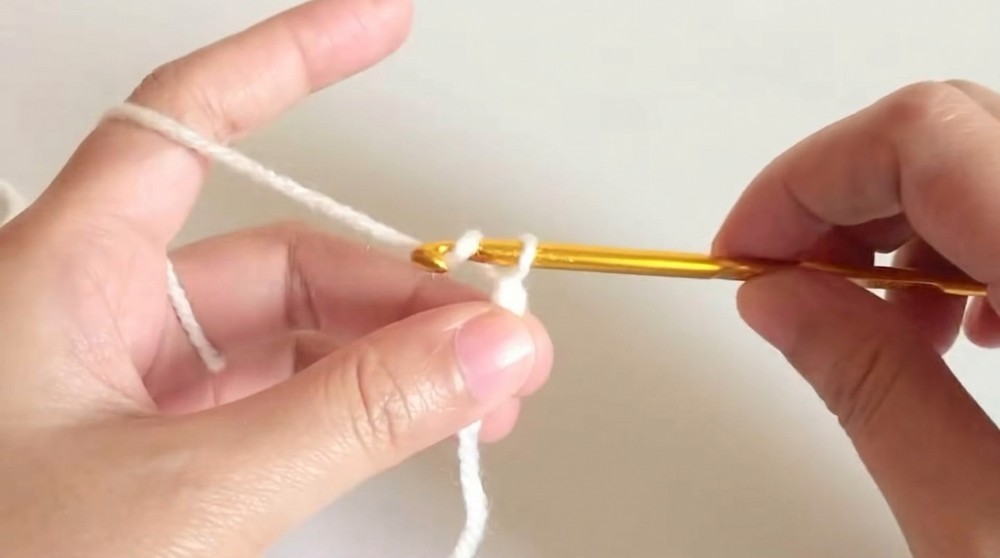
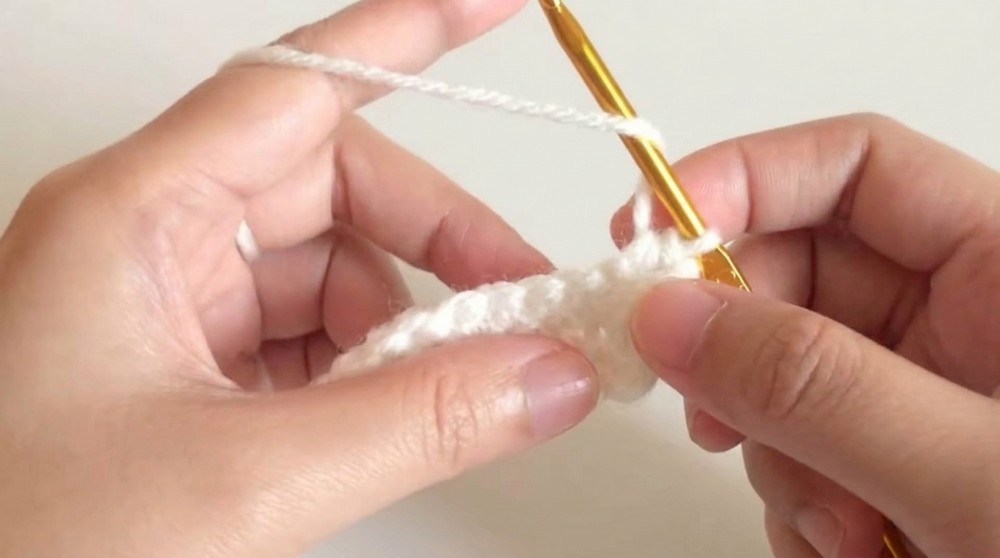
This forms the start of the glove with rounded shaping at one end.
Step 2: Building Height
- Round 2:
- Chain 1, turn your work. Skip the first stitch, and work 17 hdc in each of the next stitches.
- In the next 3 stitches (centered on the curve), make 2 hdc in each stitch (increase).
- Work 18 hdc in the remaining stitches down the row.
- Round 3:
- Chain 1, turn your work. Skip the first stitch, and work 17 hdc, increasing again in the next three stitches by making 2 hdc in each.
- For the rest of the row, work 18 hdc.
Repeat this process for 5 total rounds, maintaining the same increasing structure to give the glove a rounded width and snug fit around your hand.
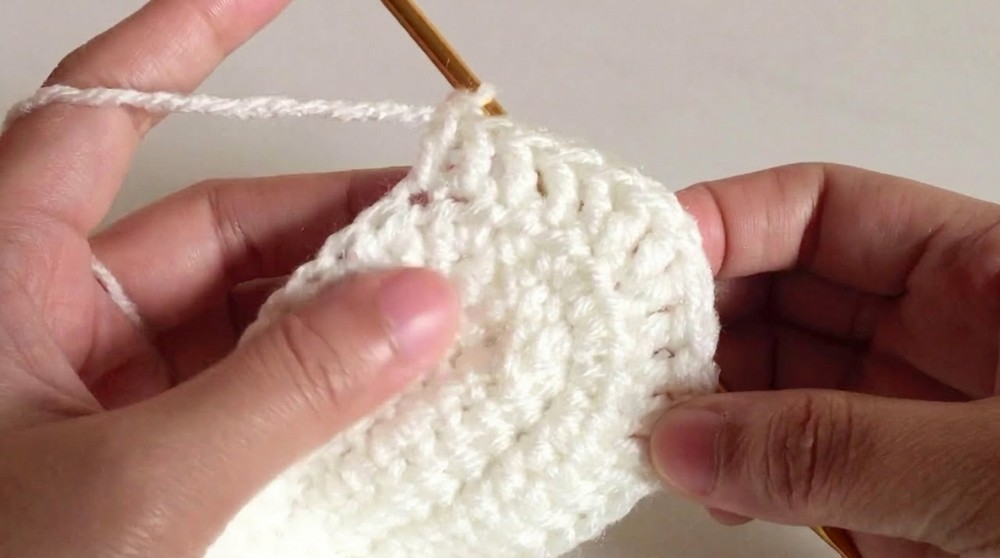
The basic shape of the glove is now forming, with a wider edge designed for thumb placement.
Step 3: Shaping the Thumb Opening
- Round 6:
- Chain 1, skip the first stitch, and work 17 hdc.
- Skip 2 stitches where the thumb opening will go, and chain 2.
- Continue working 18 hdc stitches to finish the round. (39 sts)
- Rounds 7–8:
- Repeat the previous round but work hdc into the chain stitches made for the thumb slot.
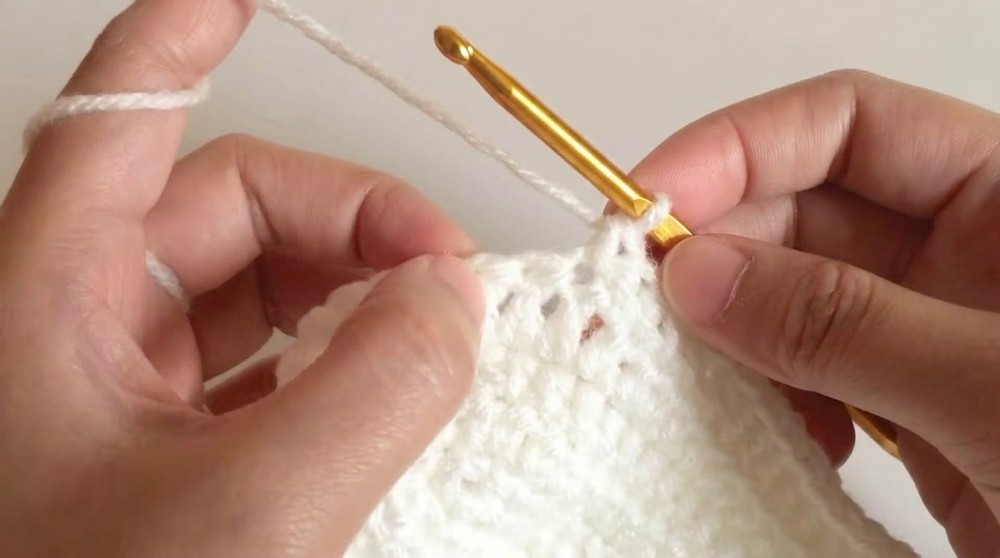
This creates an opening for the thumb while maintaining the fit of the glove.
Step 4: Creating the Second Piece and Sewing
- Repeat Steps 1–3 to create a second glove piece.
- Use the yarn tail and a yarn needle to sew the edges of the glove pieces together, ensuring the thumb hole remains open.
- Turn the gloves inside out to hide the seam.
Once sewn, you’ll have completed the glove base! Now let’s add some decorations.
Step 5: Decorative Flower Motifs
Yarn Color: Use a contrasting yarn (e.g., pink).
Flower Motif Rounds:
- Round 1 (MR):
- Create a magic ring and work 15 dc into the ring. Fasten off with a sl st into the first dc. (15 sts)
- Round 2:
- Chain 3, then work 1 tr into the next stitch.
- In the same stitch, work 2 tr more.
- Move to the next stitch and work 1 dc.
- Repeat the sequence of tr stitches followed by dc around until 4 petals are formed.
- Fasten off and leave a long tail for sewing.
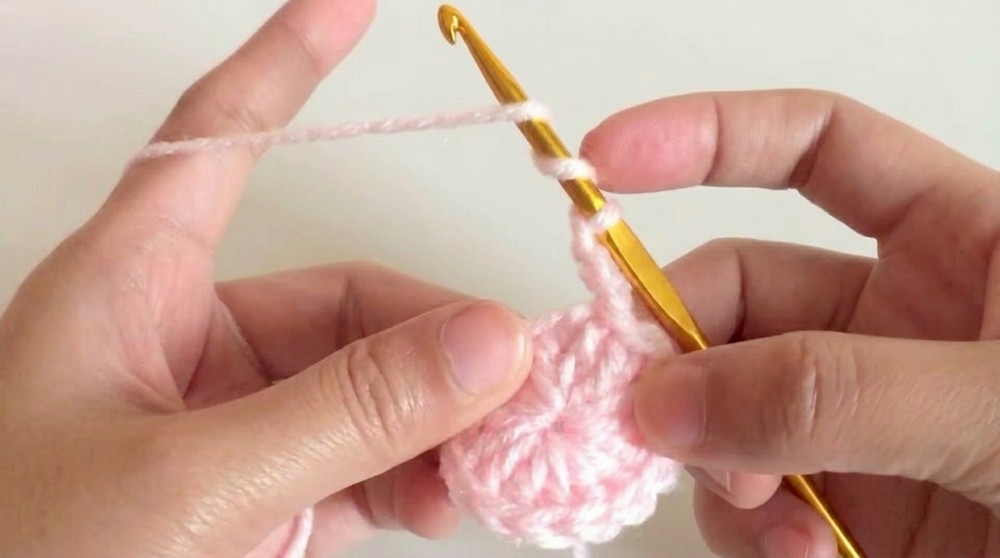
Make 4 flower motifs in total for each glove (2 for the sides and 2 for the back).
Step 6: Attaching Flowers
- Position the flowers symmetrically on the front and back of each glove.
- Use the long yarn tail from each flower to sew it securely onto the glove.
- Weave in any remaining loose ends.
Attaching the flowers brings charm to the glove and completes the decorative design.
Assembly & Finishing
- Make sure the right sides of the gloves are facing outward before sewing.
- For the final touch, ensure the thumb hole is comfortably sized and that all seams are secure.
- Weave in all loose yarn ends, and your beautiful gloves are ready to wear!
Why I Love This Pattern
This project is perfect for those who enjoy quick and functional crochet items! The gloves are simple to make yet highly customizable with flower motifs, thumb hole sizing, and color combinations. It’s a perfect project for handmade gifts, seasonal accessories, or just practicing crochet techniques in an enjoyable way.