
Step by Step Free Crochet Shoulder Bag Pattern
Complete your look with a beautiful shoulder bag made using this free crochet pattern that is fun, stylish, simple, and perfect for crocheting at home.
Pattern By happyknitbyCit
My first crochet bag started because I was tired of stuffing everything into my pockets. A phone, a notebook, a pen, some candy… it all needed a simple home. That small problem turned into a soft shoulder bag made with yarn and a hook, and suddenly everyday walks, school days, and quick store trips felt more organized and a little more stylish too. This free crochet shoulder bag pattern follows that same idea: easy, useful, and fun to work on, even for a beginner or a young learner.
The bag uses a basic single crochet stitch, so your hands repeat the same simple motion again and again. Single crochet makes the bag strong enough to hold books, snacks, or toys, yet still light and soft to carry. With the same stitch, you can add rows, change colors, or adjust the size without any complicated steps.
Upgrade Your Style with This Free Crochet Shoulder Bag
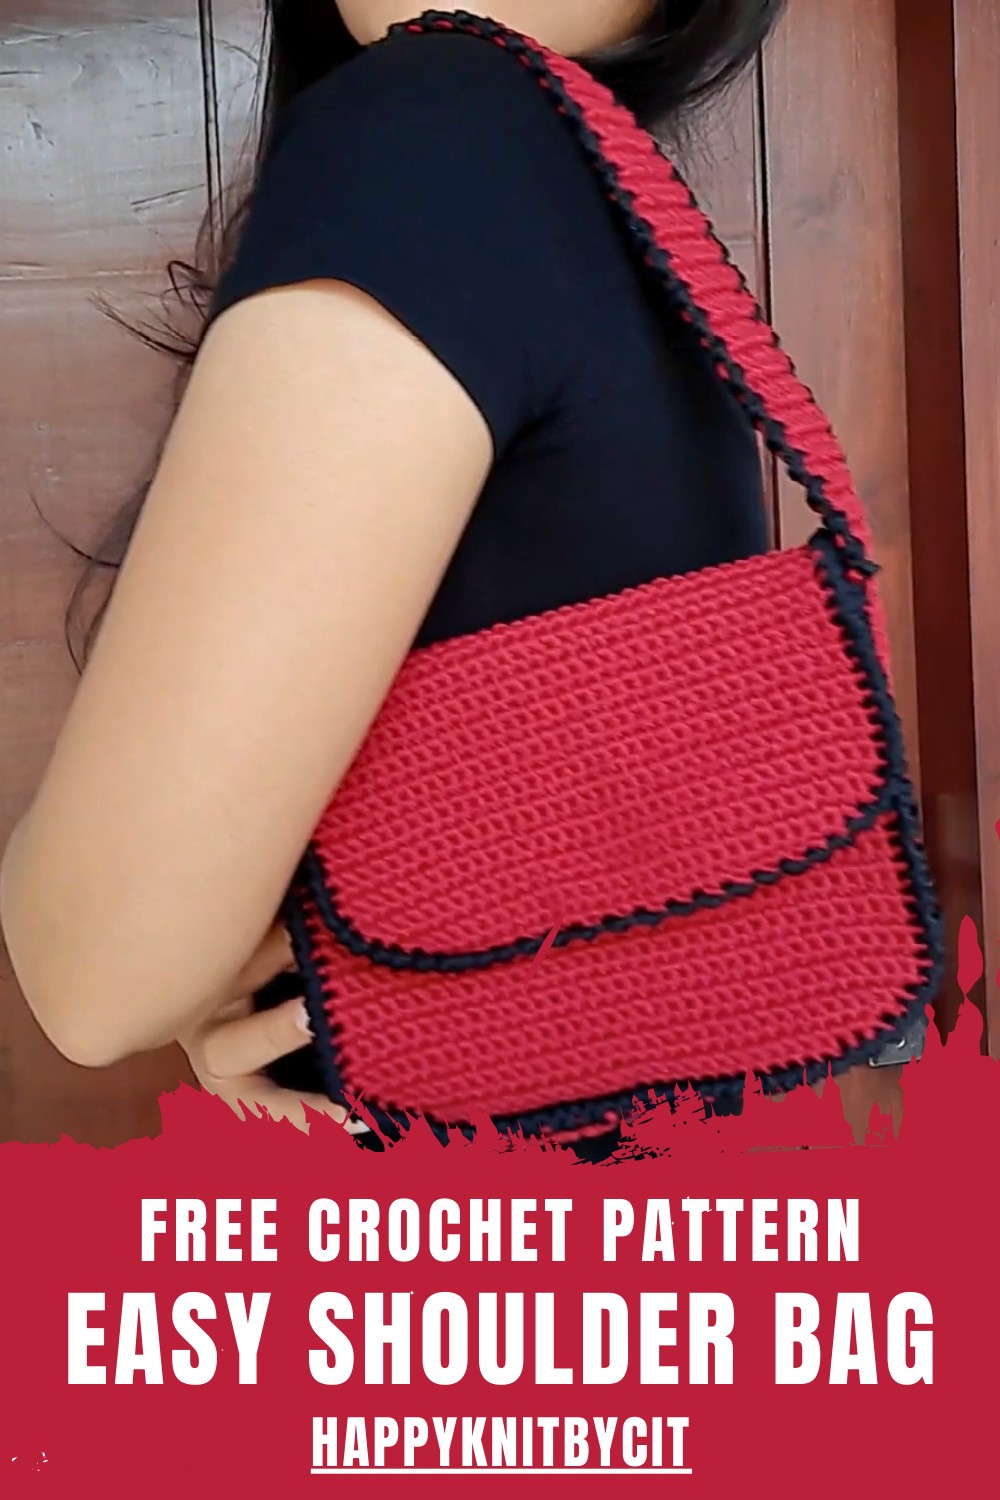
From this pattern you will learn how to hold the hook and yarn properly, how to start with a foundation chain, and how to work neat rows of single crochet. You will also see how to shape the body of the bag, how to make and attach a strap, and how to fasten off your yarn so nothing comes loose. These skills form a strong base for many future projects and help you feel more confident with each new row.
Once you know this shoulder bag method, you can use the same idea for other projects. A short, wide version becomes a tablet sleeve. A small rectangle with a button turns into a phone pouch. A taller version with two handles becomes a simple market tote. You can also use the same stitch to make pencil cases, coin purses, or storage baskets for your desk or room.
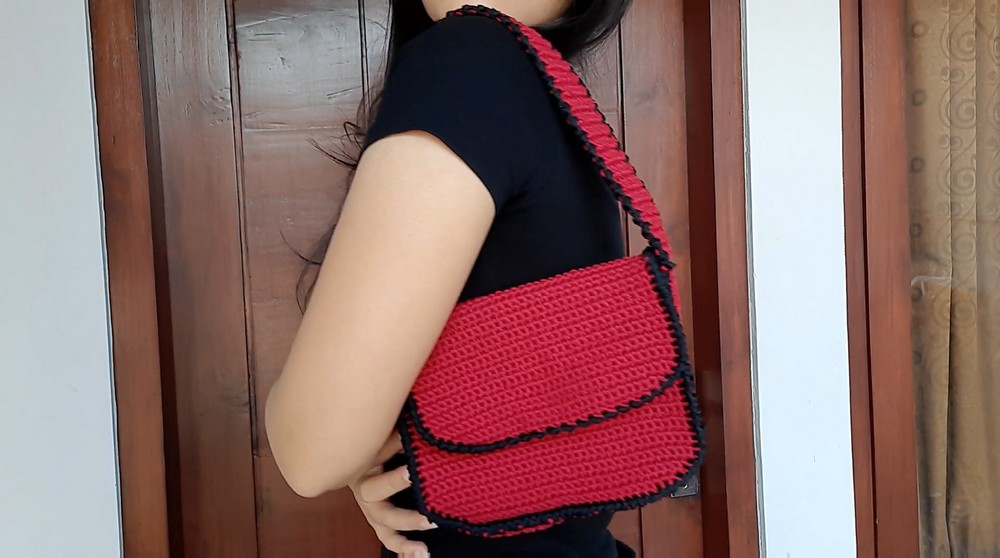
Crochet Bag Pattern – Step by Step Guide
Welcome to this detailed guide. In this pattern, we'll walk through how to create a structured crochet bag in an easy to follow format. Each step includes stitch counts and clear instructions, ensuring your creation comes out perfectly.
Quick Overview of the Pattern
- Skill Level: Intermediate
- Techniques: Chain stitch, Single Crochet, Increase by adding single crochets, and Decrease by merging stitches.
- Bag Design: Structured with seamless joins, sturdy body, and well defined edges for longevity.
- Highlights:
- Symmetrical shaping with increases and decreases.
- Clear steps for attaching the sides and handles to create a professional finish.
Notes
- Double the yarn for a more structured bag.
- Count your stitches carefully to preserve symmetry.
- Black yarn is used for decorative edges, but feel free to customize colors.
- Ensure tight, even tension throughout the project.
Materials
- Yarn:
- Small ply yarn, used double stranded throughout (you can pull from the center and outer sides of a skein to achieve this).
- Hook:
- 3.0 mm crochet hook.
- Stitch Markers:
- To mark the first/last stitches in each row.
- Scissors:
- To cut yarn.
- Optional:
- Tapestry needle to sew sections together.
Measurements / Sizing
- Bag Dimensions: 30 cm tall x 25 cm wide.
- Handle Length: Approximately 98 cm.
- Side Panel Width: 14 bar sections (~28 rows).
Gauge
Gauge is not critical, but for reference:
- 10 sc x 10 rows = 5 × 5 cm.
Stitch Abbreviations
ch = Chain
sc = Single Crochet
inc = Increase (2 sc in 1 stitch)
dec = Decrease (joining 2 stitches into 1 stitch)
st(s) = Stitch(es)
Special Stitches
- Increase (inc):
- Insert your hook into a stitch.
- Yarn over, pull up a loop, yarn over and pull through two loops (1 sc).
- Insert into the same stitch again and repeat the process (2 sc in the same stitch).
- Decrease (dec):
- Insert your hook into a stitch, yarn over, and pull up a loop.
- Insert into the next stitch, yarn over, and pull up a loop.
- Yarn over, pull through all loops on your hook (joins 2 sts into 1).
The Crochet Pattern
1. Creating the Base of the Bag
Row 1:
- Make a slipknot.
- Chain 26 stitches (ch26).
- Add 1 extra chain for turning (ch1).
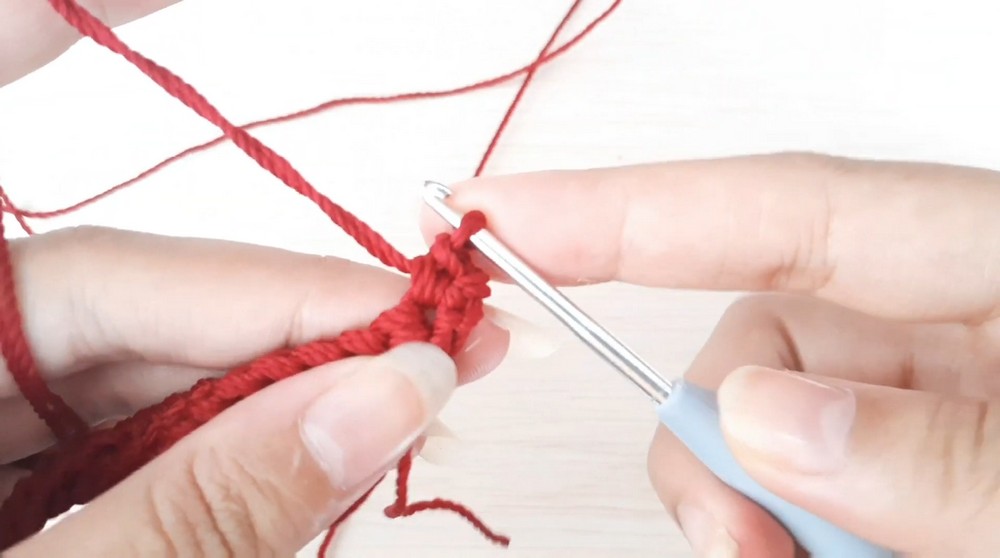
Row 2:
- Work 1 sc into the second chain (from the hook).
- Continue making sc across the row.
- When you reach the last stitch, work 2 sc to increase.
- Place a stitch marker on the first stitch.
- Stitch Count: 27 sc.
Rows 3-5 (Increasing Rows):
- Ch 1, turn your work.
- At the start and end of each row, add an increase (inc) by working 2 sc into the first and last stitch.
- Work 1 sc in each middle stitch.
- Stitch Count After Row 5: 33 sc.
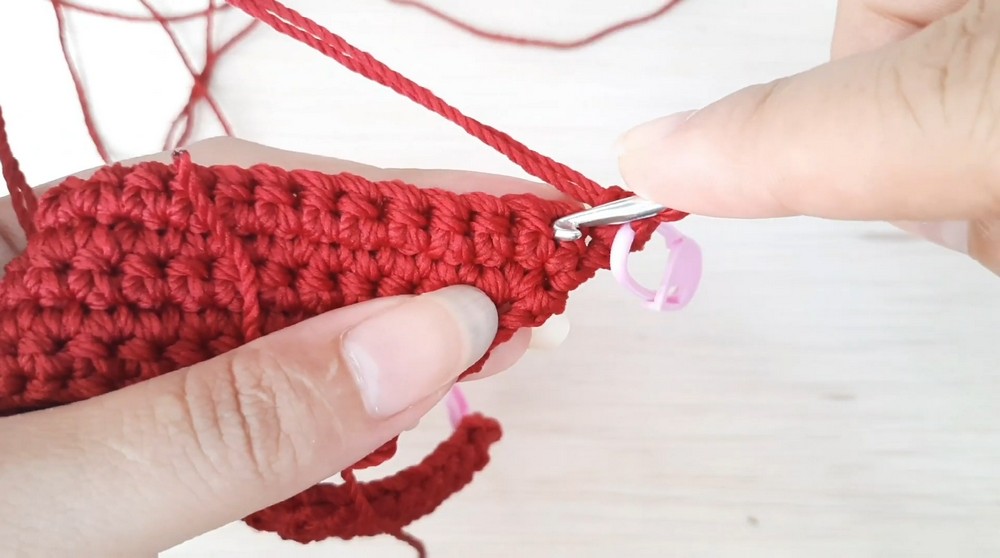
Rows 6 to 47 (Neutral Rows):
- Ch 1, turn the work.
- Complete 1 sc in every stitch across the row—no increases or decreases.
-
- Stitch Count: 33 sc throughout these rows.
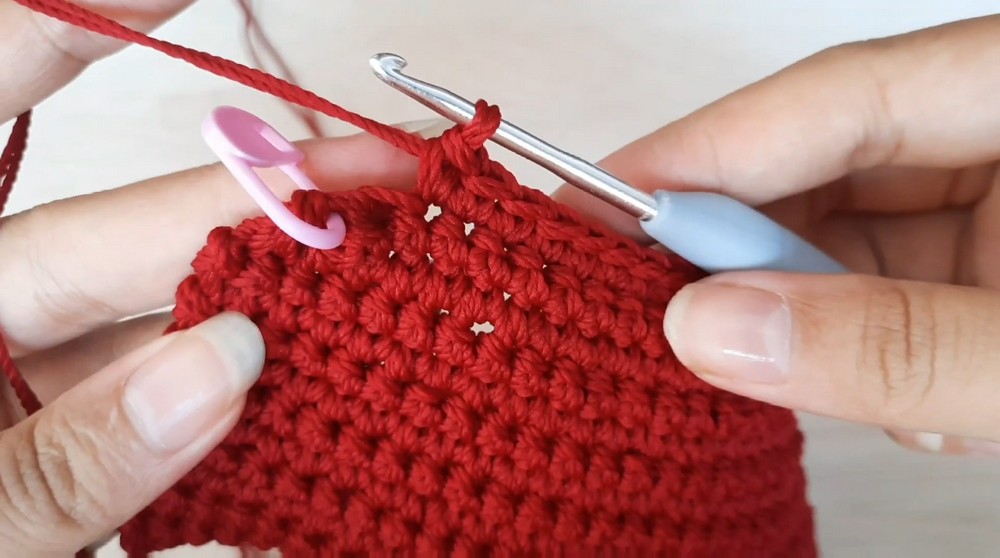
2. Shape the Top with Decreases
Prepare to Decrease:
- You will now begin decreasing at both ends of the row for the next 5 rows.
Row 48 to 52:
- Begin with ch 1.
- Work a dec (reduce 2 sc into 1) at the beginning of the row.
- Continue using sc across the middle of the row until 2 stitches remain.
- Work a dec in the last 2 stitches.
- Stitch Count Decreases Every Row: By 2 stitches per row.
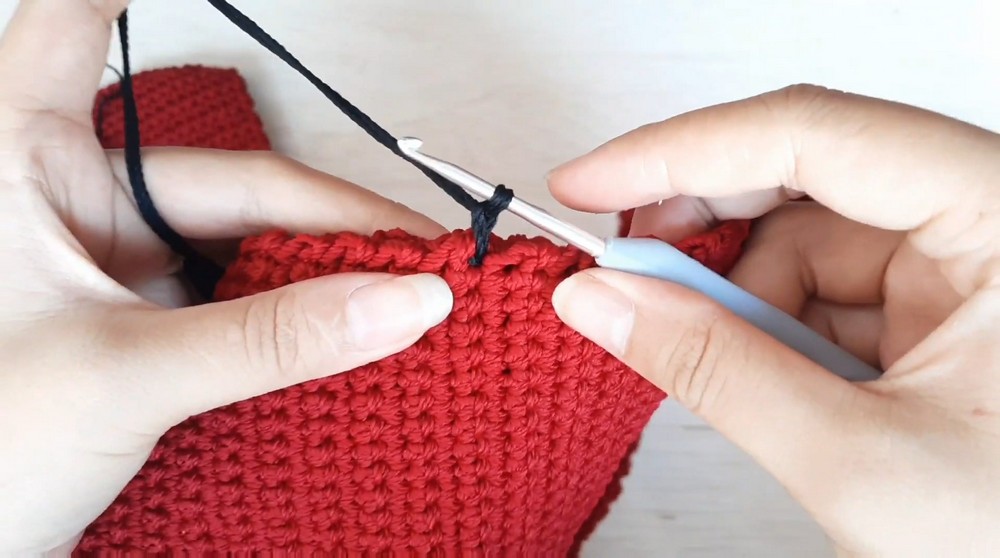
After Row 52:
- Final Stitch Count: 25 sc.
- Fasten off and leave a tail for sewing.
3. Create the Front Panel
Follow the same steps as the base panel:
- Work Rows 1 to 47 as described above.
- Stop at Row 47 to leave the top narrower than the back panel.
4. The Handle/Side Panel
Step 1: Create the Handle’s Base
- Chain 7 (ch7).
- Add 1 extra chain to turn (ch1).
Step 2: Begin Side Rows
- Work 1 sc into the 2nd chain from the hook.
- Continue making sc across the row (7 sc in total).
Step 3: Repeat Rows to Desired Length
- Ch 1, turn at the end of each row.
- Repeat the sc rows until the handle reaches 98 cm (or desired length).
Step 4: Join Ends of the Handle
- Fold the strip into a loop and crochet or sew the ends together.
5. Assembly
Attaching the Handle to the Bag:
- Use stitch markers to locate the center of the bag’s top edge and align the handle seamlessly.
- Secure the handle using either:
- A tapestry needle for sewing.
- A crochet hook for a consistent edge border.
Assembly & Finished Size
Final Details:
- Add black decorative stitching along the edges of the bag and handle.
- Tuck and secure loose ends of yarn by weaving them into the fabric.
- Use a lighter (optional) to seal yarn ends for durability.
Final Measurements:
- Bag body: 30 cm tall × 25 cm wide.
- Handle/Edge: 98 cm long × approx. 4 cm wide.
Conclusion
Congratulations! You’ve now created a gorgeous, sturdy crochet bag with a sleek design. This versatile pattern is perfect for various occasions, whether it’s for casual use, grocery shopping, or as a thoughtful handmade gift.