
No Fuss Free Crochet Baby Bib Pattern to Save Your Baby’s Day
Keep messy mealtime spills off cute baby outfits by stitching a soft crochet baby bib that washes easily and looks adorable during every snack time.
Some things just make life easier and sweeter, and this crochet baby bib is one of them. If you’re looking for a practical yet stylish handmade gift for a baby, this pattern is a wonderful choice. It’s simple to make, completely beginner friendly, and designed with ease in mind, no pesky buttons, ties, or Velcro. This bib slips right through the loops you crochet, making it safe and comfortable for a baby to wear while keeping their clothes mess free.
Simple Free Crochet Baby Bib Pattern for Sweet Gifts
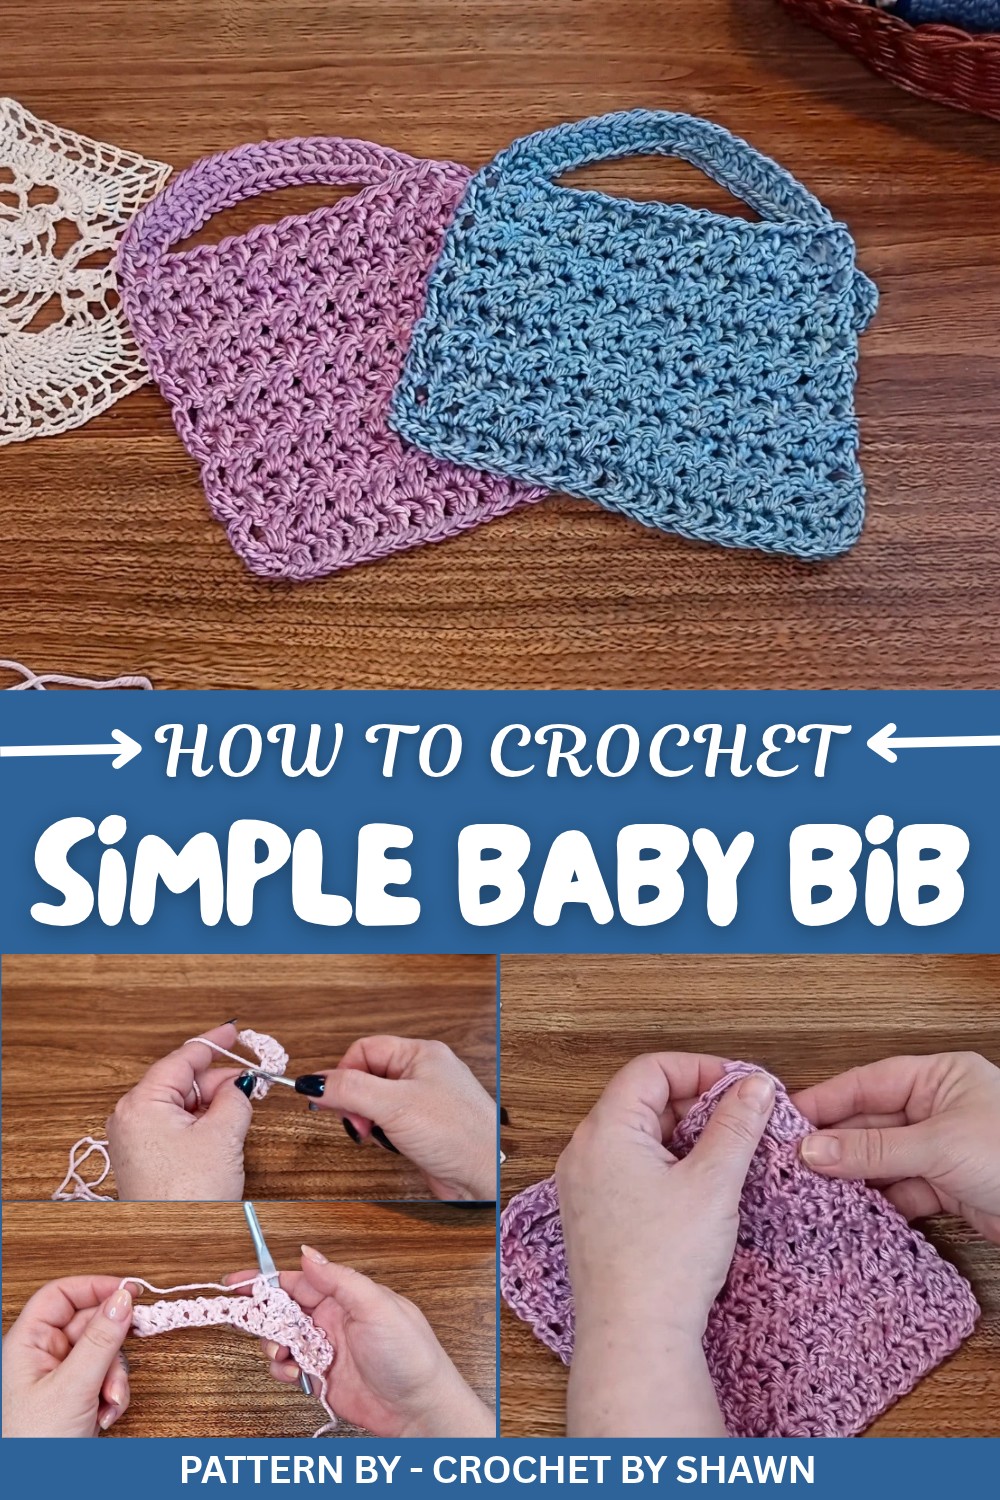
The design is both beautiful and functional. The most eye catching feature is its charming cross stitch pattern, which creates little X shaped details across the bib’s body. This unique texture gives the bib a classy look and also makes the process of crocheting more fun. The bib is worked using straightforward techniques like double crochet and the double crochet foundation row for the neck handle. If you’re new to the cross stitch technique, Shawn’s tutorials make it super easy to follow.
This bib is perfect for busy parents because it’s easy to slip on and off without the hassle of tying knots or managing closures. It’s also versatile, you can make it in a variety of colors to suit the baby’s personality or match their outfit. Shawn, the creative mind behind Crochet By Shawn, walks you through every step in a relaxed and friendly way, ensuring even complete beginners can finish this project in a day.
So grab your yarn, a crochet hook, and some creativity. You’ll have a finished product that’s not only adorable but practical, perfect for gifting or keeping for the little ones in your life.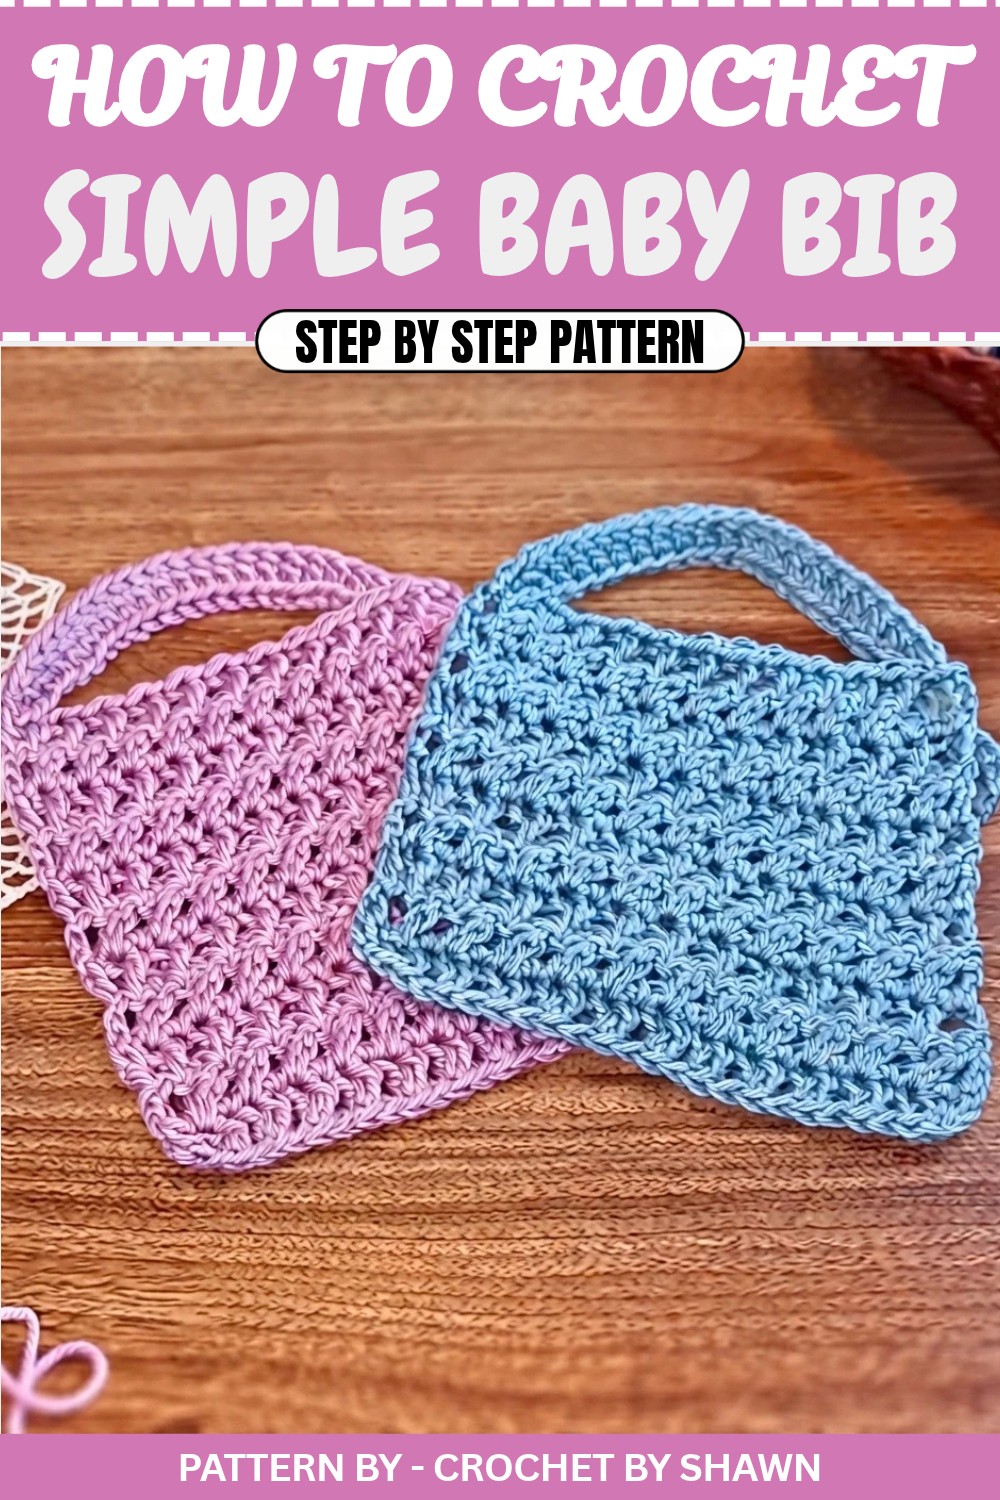
Simple & Easy Baby Bib Crochet Pattern
Quick Overview of Pattern
- Project Type: Crochet baby bib
- Design: Slip through pattern with no buttons or ties
- Special Feature: Safe, simple, and functional for babies
- Construction: Base, bib body, and neck handle
Notes
- The pattern uses cross stitches, which give the bib a textured and decorative look. If you’re unfamiliar with this stitch, check out Sean’s cross stitch tutorial for guidance.
- The foundation row establishes the measurement for the bib, it should fit comfortably around the baby's neck.
- You can easily adjust the size by increasing or decreasing the number of chains in the foundation row.
Skill Level
Beginners with basics of crochet experience
Must know:
- Chain stitch (ch)
- Double crochet (dc)
- Slip stitch (sl st)
- Foundation double crochet
Materials
- Yarn: Bravo worsted weight yarn (or any medium weight yarn suitable for baby items).
- Crochet Hook: Size K (6.5 mm) for the body & handle.
- Scissors: For cutting ends.
- Measuring Tape: Optional for sizing adjustments.
Measurements / Sizing
- Base Row Size: Chain 24 stitches for the bib base. Adjustable depending on the baby's size or preference.
- Handle Size: 25 stitches, but you can add more for older babies or toddlers.
Gauge
Gauge is relatively flexible for this pattern, but aim for a smooth, consistent texture.
Stitch Abbreviations
- ch – Chain stitch
- dc – Double crochet
- sl st – Slip stitch
- fnd dc – Foundation double crochet
Special Stitches
Cross Stitch
- Skip one chain from the hook.
- Work 1 double crochet into the next chain.
- Go back and work 1 double crochet into the skipped chain.
This creates an overlapping “X” shape.
The Crochet Pattern
Chapter 2: Creating the Base Row
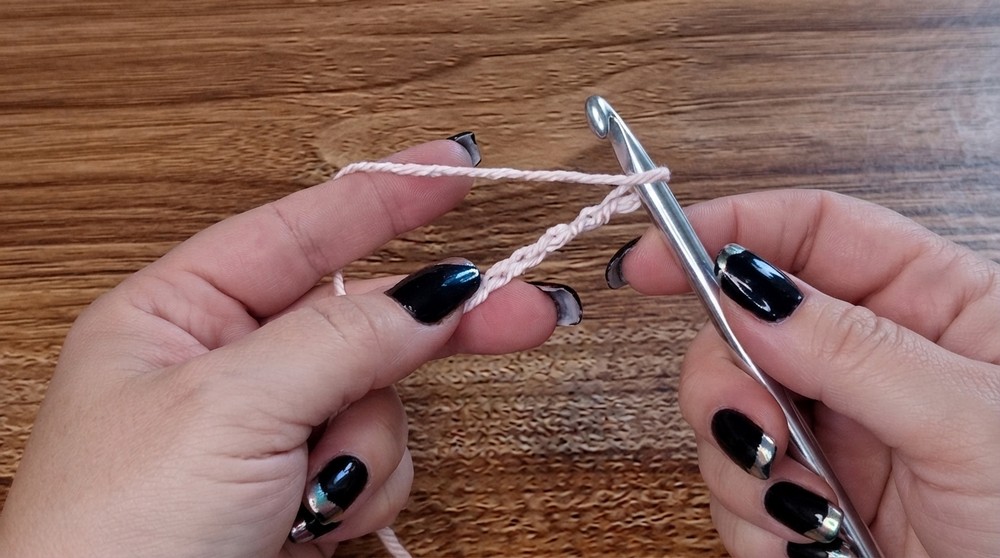
- Foundation Chain:
- Chain 24 stitches as the base.
- Add 2 extra chains for the first double crochet.
- First Row (Cross Stitch Setup):
- Skip the first 4 chains from the hook and work 1 double crochet into the fifth chain, inserting the hook into the back bump for a neat edge.
- For the first cross stitch:
- Skip 1 chain, insert the hook into the next chain, and work double crochet into the back bump.
- Go back to the skipped chain, and work another double crochet to complete the cross stitch.
- Repeat the following pattern across the row:
- Skip 1 chain.
- Work dc into the next chain.
- Go back and work dc into the skipped chain.
- Stop when 3 chains remain on your row. Work 1 regular double crochet into the final chain to create a clean turning edge.
- By inserting stitches into the back bump, you’ll create a polished, finished edge along the base row.
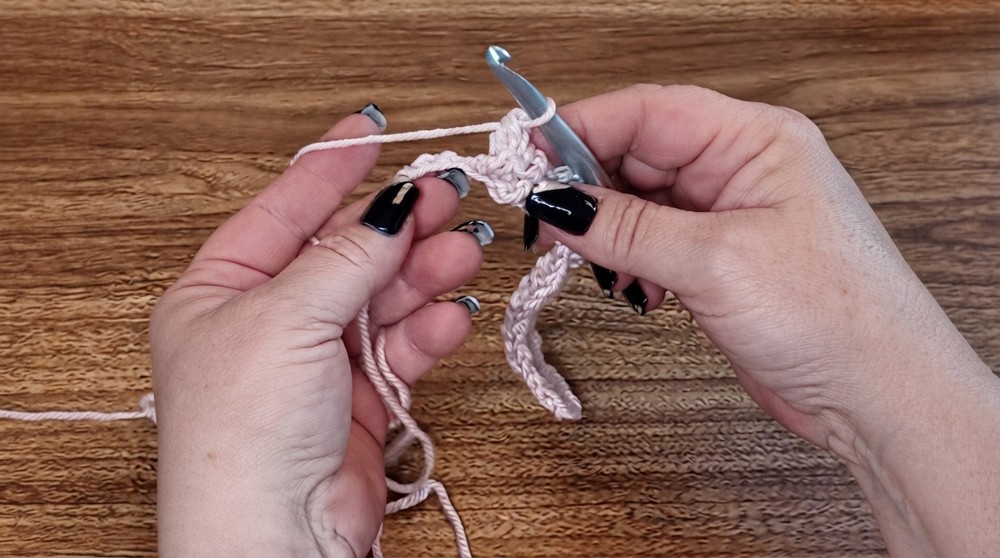
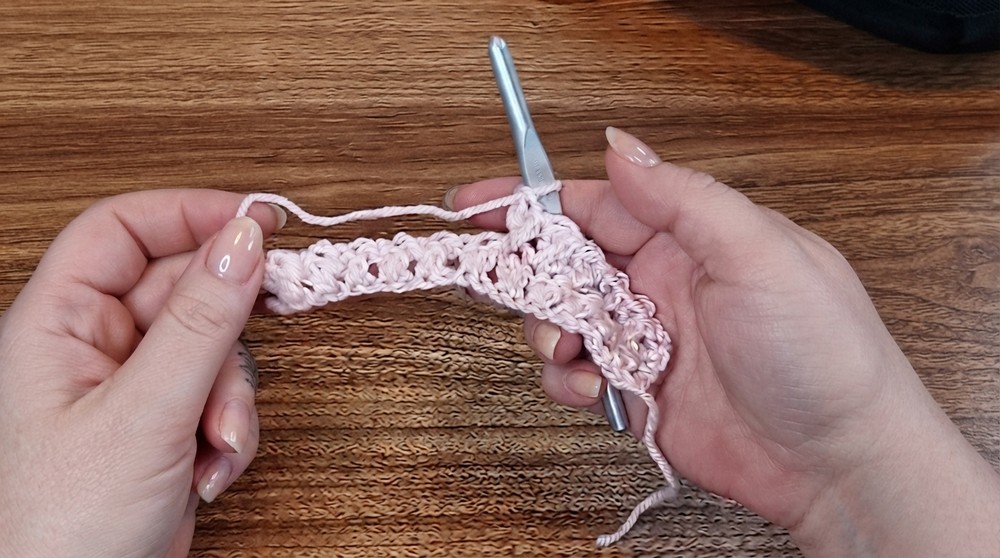
Chapter 3: Crocheting the Bib Body
- Row 2:
- Chain 3 stitches and turn your work.
- Skip the first stitch and work a dc into the next stitch. Then, go back to the skipped stitch and work another dc to complete the cross stitch.
- Continue working cross stitches across the row.
- Skip one stitch, work dc in the next, go back and pick up the skipped stitch for the second dc.
- At the end of the row, work a regular double crochet into the top of the chain 3 from the previous row.
- Rows 3–11:
- Repeat the exact pattern from Row 2, creating cross stitches across each row.
- Ensure consistency by stacking each cross stitch on top of the previous row’s cross stitches.
- Once you’ve completed 11 rows, leave your yarn attached, as the next chapter will create the neck handle.
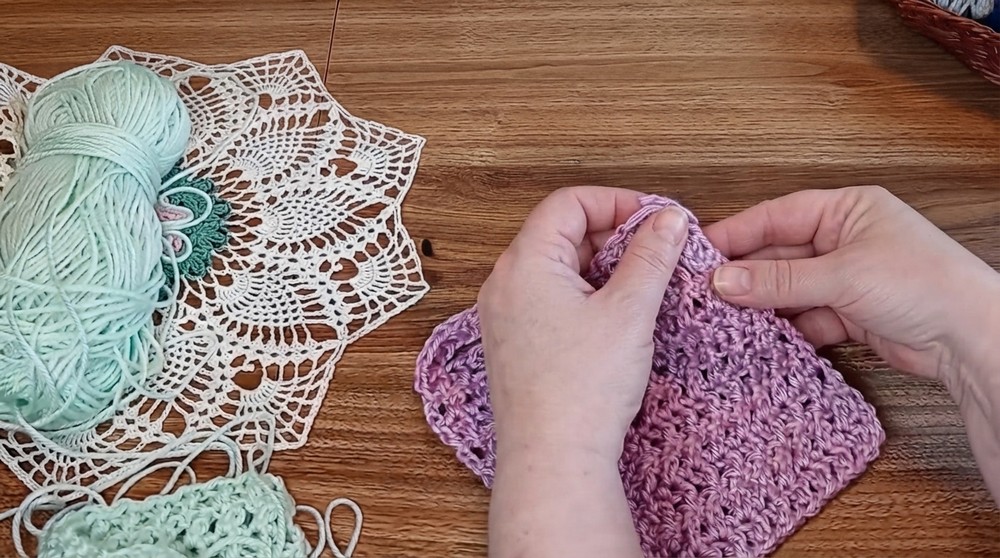
Chapter 4: Making the Neck Handle
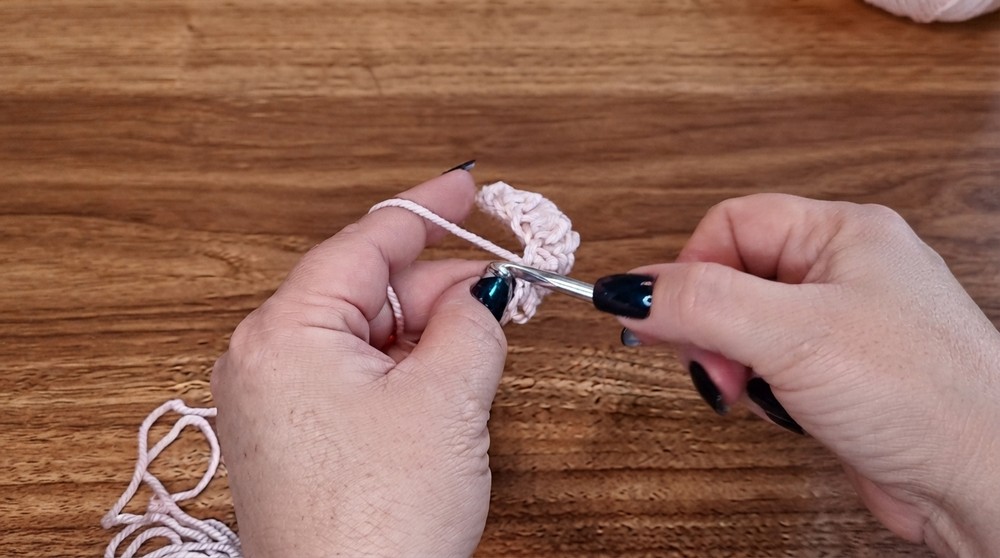
- Foundation Row for Handle:
- Chain 3 stitches.
- Drop your loop and count back 3 stitches (from the chain). Pull the loop through the third stitch to anchor the handle.
- Foundation Double Crochet Row:
- Insert your hook into both loops of the chain.
- Pull up a loop, chain 1 to the left, then yarn over to complete the double crochet on the right.
- Repeat this process to continue the foundation double crochet stitch for the entire handle length.
- This creates a rounded, flexible handle without additional fasteners.
- For this tutorial, 25 double crochets were used to create a handle for small babies. Adjust the length to fit bigger sizes as needed.
- Finishing the Handle:
- Once your desired handle length is complete, cut the yarn and secure the last stitch with a knot.
Assembly & Finished Size
The easy assembly comes from the smart slipping technique in the handle loops:
- Feed the handle loop through the bib's holes.
- Pull it through once more to lock it in place.
The bib is now secure and will stay put even if the baby tugs on it.
Conclusion and Ending Words
Congratulations, you’ve completed the simplest safety bib you’ll ever crochet. This button-free, tie-free design ensures comfort and safety for your little one, while being easy to put on and take off.