
Free Crochet Rose Hair Tie with This Pattern and Simple Instructions
Brighten your hairstyle with this Free Crochet Rose Hair Tie Pattern that’s simple to make and adds a lovely touch to any look or outfit.
There’s something timeless about handmade accessories, especially when crocheted with love and care. One charming piece that has captured the hearts of many is the beautiful Free Crochet Rose Hair Tie Pattern. This elegant and easy-to-make accessory is perfect for those who love delicate, floral designs. Whether you’re making it for yourself or gifting it to a loved one, it’s a simple yet stunning addition to anyone’s collection.
Easy Free Crochet Rose Hair Tie Pattern – Perfect for Beginners
About Channel!
The creator of this tutorial, YarnIt Crochet, is known for crocheting easy-to-follow patterns and making the art of crocheting approachable for crafters of all levels. With clear instructions and helpful visuals, they ensure that even beginners can confidently create stunning pieces.
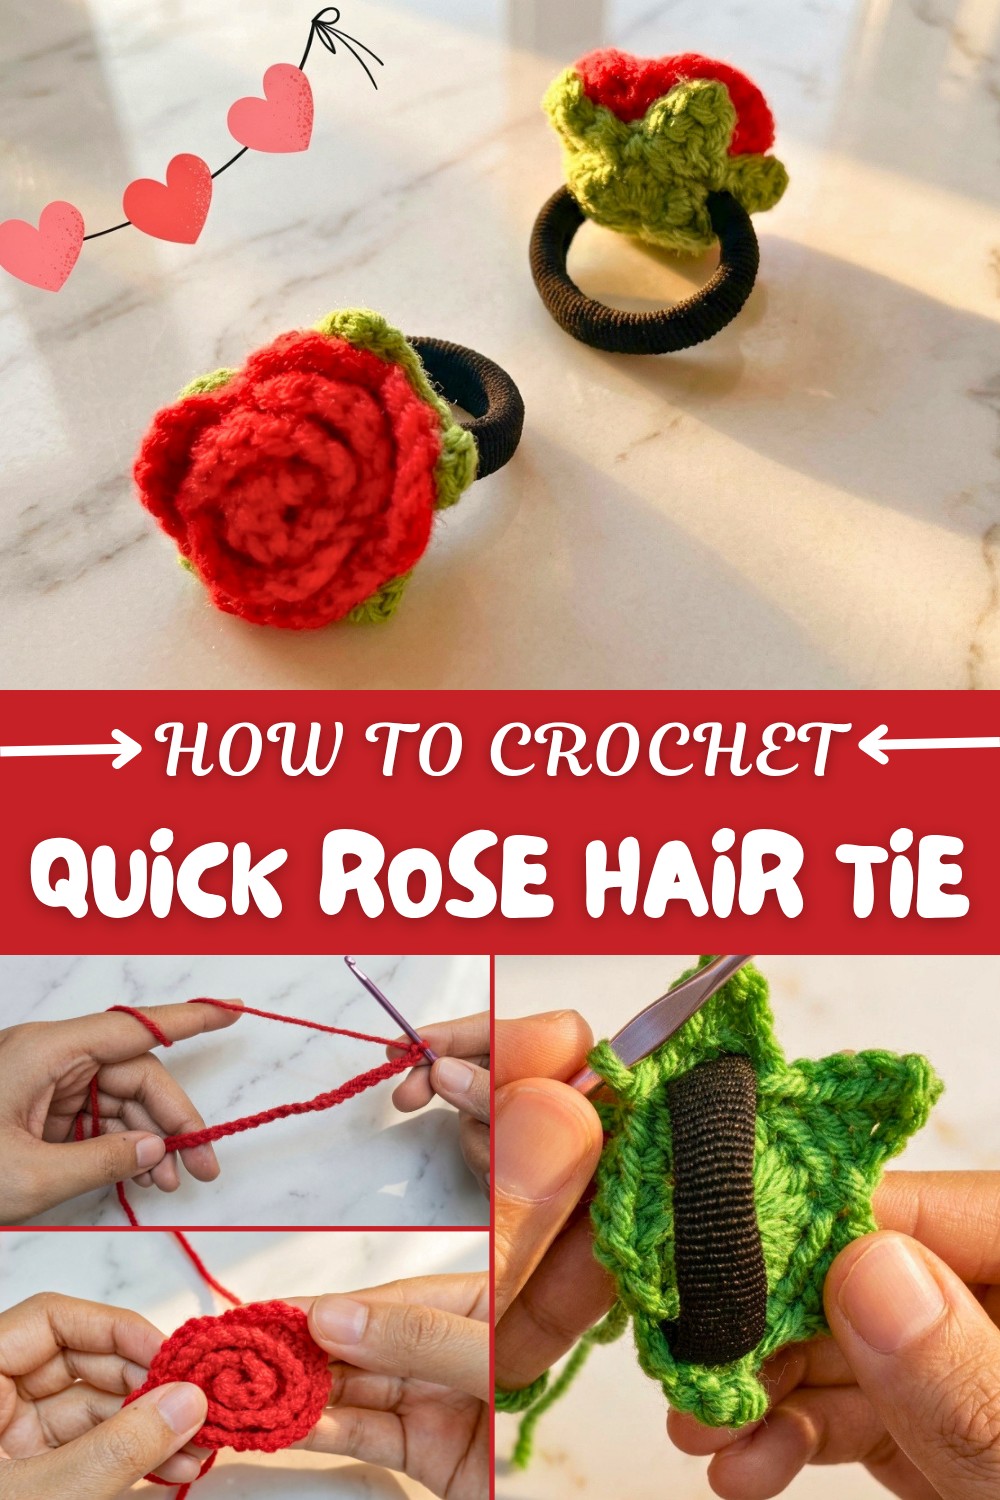
The rose hair tie is all about beauty and charm. Its intricate design mimics the soft, spiraling petals of a real rose, giving it a lifelike and delicate look. The flower is crocheted by forming a series of double crochets and single crochets, which are carefully folded into a rose shape.
The base of the flower is adorned with a small green bud made using a magic ring and some creative stitching. This gives the accessory a natural, sophisticated touch that makes it stand out. Whether you prefer a classic red rose, a playful pink, or even a vibrant mix of colors, this pattern lets you customize your design to match any outfit or occasion.
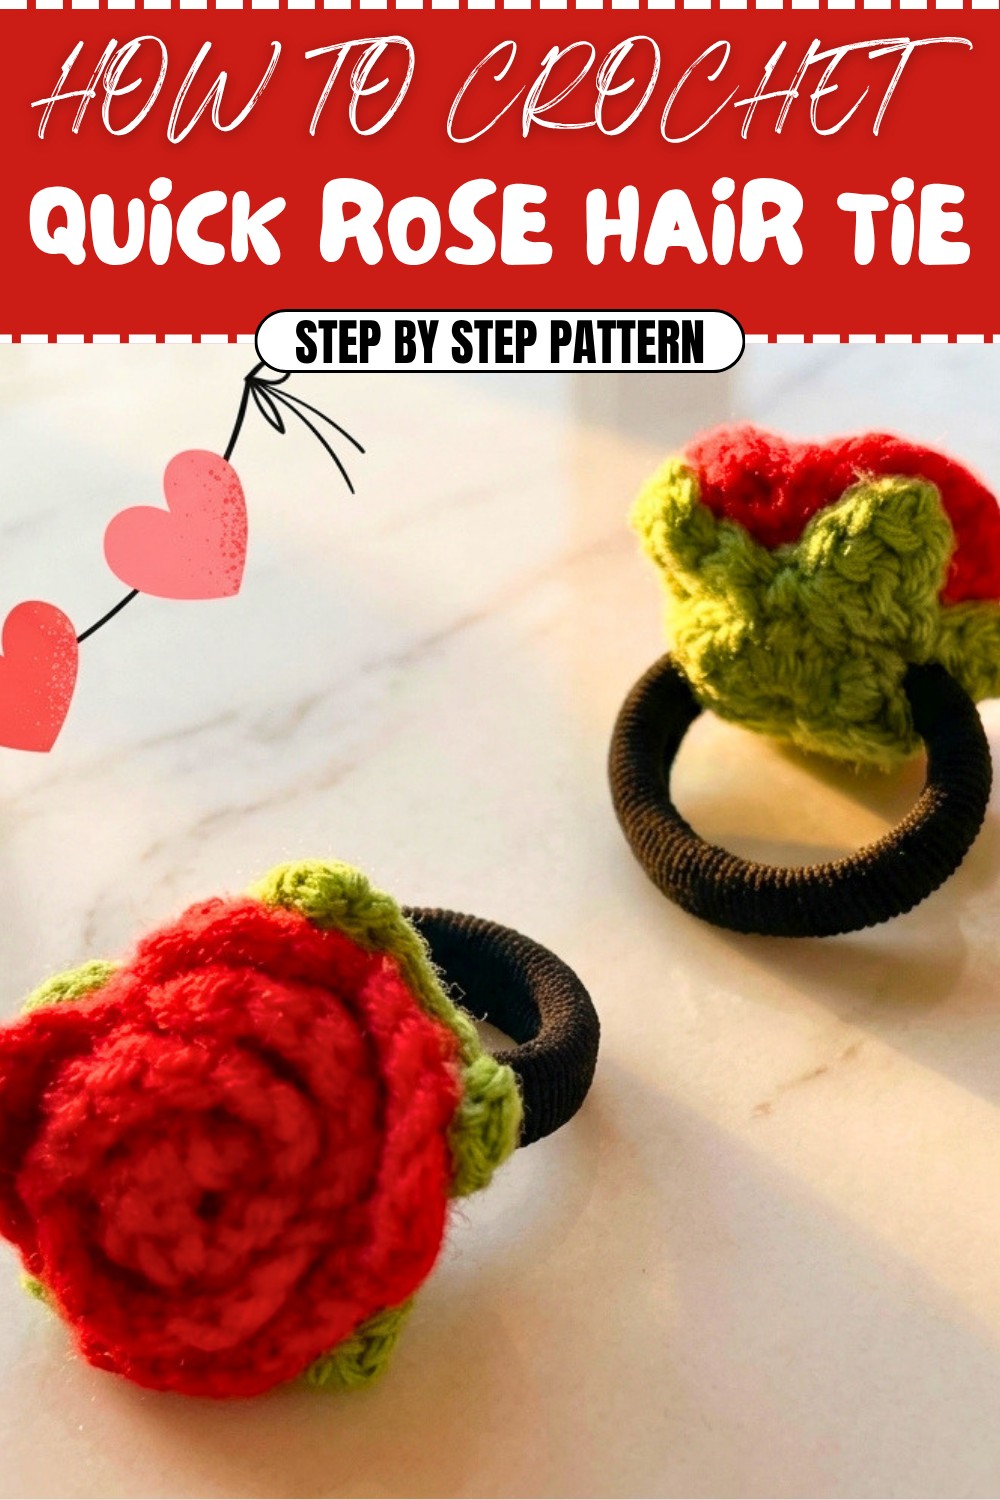
This hair tie is not just beautiful, it’s highly functional too. It’s perfect for ponytails, pigtails, or buns and can easily turns any hairstyle into a statement look. Whether you make one or a dozen, this accessory is perfect for casual wear, weddings, gifts, or even crochet fairs. Let your creativity guide you as you explore different colors and styles, and create something truly one-of-a-kind.
Crochet Rose Hair Tie Pattern
This Crochet Rose Hair Tie is an elegant accessory that can add a handmade touch of beauty to your hairstyle. The project combines creating a rose, a bud, and attaching them to an elastic hair tie. With its delicate petal structure and simplicity, this cute design is ideal for making thoughtful gifts or adding charm to functional accessories.
Skill Level
Intermediate
This pattern is suitable for crocheters who are comfortable with basic stitches such as single crochet, double crochet, and working in rounds. It also incorporates minor assembly and sewing, making it approachable but moderately detailed.
Materials
- Yarn:
- Main color for the rose (any lightweight or medium-weight yarn).
- Green yarn for the bud and base.
- Hooks:
- 3.0 mm or 3.5 mm crochet hook (choose based on your yarn and desired rose tightness).
- Hair Tie:
- Elastic hair tie or band.
- Other Tools:
- Tapestry needle.
- Scissors.
Special Stitches
1. Magic Ring (MR):
Form a loop with your yarn, bring the hook underneath the loop, yarn over, and pull up a stitch. Chain one to secure and begin working stitches into the ring. Tighten the loop by pulling the tail.
2. Double Crochet (DC):
Yarn over, insert the hook into the stitch, yarn over and pull up a loop (three loops on hook), yarn over and pull through two loops, yarn over and pull through the remaining two loops.
3. Half Double Crochet (HDC):
Yarn over, insert the hook into the stitch, yarn over and pull up a loop (three loops on hook), yarn over and pull through all three loops.
4. Slip Stitch (sl st):
Insert the hook into the stitch, yarn over, and pull through both loops on the hook.
Stitch Abbreviations
- MR: Magic Ring
- ch: Chain
- sc: Single Crochet
- hdc: Half Double Crochet
- dc: Double Crochet
- sl st: Slip Stitch
Useful Tips
- Tension: Work with even tension for consistent petals and aesthetic. The rose should roll up naturally into shape during assembly.
- Markers: Add stitch markers to the starting points of rounds if needed.
- Secure Ends: Use a tapestry needle to weave in yarn ends securely to prevent the structure from unraveling.
- Elastic Fit: Ensure your elastic hair tie is firm and can stretch well, as this will hold the entire piece effectively when in use.
Pattern Instructions
1. The Rose
The rose is created with a strip design that is coiled into a flower shape.
Foundation:
- Start with a slip knot.
- Chain 23.
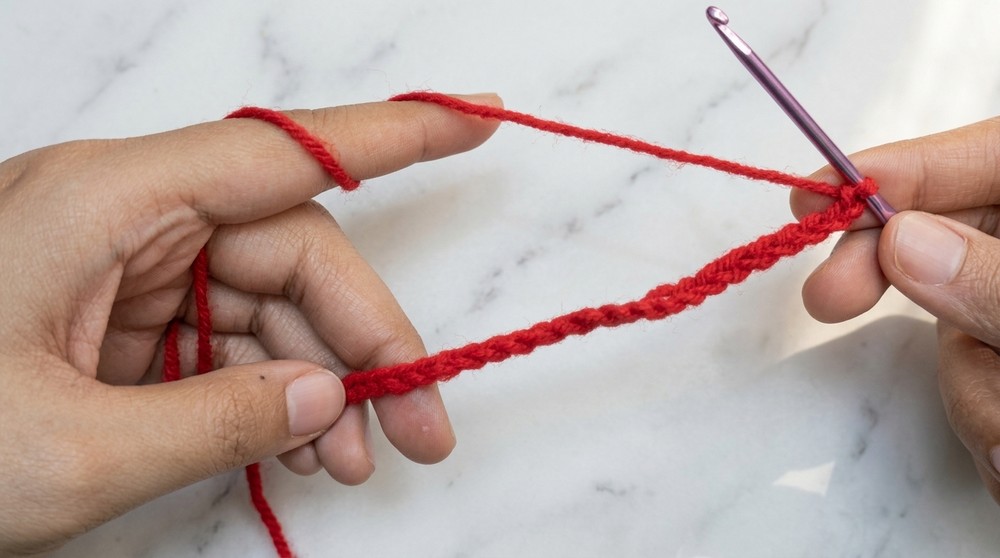
Round 1:
- Skip the first chain from the hook.
- (In the next chain, work 3 DC) and 1 SC into the following chain, then skip a chain.
- Repeat from * to * until the end of the chain.
- Finish with 3 DC in the last chain.
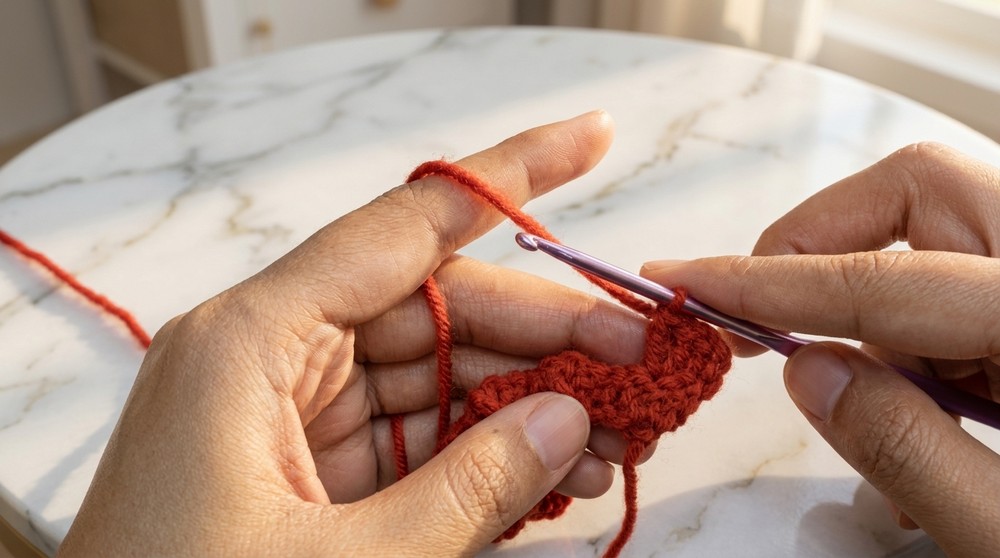
Round 2:
- Ch 2, turn.
- (Make 1 DC in the first stitch, 2 DC in the next stitch, and 1 DC in the following stitch. Chain 2, then make 1 SC in the next stitch.)
- Repeat from * to * across the row.
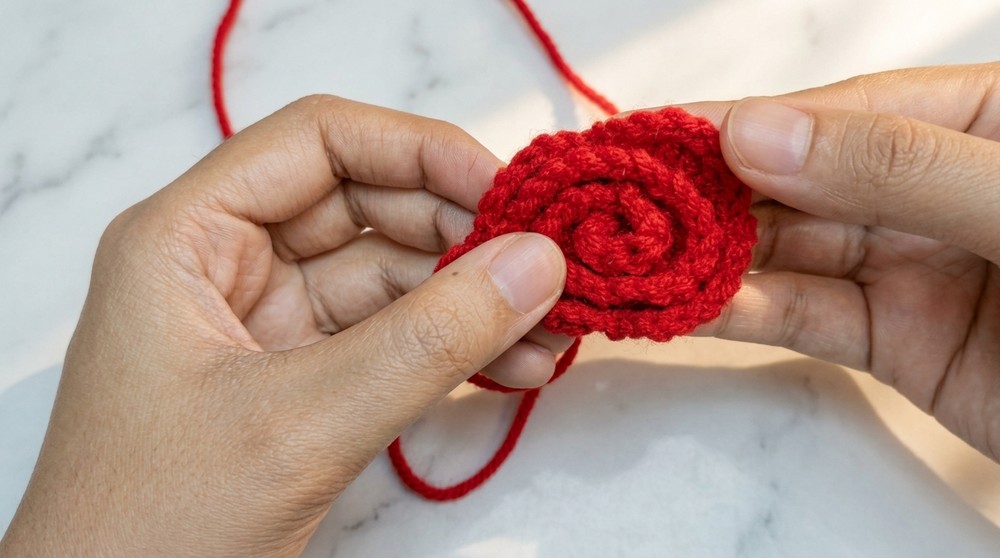
2. Assembly of the Rose:
- Roll the strip into a rose shape. Start tightly rolling the beginning of the strip to form the center of the rose, then continue adding rounds more loosely.
- As you roll, adjust the petals so they open naturally.
- Sew the base of the rose securely with a few stitches to hold the shape together.
3. The Bud and Attachment
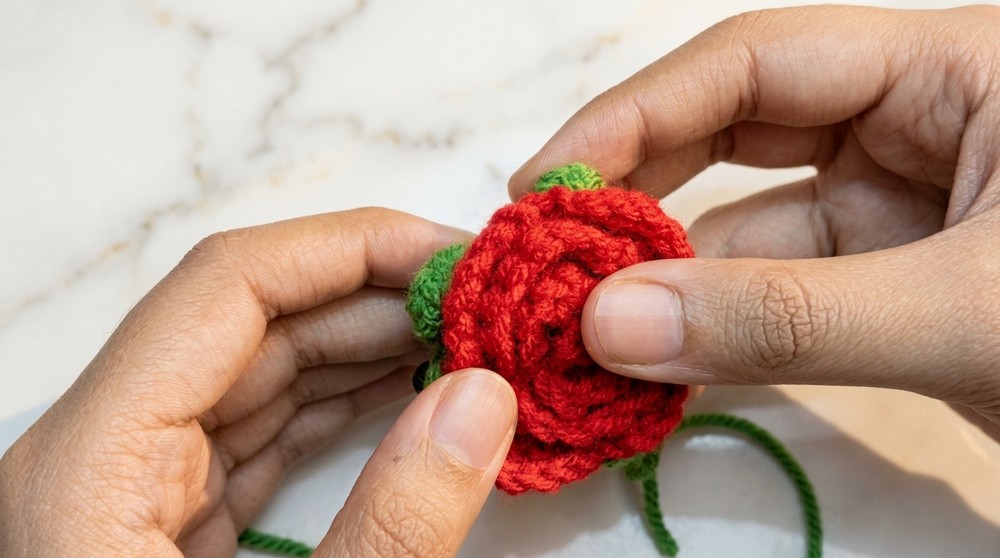
The bud provides a green base for the rose and the attachment points for the hair tie.
Magic Ring Base:
- Switch to green yarn.
- Create a magic ring and work 15 HDC into the ring.
- Close the ring with a sl st to the first stitch.
Petal/Attachment Points:
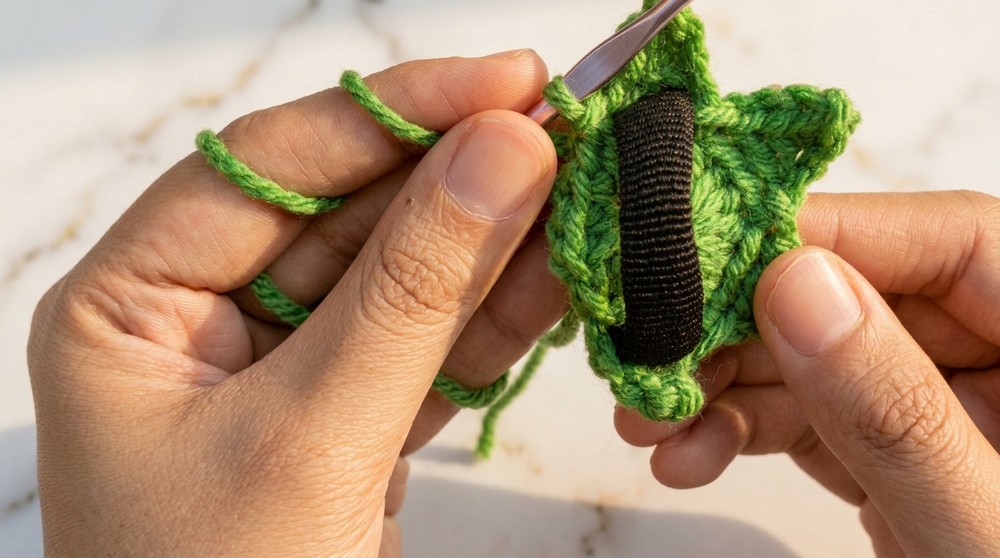
- Chain 4.
- *In the second chain from the hook:
- Work 1 SC, 1 HDC in the next chain, and 1 DC in the final chain.*
- Overlap the next section of the hair tie and slip stitch into the base, skipping 2 stitches from the previous attachment point.
- Repeat this process (Chain 4, SC, HDC, DC, slip stitch) around the hair tie until it is completely covered.
4. Finishing Steps
Sewing the Rose to the Hair Tie:
- With the rose complete, position it over the center of the green bud structure attached to the hair tie.
- Use a yarn needle and sew the rose securely into place, ensuring it is centered and holds firmly to the constructed base.
Weaving Ends:
- Use the tapestry needle to weave in all loose ends tightly to the back of the rose and into the green bud base. Trim any remaining yarn.
Assembly and Sizing
- Ensure the rose is securely fastened to the bud structure so it doesn’t come loose when the hair tie is stretched.
- The final rose should be approximately 5-7 cm in diameter, depending on your yarn thickness and personal tension.
Conclusion
This Crochet Rose Hair Tie is a practical and stylish project that combines simple crochet techniques with creative assembly. It’s a wonderful way to use yarn scraps and practice creating roses and small buds while crafting a beautiful handmade accessory for yourself or your loved ones. Its realistic design ensures it will stand out as a charming decorative piece or wearable crochet accent.