
Crochet Round Bag Pattern You’ll Have Fun Making
Boost any casual jeans and tee look by carrying a handmade crochet round bag that adds instant boutique charm everywhere you walk with friends.
A beautifully handmade crochet bag can be the perfect blend of style and practicality, and that’s exactly what the talented team at TSUNAMI - Crochet Makers brings to life with their creative patterns. Their Crochet Round Bag Pattern is a stunning example of how you can transform a few basic materials into a trendy, fashionable accessory. Designed for simplicity and elegance, this bag captures attention with its unique round shape and eye catching details.
Its round design is modern yet classic, making it a timeless piece that pairs wonderfully with both casual and formal outfits. Whether you’re heading out for errands, a date, or a gathering, this bag is your perfect companion, offering both convenience and charm. The addition of optional details, such as customizable straps or a magnetic snap closure, allows you to put your own twist on the design and make it uniquely yours.
Make Your Own Chic Crochet Round Bag Step by Step
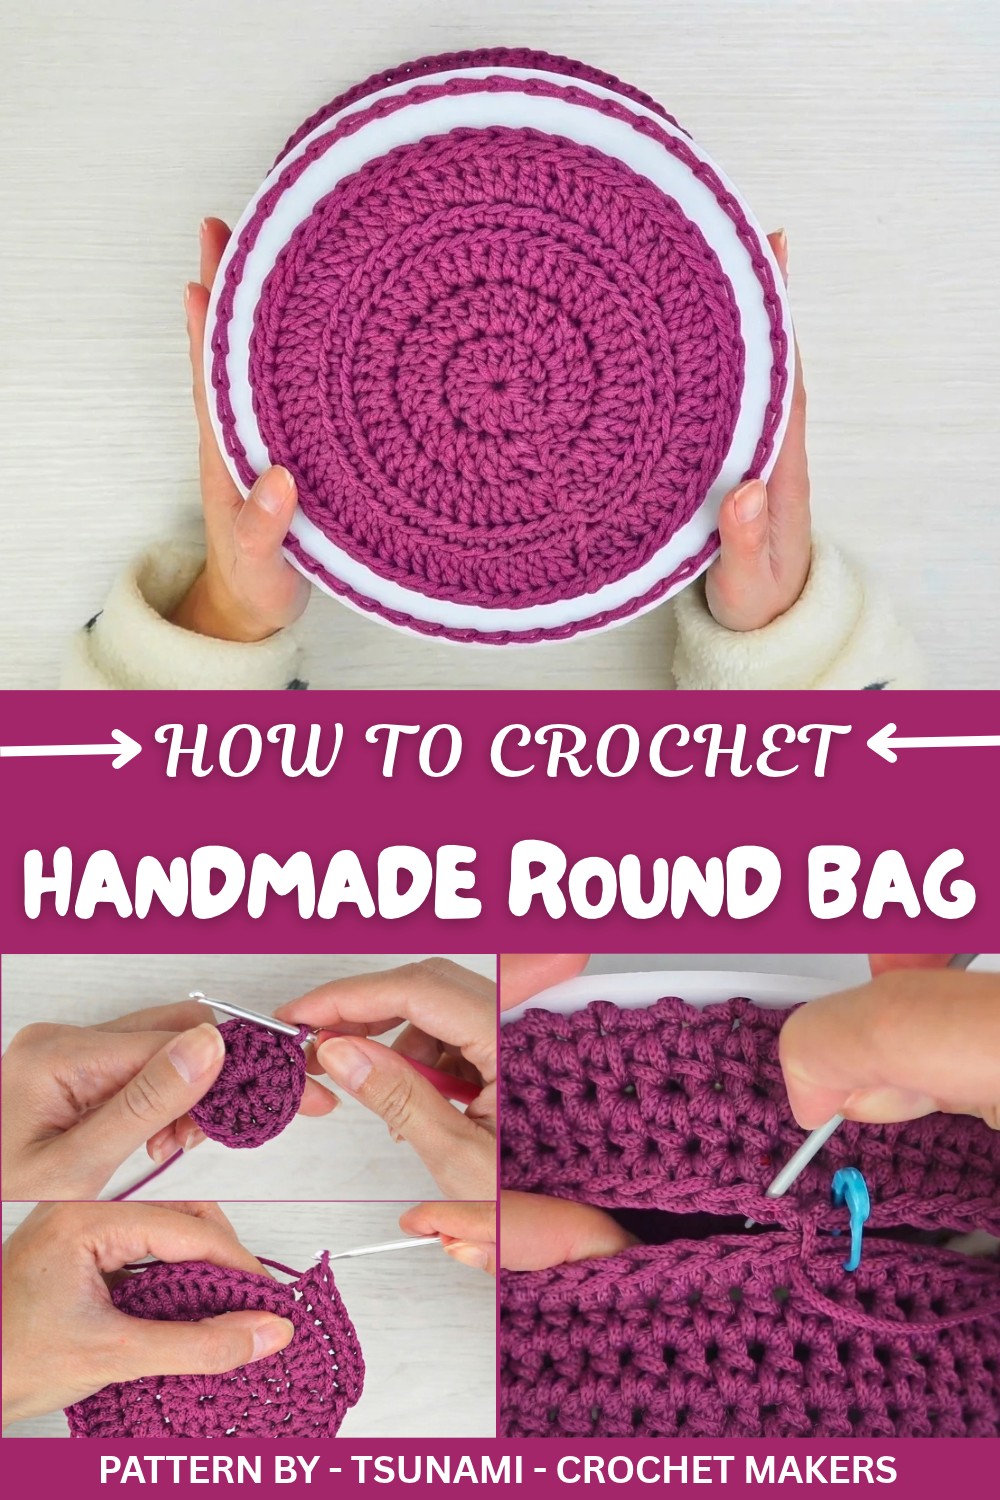
The project involves crocheting two round crocheted panels that are carefully stitched onto a sturdy frame using simple techniques such as single and double crochet stitches. The textured finish created by the cord gives the bag a modern and polished look. This makes it an engaging project for crocheters of all skill levels, especially for beginners eager to refine foundational skills while making something stunning.
Ready to showcase your creative skills? With this Crochet Round Bag Pattern, you can create a timeless accessory that reflects your personal style. Dive into the tutorial to get started, this project is sure to bring hours of crafting joy.
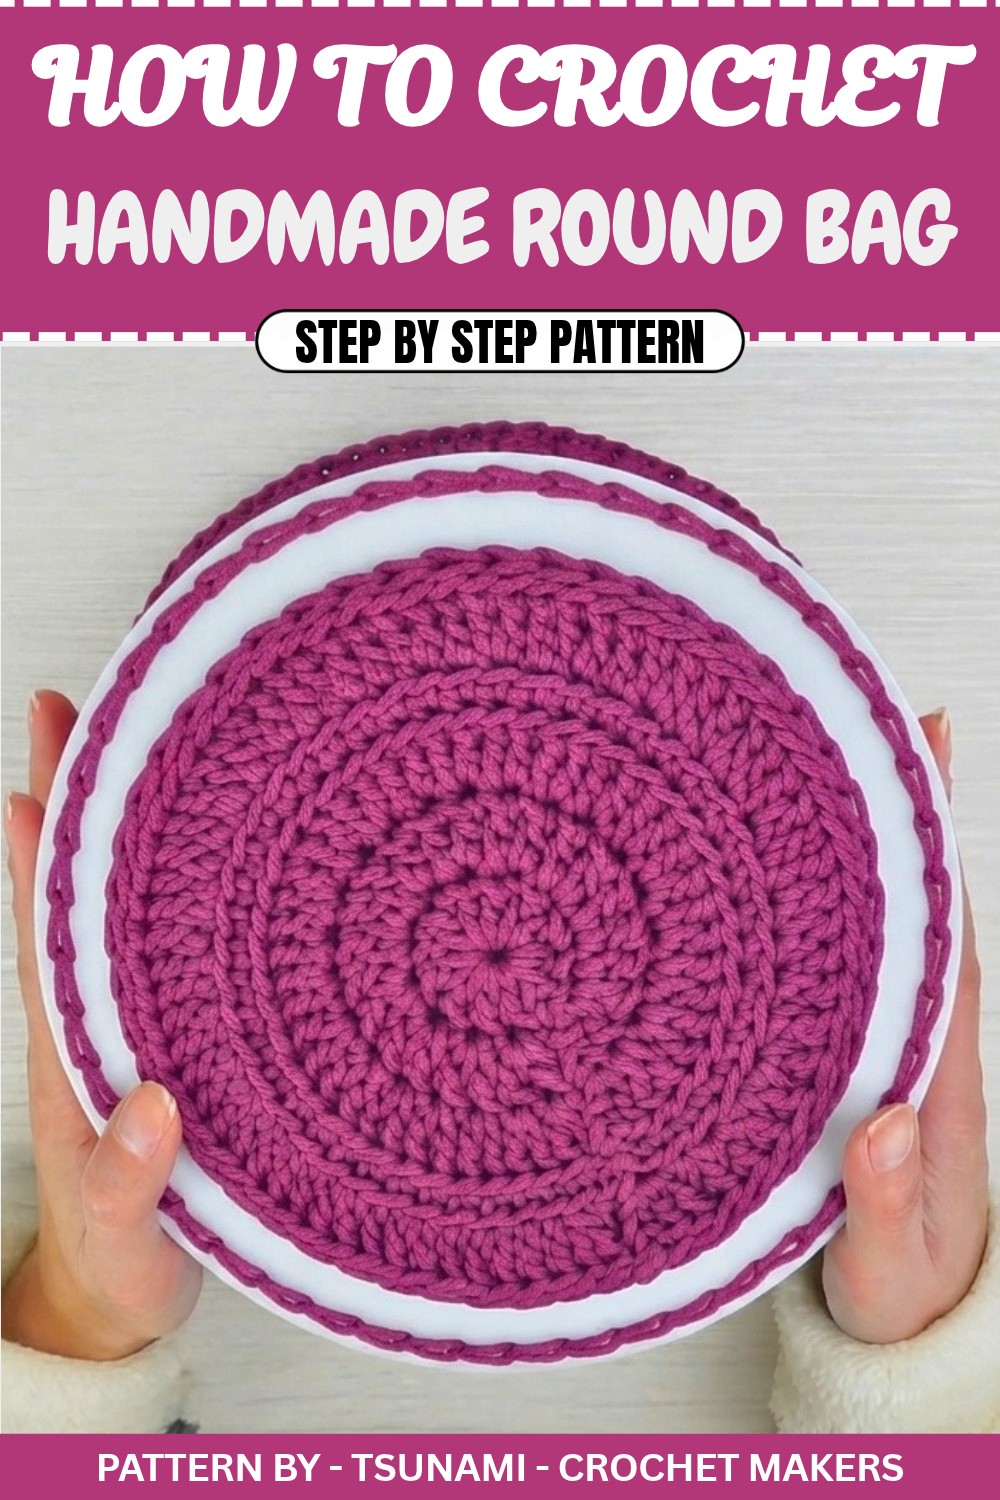
Crochet Round Frame Bag Pattern
Quick Overview of Pattern
- Project Type: Round-framed crochet bag (tambourine-style)
- Design: Circular panels attached to a round frame
- Difficulty Level: Beginner-friendly but fun for all levels
- Features: Magnetic clasp closure, optional straps, and custom sizing
Notes
- Ensure your round crochet panel aligns well with the border of your frame. If needed, adapt the number of stitches or rounds.
- The crochet panel shape can be customized—choose a square, rectangle, or other shapes to match your chosen frame style.
- You can use a plexiglass frame, wooden frame, or any other material; just ensure it’s sturdy enough for a bag.
- Accessories such as straps, handles, or magnets are optional and can be customized based on personal preference.
Skill Level
Beginner to Intermediate
Make sure you’re comfortable with:
- Magic circle
- Chain stitch (ch)
- Single crochet (sc)
- Half double crochet (hdc)
- Double crochet (dc)
- Slip stitch (sl st)
- Working in back loops
Materials
- Frames: Two round frames (usually plexiglass or wood; size of your choice).
- Yarn: ~400 grams of medium-thickness cord.
- Hooks: 3.5 mm crochet hook and 4 mm crochet hook.
- Tools & Accessories:
- Yarn needle
- Thread and sewing needle
- Magnetic clasp or button
- Straps, handles, or any additional desired accessories
Measurements / Sizing
- The bag size is customizable based on the size of your chosen frame. This tutorial uses a circular frame, but you can create rectangular or custom-shaped bags following the same idea.
Gauge
Gauge is not critical for this project. However, ensure that your stitches are tight enough to provide structure to the bag and allow for secure stitching to the frame.
Stitch Abbreviations
- ch – Chain stitch
- sc – Single crochet
- dc – Double crochet
- hdc – Half double crochet
- sl st – Slip stitch
Special Stitches
Back Loop Stitches
Insert your hook only into the back loop of the stitch to create a ribbed texture. This adds detail and supports the overall structure of the bag.
The Crochet Pattern
Chapter 2: Creating the Round Panel
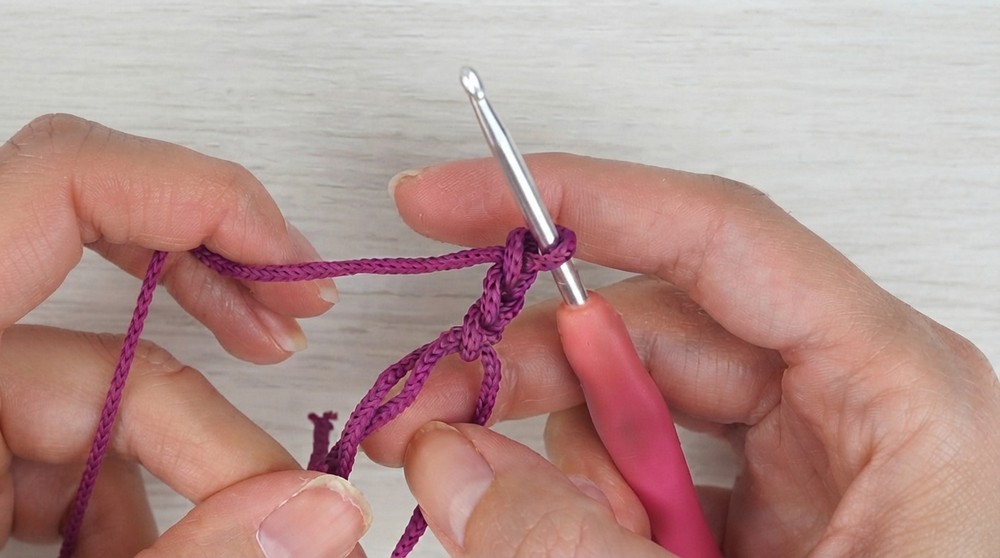
- Start with a Magic Circle:
- Wrap the cord around your fingers, and cross it as needed. Insert the hook, grab the yarn, twist it, and secure with one chain stitch.
- Foundation Row:
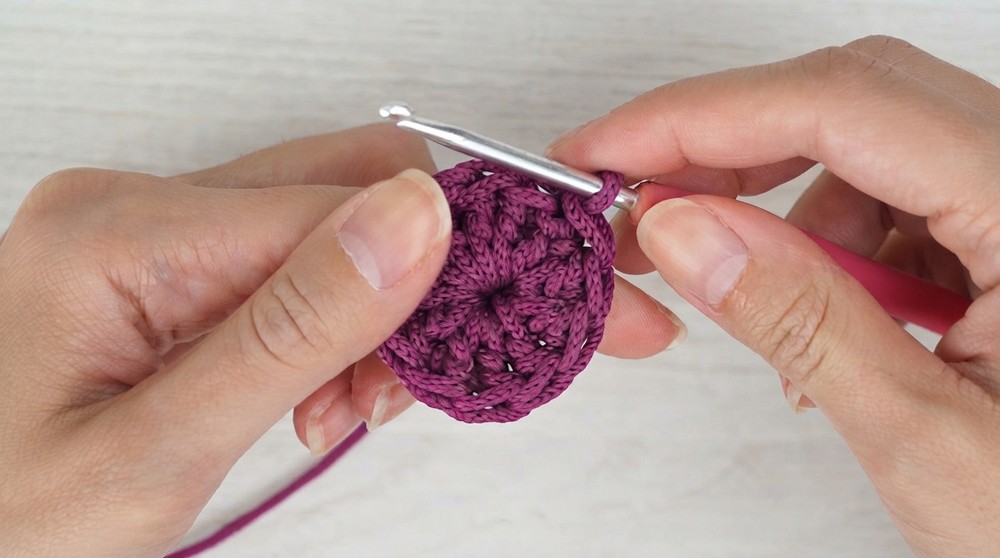
- Chain 3. This will count as your first double crochet (dc).
- Work 12 double crochets into the magic circle. The three chains count as the first double crochet, so you’ll need 11 more dc.
- Close the Circle:
- Pull the tail to tighten the magic circle. Join with a slip stitch (sl st) to the top of the 3rd chain stitch.
Chapter 3: Adding Increases
- Round 2:
- Chain 3 (counts as a dc). Work 1 dc into the same stitch. This is your first increase.
- For each remaining stitch in the round, work 2 double crochets.
- Join the round with a slip stitch (sl st) into the top of the 3rd chain.
- Round 3:
- Repeat the increasing process by working 2 dc in every stitch.
- Round 4:
- Alternate increases: Work 1 dc in one stitch, 2 dc in the next stitch (repeat this sequence).
- Round 5: Back Loop Single Crochet (BLO):
- Chain 1 and work 1 single crochet (sc) into the back loop of each stitch from the previous round.
- Work this row without increases to add structure to the panel.
- Round 6: Return to dc stitches:
- Resume working in spiral rounds. Work into the back loops only (BLO) for added texture and structure.
- Repeat:
- Alternate 1 increase and 1 dc in every stitch.
- Continue until you reach the desired panel size.
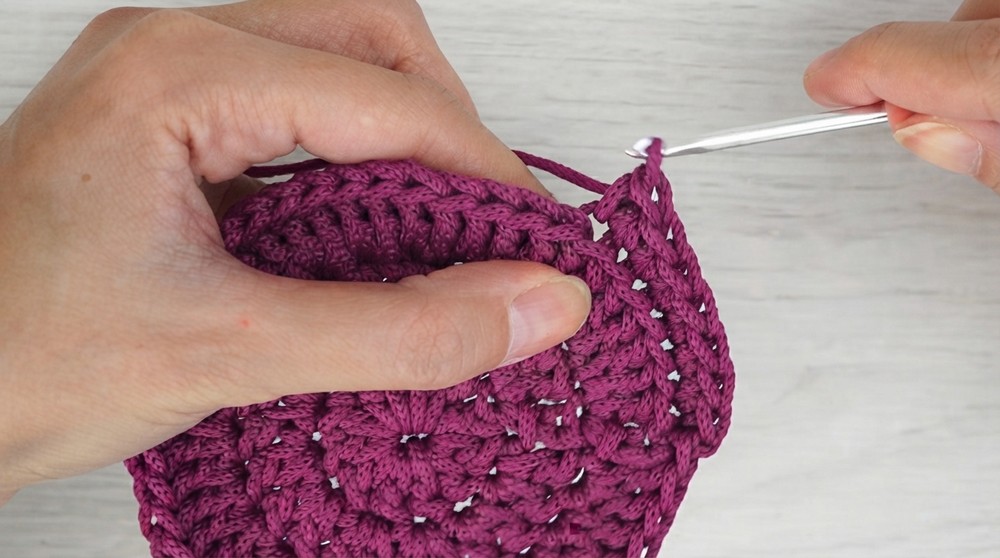
Chapter 4: Attaching the Panel to the Frame
Once your panel matches the size of the round frame:
- Prepare the Frame for Sewing:
- Place your crochet panel flat against the frame. Use stitch markers to secure it evenly around the edges.
- Attach with Back-Loop Slip Stitches:
- Insert your hook into the back loop of the stitches on the panel.
- Push your hook through the corresponding holes in the frame.
- Pull the yarn through and work a slip stitch (sl st) to secure the panel to the frame.
- Repeat this process around the entire frame to attach the panel securely.
- Adjust Stitches:
- If the stitch count doesn’t perfectly match, adjust by skipping stitches or decreasing evenly across the round.
- Secure the Yarn:
- Once the panel is attached, fasten off and weave the yarn ends neatly into the stitches.
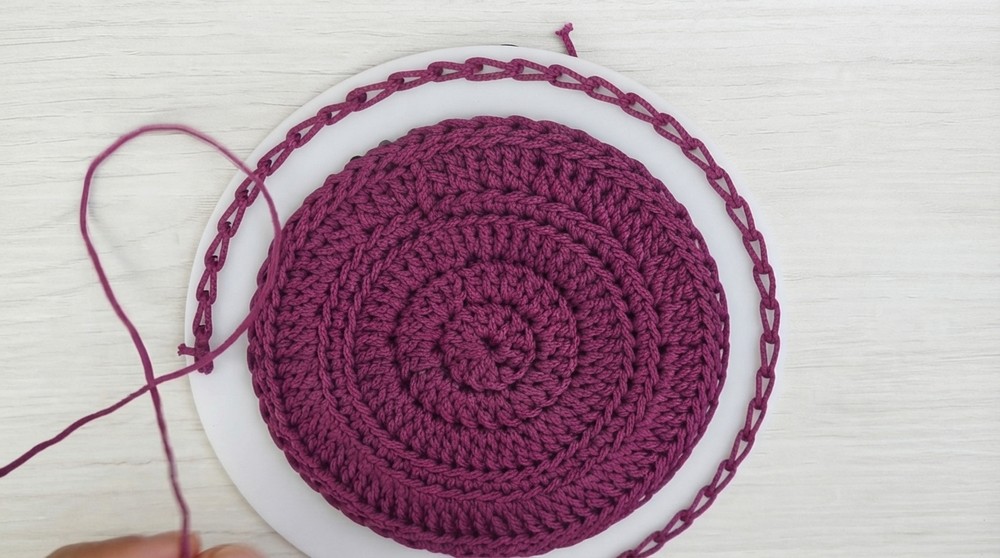
Chapter 5: Creating the Bag Body and Fascia (Closure)
- Bag Body:
- Use the same cord and 4 mm hook for the bag's body. Attach the yarn and begin working single crochet (sc) directly into the frame holes or panel edge.
- Work 2 sc into the first hole, 1 sc into the next, alternating around. Adjust number of stitches as needed for your frame and yarn tension.
- Build Height:
- After completing the foundation round, switch to half double crochet (hdc) stitches. Continue working hdc rows until you achieve the desired height.
- Final Round:
- For the last row, switch back to single crochet (sc) for added structure.
- Fascia Panel:
- Chain 9 stitches and work single crochet (sc) rows to create a rectangular panel. Continue crocheting rows until the panel is the length needed to cover the opening of your bag.
- For added detail, work a single round along the edges of the fascia in sc stitches—adding 1 sc, 1 ch, and 1 sc into corner stitches for a clean finish.
- Attach Fascia:
- Using a sewing thread and needle, attach the fascia to one panel of the bag along the opening section. This will act as the closure flap of your bag.
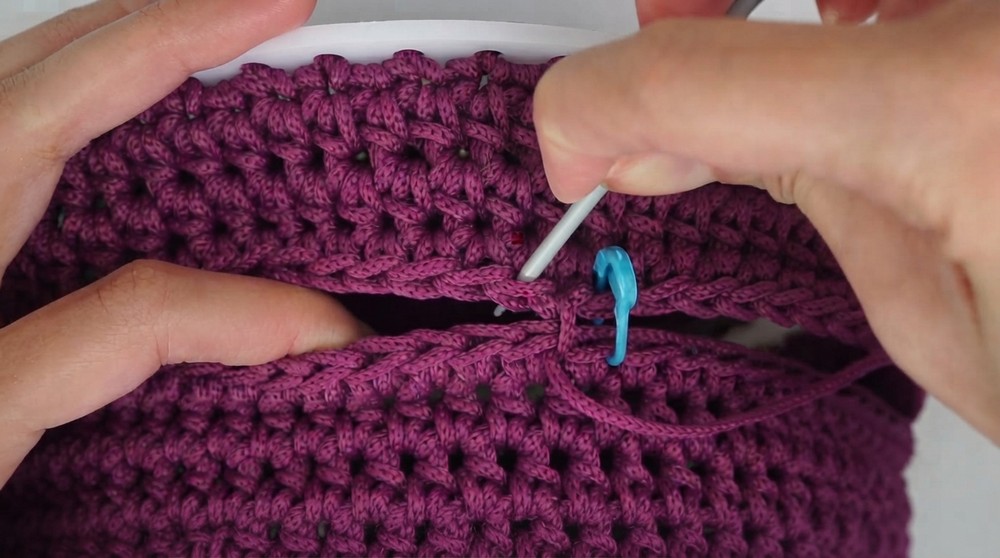
Assembly & Finished Size
Once the fascia is attached:
- Attach Accessories: Use buttons, magnetic clasps, or other closure mechanisms based on personal preference. Sew handles or attach straps to complete the bag.
- The finished size will depend on your chosen frame dimensions and panel customization. This tutorial uses medium-sized round frames for a compact tambourine bag.
Conclusion and Ending Words
Congratulations! You’ve completed your stunning round frame bag—a project you can proudly use or gift. Personalize it further with colorful designs, tassels, or unique closures like magnetic clasps or custom buttons.