
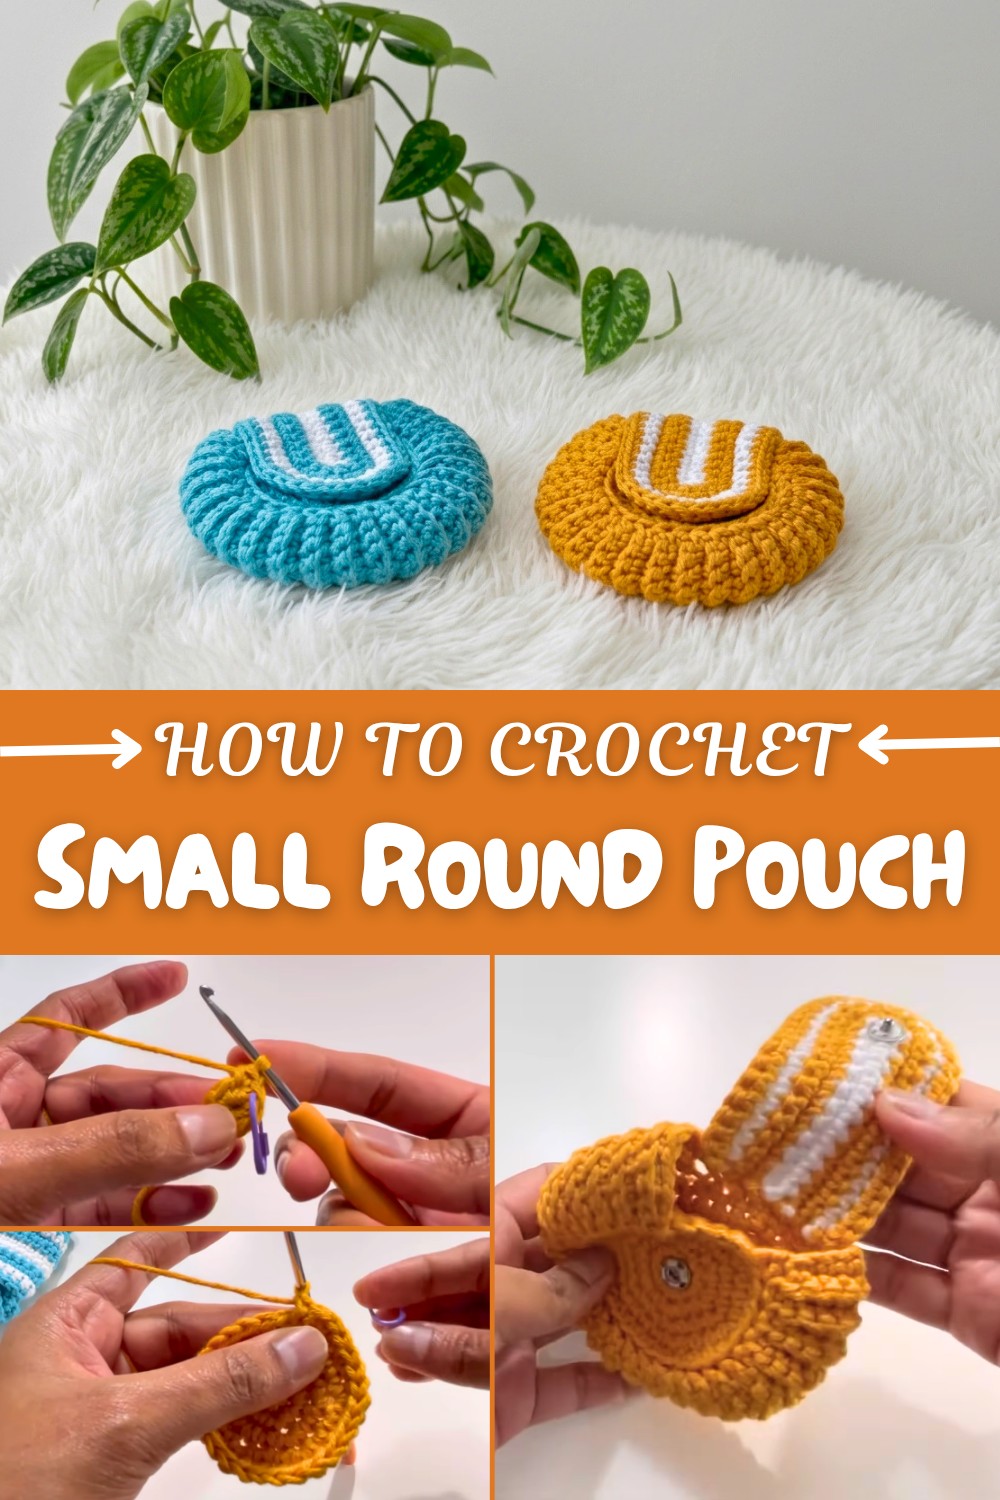
Free Crochet Small Round Purse Pattern For Everyday Use
On a busy school day, you hunt through your bag for coins or earbuds, but they’re tangled or hard to find. Making your own small round crochet pouch can solve this problem in a colorful, personal way. Even if you’ve never tried crochet before, this project is simple enough to start right away, and it’s a great way to make something useful with yarn and a hook. Each step builds your confidence and results in a cute accessory that feels rewarding.
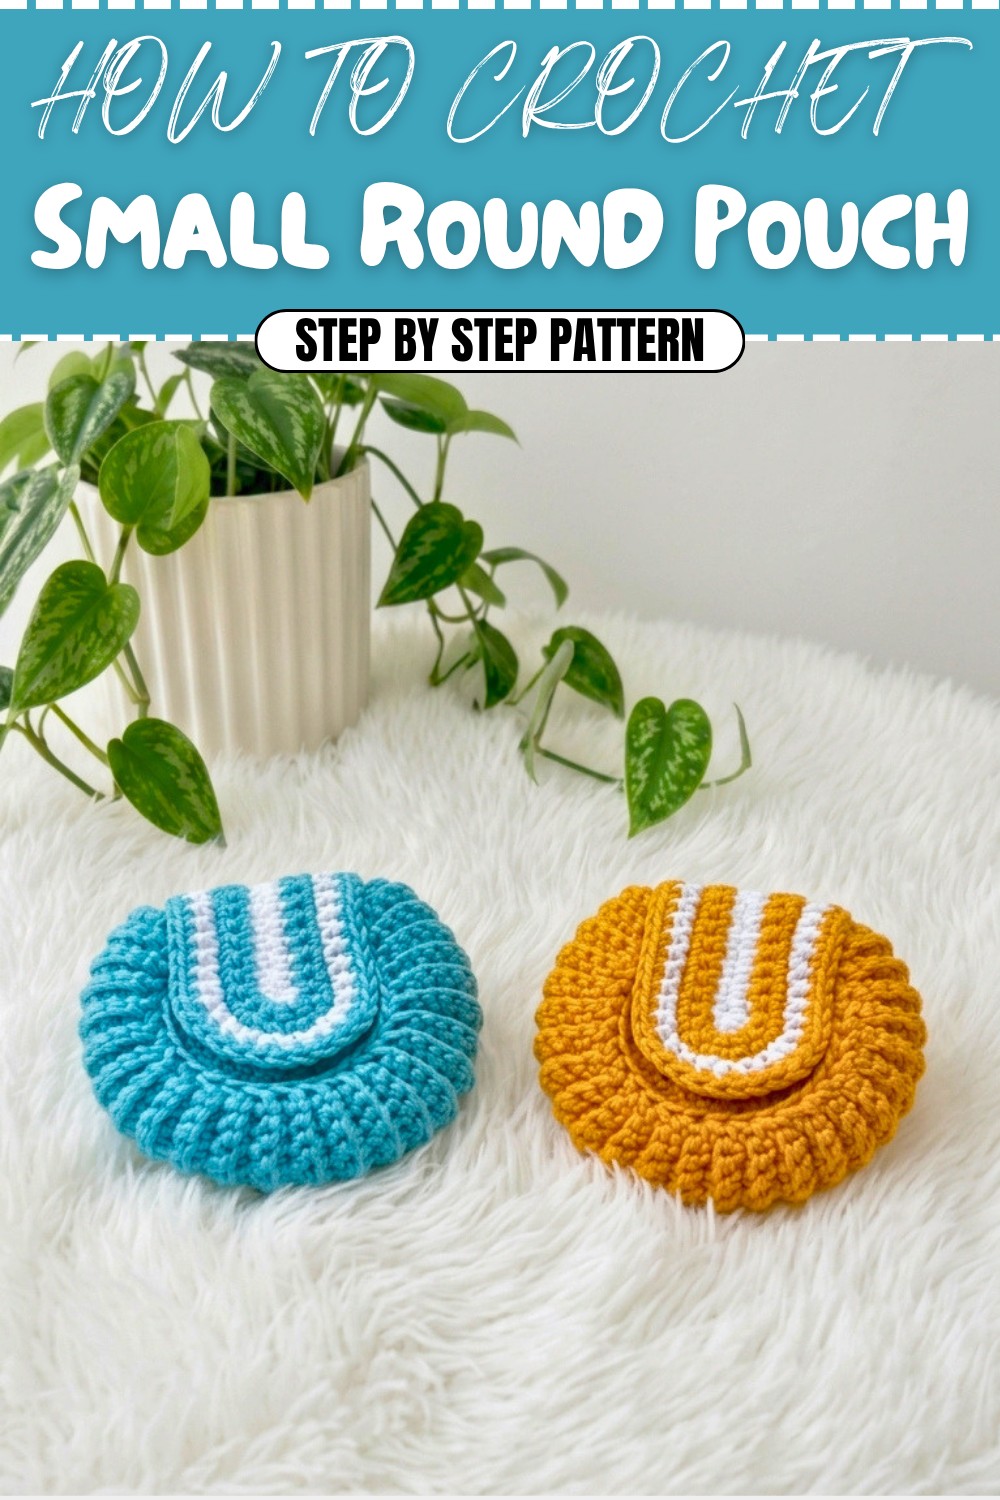
Crochet Small Round Pouch with Flap – Free Stepwise Pattern
This pouch stands out for its soft, round shape and the fun option to personalize with favorite colors. The basic single crochet stitch forms a sturdy and neat texture, making the pouch strong enough for daily use. To start, work a magic ring, crochet in a spiral to widen the circle, then join two circles to form the front and back.
The convenient snap-button flap helps keep your items secure. By changing the size, color, or adding a strap, you can quickly turn this into a mini purse, small wallet, or AirPods case.
Important Steps to Remember
- Always begin with a tight magic ring and six single crochets.
- Use a stitch marker to keep track of your starting point.
- Double-check that you have the correct stitch count after each round.
- When joining circles, crochet in the back loops for sharp, clean edges.
- Leave stitches open for the right-sized opening when joining the two sides.
- The flap should line up with the pouch’s opening before sewing.
- Attach closure securely so it keeps the contents inside.
Possible Issues & Fixes
- Stitch count mistakes: Pause and count at the end of every row.
- Loose center: Pull the magic ring end firmly to close the circle.
- Wonky flap: Align carefully before sewing to avoid crookedness.
- Floppy closure: Make sure the snap is centered and well-attached.
This pouch comes out at about palm size perfect for pocket use. To make it larger or smaller, simply use a bigger or smaller crochet hook and yarn weight, or change the number of rounds.
Crochet Circle Pouch / Wallet Pattern
Materials
- 100% cotton yarn (light or medium weight, any color you like)
- 3 mm crochet hook
- Tapestry needle
- Stitch markers (optional, but helpful)
- Scissors
- Snap fastener or button (optional for closure)
- Thread and sewing needle (if attaching a fastener)
Key Abbreviations (US terms)
- ch – chain
- sc – single crochet
- sl st – slip stitch
- st – stitch
Special Notes
- This pouch is made in two flat circles, joined around the edge, then a flat “flap” is crocheted and sewn in place.
- All rounds are worked in spiral, so marking the first stitch in each round helps with counting.
- Suitable for intermediate crocheters with some confidence in working rounds and increases.
Pattern Steps
Circle Base (make 2 pieces)
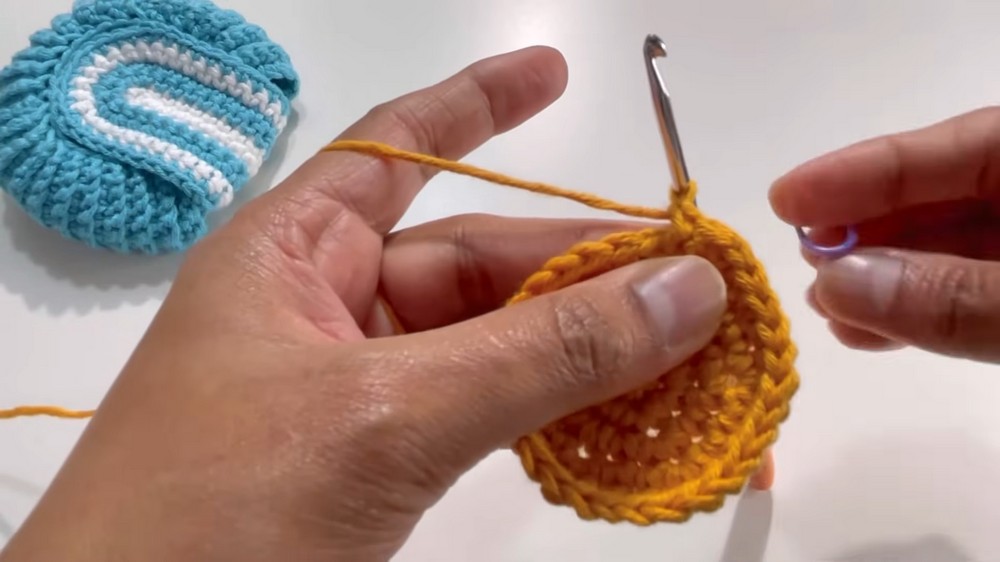
Round 1
- Make a magic circle.
- Ch 1 (does not count as a stitch).
- Work 6 sc into the magic circle.
Make a loop with your yarn and secure it. Chain one (this doesn’t count as a stitch). Then crochet six single crochets inside the loop. Pull the tail to tighten the circle so there’s no hole in the center. You now have a small circle to begin your pouch.
Round 2
- Work 2 sc in each stitch around (12 sc).
For round two, don’t make a new chain or slip stitch. Instead, work directly into the stitches. You need to crochet two single crochets into every stitch from the previous round. You’ll have twelve stitches at the end. Use a stitch marker to keep track if you want.
Round 3
- (1 sc in next stitch, 2 sc in next stitch) repeat around (18 sc).
Now alternate: make one single crochet into the first stitch, then two single crochets into the second stitch. Repeat this pattern all around. By the end, you’ll have eighteen stitches. Place your marker at the first stitch so you don’t lose your place.
Round 4
- (1 sc in next st, 1 sc in next st, 2 sc in next st), repeat (24 sc).
For this round: do one sc in each of the first two stitches, and then two sc in the third stitch. Repeat this around the circle. This step increases the circle in size. By the end, you’ll have twenty-four single crochets.
Round 5
- (1 sc in each of next 3 sts, 2 sc in next st), repeat (30 sc).
Now, do one single crochet in each of the next three stitches, then two sc in the fourth. Repeat all the way around. You should finish this round with thirty stitches. The circle will look much bigger and flatter.
Round 6
- 1 sc in each stitch around (30 sc).
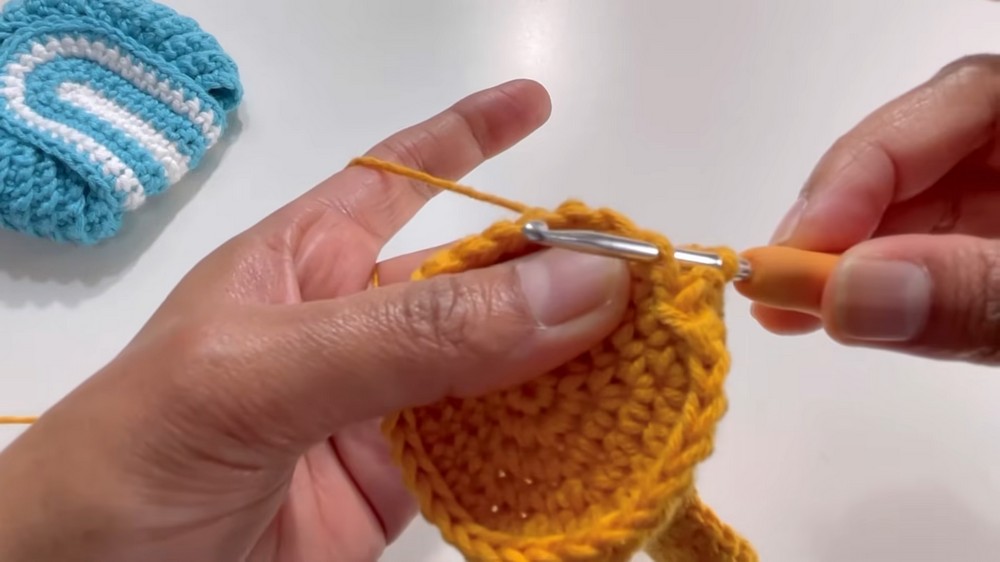
For this round, simply make one single crochet in every stitch. No increases. This stabilizes the shape and keeps the circle flat.
- Cut yarn and securely fasten off the first circle. Hide the ends with a tapestry needle.
- Make a second circle the same way, but don't cut yarn at the end—you'll use it for joining.
You now have two matching circles. For one circle, cut the yarn and hide the tail. For the second, keep the yarn attached as you'll be joining it to the first later.
Joining the Circles
- With the yarn still attached to your second circle, use slip stitches, chain stitches, or sewing with tapestry needle to join the two circles together at their edges.
- Leave about 4 stitches unjoined at one side for flap opening.
Place your two circles together with the wrong sides facing each other (the sides with yarn tails inside). Join around the edge using slip stitch, or sew with a tapestry needle. Make sure to leave a gap of 4 stitches (or more, if you want a wider opening) for inserting items and attaching the flap.
Side Edge Strip
- From your joining point, ch 9 (for the small strip along the opening).
- Join this chain to the opposite side of the circle with a slip stitch into the back loop only.
- Ch 1, skip 2 stitches, and work 8 sc back across the chain. Repeat this for several rows, always slip stitching to the next edge stitch of the circle.
- Continue working rows of 8 sc, joined to the circles, until you reach the opposite edge of your opening.
- Cut yarn, leave a tail for later sewing.
This step creates the soft unfolded edge of the wallet where your pouch opens. If you are confused, just chain 9, bridge the gap, and crochet rows of single crochet back and forth, joining each row to the circles as you go.
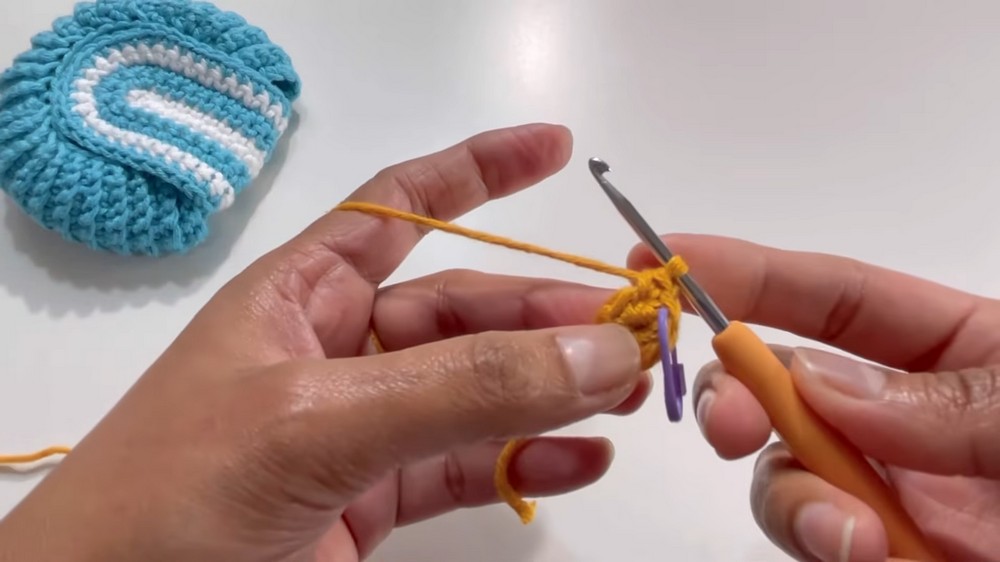
Flap
- With a new color yarn, make a slip knot.
- Ch 13.
- Skip the first ch, work 1 sc in each chain across (12 sc).
- In the last chain, work 3 sc (to round the edge).
- Turn to work into the opposite side of the starting chain, work 1 sc in each chain (11 sc).
- You should have 25 sc around your starting chain.
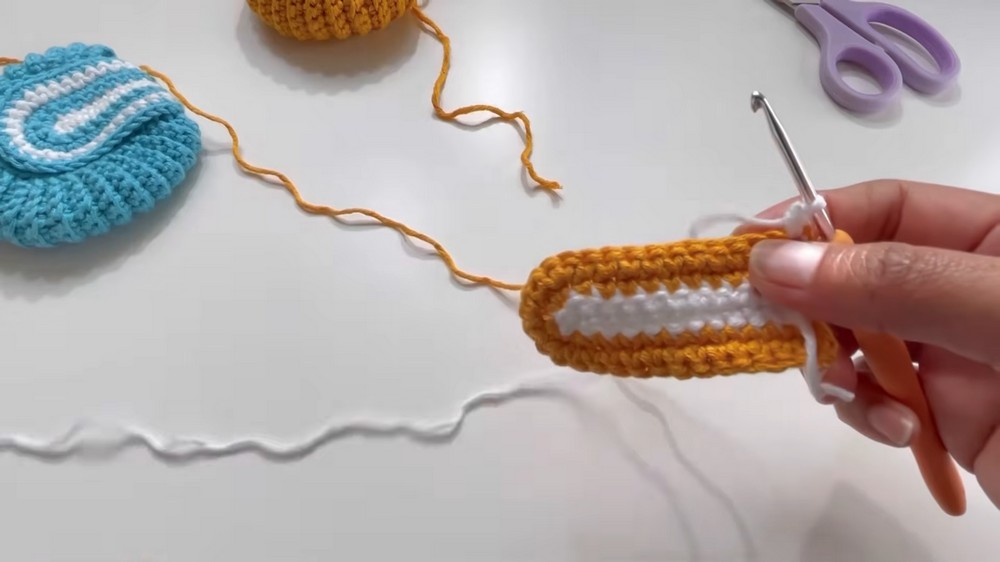
Start with a new yarn, chain thirteen, and do one sc in each chain. Put three sc into the last chain so you can turn to the other side. Now work single crochet into the chains along the second side. You’ll have a flat oval, perfect for the flap’s first row.
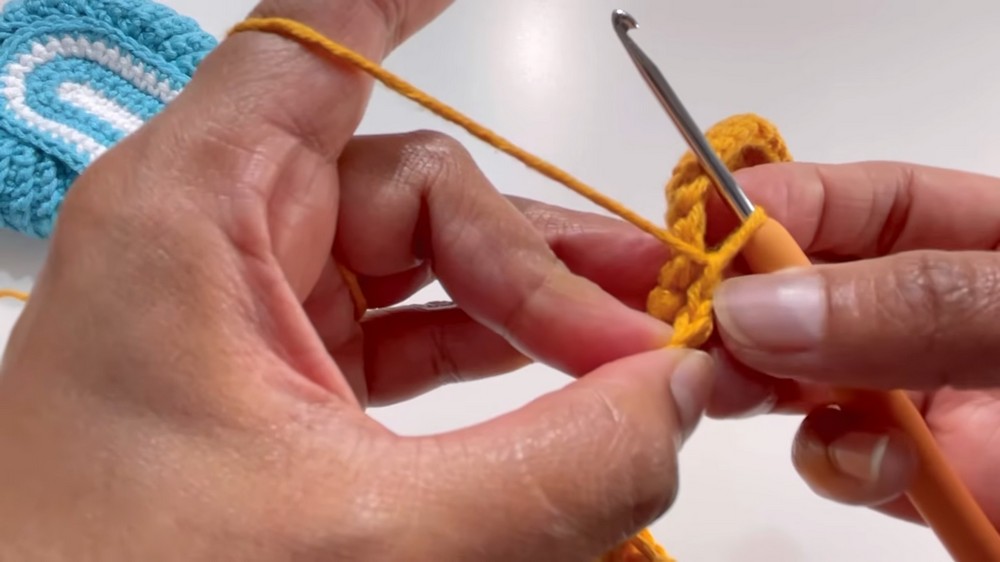
Flap Increases
- At the end of the row, change yarn color (optional), ch 1, and turn.
- Work 1 sc in each of the first 11 stitches.
- Work 2 sc in each of the next 3 stitches (these are at the curve of the flap).
- Work 1 sc in each of the remaining 11 stitches.
- (28 sc total in this row)
This row shapes the flap. Work single crochets until you hit the curved edge, then add extra stitches for smoothness. Continue single crochets along the other side, so the flap grows evenly.
Flap Next Row (with shaping)
- Ch 1, turn.
- Work 1 sc in each of the first 11 sts.
- For the next 6 stitches: alternate 1 sc in one stitch, then 2 sc in the next, across these 6 stitches.
- Finish with 1 sc in each of the last 11 sts.
- (31 sc total)
This row further increases the flap’s curve and makes it fit your pouch. Just alternate single crochet and two single crochets in the curved part, then finish off as usual across the straight edge.
Next Row (with shaping)
- Ch 1 and turn.
- Work 1 sc in the first 11 sts.
- For the next curved section, follow the pattern: [1 sc in 2 sts, 2 sc in next], repeat for curve edge (12 sts becomes 15)
- Work 1 sc in the last 11 sts.
- (34 sc total)
You’re building the curved edge of the flap. If confused, just increase by adding two single crochets in the center stitches, and work singles on the sides.
- Cut yarn, fasten off and weave in your ends.
Finish your flap, cut yarn, and use your tapestry needle to hide all tails.
Finishing & Assembly
- Sew on a snap fastener or button for closure at the middle edge (optional).
- Use a sewing needle and thread to attach the fastener.
- Sew the flap to one circle just above the opening. Take small stitches, picking up a bit of the flap and a bit of the circle so both lay flat.
- Hide all ends inside, and your pouch is ready!
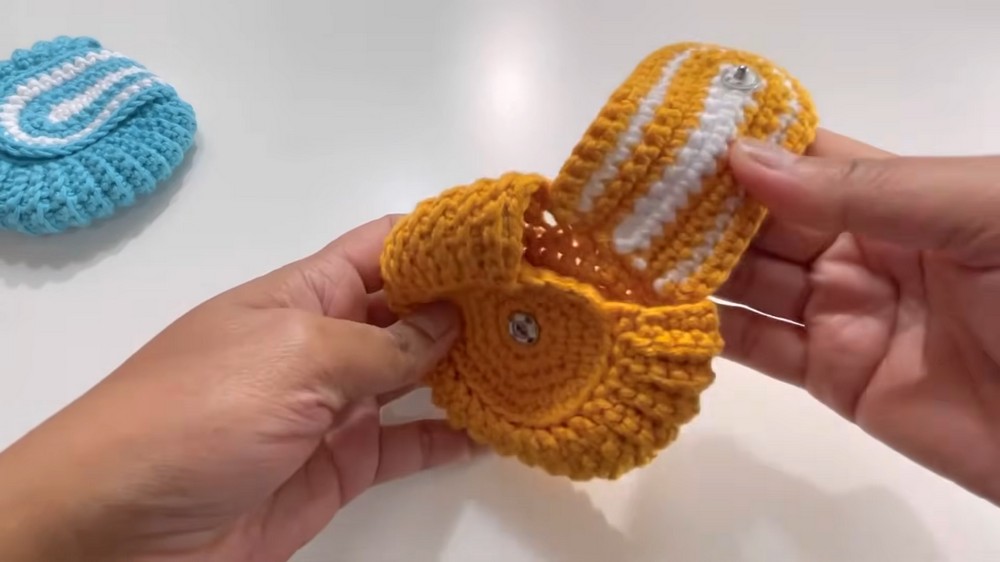
Choose which side is the front and sew the flap on. Make sure your opening is correctly positioned. If you want, you can sew a button or snap for closure. Take your time so the flap is neat and secure.
Tips & Corrections
- Use stitch markers to help keep track of rounds & opening stitches.
- Count your stitches after each round for perfect symmetry.
- If you want a wider opening, leave more stitches unjoined when joining circles.
- Change yarn color for the flap for extra style.
Conclusion
Your pouch is now complete! This cute pattern can store coins, airpods, or small personal items. The pattern teaches working in the round and shaping, suitable for intermediate crocheters.