
How to Luxury Crochet Handbag Pattern for Everyday Style
Quickly freshen your wardrobe while staying organised with the Free Crochet Handbag Pattern for timeless, personal style.
There is something so satisfying about making a beautiful handbag with just yarn and a crochet hook. I remember the first time I tried the crunch stitch and how it turned a simple bag into a textured and eye-catching piece. This handbag pattern is perfect for beginners and anyone who loves quick and fun projects. It uses the crunch stitch, which creates lovely diagonal lines that give the bag a special look and a soft, cozy feel. The stitch is easy to learn and adds just the right amount of texture without making the project complicated.
Step by Step Free Crochet Handbag Pattern for Instant Elegance
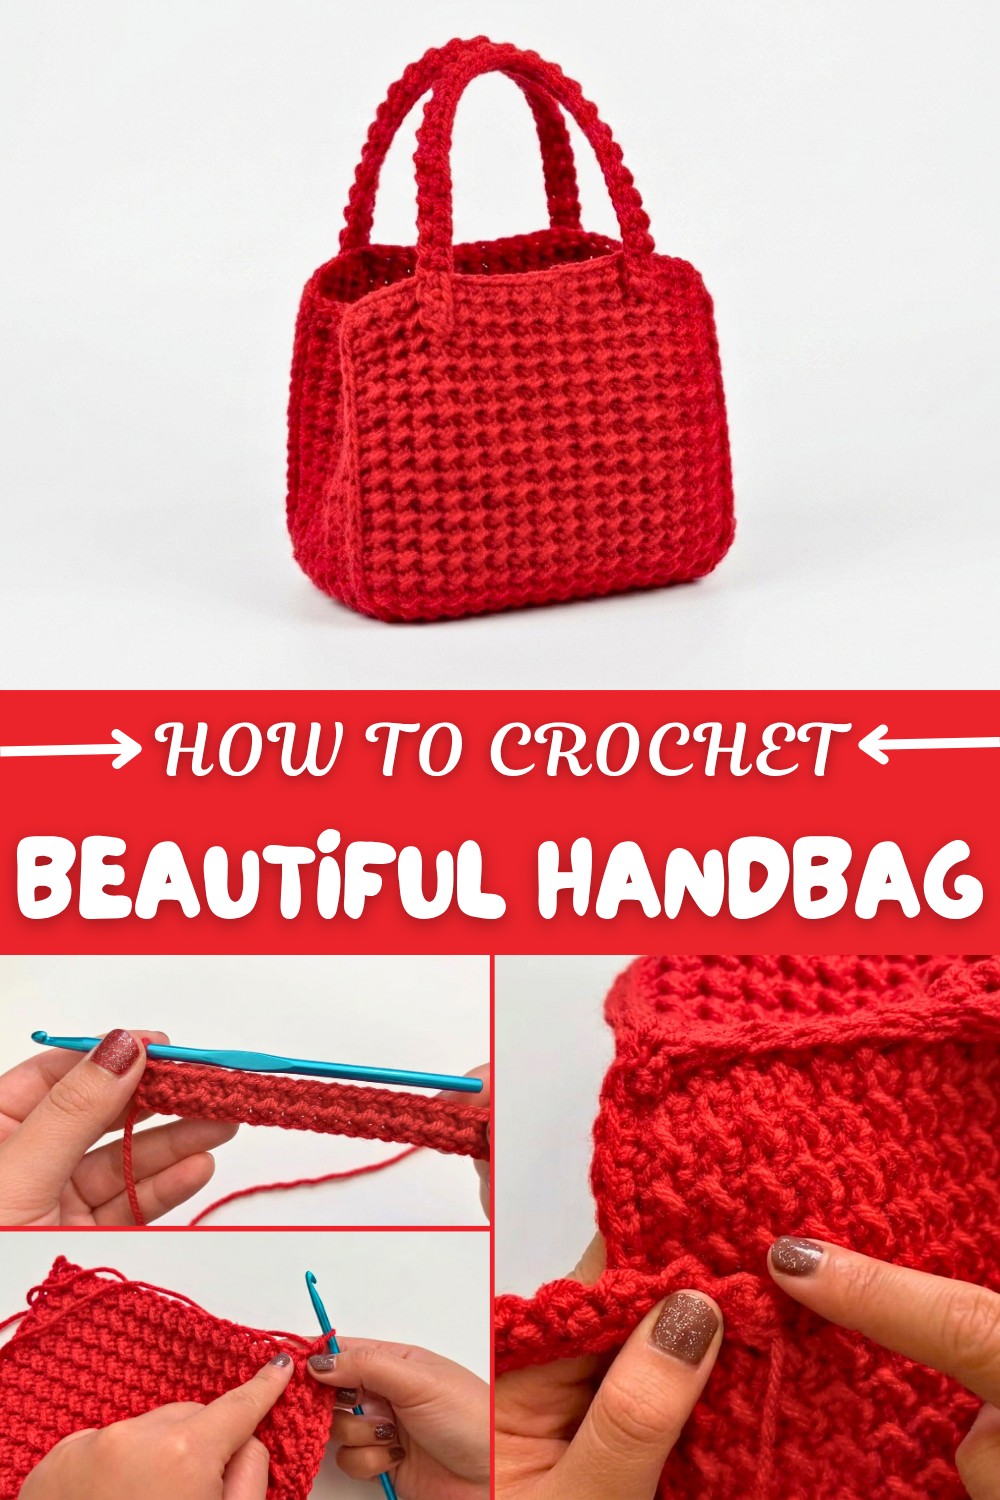
This handbag pattern is not only stylish and sturdy but also very practical. You can carry your essentials like phone, wallet, or even some small crochet supplies inside this compact bag. It works up fast because you crochet simple shapes like squares and rectangles, then sew them together neatly. The edges are finished with single crochet stitches to make the seams smooth and polished. Plus, the handles are made with the same crunch stitch, giving the bag a consistent and elegant look.
Working on this project will help you get comfortable with basic crochet techniques such as chaining, slip stitches, half double crochet, and shaping. You will also practice sewing pieces together using a mattress stitch, which is a neat way to join your work invisibly. Beyond making this pattern, the crunch stitch can be used to create many other lovely projects. You can crochet scarves, cozy blankets, or even stylish hats using this textured stitch.
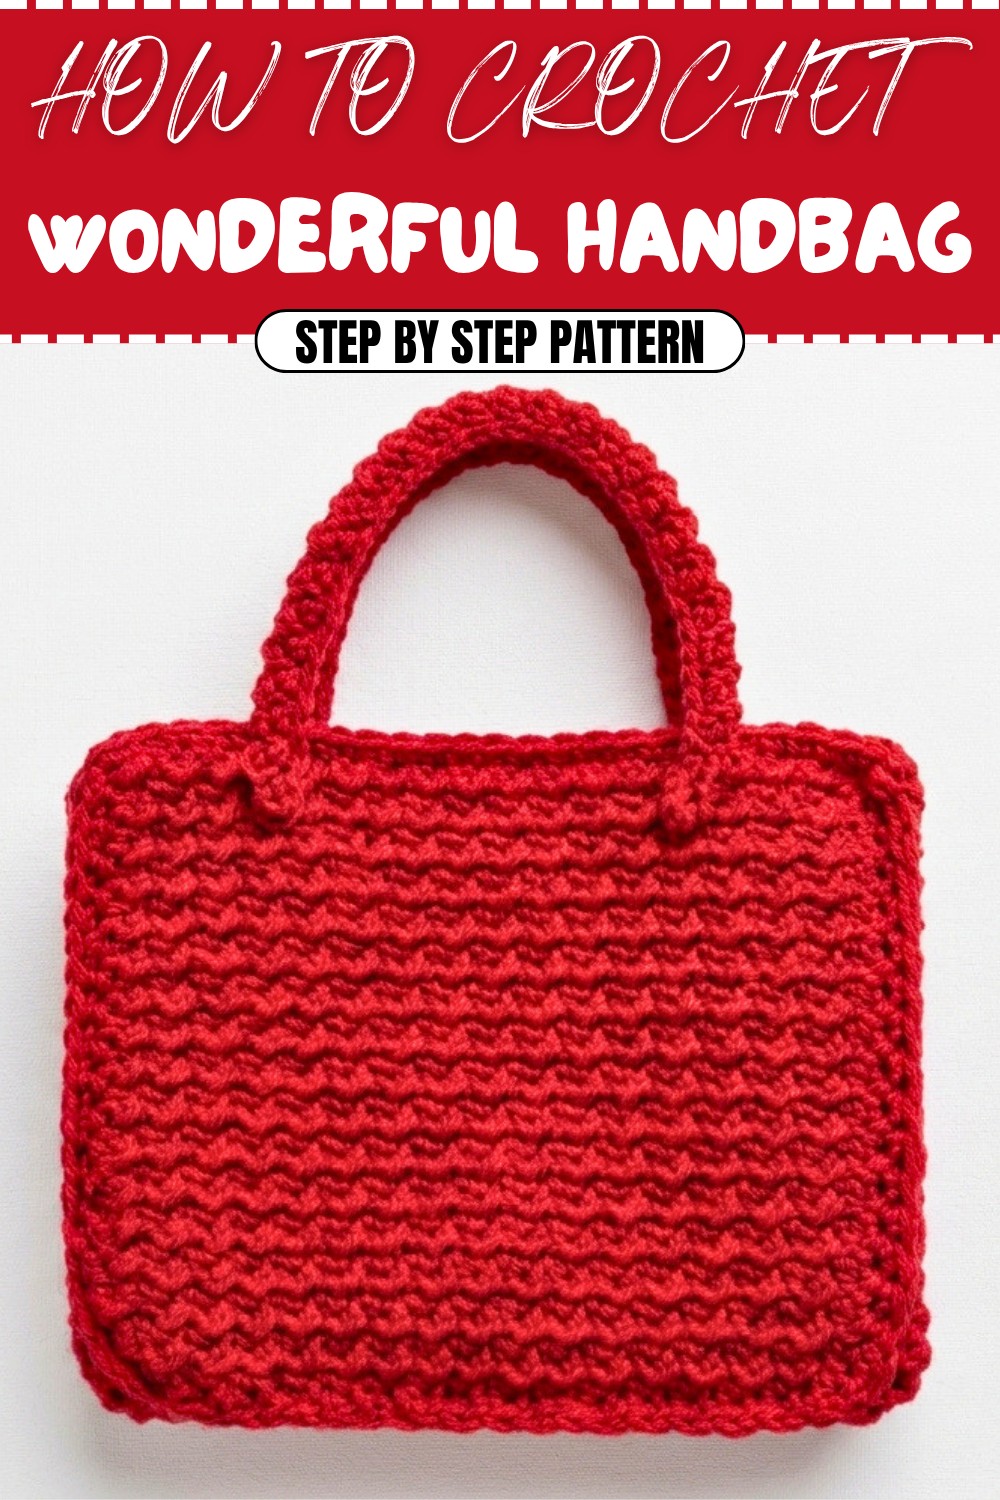
Crochet Handbag Using Crunch Stitch: A Step-by-Step Guide
Learn how to create a beautiful and functional crochet handbag using the crunch stitch! This design is perfect for crafting a versatile bag that’s both sturdy and stylish. Whether you carry your essentials, books, or even your crochet supplies, this bag is customizable to your preferred size and style.
This crochet handbag pattern incorporates the crunch stitch, which creates an elegant texture ideal for accessories. If you’re looking for a compact yet practical piece, this project is for you. Beginners and intermediate crocheters alike will find this tutorial easy to follow, and the repetitive nature of the stitch makes it both meditative and productive.
Skill Level
Beginner to Intermediate
Terminology
US crochet terms are used throughout this pattern.
What You’ll Learn From This Pattern
- How to work the crunch stitch, alternating slip stitch and half double crochet (hdc).
- Creating panels, handles, and a wide middle section for bag structure.
- Techniques for assembling the handbag using the mattress stitch.
This handbag enhances your skills in creating even, neat stitches while allowing for design creativity with colors and sizes.
Materials & Tools
- Yarn: Size 4 medium-weight yarn (e.g., Caron One Pound in “Strawberry Red”). About ¼ of the skein is needed for a medium-sized bag.
- Crochet Hook: Size 5 mm (H/8).
- Notions:
- Tapestry needle for sewing panels.
- Scissors.
- Stitch marker (optional).
Gauge
14 stitches x 10 rows (in crunch stitch) = 4 inches.
Abbreviations List
- ch: Chain
- hdc: Half Double Crochet
- sl st: Slip Stitch
- st(s): Stitch(es)
- sk: Skip
Special Stitch Instructions
Crunch Stitch
This textured stitch uses a simple combination of slip stitch (sl st) and half double crochet (hdc).
- For the crunch stitch, crochet an odd number of chains as the foundation.
- Work sl st into one stitch and hdc into the next. Repeat this pattern across the row.
Finished Size
- Approximate bag dimensions: 12 inches wide x 9 inches tall.
- Handle length depends on your preference, with this guide following a 55-chain handle.
The Pattern Itself
Getting Started
The handbag is created using rectangular panels and handles. You will crochet each piece separately and assemble them together.
Step 1: Crochet Two Square Panels
- Foundation Chain:
- Begin with a slip knot and chain 37 (or an odd number for your desired size).
- Work with an odd number of chains for the crunch stitch.
- Row 1:
- Starting in the third chain from the hook, sl st into the chain.
- Work hdc into the next chain.
- Repeat the sequence: sl st, hdc across the row.
- Ensure you finish with an hdc.
- Rows 2–16:
- Chain 2 at the start of each row, turn your work, and repeat the crunch stitch pattern.
- Always begin each row with a sl st above the slip stitch from the previous row, and an hdc above the half-double crochet.
- Continue until your panel has 16 rows or reaches the desired height for your bag.
- Edging:
- Once the panel is complete, work 1 single crochet (sc) evenly around all four edges to create a clean, finished look.
- Chain 1 at each corner to create a neat curve.
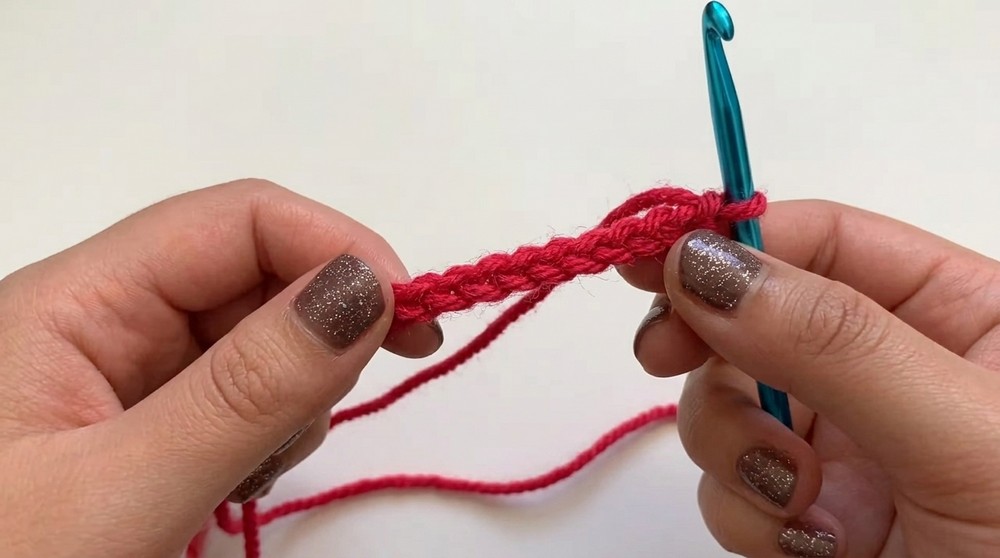
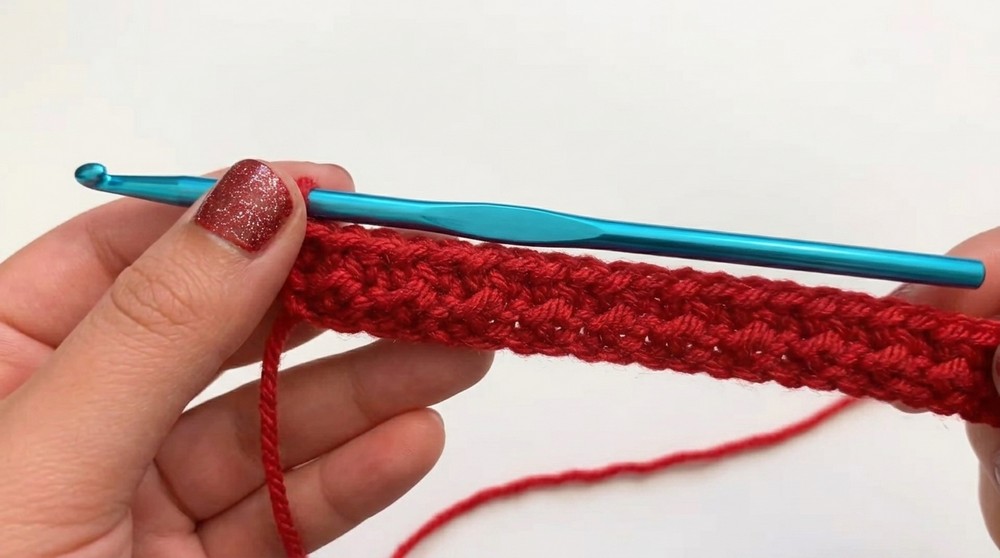
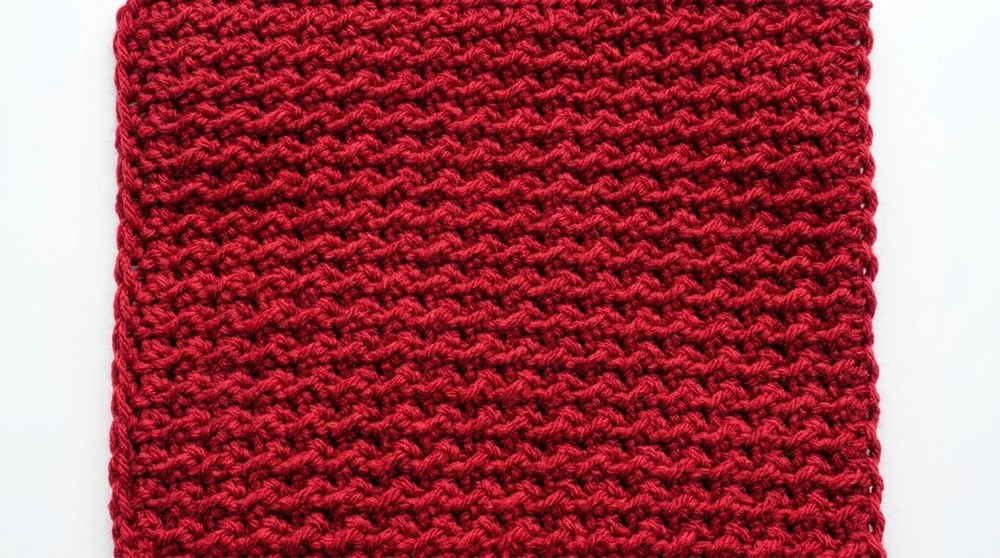
At this point, you should have two identical square panels. These will form the front and back of your handbag.
For those new to crocheting, the repetitive nature of this pattern makes it easy to track when building your panels.
Step 2: Crochet the Middle Panel
- Foundation Chain:
- Chain 17 (or another odd number to match the desired width of your bag).
- Row 1:
- Start the crunch stitch pattern: sl st into the third chain from the hook, and hdc into the next chain.
- Repeat sl st, hdc across the row.
- Rows 2–50:
- Continue the crunch stitch pattern for 50 rows, or until the length of the piece wraps around the perimeter of your two panels.
- Edging:
- Work sc along both long edges of the rectangle for a neat finish.
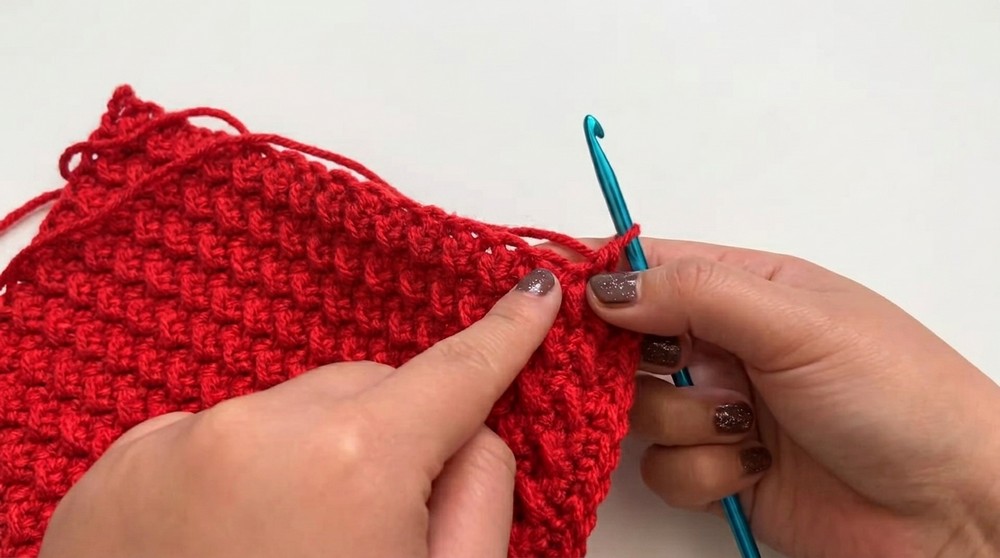
This section forms the center of the bag. Adjust the row count as needed to ensure the middle panel matches the size of your square panels when wrapped around them.
Step 3: Crochet the Handles
- Foundation Chain:
- Chain 55, or adjust for a longer or shorter handle (choose an odd number of chains).
- Rows 1–3:
- Start the crunch stitch pattern as before:
- Slip stitch into the third chain, hdc into the next stitch, and repeat.
- Work 3 rows in total.
- Start the crunch stitch pattern as before:
- Slip Stitch the Edges:
- Fold the handle lengthwise in half.
- Slip stitch the long edges together, inserting the hook through stitches on both sides for a clean join.
- Repeat for Second Handle:
- Create a second identical handle following the same steps.
The handles provide support and structure to the bag. Feel free to add more rows for a sturdier handle.
Step 4: Assemble the Handbag
- Seam the Panels and Middle Section:
- Use a mattress stitch to join the long edges of the middle panel to the square panels.
- Start at one corner and work your way along the edges, ensuring the stitches align neatly.
- Attach Handles:
- Position each handle along the top of the bag, leaving a gap of three rows from each end.
- Sew the handles securely to the bag using a whipstitch or a preferred method.
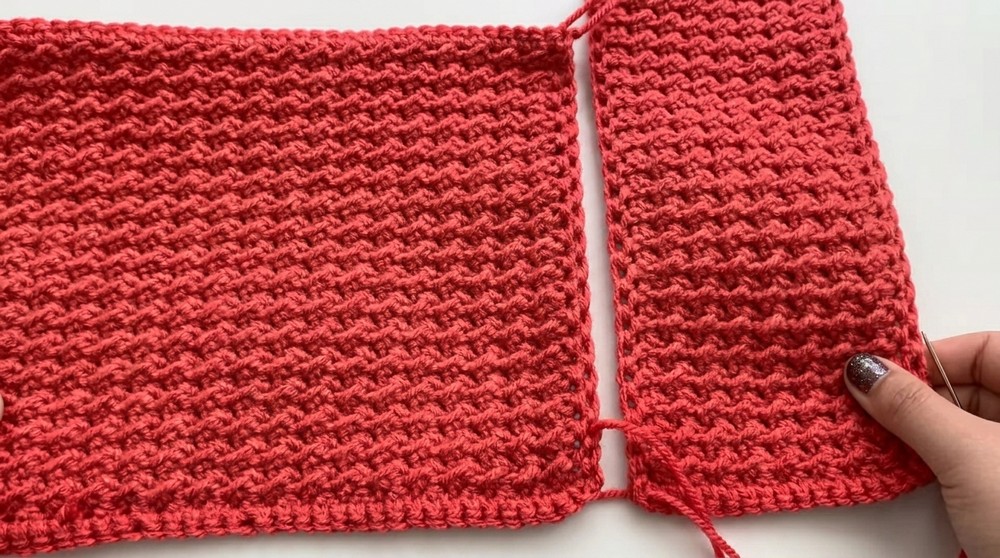
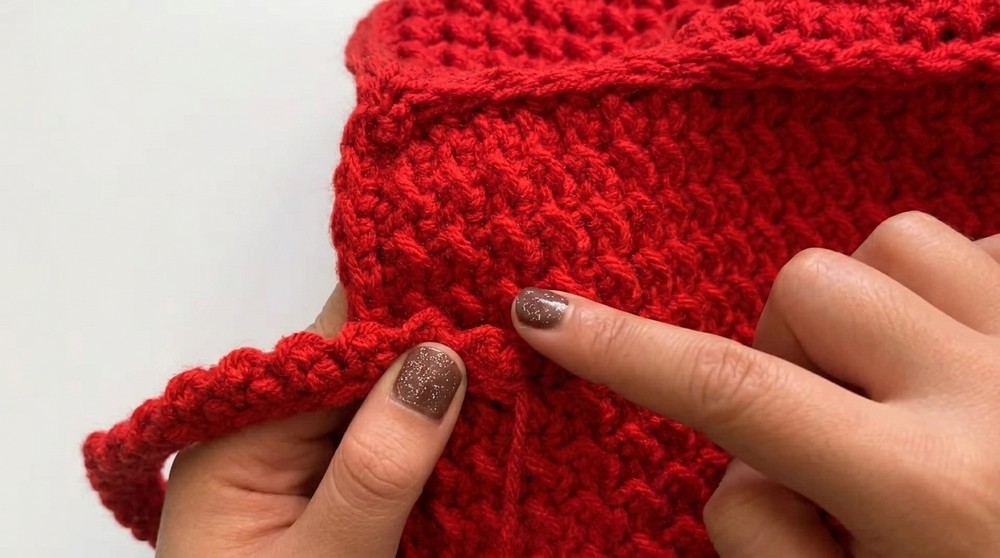
The assembly is straightforward but requires care to create even seams and clean edges. The final structure will be sturdy and well-shaped with proper sewing.
Assembly & Finishing
- Weave in loose ends: Use a tapestry needle to secure any remaining yarn ends into the fabric.
- Optional Edits: If your bag edges open too widely, use extra yarn to pull them together by sewing small ties on the inside to create a cinching effect.
Difficulties & Solutions
- Crunch Stitch Confusion: The crunch stitch is simpler than it seems! Remember to always match the slip stitch with slip stitches from the previous row and hdc with the hdc.
- Edges Curling: When working the edging, crochet loosely to avoid tightness that can cause the piece to pucker.
- Uneven Panels: Adjust the middle panel or square panels to match sizes if needed—blocking after finishing can also help!
Why You'll Love This Pattern
This crochet handbag pattern is perfect for beginners who want to make something more substantial than a scarf while learning a new stitch. The crunch stitch delivers a gorgeous texture to your work, and the finished bag is suitable for casual or dressy outfits depending on your yarn color choices. The design’s modular pattern allows for easy customization, making it a versatile project for all crocheters.
This practical and stylish bag is both a joy to make and to use. You’ll love how functional and durable it turns out to be—ideal for carrying everything from essentials to craft supplies!