
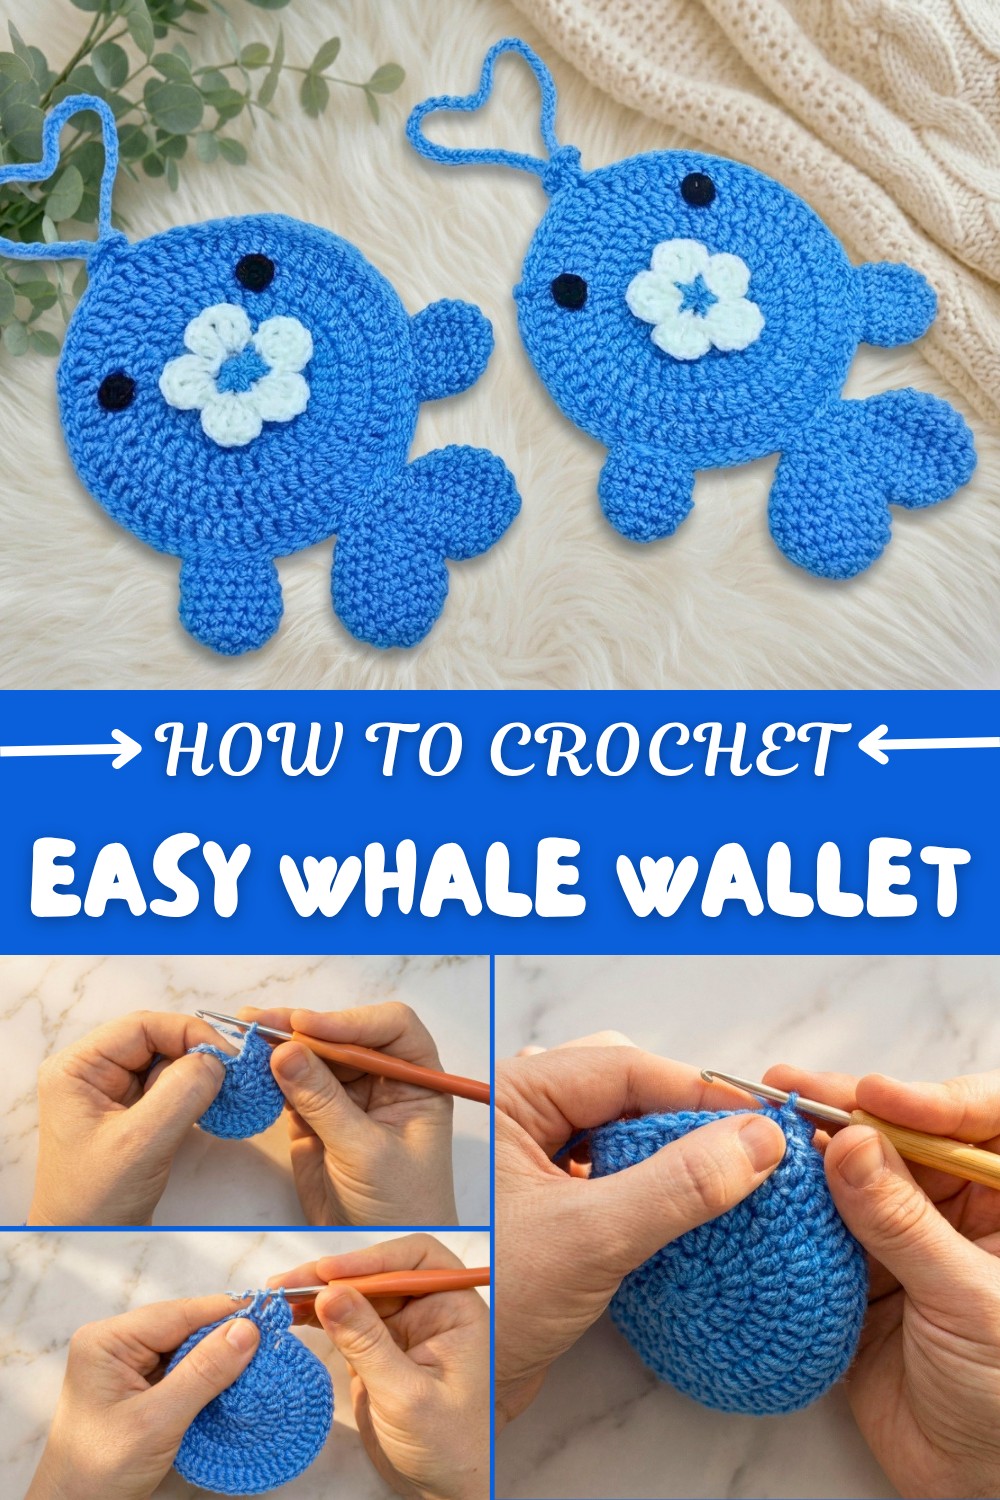
Adorable Free Crochet Whale Wallet Pattern for Sea Life Fans
Upgrade your everyday style using a free crochet whale wallet pattern that’s trendy, compact, and perfect for ocean-themed charm.
Are you someone who loves clever, cute, and practical crochet projects? If a tiny whale wallet that not only makes you smile but also stores your spare coins or little trinkets! This crochet whale wallet pattern is the perfect combination of adorable and functional. The pattern features a rounded whale body that doubles as a small pouch with a secure closure. It’s brought to life with playful details: a fountain-shaped fin, a pair of fins, a cheerful tail, and a set of sweet eyes to complete the look. You can use classic color combinations like ocean blues and whites, or get creative with pastels or colorful yarns for a truly unique finish.
Joyful Free Crochet Whale Wallet Pattern for Everyday Use
The pattern uses several crochet techniques, making it an exciting project for beginners and seasoned crocheters alike. You'll work with double crochet stitches, single crochet stitches, and slip stitches, providing a solid foundation to master shaping and texture. The use of a magic ring creates a seamless start, while increases and decreases allow you to form the round shapes and charming details. If you're looking for a fun way to practice these essentials, the pattern should definitely be on your list!
What You Can Crochet Next Using These Skills
This pattern teaches you techniques that can be reused for other adorable creations. Here are some fun ideas to try:
- Other Sea Creatures: Octopus keychains, jellyfish pendants, or even larger whale plushies!
- Crochet Pouches: Turn the whale template into pouches for trinkets, earbuds, or jewelry.
- Kids’ Toys: Think turtles, dolphins, or fish with similar techniques for sea-themed gifts.

Project Highlights
- A fun, portable crochet project—perfect for small gifts or storage.
- Beginner-friendly but detailed enough for intermediate crocheters looking to refine skills.
- A charming design that can be made in any color to suit your personality or season.
- A lovely handmade treasure for yourself, your kids, or your friends!
Mini Whale Crochet Pattern
In this step-by-step tutorial, you will learn how to crochet an adorable mini whale that doubles as a coin pouch or storage for small treasures inside. Perfect for beginners, this whale pattern is easy to follow and requires basic stitches like single crochet, double crochet, increases, and slip stitches. You'll assemble the whale, attach the tail, fins, eyes, and decorative fountain for an adorable finished accessory.
Skill Level & Terminology
- Skill Level: Beginner
- Terminology: US Crochet Terms
Materials & Tools
- Yarn:
- Body & Tail: Himalaya Dolphin Baby yarn (or similar plush yarn) in blue.
- Eyes: Black cotton yarn (or safety eyes).
- Fountain: White and blue cotton yarn.
- Hook Size: 3 mm crochet hook for the entire project.
- Stuffing: Fiber filling.
- Hot glue gun: For attaching eyes securely (optional).
- Scissors: For cutting threads.
- Tapestry needle: For assembly and weaving in ends.
- Stitch Marker: Optional, to mark beginnings of rows.
Gauge
Gauge is not critical for this project. The stitches should be tight enough to retain the whale’s shape and durable enough for storage use.
Abbreviations List
- Ch: Chain Stitch
- Sc: Single Crochet
- Dc: Double Crochet
- Inc: Increase (2 stitches worked into the same stitch)
- Dec: Decrease (Combining 2 stitches into 1)
- Slst: Slip Stitch
Special Stitch Instructions
Magic Ring
- Wrap the yarn around your fingers to make a loop.
- Insert the hook into the loop and pull up a loop of yarn.
- Chain 1 to secure and start working stitches into the ring.
Increase (Inc)
- Work 2 stitches into one stitch to increase the stitch count.
Decrease (Dec)
- Insert the hook into the first stitch and pull up a loop.
- Repeat with the next stitch.
- Yarn over and pull through all loops.
Finished Size
Approximately 3 inches long and 2 inches wide, depending on tension and yarn thickness.
What You’ll Learn from This Pattern
- Shaping Techniques: Master increases and decreases to create round structures like the whale's body, tail, and fins.
- Assembly Skills: Practice sewing different parts together cleanly, such as attaching fins and securing the tail.
- Creative Details: Learn how to crochet small decorative elements like the flower-shaped fountain and add finishing touches like hot-glued eyes.
- Structure Formation: Explore the technique of creating a functional coin pouch with slip stitches for secure closure.
The Pattern Itself
Body
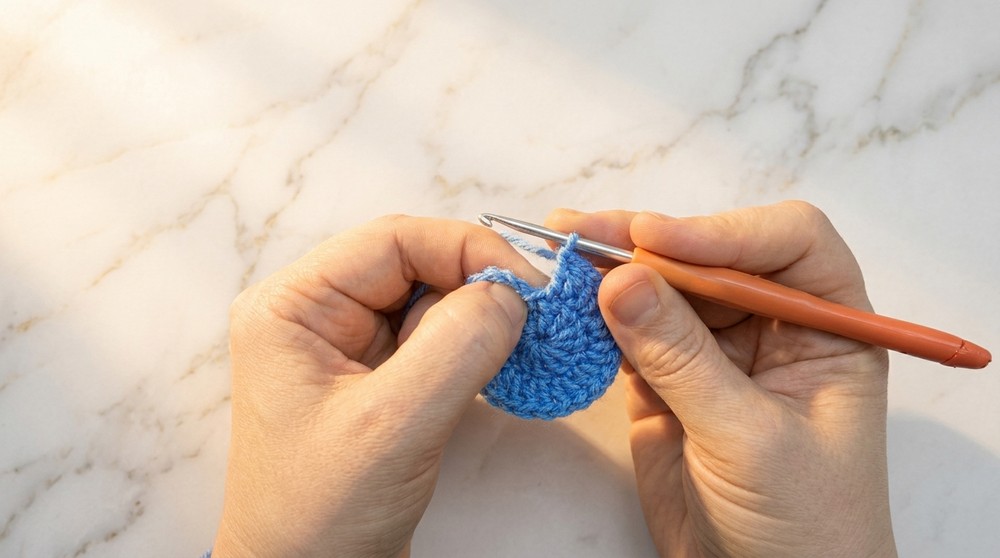
- Start with a Magic Ring:
- Round 1: Ch 2 (counts as turning chains). Work 12 Dc into the ring. Pull tight to close the ring. (12 stitches total).
- Round 2: Ch 2. Work 2 Dc in every stitch around (12 Inc). (24 stitches total).
- Close the row with Slst into the second Ch from the beginning.
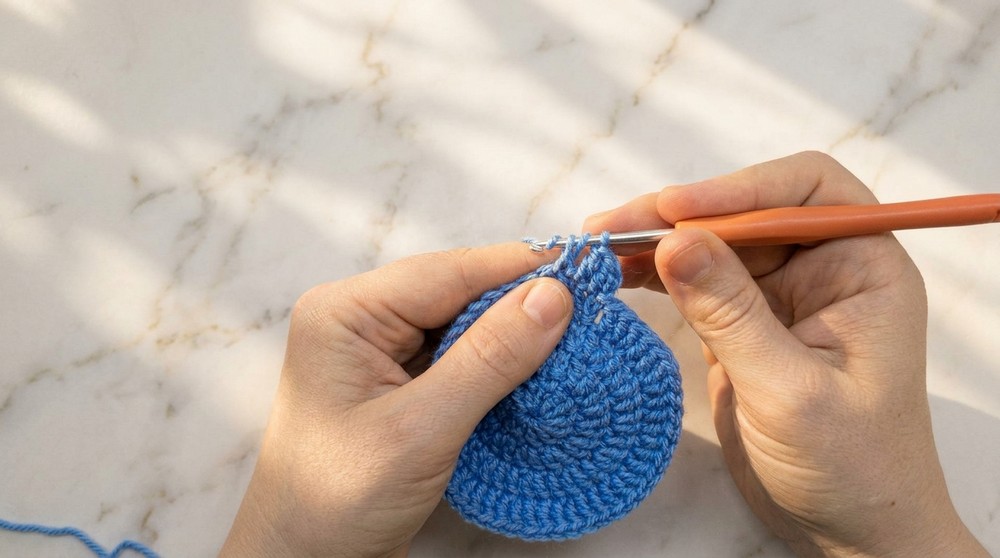
- Round 3: Ch 2. Dc 1, Inc 1, repeat around (12 increases). (36 stitches total).
- Close the row with Slst into the second Ch stitch.
- Round 4: Ch 2. Dc 1, Dc 1, Inc 1, repeat around (12 increases). (48 stitches total).
- Round 5: Ch 2. Dc 3, Inc 1, repeat around (12 increases). (60 stitches total).For beginners: The body forms a flat circular base using double crochet (Dc) and increases (Inc) every round. Mark the start of each round with a stitch marker for accuracy
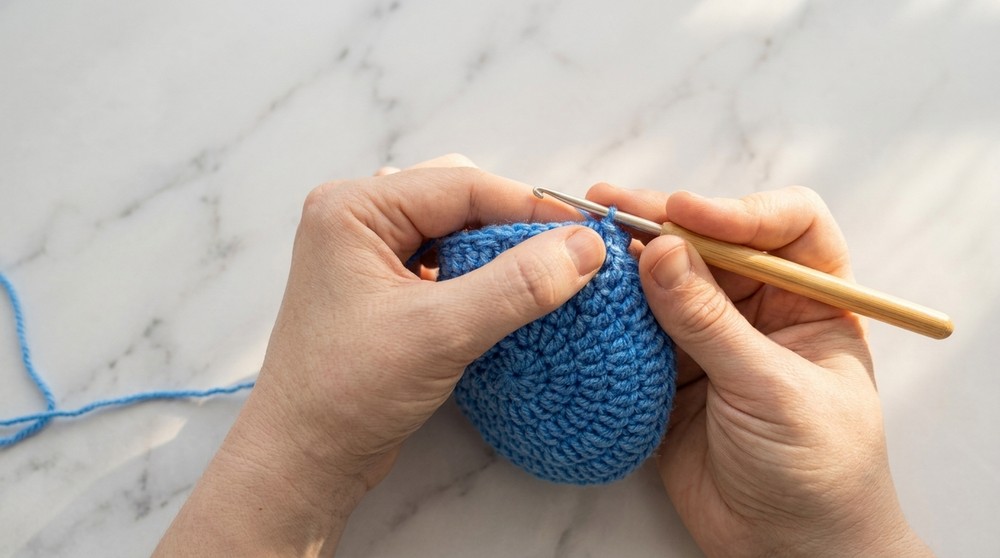
Assembly of Body
- Create Two Identical Body Pieces: Follow the pattern above for the second piece. Secure all loose threads and ends.
- Join Pieces: Place the two body pieces together with wrong sides inward.
- Working through both layers, use Slip Stitches (Slst) to join the edges, leaving a portion open for the whale’s mouth.
- Work 45 Slst to join the pieces securely.
For beginners: Joining the pieces creates a pouch-like structure where you can store items. Leave the opening for inserting items into the whale.
Tail
- Piece 1:
- Round 1: Work 6 Sc into a Magic Ring. (6 stitches total).
- Round 2: Work 6 Inc (12 stitches total).
- Round 3: Sc 1, Inc 1, repeat 6 times. (18 stitches total).
- Round 4: Work 1 Sc in each stitch (18 stitches total).
- Round 5: Sc 4, Dec 1, repeat 3 times. (15 stitches total).
- Piece 2:
- Repeat the above pattern for the second piece.
- Join Tail Pieces: Place pieces together (wrong sides inward) and work Slst around the edge. Join securely.For beginners: The tail offers flare to the whale and balances its design perfectly. The decrease stitches add tapering for a smooth finish.
Fins
- Start with a Magic Ring: Work 6 Sc into the ring. (6 stitches total).
- Round 2: Work 6 Inc (12 stitches total).
- Rounds 3–6: Work 1 Sc in each stitch (12 stitches total). Leave ends for sewing.For beginners: The fins are basic crochet rounds worked into small oval shapes. Skip stuffing for a neat, compact finish.
Fountain
- Make Water Arches: Start with blue yarn:
- Work 1 Sc, followed by a Ch 1 and another Sc into the same stitch. Repeat 5 times to create arches.
- Add White Petals:
- Switch to white yarn.
- Work 2 Ch, then Dc 1, Ch 1, Dc 1, Ch 2, and Slst into the same arch.
- Repeat for all water arches (5 petals total).
For beginners: The fountain replicates water splashing from the whale. It creates a whimsical decorative detail in the whale design.
Eyes
- Use black yarn to work 7 Sc into a Magic Ring and close with Slst.
- Secure and glue (or sew) the small eyes onto the whale, aligning with the fourth row of the body.For beginners: Safety eyes or embroidered details also work for added customization.
Assembly & Finishing
- Sewing Tail & Fins: Sew the tail securely on the opposite side of the opening. Attach fins evenly on each side near the tail, ensuring they are symmetrical.
- Attaching Fountain: Position the fountain piece at the center top of the whale and sew it in place.
- Adding Eyes: Glue or sew eyes near the connecting rows of the body for balance.
- Final Touches: Hide all loose threads within the body using the tapestry needle.
How to Start and Stitches Used
Start with the body using double crochet (Dc) and increases to form symmetrical circular pieces. Assemble by joining layers with slip stitches (Slst), and complete decorative elements like the tail, fins, eyes, and fountain using basic stitches like single crochet (Sc), double crochet (Dc), and decreases (Dec).
Conclusion
This mini whale crochet pattern is an enjoyable project that combines practicality and charm. Using simple stitches and detailed assembly guidance, you’ll create a coin pouch or whimsical decoration that is perfect for gifting or personal use. Whether you’re a beginner or advanced crocheter, this pattern is sure to bring delight and inspiration to your crochet journey!