
Handmade Frog Pillow Pattern for Your Kids’ Spaces
To upgrade your video gaming chair rely on a Free Easy Crochet Frog Pillow Pattern because you can stitch a comfy green cushion for long play sessions.
Frogs bring such a delightful charm to any space, and this Handmade Frog Pillow Pattern captures their playful personality perfectly. Shaped into a soft, plump circle with big, bold eyes and a sweet smile, this project has an irresistible whimsy that’s hard to pass up. Whether it’s for a child’s cozy corner, a fun accent in your living room, or a unique handmade gift, this little frog is sure to bring smiles all around.
Featured By Anerom
This pillow stands out not just because of its adorable face but also its inviting texture and versatility. It’s worked up using a simple method of single crochet stitches in a spiral motion, with evenly spaced increases and decreases to achieve the rounded shape. Stuffing is added to give it that perfect, plush feel, while felt accents complete its endearing expression.
Free Cute Frog Pillow Pattern for Animal Themed Rooms
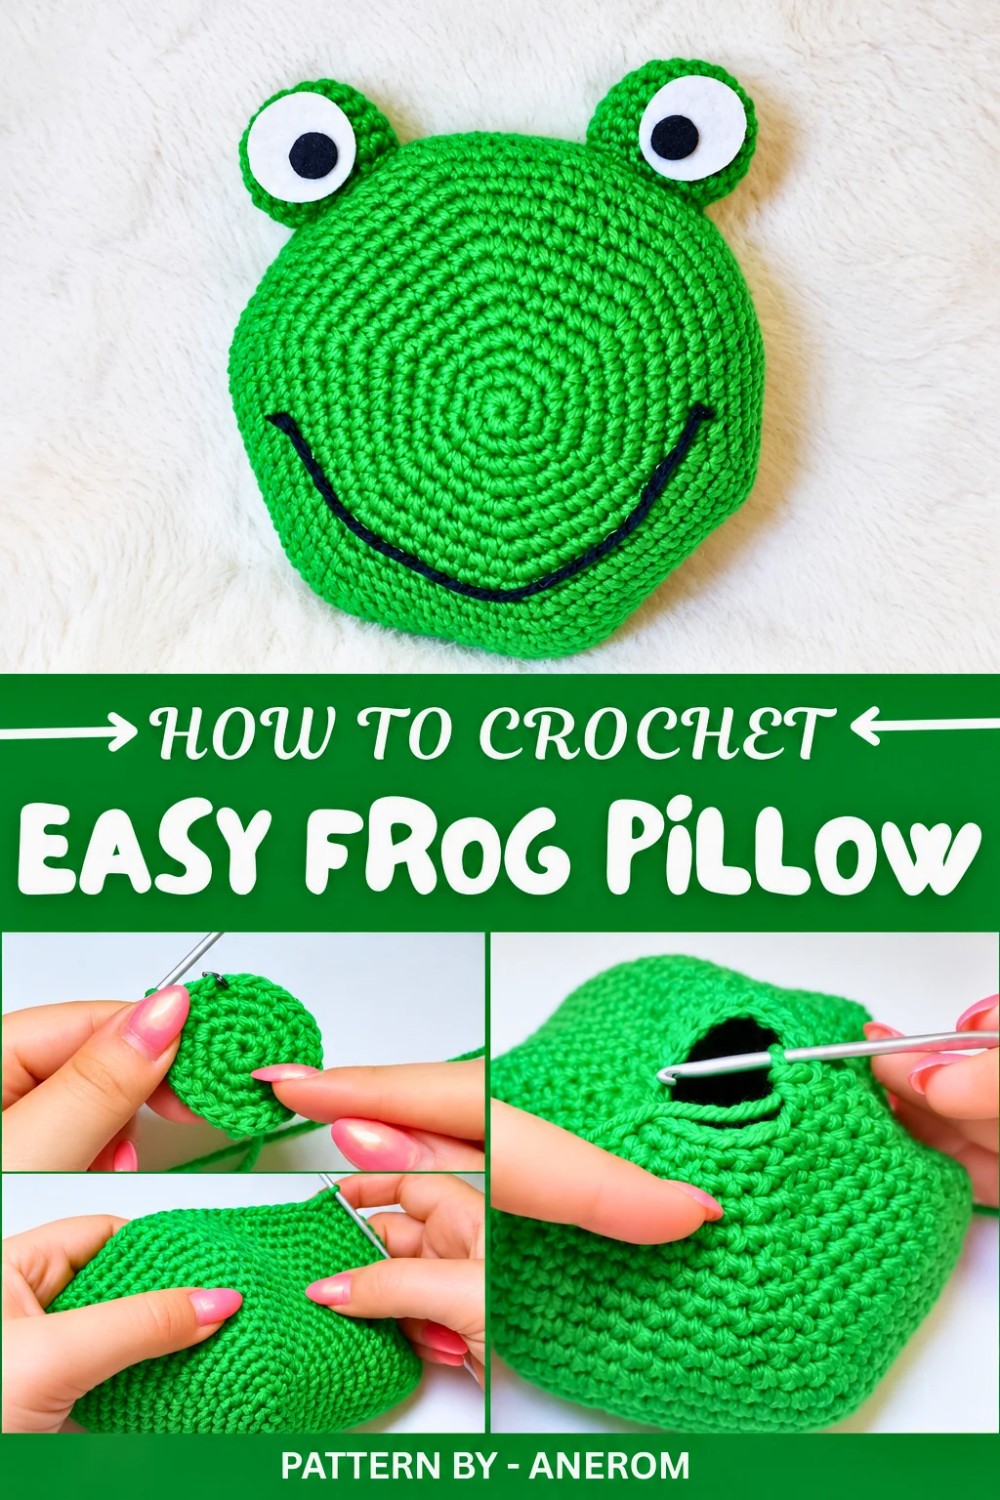
The choice of yarn plays a big role in the final look. Soft green acrylic yarn works wonderfully for defining stitches, ensuring durability while still allowing the texture to shine. For the facial features, contrasting white and black felt adds a playful pop of character to the design. A helpful tip is to use a stitch marker to stay on track during the circular rounds, it makes the process smooth and enjoyable.
Inspired by the cheerful, carefree vibe of frogs, this pillow is easy to personalize. Play with colors, adjust the size, or add little tweaks to make your frog pillow uniquely yours. It’s a simple and fun way to bring personality and charm into your home décor or gift giving lineup.
Crochet Pattern: Mini Frog Pillow
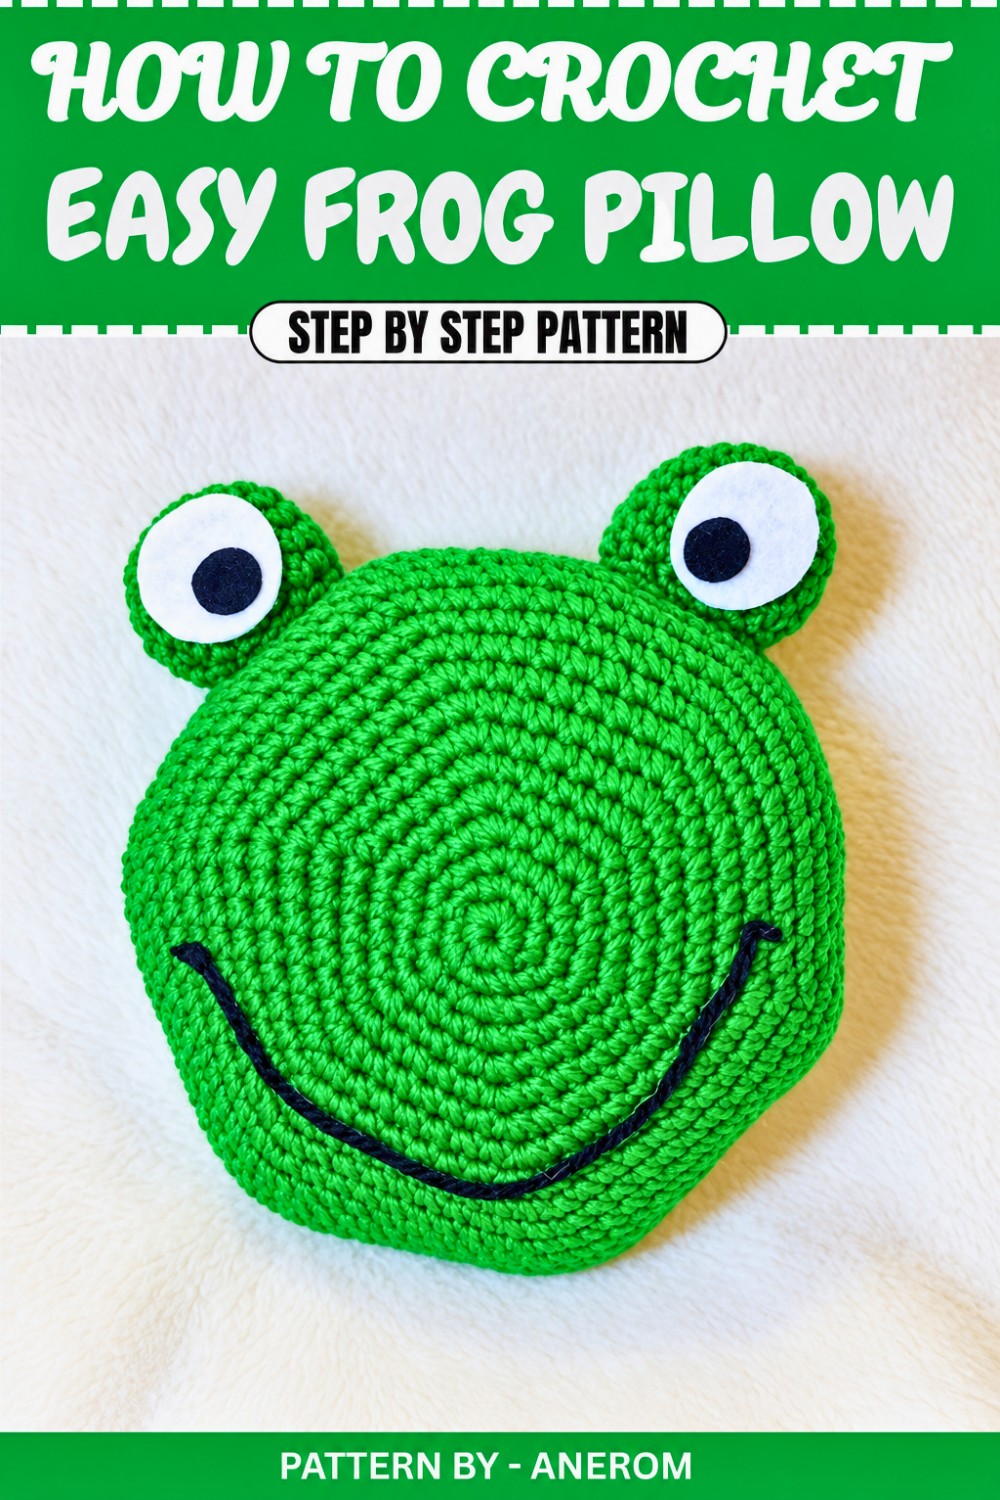
In this tutorial, we will create a charming frog shaped mini pillow that’s fun and easy to make. This adorable design is perfect for decorating a child's room or gifting someone special. Using basic crochet skills, you can craft your own frog shaped cushion that’ll bring joy to any setting. Follow the step by step pattern as shown, you’ll enjoy the process and the final result.
Quick Overview Of Pattern
- Project Type: Frog themed crochet mini pillow
- Uses: Room decoration, gifts, or creative craft projects
- Customization: Embellish with eyes, a felt mouth, and other creative touches
Notes
- Use green yarn (size 3) for this design, which is suitable for creating smooth and structured stitches. Other colors can be used as well for customization.
- The stuffing helps the pillow maintain its adorable, rounded shape. Keep stuffing to a comfortable level for softness.
- Felt pieces (white and black) are used for the eyes, and acrylic yarn completes the mouth design.
Skill Level
Beginner to Intermediate. Basic knowledge of crochet stitches and techniques like the magic ring, single crochet, increases, and decreases is required.
Materials
- Yarn: Green yarn (size 3) for the main body.
- Crochet hook: Size 3.0 mm.
- Stuffing: Polyfill or similar material for the pillow.
- Felt pieces: White and black felt for eyes, cut into circles.
- Dark acrylic yarn: For the mouth.
- Glue: Fabric glue or hot glue for attaching felt.
- Yarn needle: For sewing and weaving in ends.
- Scissors
Measurements / Sizing
The mini frog pillow can be adjusted in size by altering the stitch counts and rounds as needed, but the pattern creates a standard small decorative cushion.
Gauge
Gauge is not crucial for this project, but for reference:
- 10 sc x 10 rows = 5 cm x 5 cm with suggested materials.
Ensure your tension is consistent to create a compact finish.
Stitch Abbreviations
- ch = chain
- sc = single crochet
- inc = increase (two single crochet in the same stitch)
- dec = decrease
- sl st = slip stitch
- st(s) = stitch(es)
Special Stitches
Magic Ring (MR):
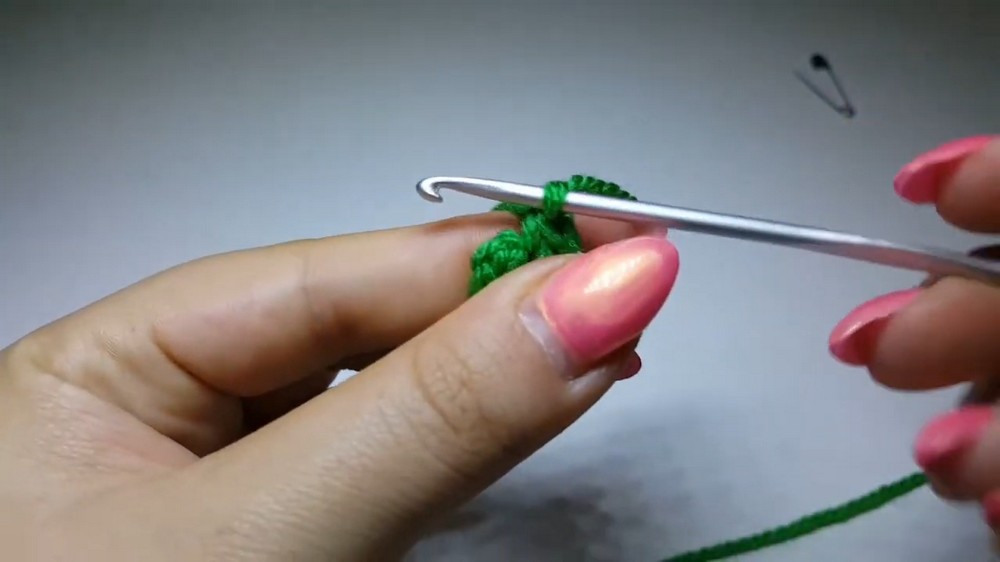
- Create a loop with yarn and hold the working end behind your fingers.
- Insert the hook into the loop, yarn over, and pull through.
- Work stitches into the loop and pull it tight to close the circle.
The Crochet Pattern
Step 1: Create the Main Body
- Start with a Magic Ring:
- Make a magic ring and work 6 sc into the ring. Pull the tail tight to close the ring. [6 sts]
- Round 1:
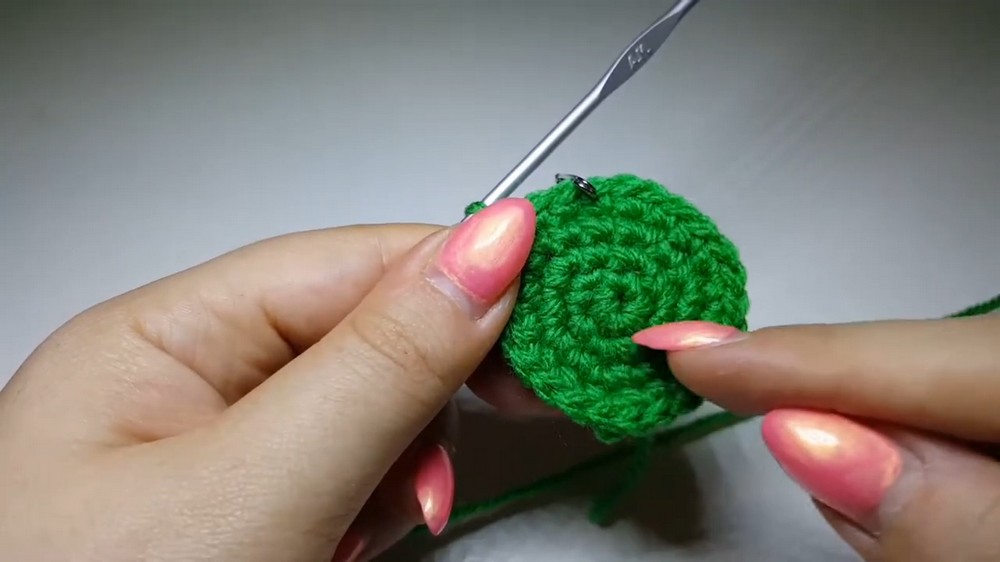
- Work 2 sc into every stitch around (1 inc in each st). [12 sts]
- Round 2:
- Alternate 1 sc, 1 inc around. [18 sts]
- Round 3:
- Alternate 2 sc, 1 inc around. [24 sts]
- Round 4:
- Alternate 3 sc, 1 inc around. [30 sts]
- Continue Increasing: Work the following sequences for each round:
- Round 5: 4 sc, 1 inc [36 sts].
- Round 6: 5 sc, 1 inc [42 sts].
- Round 7: 6 sc, 1 inc [48 sts].
- Repeat rounds, increasing by adding 1 sc between each inc, until you reach 12 sc, 1 inc. [84 sts]
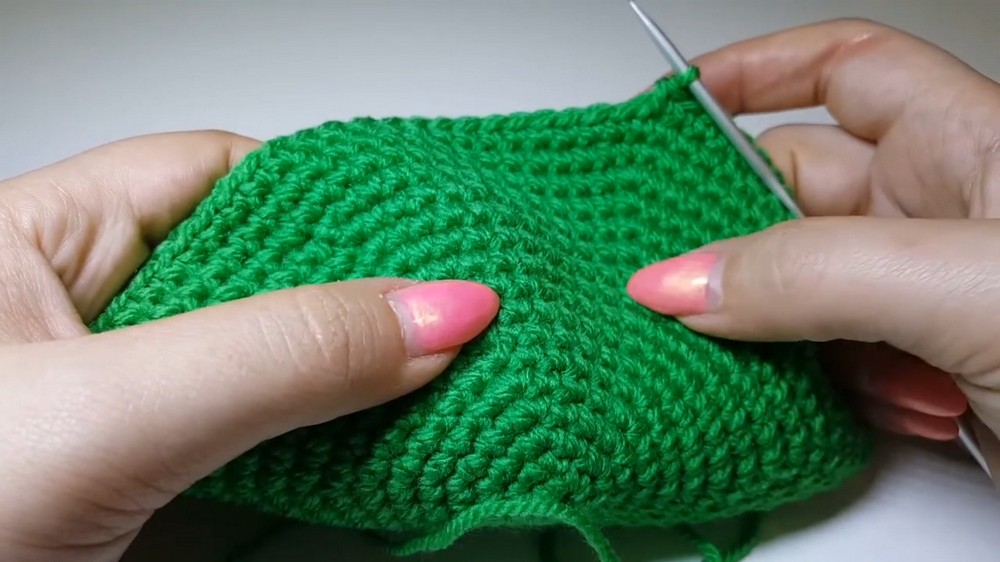
- Rounds 20–23:
- Work 1 sc in each stitch around for 4 rounds.
- This builds the height of the pillow while keeping its shape.
- Do not work any increases. [84 sts per round]
Step 2: Start Decreasing
- Round 24:
- Alternate 12 sc, 1 dec around. [78 sts]
- Round 25:
- Alternate 11 sc, 1 dec around. [72 sts]
- Continue Decreasing: Follow the sequences below for each round:
- Round 26: 10 sc, 1 dec [66 sts].
- Round 27: 9 sc, 1 dec [60 sts].
- Round 28: 8 sc, 1 dec [54 sts].
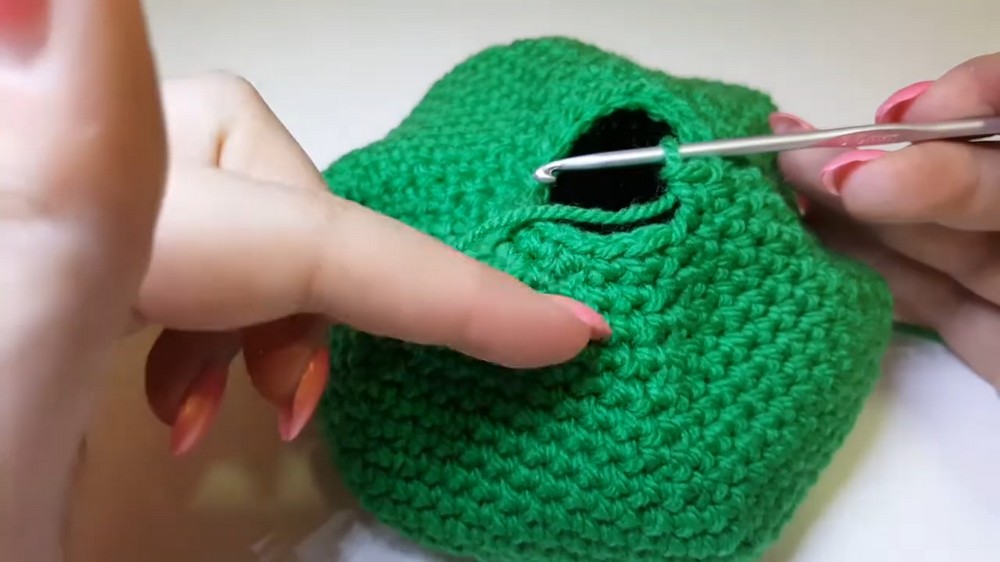
- Continue decreasing until you reach 2 sc, 1 dec.
Step 3: Final Closure
- Last Round:
- Work 6 consecutive decreases to close the hole. [6 sts]
- Fasten Off:
- Pull the tail of yarn tightly and thread the tail through the remaining stitches using a yarn needle to close securely.
Step 4: Craft the Eyes
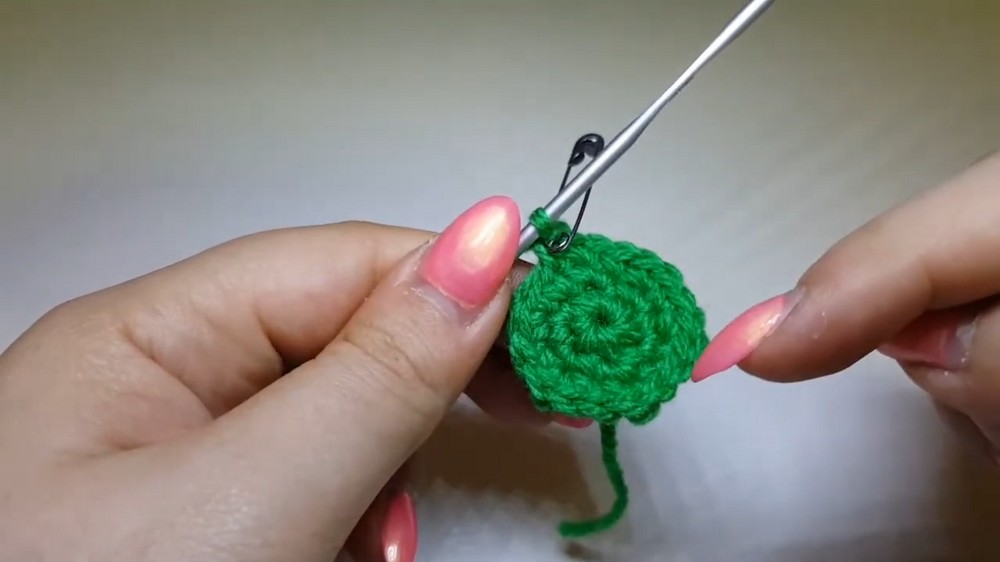
- Make a Magic Ring:
- Work 6 sc into the ring, then pull the short tail tightly to close. [6 sts]
- Round 1:
- Work 2 sc in every stitch around. [12 sts]
- Round 2:
- Alternate 1 sc, 1 inc around. [18 sts]
- Rounds 3–6:
- Work 1 sc into every stitch for 4 rounds. [18 sts per round]
- Finish:
- Work 1 sl st into the next stitch, fasten off, and leave a long tail for sewing.
- Repeat:
- Make two identical eye pieces following the same steps.
Step 5: Add Eye Details
- Cut Felt Circles:
- From white felt: Cut two large circles for the whites of the eyes.
- From black felt: Cut two smaller circles for the pupils.
- Glue the Felt:
- Attach the black felt circles onto the white felt circles using fabric glue or hot glue.
- Let the glue dry completely.
Assembly & Finished Size
- Stuff the Body:
- Fill the crochet frog body with polyfill, gently pressing to shape. Ensure the stuffing is evenly distributed.
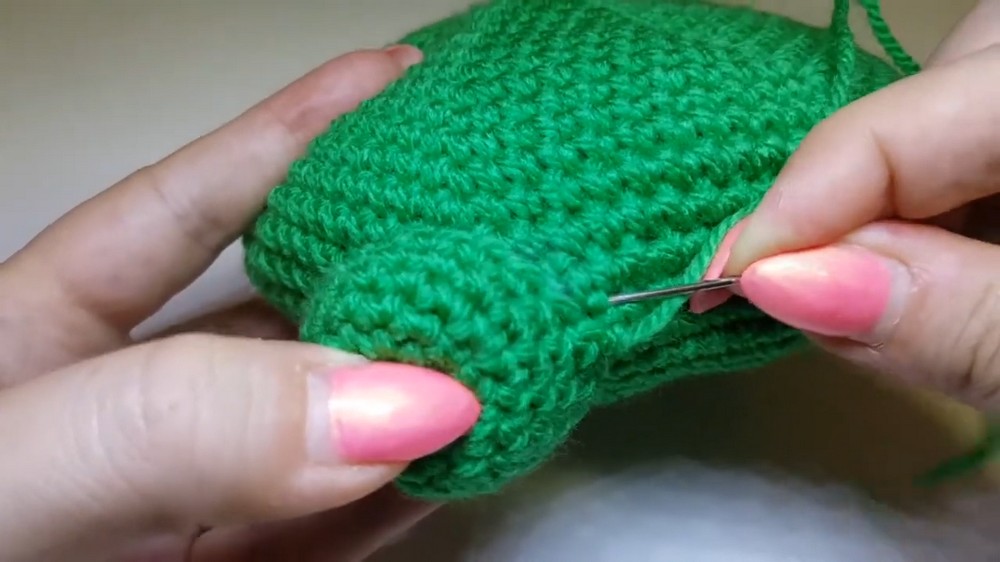
- Sew Eyes:
- Position the crocheted eyes on top of the frog body (one on each side). Sew them on using the tail left earlier.
- Attach Felt Eyes:
- Glue the felt parts you crafted earlier onto the crocheted eyes using fabric glue.
- Create a Smile:
- Use dark acrylic yarn to form a smile and glue or sew it onto the body.
- Adjust the position until you’re happy with the look.
- Trim Excess Yarn:
- Once all parts are fully attached, weave in and trim excess yarn for a polished finish.
Conclusion and Final Words
Congratulations—you’ve successfully completed your adorable frog-shaped mini pillow. With its cute design and soft stuffing, this project is perfect for adding charm to a child’s room or gifting someone special. Let your creativity flow by experimenting with color, size, and decorations.