
Free Crochet Emoticon Pillow Pattern to Style Couches
Bring a cheerful touch to your family room sofa or reading chair with this fun and completely free crochet emoticon pillow pattern that’s perfect for everyone.
Crocheting a smiley pillow is a beautiful way to bring warmth and personality into your space. With its cheerful and colorful design, this type of pillow instantly brightens any room, adding a playful vibe to your decor. Whether you want to gift it to a loved one, use it to decorate your bed, or simply enjoy it as a cozy accessory, it is not just a crocheting project, it’s a way to express creativity and joy. These smiley pillows can even be customized with different facial expressions, like heart eyes or a kiss emoji, making them versatile and unique for any setting.
Free Crochet Emoticon Pillow Pattern for Funny Gifts
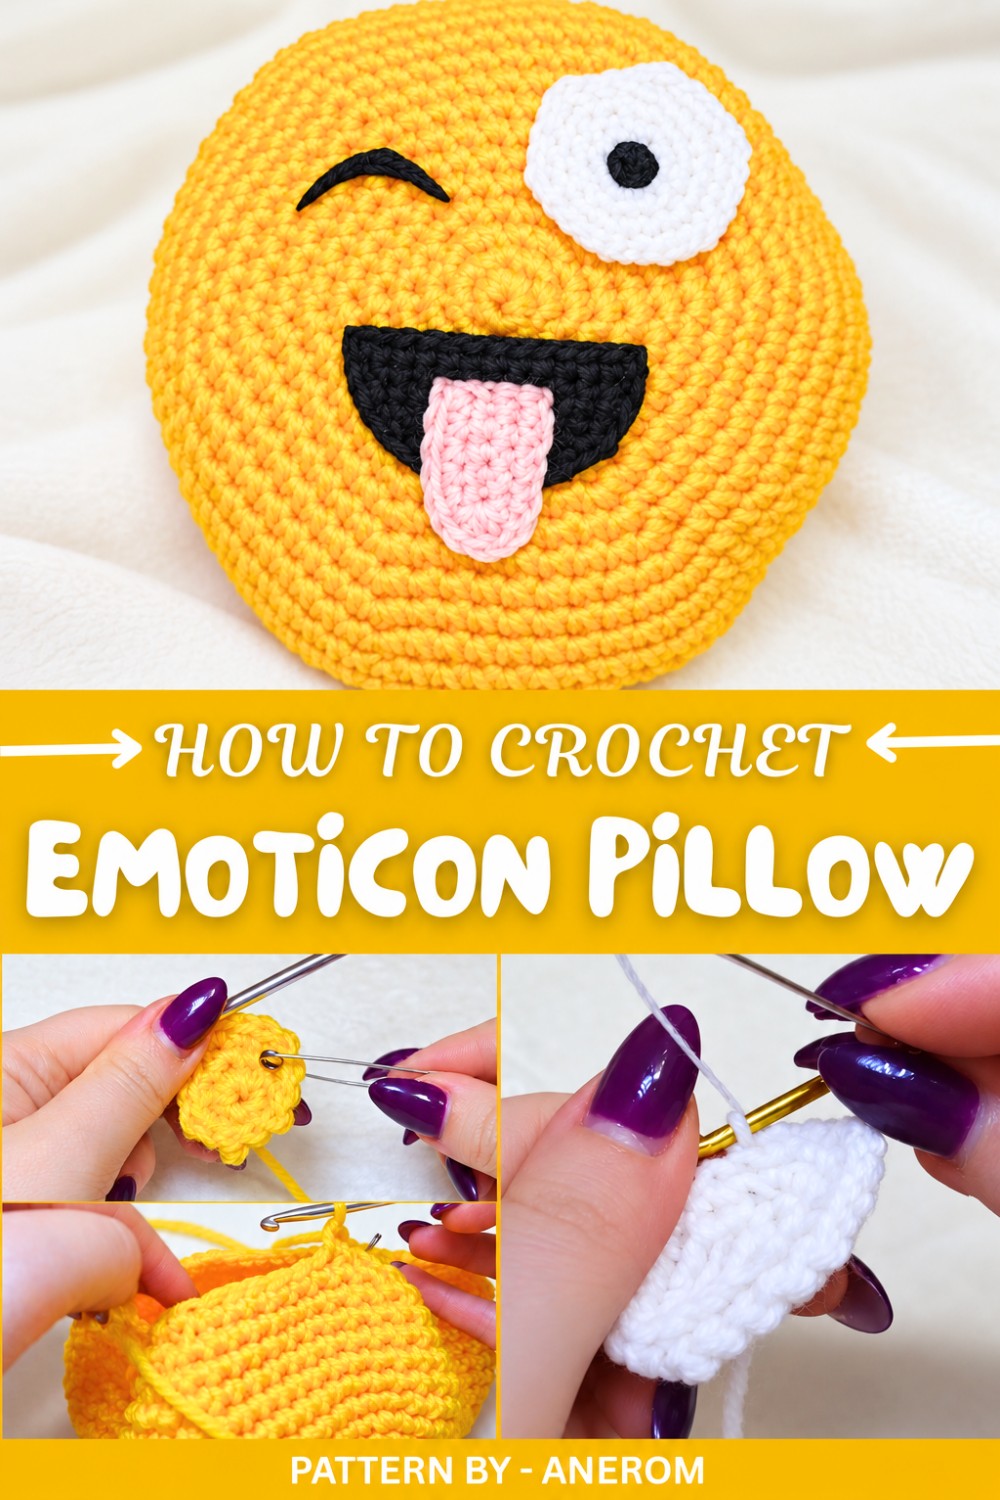
The working process for making this pillow is beginner-friendly yet creatively engaging. From creating a magical circular base with simple crochet techniques to adding depth by forming a cushion, and finally personalizing the design with cute felt cutouts and movable features, every step is pure fun. Using a sturdy acrylic yarn and incorporating felt for the eyes, mouth, and tongue gives the design a polished and vibrant finish. While crocheting the facial features, there’s no limit to how creative you can get. Think adorable winks, big wide smiles, or even funny faces to match your mood.
If you’re looking for expert guidance on how to crochet this delightful pillow, the YouTube channel "Anerom" provides detailed instructions in an easy to follow video. From making the pillow’s base to tips for scaling its size and attaching the felt designs with either glue or stitches, Anerom's tutorial ensures clarity at every step. This project may take a bit more time compared to other simpler crochets, but the result, a soft, happy pillow, is definitely worth it. Add this to your collection of crochets and enjoy a charming piece of handmade art that everyone will adore.
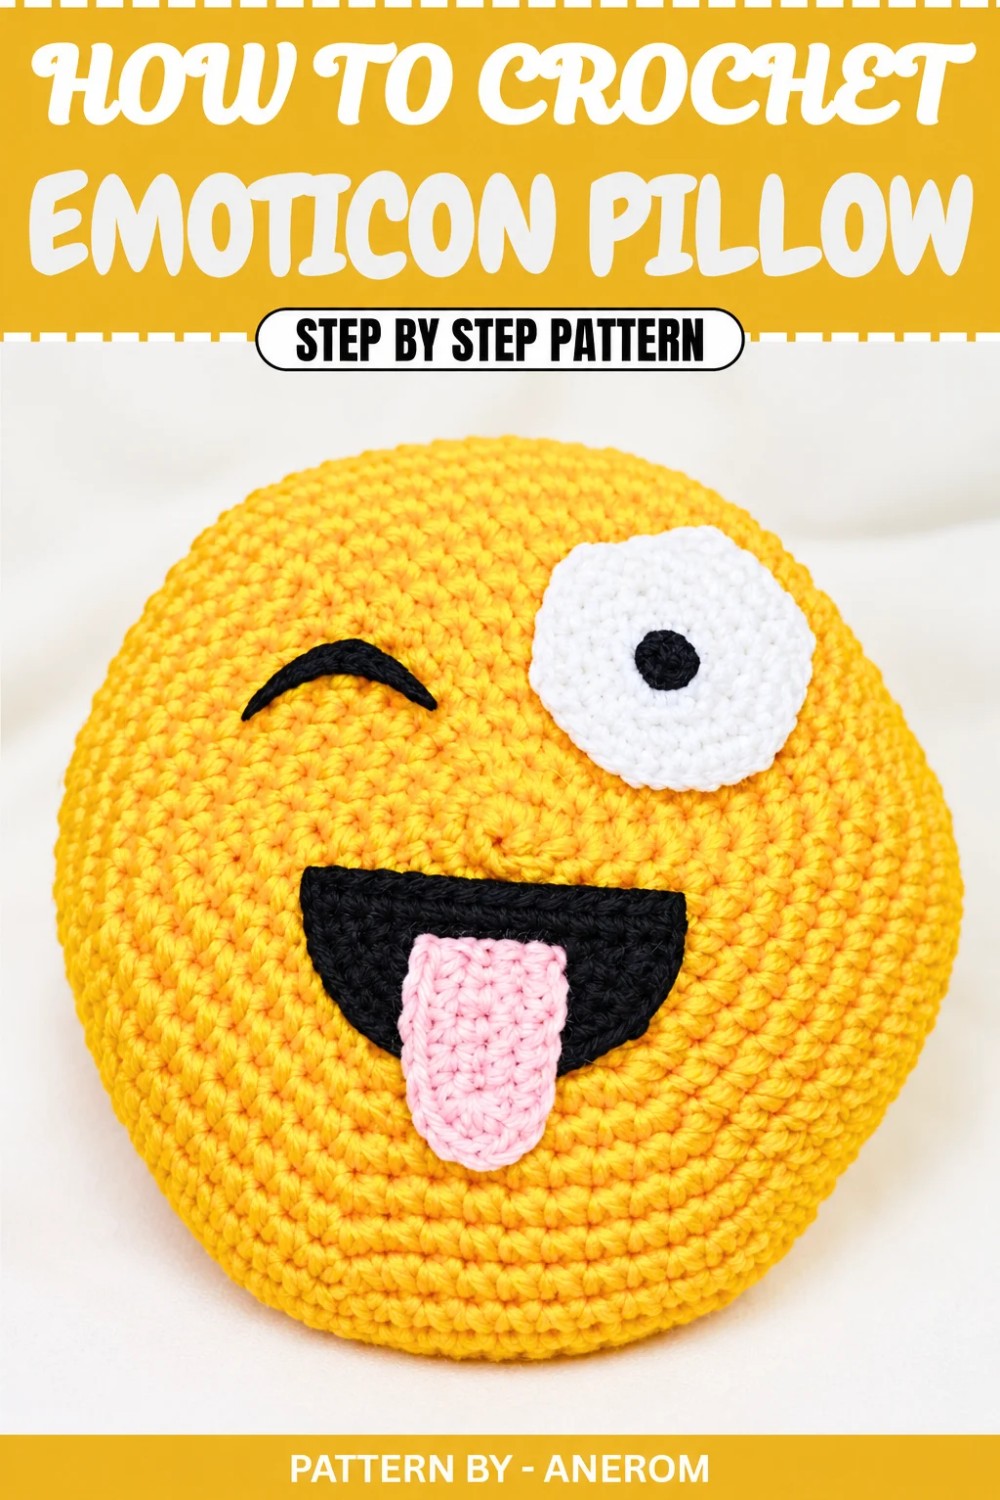
Crochet Emoji Pillow Pattern
Quick Overview of Pattern
- A beginner friendly amigurumi crochet pattern with simple details.
- The pillow is worked in continuous rounds using the magic circle technique.
- Can be customized with different emoji expressions or colors using felt accents.
- Features a soft, huggable pillow design stuffed with polyester filling or cotton.
Notes
- You can adjust the pillow’s size by using different yarn weights or hook sizes.
- The felt accents, such as eyes and mouth, can be glued with hot glue or sewn for added security.
- The project involves working in spirals without joining rounds. Use a stitch marker to keep track of each round.
Skill Level
Intermediate Beginner – The pattern uses basic stitches but also incorporates felting, increases, and decreases typical of amigurumi projects.
Materials
- Yarn: Yellow acrylic yarn, size 5 to 6 (for the pillow base) and black acrylic yarn, size 3 (for eyeball outlines).
- Crochet Hook: Size 4.5 mm hook (or size suitable for your yarn).
- Felt Fabric: Pink, black, and red (for eyes, tongue, and mouth).
- Polyester Fiberfill or Cotton Stuffing: For pillow filling.
- Tapestry Needle: To sew and weave in ends.
- Hot Glue Gun or Fabric Glue: For attaching felt accents.
- Scissors: For trimming yarn and cutting felt.
Measurements / Sizing
The finished pillow will measure approximately 10 to 12 inches in diameter, depending on the tension and yarn thickness.
Gauge
Gauge is not critical for this pattern, but if following the suggested materials, the base should grow by about 1–1.5 inches with each increasing round.
Stitch Abbreviations
- ch = chain
- sc = single crochet
- st(s) = stitch(es)
- inc = increase (create 2 single crochets in the same stitch)
- dec = decrease (join two stitches together)
- sl st = slip stitch
- magic circle = magic ring
Special Stitches
- Magic Circle: A starting loop used to work in the round, allowing the center to close tightly.
The Crochet Pattern:
Instructions
1. Create the Pillow Base
- Begin with a magic circle using the yellow yarn.
- Inside the magic circle, crochet 6 sc. (6 sts)
- Pull the yarn tail to close the ring tightly.

2. Increase the Circle
- Round 2: Inc in each st around (2 sc in each st). (12 sts)
- Round 3: 1 sc, inc, repeat around. (18 sts)
- Round 4: 2 sc, inc, repeat around. (24 sts)
- Round 5: 3 sc, inc, repeat around. (30 sts)
- Continue increasing similarly: add one more sc between each inc every round. For example, for Round 6: 4 sc, inc; for Round 7: 5 sc, inc, and so on.
- Repeat until the base has 10 sc, inc for the last round. (72 sts)


3. Create the Pillow’s Thickness
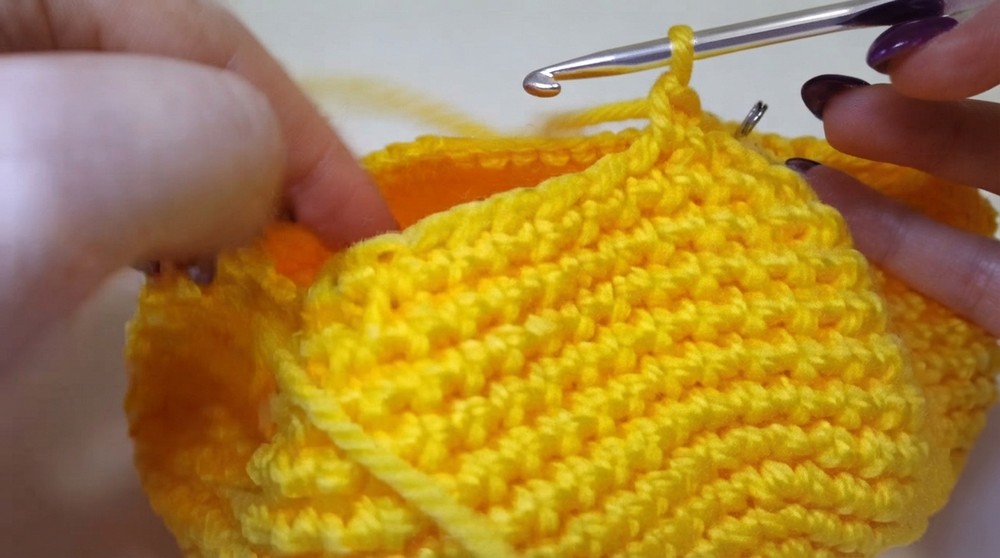
- Work 5 to 6 rounds of sc only (no increases) to create the sides of the pillow.
- Maintain a consistent tension and use a stitch marker to track the beginning of each round.
4. Start Decreasing the Circle
- Begin shaping the top of the pillow with decreases:
- Round 1 (Decrease): 9 sc, dec, repeat around.
- Round 2: 8 sc, dec, repeat around.
- Continue decreasing until you reach 6 sc, dec in a round.
- Before proceeding further, pause and stuff the pillow with polyester fiberfill or another filling material to your desired firmness.

5. Close the Pillow
- Once stuffed, continue decreasing:
- 5 sc, dec, repeat around.
- 4 sc, dec, repeat around.
- Keep working decreases until you’re left with only 6 stitches.
- Fasten off, leaving a long tail. Use a tapestry needle to weave the tail through the final stitches and pull tight to close the hole. Secure with a knot.
6. Make the Eye Details
- Use the black yarn to create a small circular outline:
- Start with a magic circle and make 6 sc into the ring.
- Tighten the circle and close. Work:
- Round 2: Inc in each st around. (12 sts)
- Round 3: 1 sc, inc, repeat around. (18 sts)
- Continue for 2 additional rounds if a wider base is desired.
- Fasten off and set aside.

7. Cut Felt Accents
- Cut small circles from black felt for the pupils.
- Create a mouth shape using black felt (smiling or open mouth).
- Cut the tongue from pink felt.
- You can also add eyebrows, squints, or other details by cutting additional shapes from felt.
Assembly & Finished Size
- Arrange the felt accents and embroidered yarn details on the yellow pillow.
- Use a hot glue gun or fabric glue to securely attach each piece to the pillow surface. Press gently for a secure bond.
- Allow the glue to dry entirely before using the pillow.
- The finished pillow will measure 10 to 12 inches wide and be thick, soft, and huggable.
Conclusion and Final Words
Your crochet emoji pillow is now complete! This playful and cheerful craft is perfect for adding a touch of personality to any room or as a handmade gift for loved ones. The combination of crochet and felt makes this an easy yet creative project with room for customization. Let the emoji pillow brighten your day, and don’t forget to share your results or experiment with new emoticon designs.